Install a Trailer Hitch

Almost Anyone Can Install a Trailer Hitch

I have a confession to make; at one time the very thought of putting a perfectly good running motorcycle on a truck or trailer was horrifying to me. But as I’ve gotten older my once hard core has become a soft chewy center. Crash damage, arthritis, and a growing disdain for any kind of suffering will do that to you. The missus & I will still do a bit of long riding from time to time, and I still scratch my head when I see a full dresser riding solo on the back of a tow vehicle. If said Goldwing or ‘Glide is surrounded on the trailer by some fine vintage machinery, choppers or hardcore sportbikes I can understand. Having discovered the joy of vintage motorcycle shows & swap meets it’s not unusual for me to take multiple motorcycles plus miscellaneous trade items, making a tow vehicle necessary. If I’m only taking one motorcycle or scooter capable of making the trip, to the show with no plans to buy or sell anything I usually just ride the darn thing because without riding what’s the point of owning a motorcycle?

<1982 C70 Passport>

One of my trailer queens.

Now let me make an apology to all of you old geezers that I used to pick on about your trailer queens. I am well on my way to becoming one of you and own a couple of motorcycles that I would never even attempt to travel on.

<Westin Trailer Hitch>

Westin trailer hitch

Let’s get on to the meat of this how to, my previous tow vehicle was a Chevy van that served me okay for a while but last year I sold it and acquired a nice low mileage 2010 Toyota Tacoma that was the plain Jane work truck of my dreams that I thought did not exist anymore. So I ordered up a Westin Receiver Hitch
hitch to fit it, along with a Reese T-connector kit for the trailer lights. Now let’s see how it was installed.

<Reese Trailer Hitch Connector>
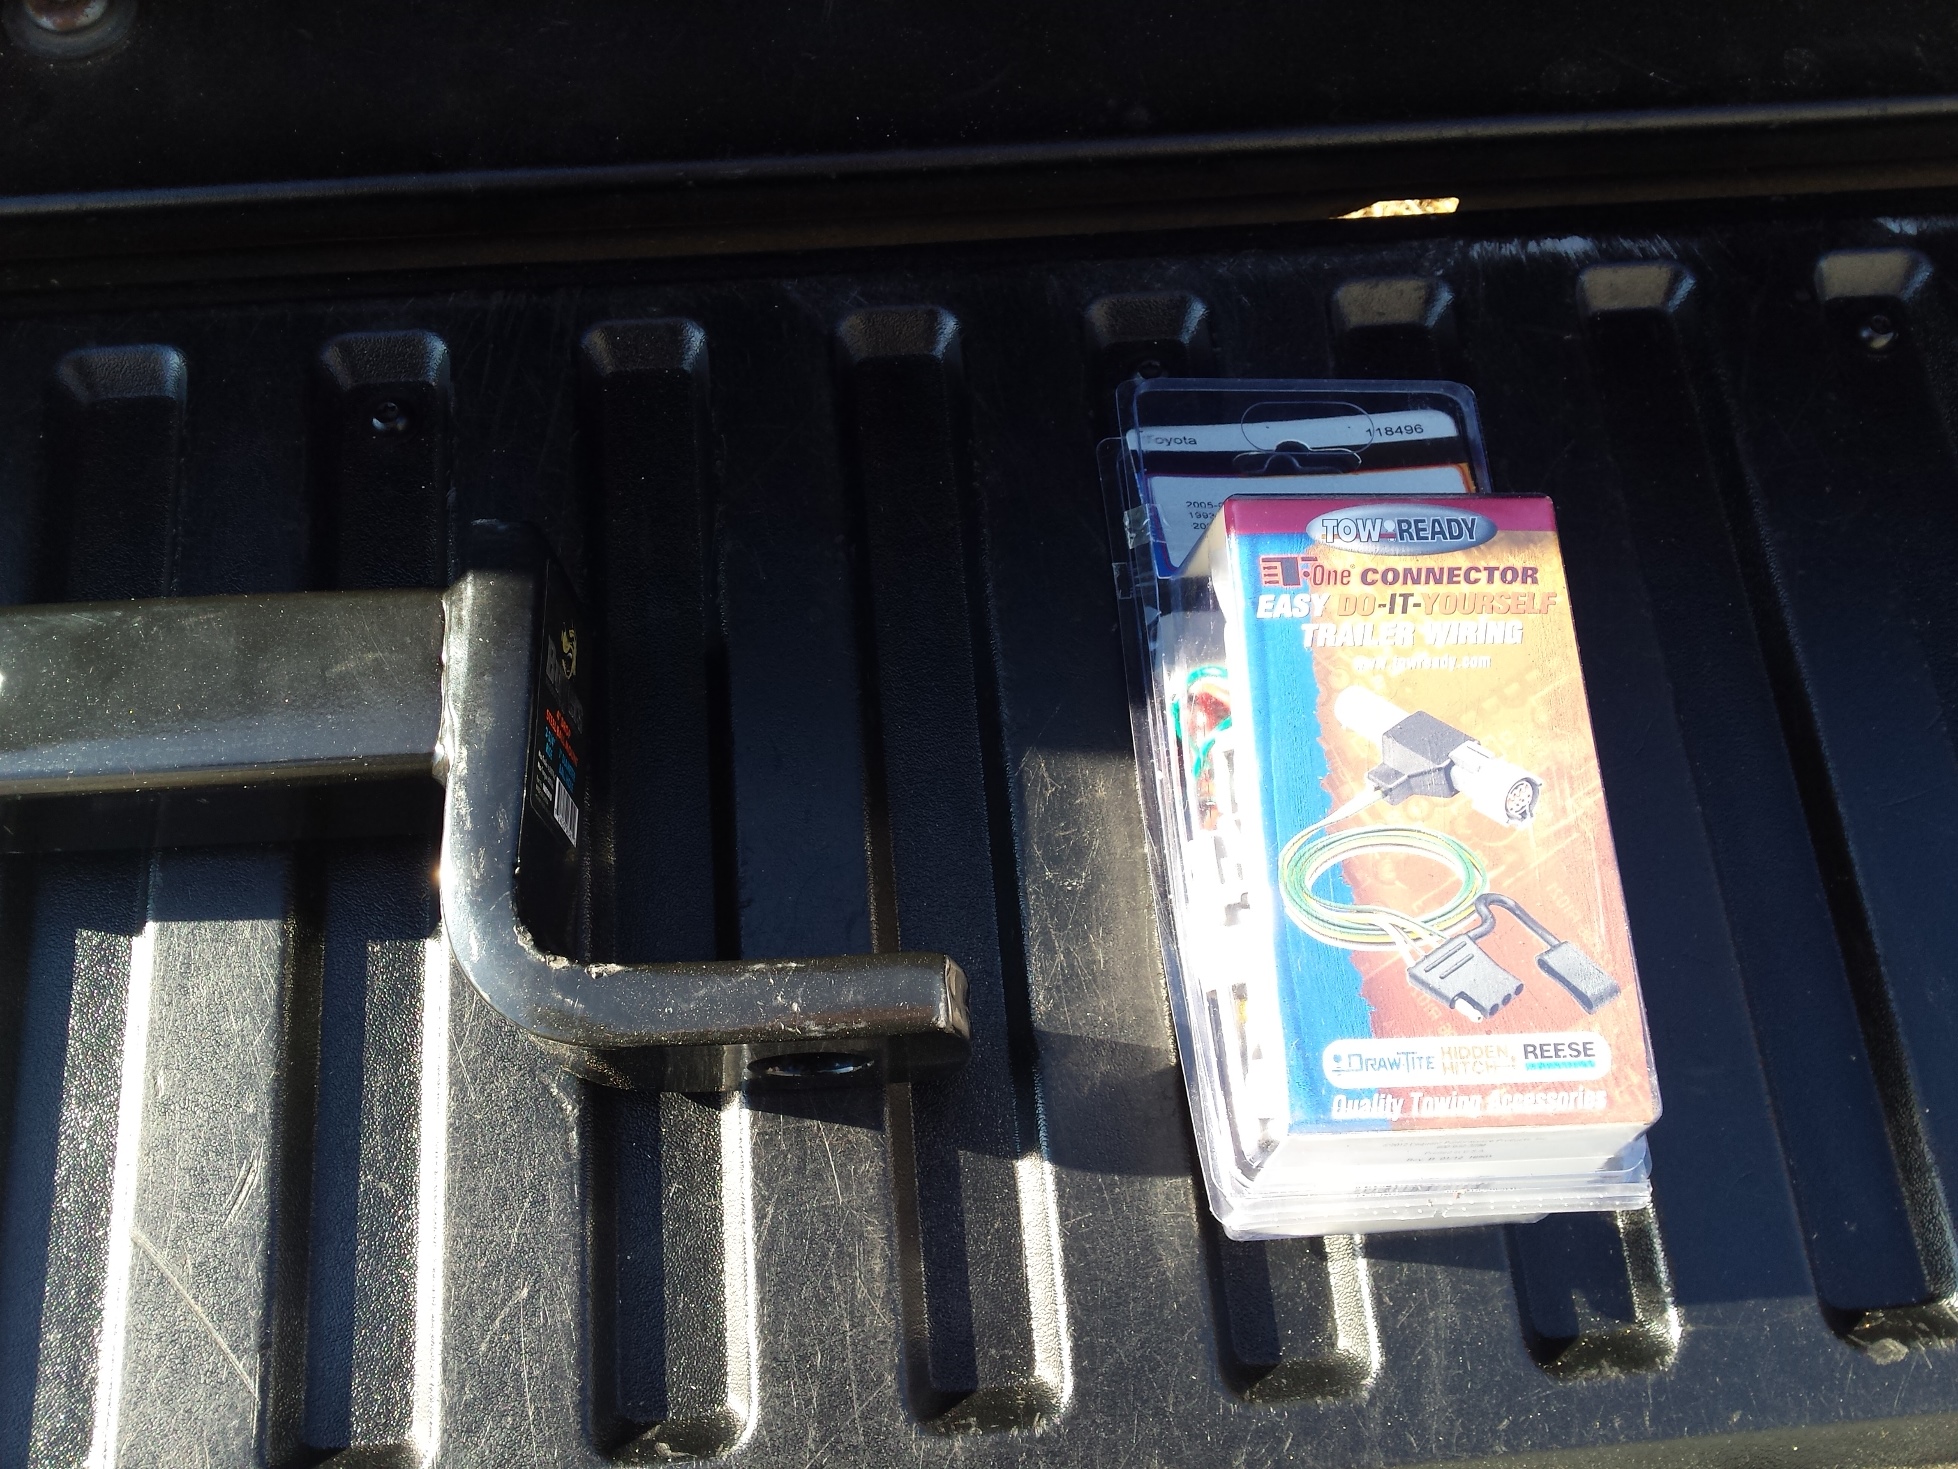
Open up the package, and read the instructions. Then count all of the hardware supplied to make sure it matches what you are supposed to have. Next gather up all of the tools you need to match the bolts in the kit & on your truck, van, or SUV. While what is shown here is specific to my truck & hitch the vast majority of installations will be very similar to this. Buy your trailer hitch from a reputable manufacturer and read the instructions.

<hitch receiver hardware>

Don’t forget, read the instructions first!

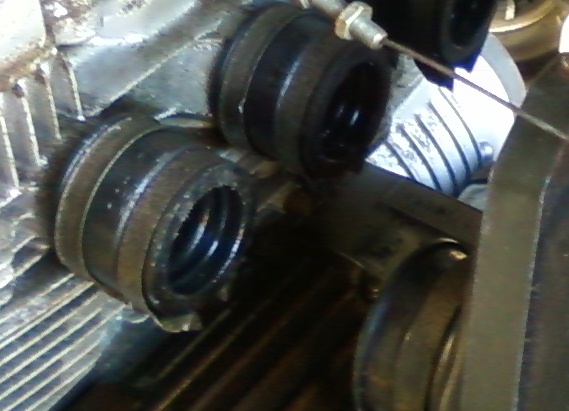
Like most of them this Westin hitch receiver uses the bumper brackets to attach it to the truck. The instructions called for me to remove 2 of them on each side and leave one attached loosely. Work carefully and don’t allow your bumper to drop down suddenly as this could cause damage to your vehicle and or injury to you.

<bumper bolts>


<bumper bolts loosened>

Please make sure you take reasonable safety precautions when you are doing this. You will be handling large heavy awkward items over your head in a cramped space. It’s possible to install a hitch alone but it’s better if you have help. At the very least you need someone nearby in case it falls and beans you in the head.

<install a trailer hitch>
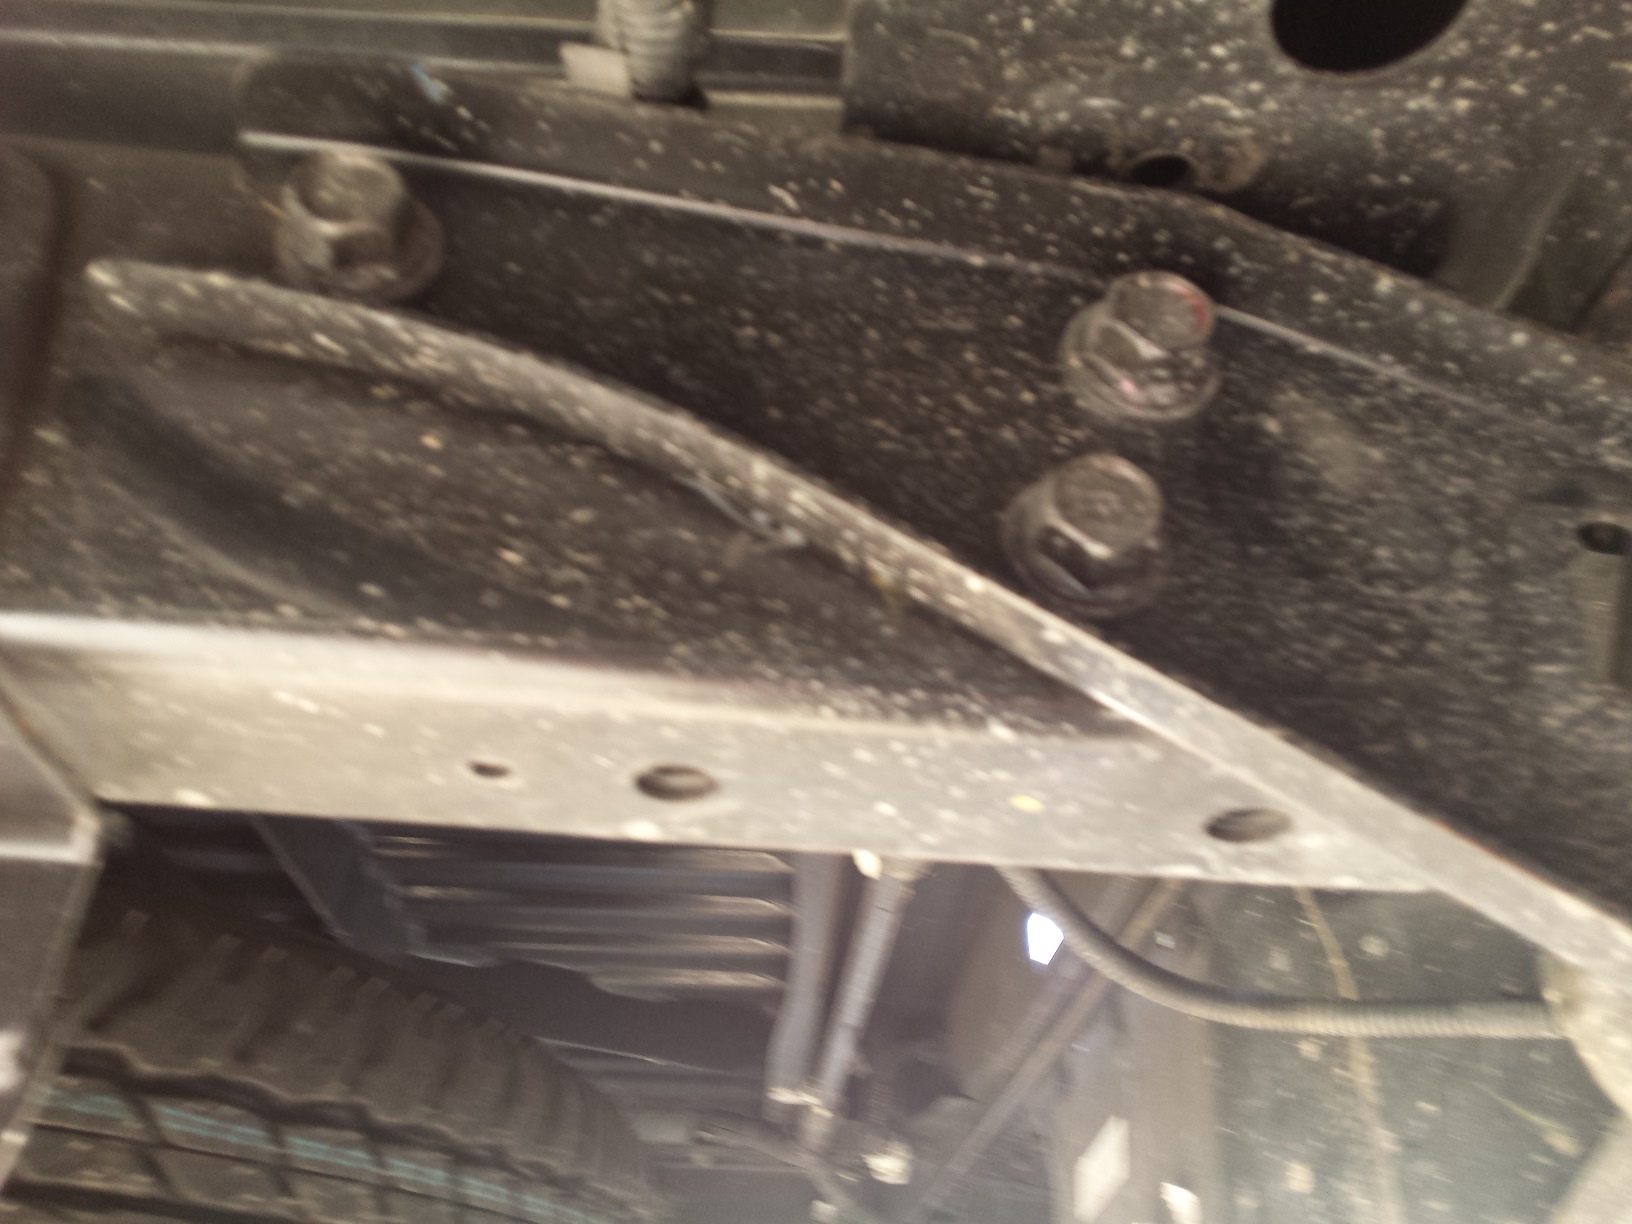
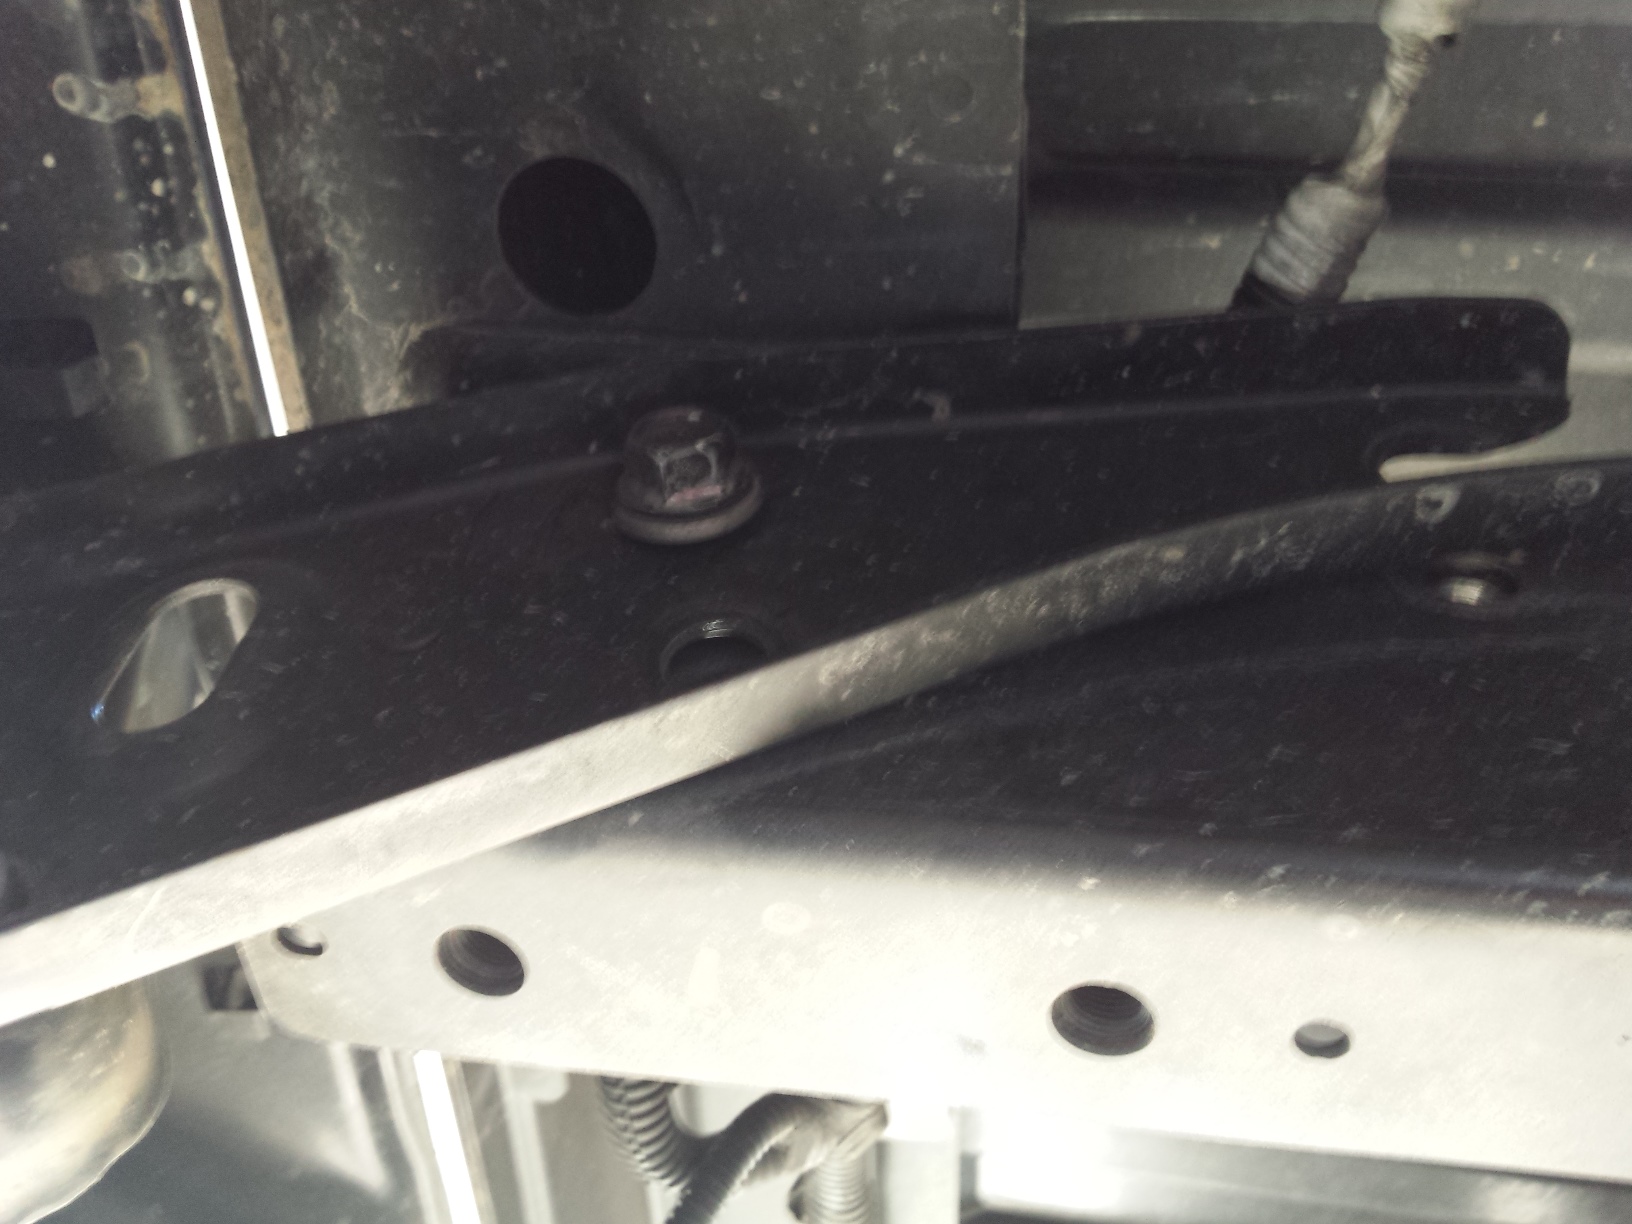
My truck also had the above tapped holes in the frame that were put there for the location of a trailer hitch, make sure that if your vehicle has additional holes like this that your hitch will use, that the holes are clean and the threads are good before putting the hitch in place.

<a good floor jack>
Since I was working alone a floor jack was called into action to support the receiver as it was lifted into place. For most of us a good floor jack is a necessity to install one of these alone.

install a trailer hitch
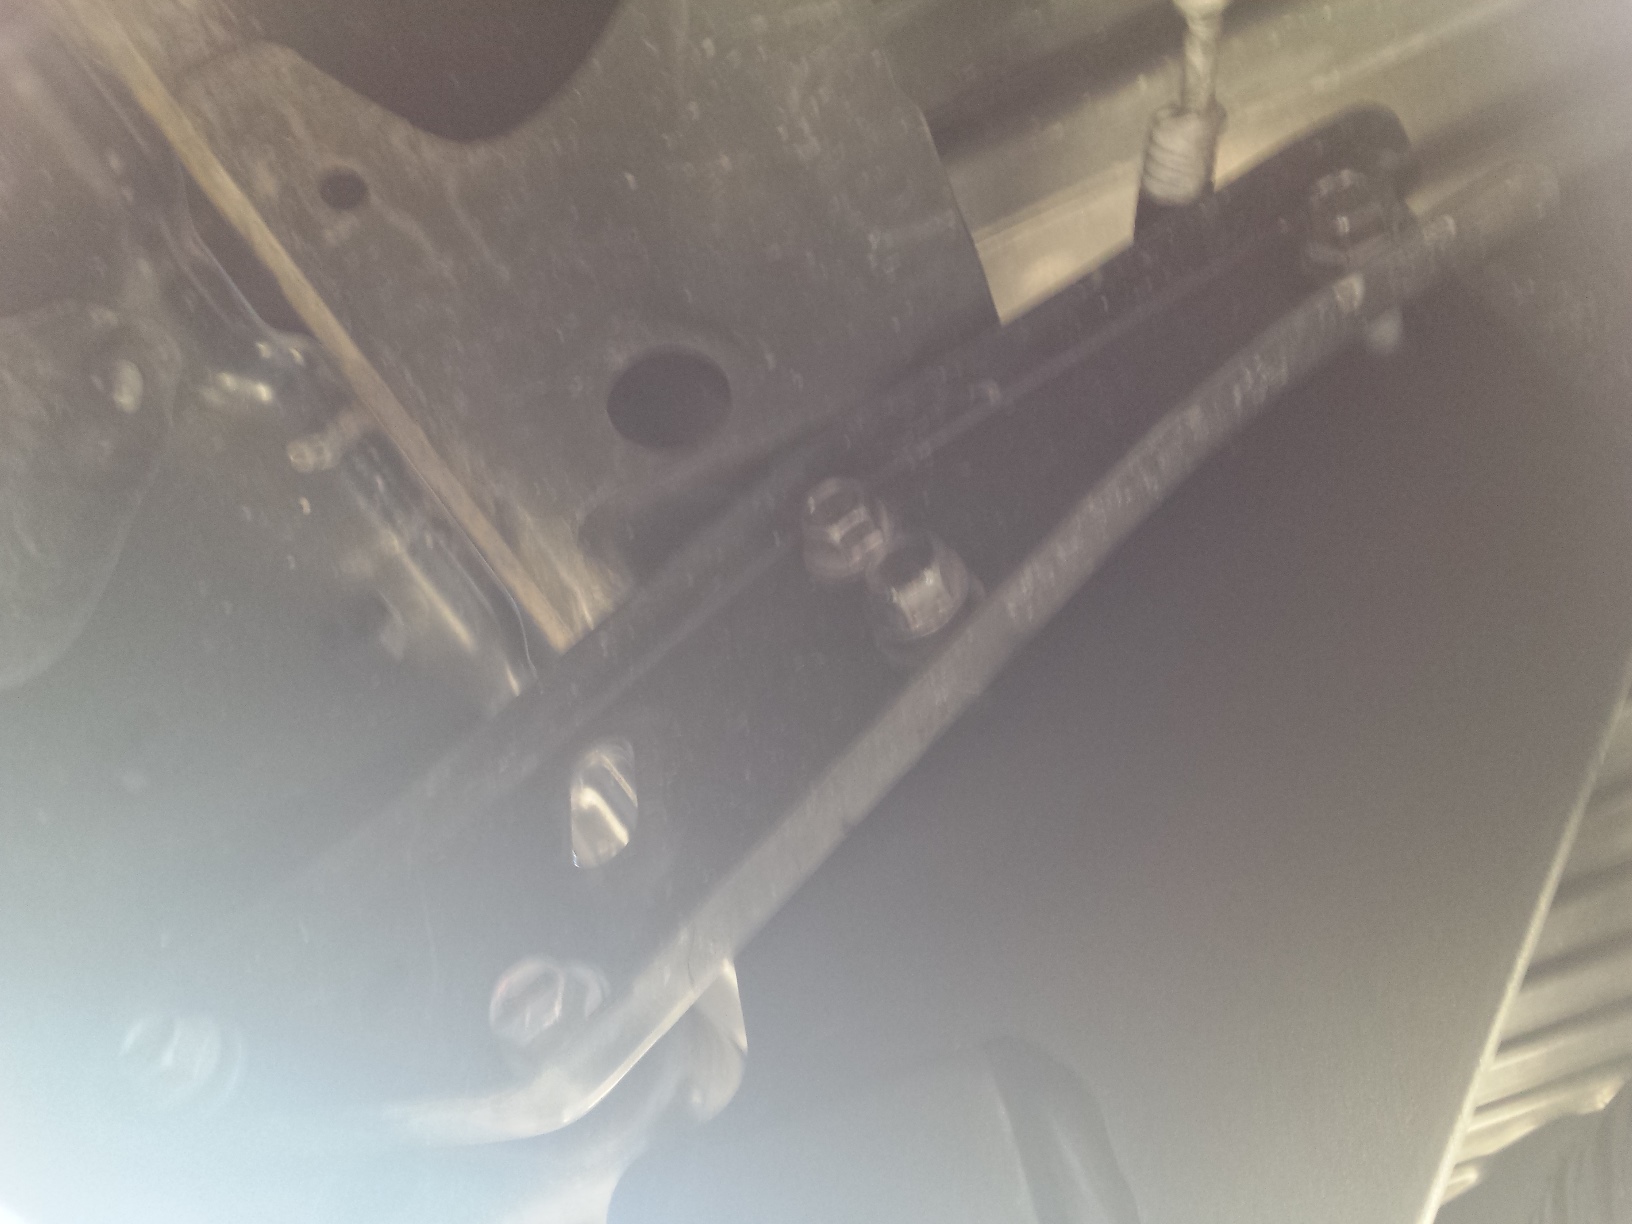
Line up the bolt holes and start all of the bolts. Do not tighten any of them until you have them all started securely. Once you have every bolt started in its own hole, then you may need to install some shims if supplied and realign your bumper so that it looks right.

use shims as needed

use shims as instructed

After the shims are in place and the bolts are all snug, check your bumper alignment again and adjust if needed.

torque wrench install a trailer hitch
Now it’s time for the final tightening of the bolts, grab your trusty torque wrench and tighten all of the bolts to the specified torque for your application.

<reese t connector toyota tacoma>
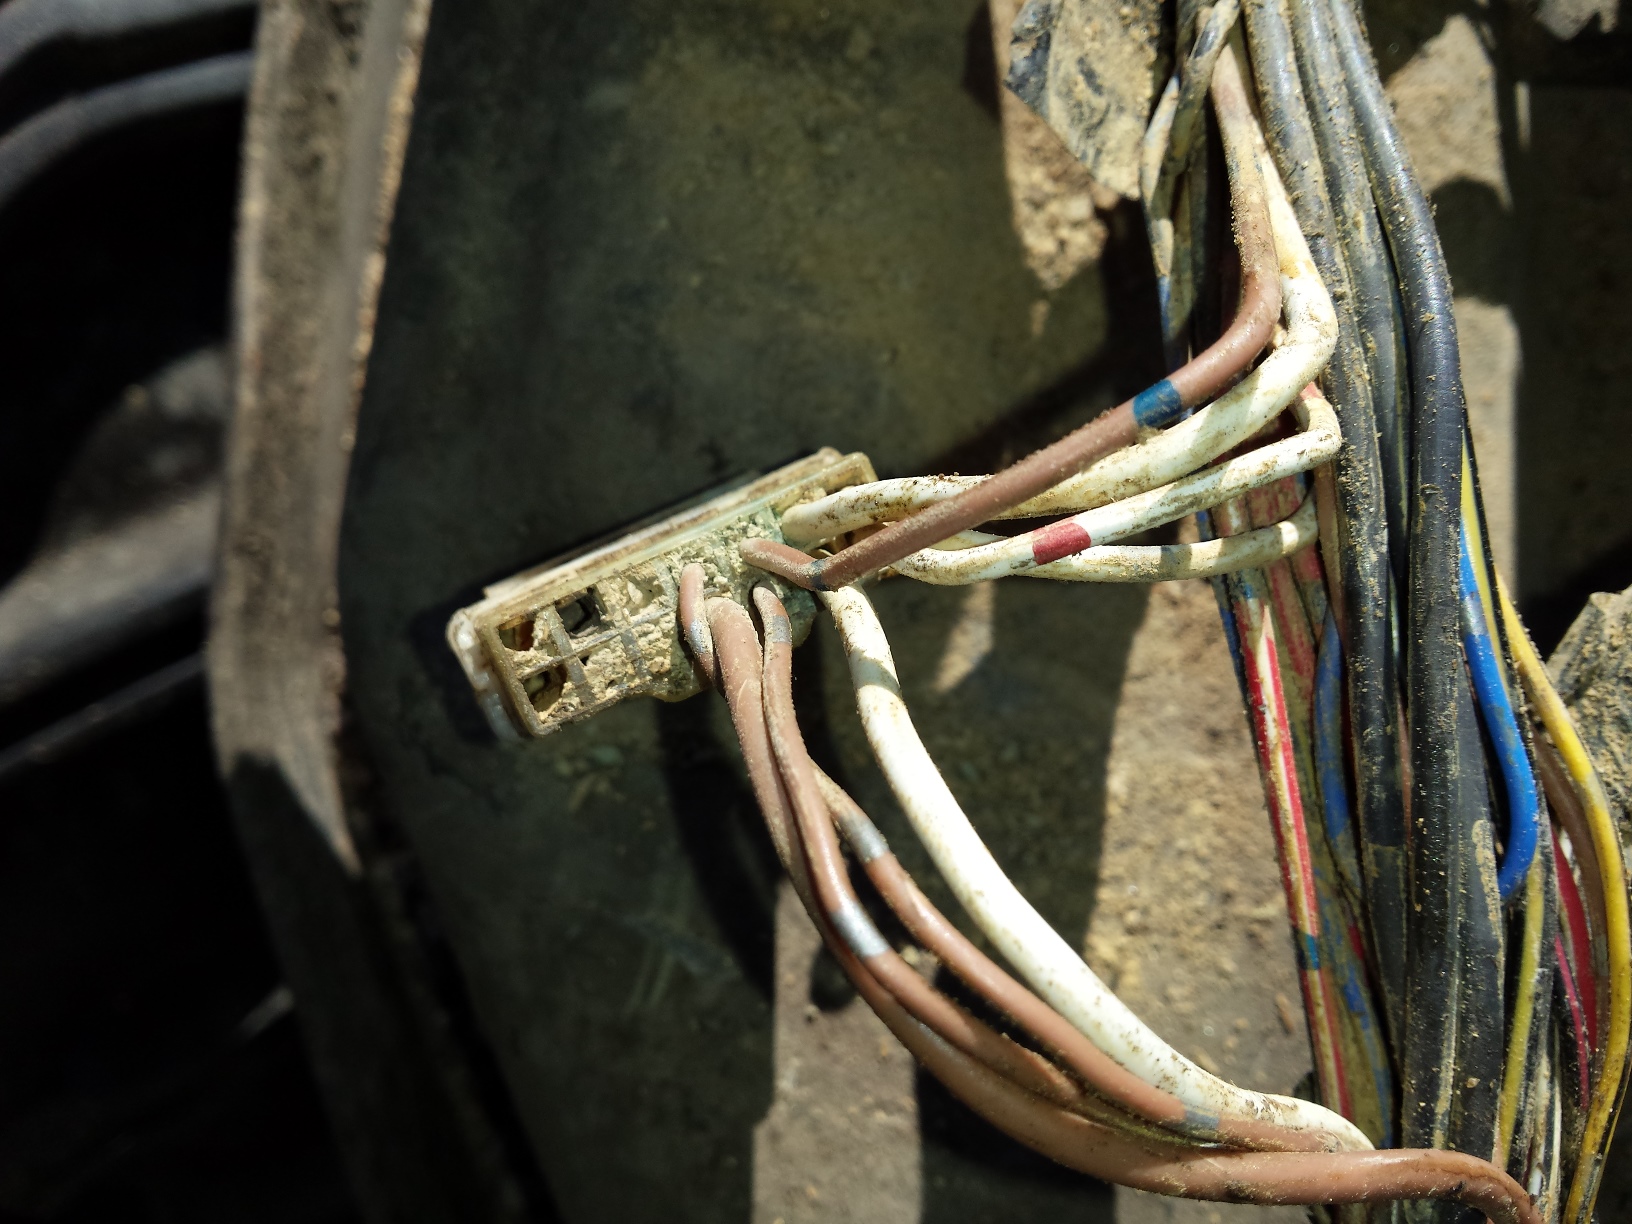
Now it’s time to move on to the wiring connections, Old timers will remember the bad old days when hooking up a trailer lighting harness meant cutting and splicing wires. Then came the Scotchlock connectors that made the job quicker but weakened any wire they were attached to and made it more likely that the wire would fail a few years down the road. Now everything is plug and play for most vehicles.

<reese t connector toyota tacoma>
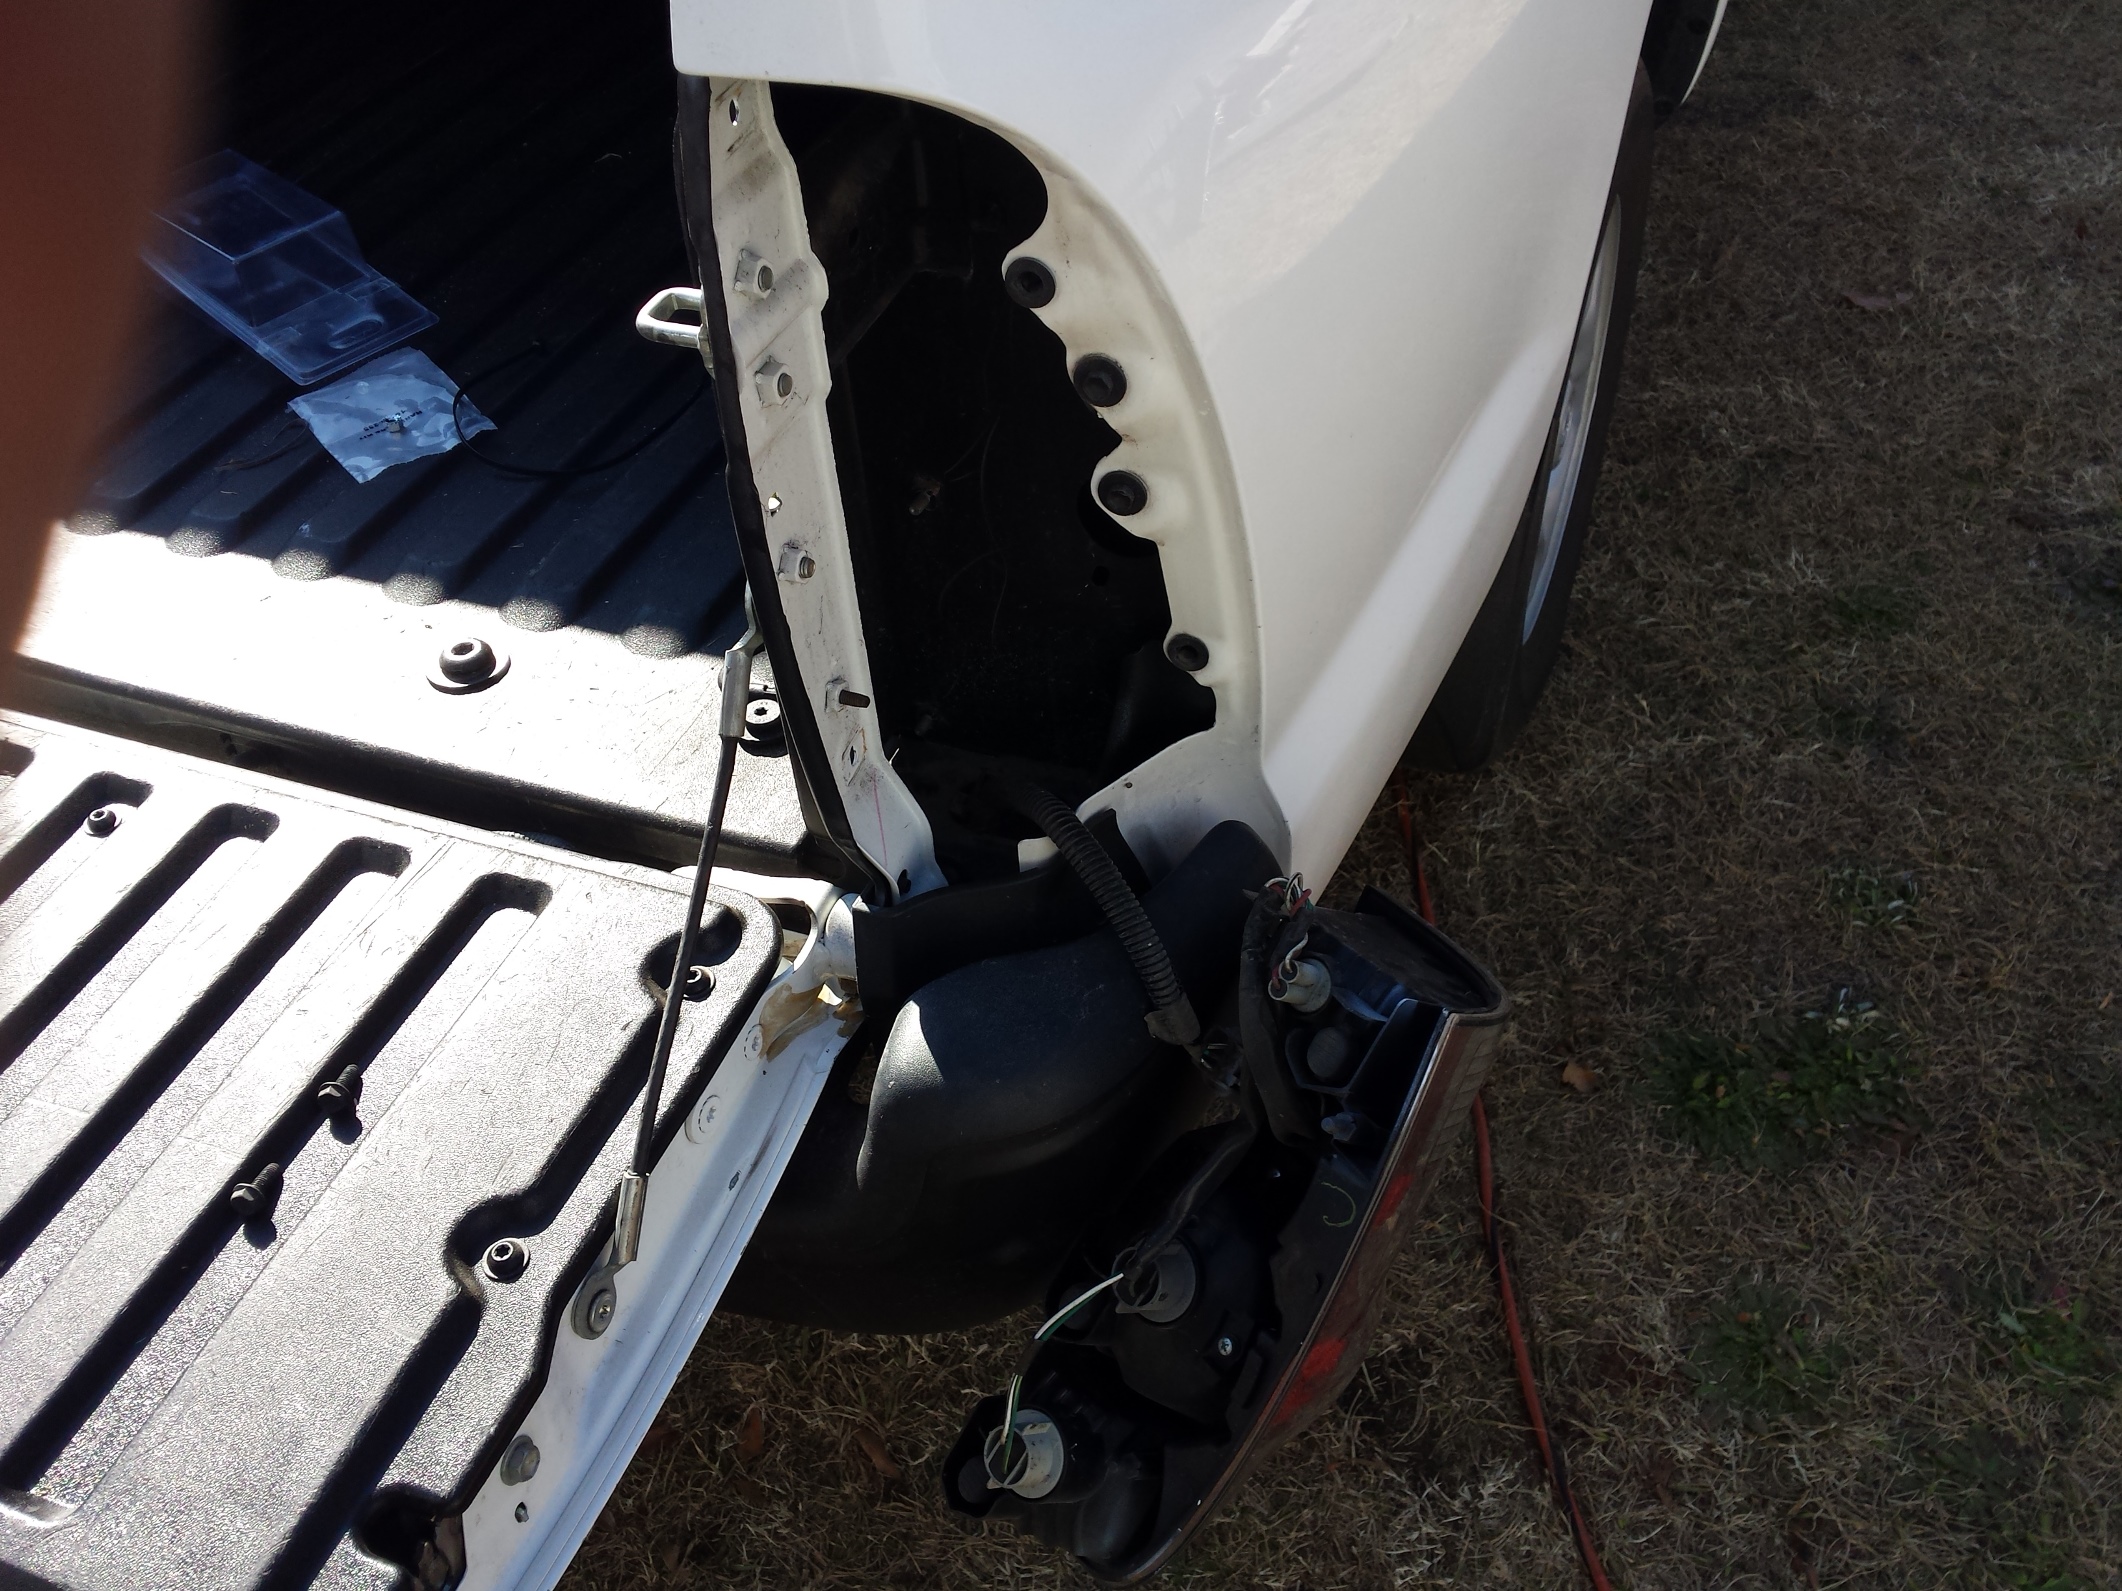
The instructions called for me to remove the right rear tail light so I did.

tee connector install a trailer hitch
Then plug the Reese T-connector wiring harness in between the trucks harness and the tail light.

trailer lighting control box
The only part of the installation that required any drilling was to mount the control box. Be sure to paint the metal inside the hole and let it dry mounting the box with screws & lock nuts. Please note on some applications these boxes can be mounted directly to the receiver hitch without any modifications. One other thing to note, many modern trucks have composite plastic beds that do not conduct electricity well, so make sure that you attach the ground wire to a metal component that is attached to the chassis. Using outdoor rated UV resistant cable ties secure the wiring neatly allowing just enough slack at the end to work with all of your trailers but without dragging the ground.

Toyota Install a trailer hitch Westin
Now slide in your hitch and hook up your trailer & test everything. I have been using this Westin Receiver Hitch
for a year now dragging trailers all over the eastern United State and have absolutely no complaints about it. It was easy to install to. Even if you still don’t feel up to doing it yourself at least now you know what it takes to install a trailer hitch. See you on the road!
Peace Y’all

Kawasaki Brute Force 750 ATV Bus Connector Problems; A Random Tech Tip

This is a unique problem that affects 2005 & 2006 Kawasaki Brute Force ATVs, you would think that by now all of these would have been fixed already but every now and then one still shows up. Anytime you have any electrical problem with one of these four wheelers this is the first thing you should check. Battery not charging, 4wd switch not working, lights flashing, or any other electrical fault of any kind you should remove the rear fender unit and check the wiring harness for a rectangular bulge like this. <2006 Kawasaki brute force bus connector> There are two of them one at the rear over the gas tank & and one almost in the middle. Usually it is the one in the rear that causes the most problems. This is the front one in this picture. <kawasaki brute force front bus connector> The next picture is of the rear connector, notice that it is packed with mud despite the fact that it was sealed up inside of a tightly wrapped electrical harness. This causes either broken connections or direct shorts depending on how your luck is at the time. A couple of the wires just fell out of this one. <brute force atv rear buss connector> Although I have heard of these connectors failing on machines that were not abused, in all honesty if you just keep your late model atv & it’s computer controlled engine out of any water deeper than the top of the differentials you are unlikely to have any problems. I am not going to give you a step by step tutorial on this repair, but will give you links to a couple of excellent ones that already exist on the great tool know as the internet. The first one is at the Mud In My Blood forum and you can get to it by clicking here. One thing that is incorrect in this one is that the author thought that the factory had fixed it starting in ’06. I can assure you they did not as the pictures above came from an ’06 model that I fixed yesterday. Another great one is found at youtube if you would prefer to watch a video, just click on this link right here. What ever you do be sure that you seal your final connections up tightly before re-wrapping the wiring harness and taping it back up. Go play in the mud again just remember it costs cubic dollars in repairs to keep using your land vehicle as a boat or a submarine! Unless you get an Argo 😉

If you liked this post or found it helpful.
Could I please ask a favor of you? Chase is giving away 20 $100,000 grants to small businesses this fall. In order to be considered for this award I have to collect 250 votes for Motopsyco by June 19th 2015. Please click on the picture below and vote for Motopsyco to be eligible for this grant program.

https://www.missionmainstreetgrants.com/b/72189
Thank you for being loyal readers & loyal customers.

Something to Write With (& other essential documentation tools.)

For this random tech tip I am going to talk about one of the best tools that you absolutely must have in your toolbox, a notepad & something to write with. Some mechanics and owners even go so far as to keep actual log books of the work they do. These are wonderful people to do business with & buy motorcycles from, and if it suits your personality I highly recommend that you do the same. For the rest of us, myself included, who are not quite so anal, a small note pad or note book is essential to write down the occasional part number or measurement.

the ever useful notebook

the ever useful notebook

I have even sketched out an assembly or written down re-assembly directions for things that I have taken apart. Even if you have an eidetic memory, sooner or later you will likely miss some small detail or another, but the act of writing things down helps you to remember them better, and prevent mistakes in re-assembly, parts ordering & custom fabrication.

A good cheap calculator is another great item to have for doing quick calculations & conversions. If you are a machinist or a designer you will probably have a scientific calculator but for the vast majority of us, a simple little calculator is all you need for things like figuring out what size shim to use when adjusting valves, or how much further a part can go before it hits the wear limit. Here I must confess to overkill, since my day job is working in the engineering department of a local industrial equipment manufacturing company I own multiple  scientific calculators, it’s just how I roll.

And last but not least you probably have one of the greatest, & most handy mechanical tools right there in your pocket. A smartphone with a camera has become one of my favorite ways of documenting progress on a job or a project. Take a picture before you start, take another one for each part you remove. Then if you need to refer back to your pictures to remember which way the thinga-ma-bob fits into the doohickey, you have pictures to refer back too.

By the way, here is a quick update on my Honda CB650 project bike. Originally purchased to be modified in the “cafe racer” style I have since changed my mind and am now currently pursuing an “urban scrambler” style. This is going to be really cool so stay tuned!

1980 Honda CB650

Got the airbox & other non- essential stuff out of the way!

Random Tech Tip, Vintage Carburetor Intake Boots & Clamps

Today’s post is about those annoying rubber boots that attach your carburetors to the spigots on the head(s).

dry brittle old carb boots

dry brittle old carb boots

Often on old project bikes these are hardened and brittle, most of the time you can get the carbs out but it is almost impossible to get them back in. One thing that greatly helps is to take a heat gun and heat them up to soften them. Some people on the net have removed them and placed them in very hot water. Regardless of the method a small amount heat will help get them soft enough to reinstall the carbs. Just do not use an open flame or you will end up with a charred & useless mess. On some motorcycles these bolt to the head and on others they clamp to spigots cast into the head. If you are dealing with removal of old intake boots from a set of spigots like shown in the picture above prepare to be very patient. Don’t just grab a big screwdriver & start prying! First loosen & completely remove all of the clamps, then twist and pull them by hand until they will at least wiggle & turn on the spigots. If they still won’t come off you have to decide if it is worth the risk to pry them off. Choose your leverage points very carefully, if you have any doubt at all about being able to remove them safely or if you are working on a rare or valuable antique or classic machine this is where you break out a good sharp utility knife & cut them off. The cooling fins and other castings on most motorcycles are very thin and will often break before an old piece of dry rotted rubber will,so better to be safe than sorry.

intake manifold clamps

intake manifold clamps

Also be sure to look at the clamps when removing the boots. They are not just straight rubber hoses, often one end is bigger than the other, and the clamps are 2 different sizes as on this Honda CB650. The intake manifolds only fit one way but they have directional arrows on them, the clamps are not marked so be sure you note which ones go where.

That’s all for tonight, until next time have a fantastic life!

Factory Punch Marks Another Random Tech Tip

This tech tip is for all of the people who are just starting to wrench on their own motorcycles, although I have met a few old timers who may not know it. All of the big four makers do this on most of their machines. I don’t know about HD or the current European brands but all of the top Japanese motorcycle companies do it. They put punch marks on the various components that mount to shafts with splines. Shift lever, decompression levers, drum brake levers etc. almost always have punch marks indicating the correct  alignment of the part to the shaft. Here is an example below from a Honda drum brake.

So now you know one more thing to look for when you start to tear into your own machine, and should your atv or motorcycle not have punch marks like this you can always add them before taking it apart if you need to. After all anything that makes it easier to reassemble your parts and get your machine running in top form is a great thing.

Seriously Y’all, Replace Those Cotter Pins

ATV wheel with brand new cotter pin


The slightly dark picture above shows an ATV that I recently re-installed the hub on. With a new cotter pin in the castle nut. Do yourself a big favor, and no matter what never ever re-use a cotter pin on any thing. Whether is a motorcycle, ATV, automobile, or any other application. They are there to prevent the sudden disastrous failure that could result from a nut coming loose on a critical component. If you really must perform an emergency road or trail side repair and re-use one to get home do not forget to change it ASAP before using the vehicle again. Isn’t your ass worth the small amount of pocket change these things cost?

Yes I practice what I preach, here is the cotter pin assortment that I keep on hand, a couple of sizes need refilling but that’s okay the piece of mind is worth it.


Motorcycling and ATV riding is risky business anyway, but if you insist on having a gnarly bone grinding crash, at least let it be because you were doing something stupid and fun, and not that the wheel fell of because you were too cheap to replace a 39 cent cotter pin.

Peace Y’all
‘Psyco