The last week or two I’ve had the privilege of having a really nice super clean late model Honda CRF150 visiting my stable for a tune up & fresh front inner tube. Since this model is still in production and seems to be the replacement for the venerable old XR200, I though I would take it for a spin. Plus it been years since I’ve had the chance to ride an “adult size” off road motorcycle.

left side view Honda CRF150
One thing needs to be totally clear to anyone looking at one of these, they are play bikes first and foremost not motocrossers. The power is low, the front tire is a 19″ etc. Yes I know they get raced in the mini class but those are usually heavily modified. There is a version with the smaller wheelset for the more advanced young riders. I got to admit though with the right suspension mods and tires this thing would make one heck of a trainer for flat track or supermoto racing. If anyone has tried it send me some information, I’d like to see your set up.
Like most of us out here on the east coast I was a woods rider when I was riding dirtbikes on a more regular basis so that is how I am evaluating this bike. Nothing like running a slalom course through a bunch of Loblolly pines while bouncing over tree roots and sliding around in the leaves and pine needles. Did I mention there were a lot of thorns too? Nothing like having completely fixed and immovable objects to possibly crash into with a motorcycle that you don’t own to get your blood flowing!

a Honda CRF 150 in the briar patch
In the woods almost everything was just fine. Right away I could tell the suspension was definitely not set up for shall we say a “bulky” man to ride and if I tried to sit down and ride the forks would bottom out with surprising regularity. The engine has enough grunt and is geared right but chassis just isn’t up to the task of dealing with 235 pounds of fine middle aged stud sitting in the drivers seat.

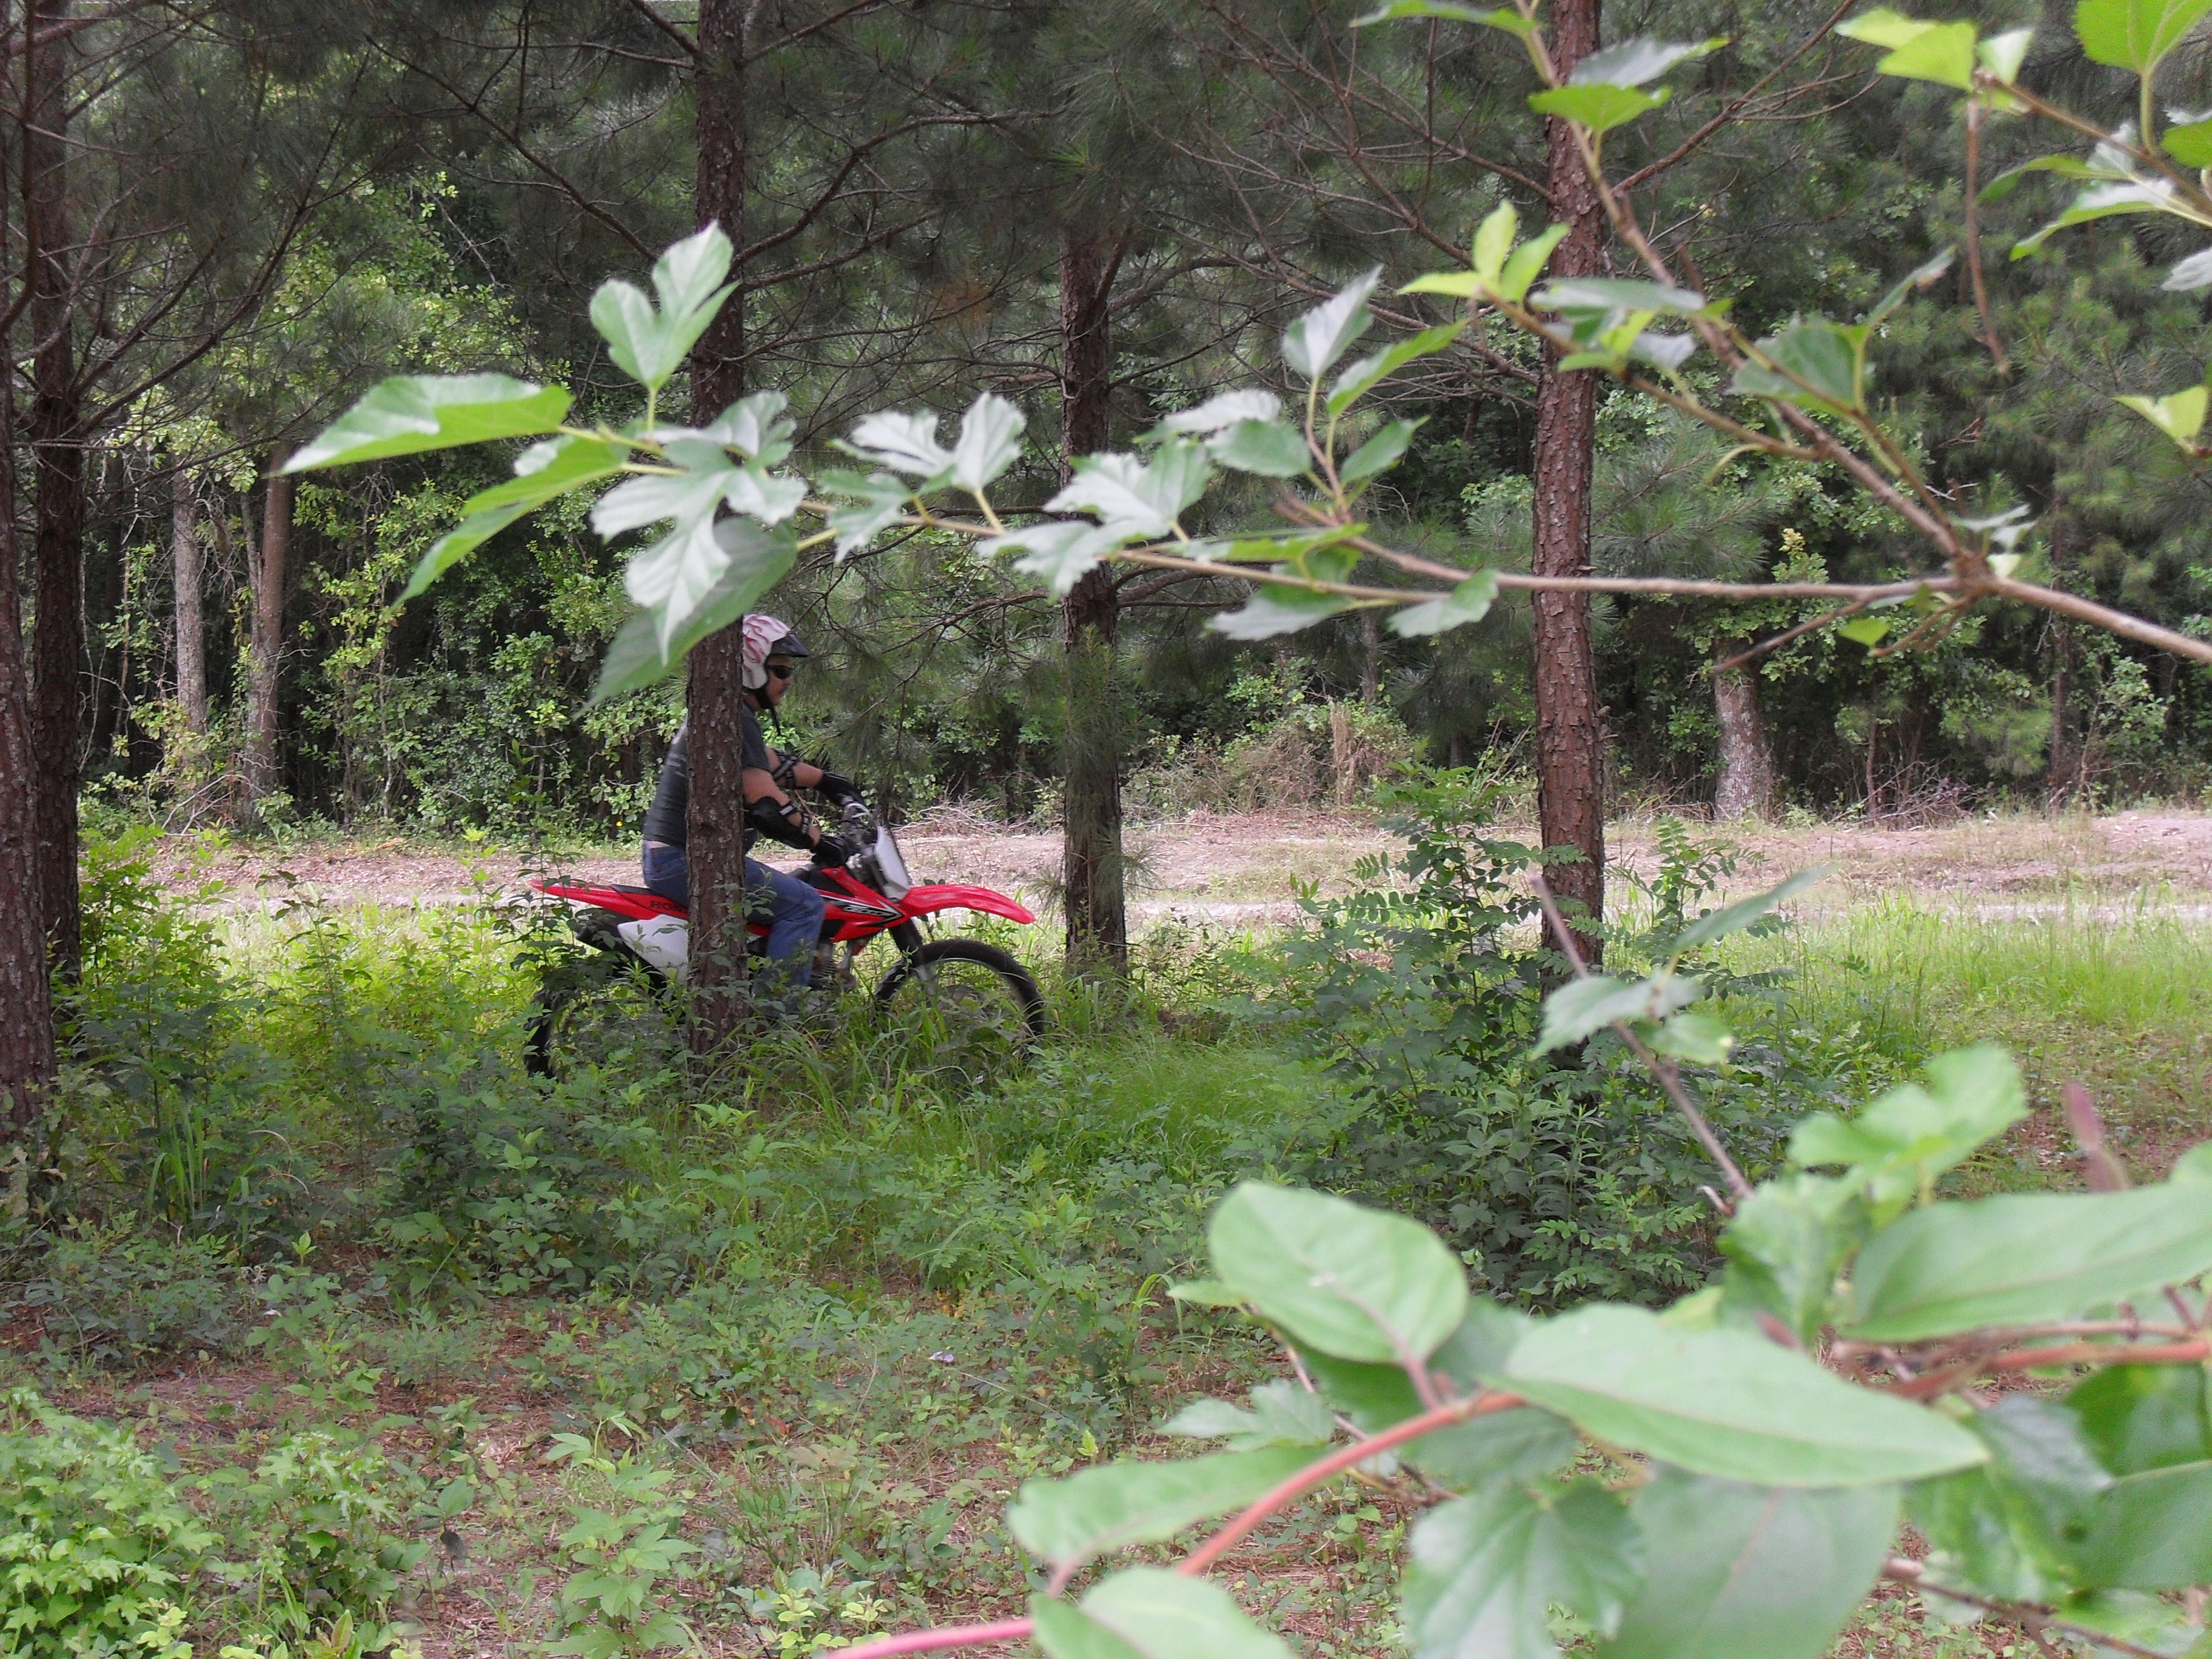
a large man on a small motorcycle
Still it was a fun ride as long as I remembered to stand up on the pegs going into the rough stuff.

As long as I kept the revs up and remembered that I could not power wheelie over fallen logs & stuff like that I had a really enjoyable couple of hours threading it through the woods and around the cornfields.
through the woods on a CRF150

pine tree slalom
Then I decided to hit the dirt roads and see how it felt in the sand & the gravel at (relatively) high speed. This one wearing the original Pirelli tires and on the long sandy stretches of it was nice and stable, even holding the throttle pinned in fifth gear. The only problem was that at wide open throttle in high gear you may may be going fast enough to get hurt if you crash, but you are definitely not going fast enough to get an experienced rider’s heart rate up. When I got to the loose gravel sections though I was kinda glad to be going slow as the front end felt busy. There was never any imminently dangerous or unstable feeling, it was just a little twitchy as the rocks slid around under the tires.
Did I forget to mention the most important advantage that this and an increasing number of other modern dirtbikes have over the old ones?

magic-button-CRF150
Yep that little magic button on the handlebar to fire it up for you. What a wonderful thing for us old guys who have had our crash damaged knees replaced with not quite as good as original equipment parts. The engine is your typical cold natured Honda & wants a good warm up before it will idle, other than that the fueling and throttle response was excellent. Shim under bucket valve adjustment means that you will seldom have to actually adjust the valves unless you are extremely cruel to your equipment or if you modify or overhaul the engine. Just feed it right, oil it, and keep the battery charged when you are not riding it and it will probably last for decades.
Normally I would recommend this bike to anyone whom has just outgrown their 80 or 100 but is not ready to move on up to a 250 class machine or to a lady of petite stature. How ever there is one other class of folks who could benefit from either this bike or it’s CRF230 stablemate. I am talking to all of you parents out there, when you get your kid an off road motorcycle, get one of these for yourself so that you can ride with them. Do it! Going trail riding on a regular basis with you child is the most fun the two of you can have. Don’t take my word for it, just ask my daughter.
Peace Y’all