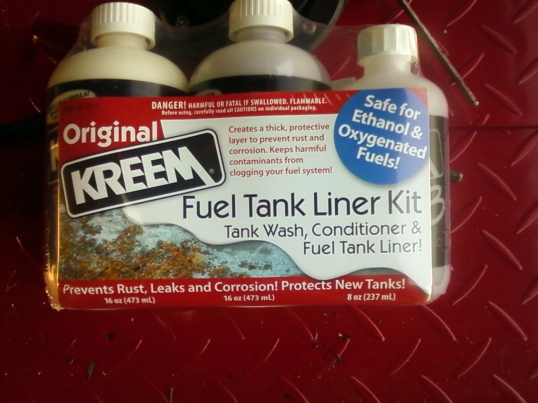
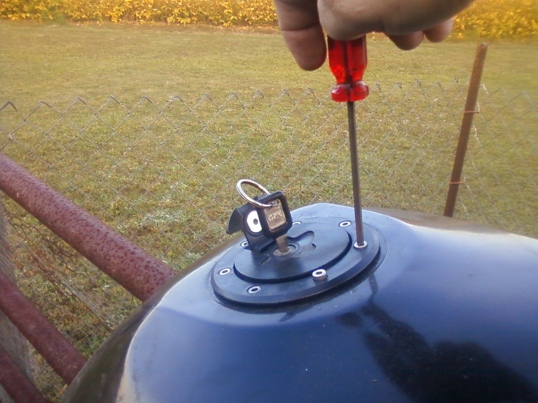
This is sort of a combo how to and product review. I will admit that my review is a little biased because I have been using this product for over 20 years and have always been satisfied with the results. I wont repeat the instructions word for word but I will give you a few tips to help you get better results. First empty your tank and remove the petcock and filler cap if it is bolted to the tank.
The next step is critical to getting good results especially if working with the tank from a 2 stroke engine. You must completely degrease the inside of the tank with a good industrial degreaser. Do not use dish liquid because it often contains oils to protect skin. Be prepared to wash it more than twice if needed to get the oil out.
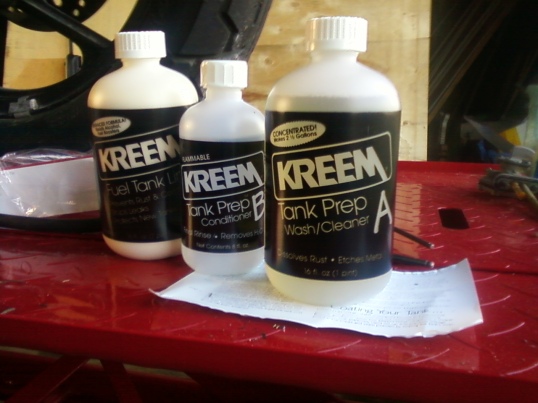
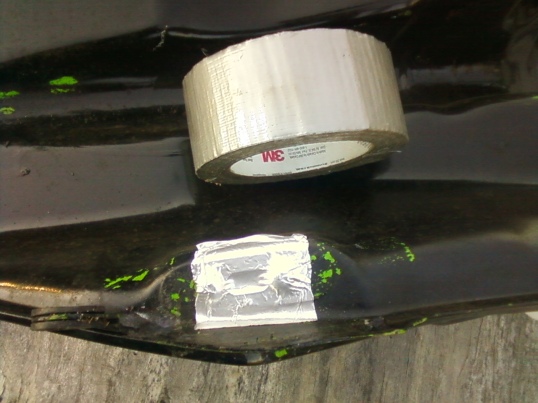
Now open up the kit and get out the bottle labeled “A” wash & cleaner. Use duct tape or a blocking plate to block all of the holes in the bottom of your tank. I like to use a piece of metalized tape first and then cover it with duct tape.
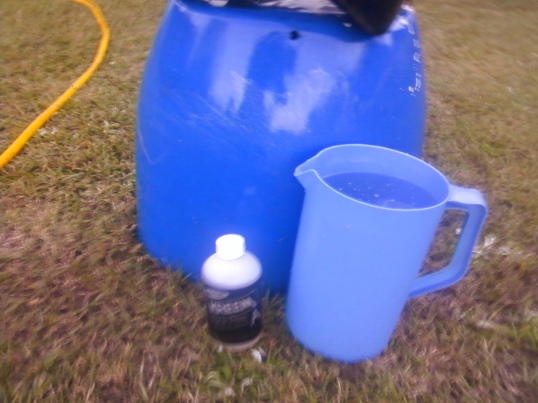
The instructions say to use warm water and I agree it does help the acid work much faster. Please note the standard kit shown here is for smaller tanks. Normally for a 5 gallon tank like this I would buy the larger size, but I had some left over from a previously restored tank, that I added in after using this up according to the instructions. The cleaner part A can be saved and re-used a time or two.
After the tank is full seal off the top and let it sit for at least the minimum time given in the instructions. Since this was an old tank with some rust inside I let it sit overnight. At this stage some people will put in rocks or nuts & bolts and shake the tank to help remove thick rust. If you need to do this I recommend that you use steel nuts & bolts so that you can retrieve them easily with a magnet. Some fuel tank designs make it difficult to remove rocks after you are finished cleaning out the rust.
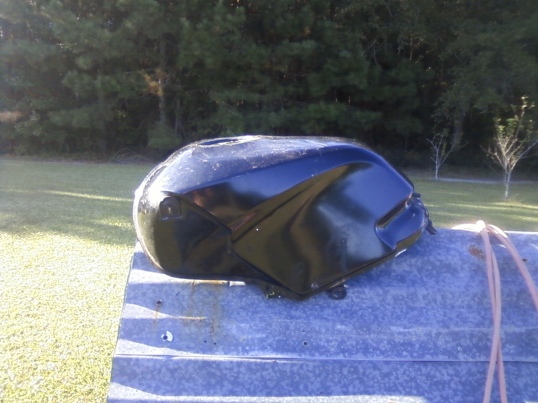
Next remove all tape from the openings rinse the tank well until the water comes out clean. and then thoroughly dry the tank on the inside. Since I had plenty of time I placed the tank in a hot sunny location to air dry. In the winter time or if you are in a hurry use a hair dryer or a hot air gun to speed up the process.
I do need to warn you about one thing if you are trying to fix a tank with a nice paint job or if you are coating a new tank as a preventative measure you want to be very careful with this stuff, especially in the next two steps.
Seal up all the holes again and get out part “B” the conditioner. This bottle contains MEK which can remove paint faster than tequila removes panties. If you have a nice paint job & spill this on it, you wont have a nice paint job anymore, so be careful. I am re-painting this tank so I don’t really care if I spill some. After sealing the tank back up shake all around the inside of the tank & the carefully drain it out protecting your paint as needed.
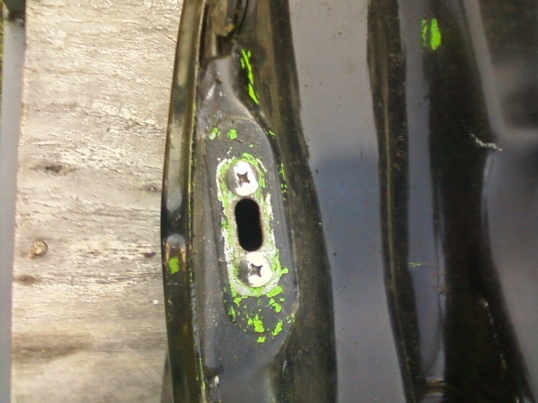
Since the petcock on this one bolts into place before going to the next step I put two screws in the bolt holes to keep the threads clear. To me this is just much easier than cleaning out the holes afterward.
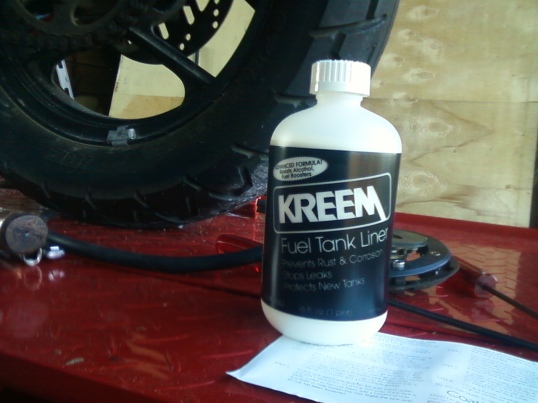
Now you are ready for the bottle of fuel tank liner. All the same warnings about paint damage apply to this bottle as well.
Here is a shot of how I use the metal tape first & then cover it with duct tape to seal the openings in the tank. It works well for me, but I make no garuntee that it will work this well for everyone.
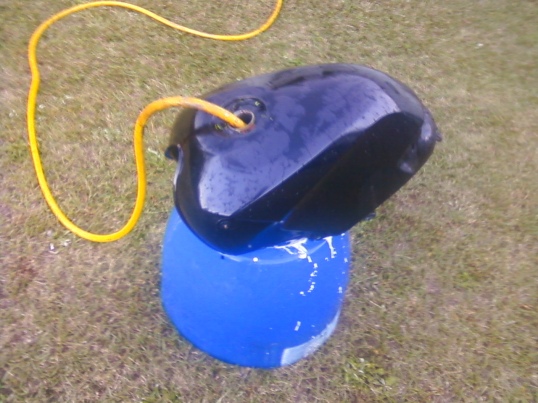
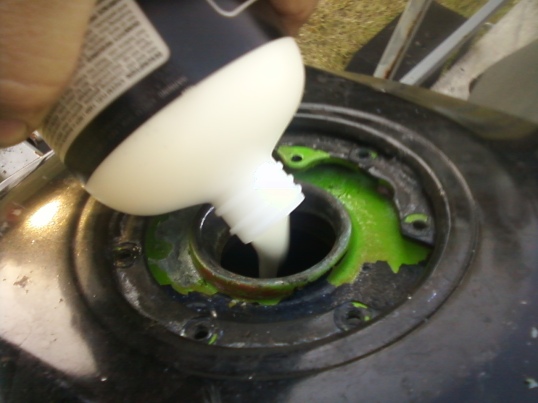
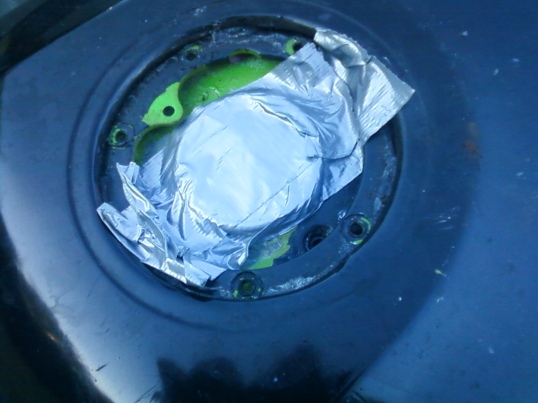
Then pour in the whole bottle of liner, and then seal up the filler hole as I did in the next picture.
Then spend the next 30 minutes or so slowly rotating the tank end over end and sideways until you are 100% certain that the entire inside of the tank has been covered with sealant. Next (and this is very important) open the tank back up and drain the excess sealant back into its original bottle. Do not leave it in the tank as it will greatly increase drying time. If too thick it may skin over on the top and take nearly forever to dry all the way through, causing you to have problems later. I usually save the excess to use on the next project. I am usually able to do a lawnmower tank or two with the leftovers.
Like I said if you follow the instructions in the kit and the hints that I gave here you should be able to tackle this job yourself at home. Just give yourself a couple of days if your tank is rusty, and be sure you drain the excess sealant out of the tank and give it time to dry really well. This stuff aint cheap at approximately $50 a pop (November 2012 price) so you want it to work right the first time. I have used other tank sealers with varying degrees of success, but I always come back to the original Kreem brand. Plus it is usually in stock on the shelves in most motorcycle dealerships. Besides have you priced a new gas tank lately? It’ll give you a coronary!
Peace Y’all
