Bang the drum slowly

I’m sitting here at my desk listening to random old folk music, enjoying my favorites Guy Clark, Townes Van Zandt, Emmylou Harris, Allison Krauss etc. when Bang the Drum Slowly by Emmylou came on and sent me back down the primrose path of memories to one of my few early childhood experiences that I both remember and enjoy. Most of my early life is lost in a fog and I don’t really remember that much of it except for the exceptionally good times & the extremely traumatic events.

About 1971 while I was attending kindergarten at one of the many conformity factories that the government forces children into, we went to visit my father at the army base where he was having his annual National Guard training at the time. It was a terrific day for me; Daddy showed us around the base and introduced us to the guys in his unit. All the vehicles were on display and my brother and I were even allowed to touch them. My favorite was the tanks of course and it was the thrill of my life to climb up to the top of the turret for a look inside.

Another terrific thing that I remember was that he bought me my own little BDU uniform complete with a hat and an embroidered nametag with our last name on the chest just like his. I remember wearing it to school sometimes. It was kind of cool back then but I can’t help but wonder if a small child would even be allowed to wear such a thing to school today.

I remember his duffel bag being packed & ready but didn’t really think anything of it until years later when my mother mentioned that he had been on 24 hour notice to report for duty, and how thankful she was when Nixon finally brought that little war to a close.

Another favorite memory from that same time period was learning to shoot his old shotgun. Since I was physically too small to hold it up, he rolled down the window on his old 1966 Chevy II station wagon so little young me could prop the barrel on the windowsill while aiming at the target. Later that same rusty, off white station wagon would carry us and the dogs on many enjoyable bird hunting trips.

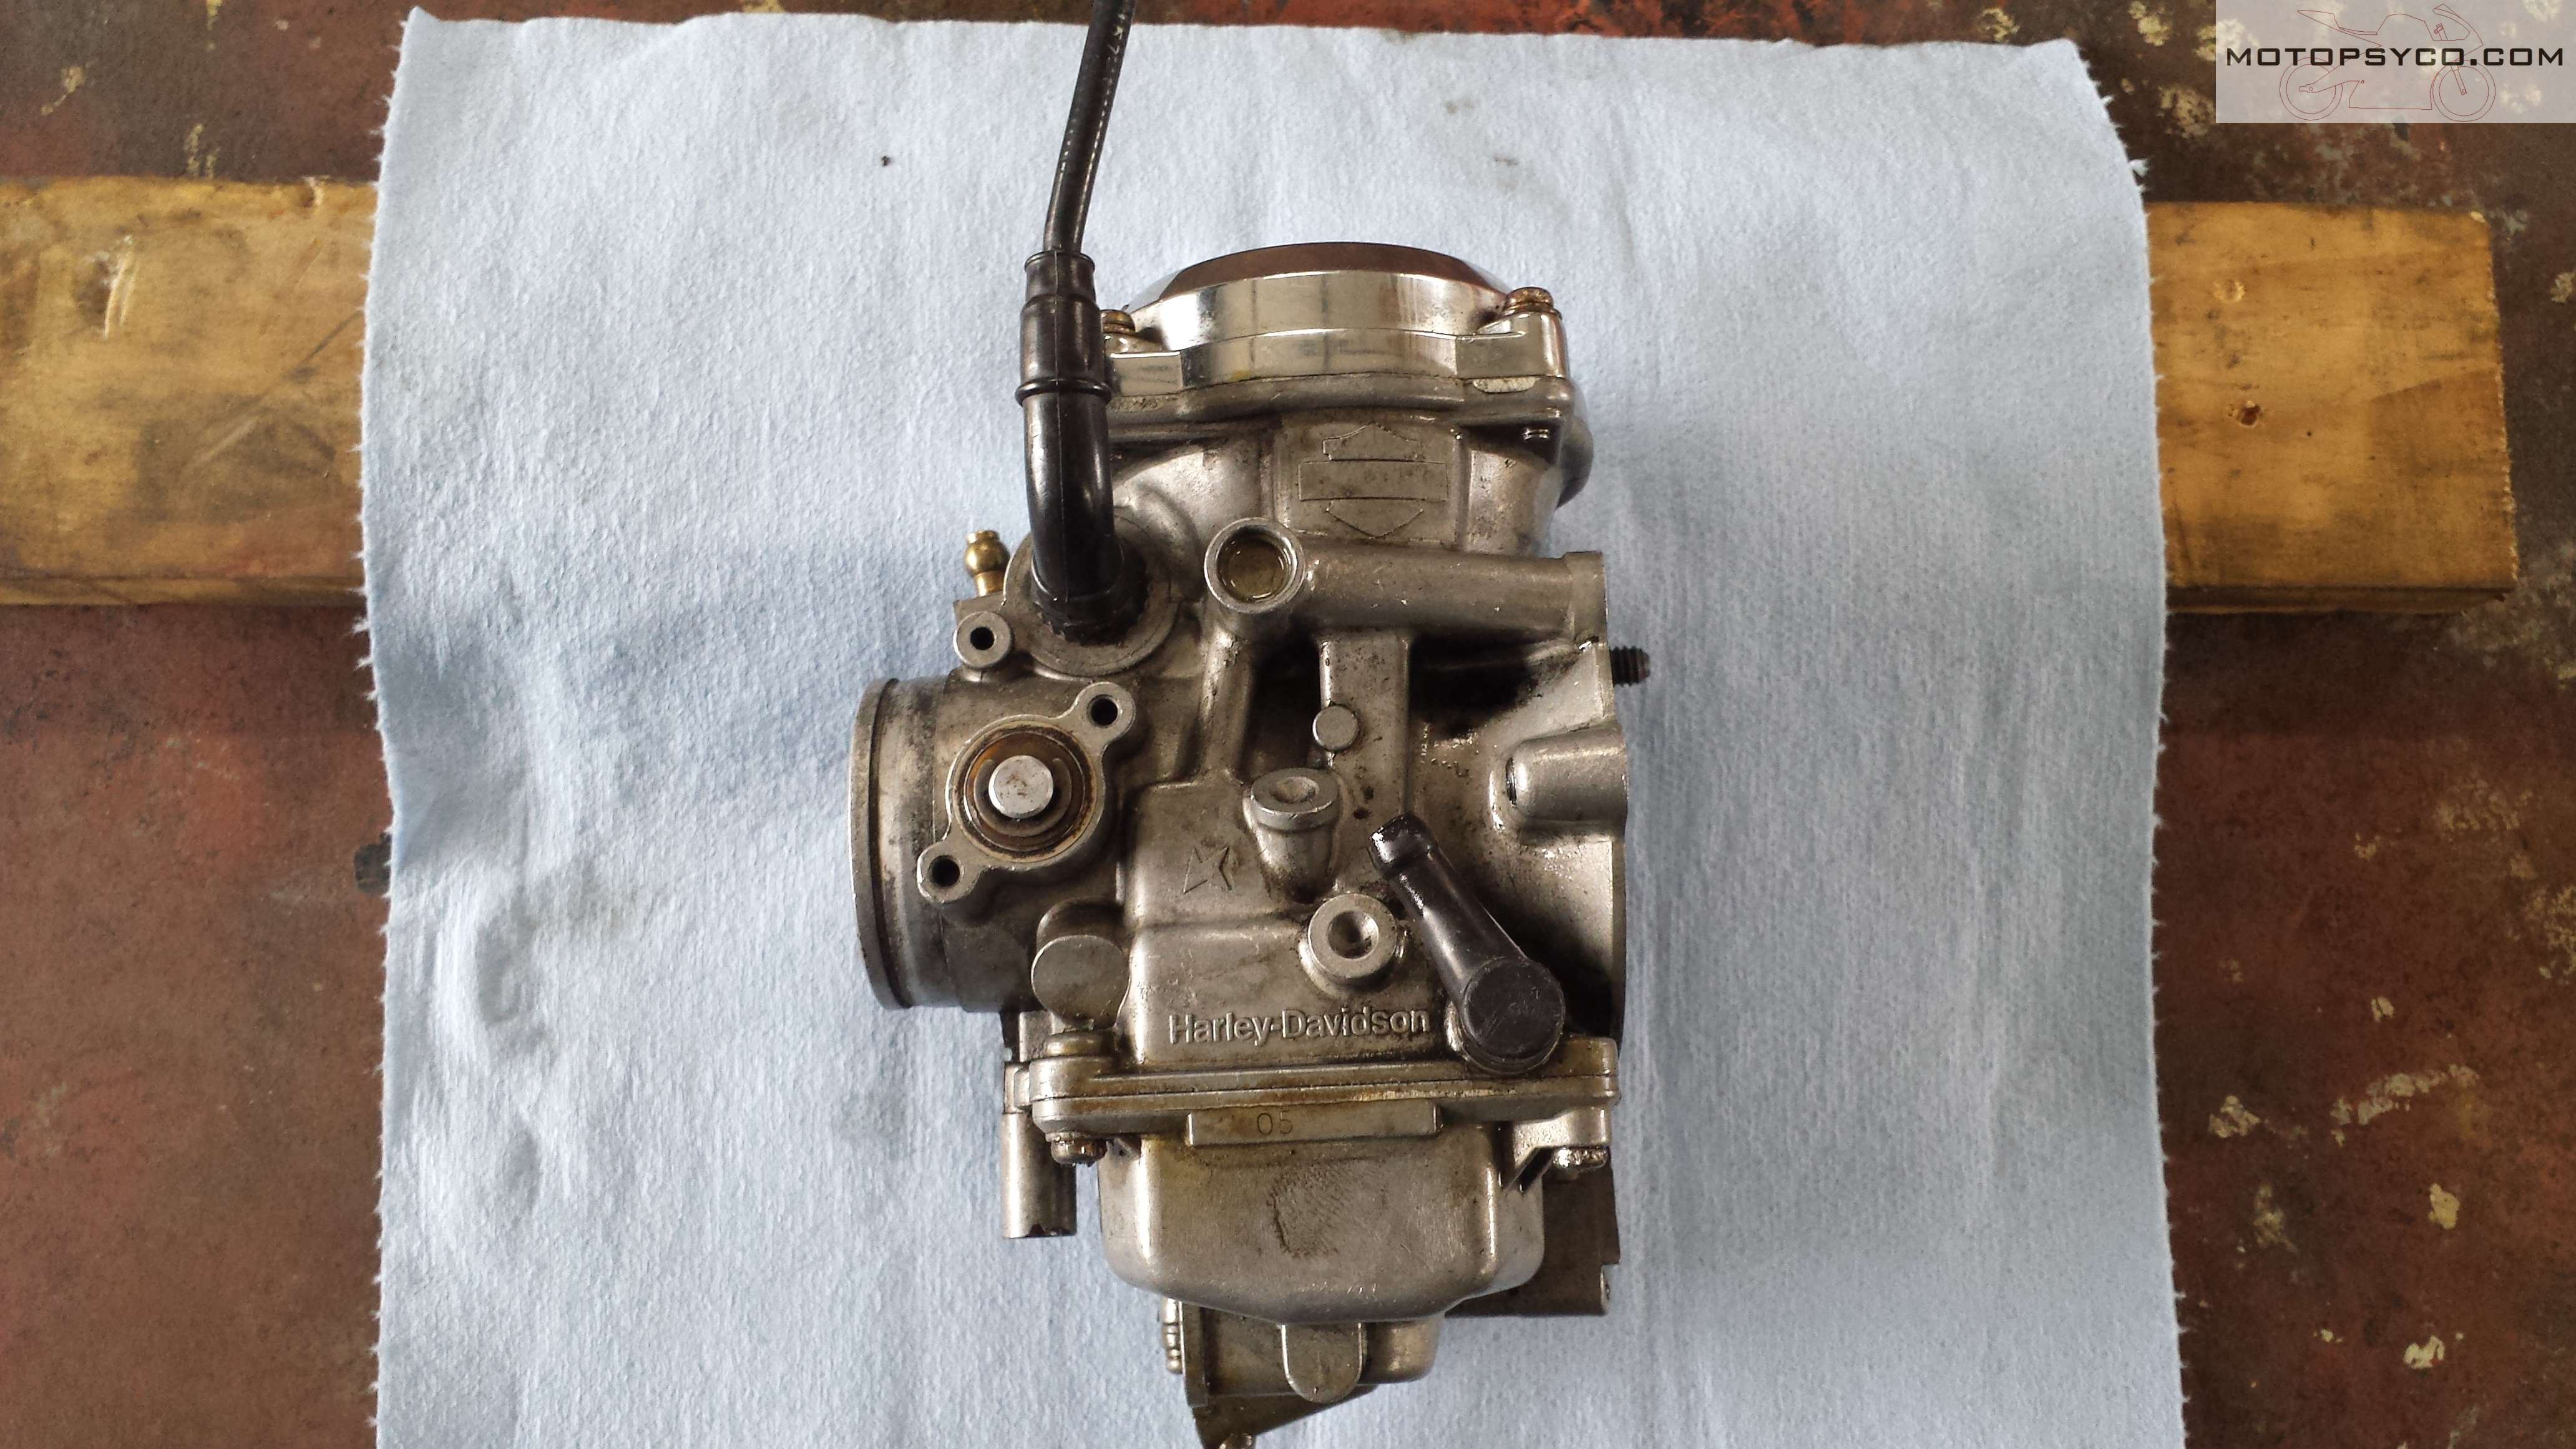
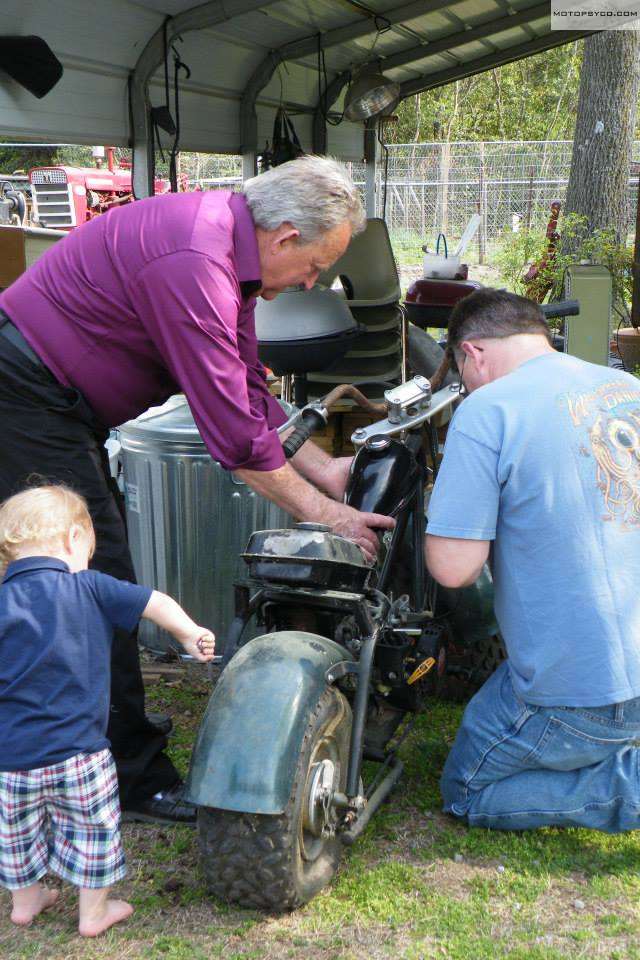
He taught me to ride a motorcycle on that wonderful Christmas morning when my brother & I got our first dirt bikes. If you read this blog you know what influence that had on me.

For a while he restored cars for people to pick up a little extra money on the side and I truly loved helping him with that. It made me proud to look at those beautiful Mustangs and that big old red Cadillac convertible & say to myself, “my daddy did that.”

My first car was a beat up pile of junk Mustang II with cracked heads & a slipping transmission. Over time we fixed it up even to the point of rebuilding the engine, which by the way we did sitting on the tail gate of his truck on a nice spring day. After we got it all back together & I finished hooking up all the wiring, driveshaft, etc. he had me fire it up and we set the timing. He slid behind the wheel and we rode around for a bit before he turned down the deserted country road where several generations of local street racers went to prove their machines & their mettle. Pulling up to the “starting line” he pulled the shift lever back to first and floored it, running it up to 5500 rpm in first & second on the 3 speed automatic and when he passed the finish line (approximately but not exactly a ¼ of a mile) I looked over at the speedometer & the needle was on 105 mph. After slowing down to a stop he checked all the gauges and listened to the engine a minute then he turned to me and said, “ You know that if I ever catch you doing this I’m gonna have to whip your ass.” Of course he was grinning like the Cheshire cat when he said it. To this day I’ve never been able to figure out how he got that little Ford up to 105 in that distance, because the best speed I could ever get up to in that same place was 100 mph.

Good memories of my dad.
My dad, one of my grandchildren & myself doing what we seemed to enjoy the most, fixing something broken.

Later I watched as he became one fine grandpa & great grandpa for my daughters, nephews & their children. He wore the mellowness of his advancing years well, and I’m glad they got to experience that with him.

He fought through several bouts with cancer but seemed to pull through each time. When it was time for my mother & he to celebrate their 50th wedding anniversary he looked good and we fully expected to have him around a lot longer than we did. But the big C is a relentless enemy and after being banished from his prostate and his lungs it waited a while & the launched a massive counter attack on his lymph nodes. While in the process of treatment he had a simultaneous stroke & heart attack and was gone by the next morning. I still have a hard time processing it but writing and sharing this with you helps, so does good music.

As the angelic voice of Emmylou Harris fills my head with this song my eyes began to water up and I am very thankful to have a private office so that no one could see me cry. No my dad was not a fighter pilot who was laid to rest in Arlington like hers, he was medic in the National Guard and he was cremated & the family scattered his ashes in the waters of his favorite place on this earth, Murrells Inlet SC, but her song takes me back to all my memories of him.

Through all the good & bad, he was my greatest teacher, he wasn’t perfect but he was my Daddy.

“I meant to ask you how to plow that field
I meant to bring you water from the well
And be the one beside you when you fell
Could you tell.”   Emmylou Harris & Guy Clark

Drilling Handlebars for Wiring

A lot of old motorcycles like my old 1972 Honda SL100K2 have their switch gear wiring inside of the handlebars for a nice neat clean appearance. I was actually able to locate a couple of sets of genuine Honda new old stock handlebars but the cheapest set I saw was over $150. Plus a lot of the NOS parts I find tend to have some shelf wear or corrosion on them so I just went ahead & bought a set of nice new reproduction bars without the wiring holes for $50. So this post is going to be about drilling handlebars for wiring. Whether you are try to do an authentic restoration or a sleek custom the basic procedure is the same

Drilling Handlebars for Wiring

The first step is to determine where the holes & slots should be. These Thailand sourced bars had holes pre-drilled for the switch housing locating pins but they were in the wrong place. Since I was replacing the old but non-original bars I taped them together wile I measured and marked the locations for the new holes and slots. Pay attention to detail while doing this so that you don’t make any mistakes or remove excess metal from your handlebars. A prime example of this is visible on my old handlebars. The left side only needed a hole large enough for the single horn wire but whoever installed them cut a large slot instead. Watch for little things like that.

Drilling Handlebars for Wiring

I like to put a couple of layers or masking tape & duct tape on the areas to be slotted out. This does two things, it makes marking the hole & slot locations easier and protects the handlebar from inadvertent tool marks while you are cutting & grinding the slots.

Drilling Handlebars for Wiring

After you get it all laid out & are certain of where you need to drill be sure you use a center punch, otherwise it is nearly impossible to drill a hole straight into a piece of round tubing. For the slots drill a hole of the correct size at each end of the slot & then use a rotary tool or a die grinder with a cut off wheel to cut out the center section. Once that has been done put a small grinding stone or sanding drum on your tool to finish shaping and smoothing the slot. Don’t remove the tape until this step is complete.

Drilling Handlebars for Wiring

Now it’s time to remove the tape, clean up the tape residue & get all of the shavings out of the handlebar. Grab a small file that will fit into your cut outs and go over them one more time to be sure that all burrs & sharp edges that could damage the wires are removed.

In these next two pictures you can see how I slotted & drilled the left and right ends of the bars.

Drilling Handlebars for Wiring
Right end
Drilling Handlebars for Wiring
left end

Before you pull the wiring through, if you have one piece clutch & brake lever perches be sure to put them back on first. I like to put a piece of string through the bars & tape the wire to it as it is much easier to feed the wiring through if you pull it and push it at the same time. Nonabrasive hand cleaner makes a great lubricant for pulling a thick bundle of wires through a small tube with multiple bends in it. The hand cleaner wipes off easily when you get done.

Drilling Handlebars for Wiring

Once you have it a done, reinstall the bars on your bike and admire your handiwork for a minute or two before you get back to work on the rest of your build. If you have ever thought about drilling handlebars for wiring now you have an idea of what is involved. Just work slowly and carefully so that when you finish it will be a job that you’re proud to say, “I did that myself.”

Drilling Handlebars for Wiring
Pardon the messy shop.

Handlebar switch restoration

If you look at a lot of restored vintage bikes, you may notice that even some very nicely restored bikes have switch gear that looks okay but you can tell that the switches were not fully refurbished to the same level as the rest of the bike. I plead guilty to doing this myself because the switches are full of little tiny springs, detent balls, delicate soldered connections etc. and if a single piece gets lost or broken your switches are ruined. Since I am putting so much effort into my current 1972 Honda SL100 project I could not settle for anything less than a full on handlebar switch restoration to make the whole bike look as new as possible. If something had gone wrong I was prepared to spend the money on a set of new old stock switches to replace them.

Handlebar Switch Restoration

Before beginning your handlebar switch restoration clean off your workbench and the floor around it & under it, so that if any of the tiny parts fall out or go flying you at least have a chance of finding them.  Keep a magnet close by in case you need it. Also remember that sometimes the old plastic knobs & buttons often become fragile with age so be careful handling them.

Handlebar Switch Restoration

Take a few minutes to study how the wires & switches are placed & secured in the housing, and then remove the retaining screws & plates. You should also look at and remember how any tape or sleeves are applied to the wires in the housing to protect them from chafing.

In the picture below you can see a detent ball sitting on top of the black slider for the headlight controls, there is a spring under this ball that can (and did) send it flying so use caution to be sure you don’t lose any parts.

Handlebar Switch Restoration

Once I pulled the e-clip off of it, the engine stop switch and its wiring could be removed through the top of the housing. Go ahead and completely remove all of the switches, wiring, & clips from the housings.

Handlebar Switch Restoration

If you have any damaged threads or broken screws in the housings now is the time to deal with that. In this case the throttle stop screw was snapped off in the bottom of the housing so I had to drill it out and tap the hole. You’ll notice that there are magnetic rubber vise jaws attached to my vise. These are an absolute necessity for doing this kind of work without damaging your parts.

Handlebar Switch Restoration
click here for padded jaws for your vise

With your switch housings stripped bare & all repairs made now is the time to clean them up. I use my vapor blasting machine because no other method I know can restore a factory new appearance to old aluminum the way vapor blasting can. If you don’t have access to a vapor blaster you can send your parts to me & I can do it for you. See my vapor blasting page for rates & information.

vapor blasting & Handlebar Switch Restoration

After everything was repaired & cleaned I painted the stop switch with a little spray paint and used an oil paint marker to paint the red lettering & dots as you can see below. For more information on this technique click this link to see my previous post on emblem & badge refurbishment.

Handlebar Switch Restoration

Now that everything is clean & new looking gather up the supplies & tools you need for reassembly. At the least you’ll need some new wire sleeves, tape to match the sleeve, JIS screwdriver, a small pick, some grease, the finest point needlenose pliers that you own, some tweezers, a sharp knife and a multimeter. Depending on what you are working on you may need more or less tools than these, for example if you have a broken wire connection a soldering iron might be needed.

tools for Handlebar Switch Restoration

Carefully reinstall all of the parts in reverse of the order you removed them. Take time to tape & sleeve wires as needed because you might not be able to after everything is back together. Be sure to watch out for flying springs etc. during reassembly, it’d be a shame to get this far and lose a critical part. Work slowly & stay as relaxed as possible when doing delicate work like this.

Handlebar Switch Restoration

The final step of handlebar switch restoration is to test the function of all of the switches using either the ohmmeter or diode tester function of your multimeter.  If everything is working great you are ready to reinstall the switch gear to your motorcycle. If not, it’s a whole lot easier to fix it now than after putting the bike back together.  This is especially if the wires are going to be inside of the handlebars.

test the Handlebar Switch Restoration

I hope that you’ve enjoyed following along while I completed my handlebar switch restoration. The next post that I have planned will show how I measured & drilled the holes in my handlebars for the wiring to pass through.

completed Handlebar Switch Restoration
Ready to install!

Until then, Peace Y’all

Harley Keihin Carb clean

Another bike left to die


This patient is a 2000 Harley Davidson FXST Softail standard. I realize this isn’t really vintage but it is 19 years old. Picked up not running, coated with a quarter of an inch of dust, 2 flat tires, and a tank full of stale gas it is in dire need of some attention before it’s too late. After making sure it had compression and spark I was ready to tear into the Harley Keihin carb.

Harley Keihin Carb on 2000 Twin Cam Softtail

First thing was to remove the air cleaner than go to the other side of the bike to loosen the enrichment(or choke) knob so you remove it cable and all with the carburetor. After this pop the carburetor out of its spigot.

Harley Keihin Carb on 2000 Twin Cam Softtail

Once you have the carb loose unhook the fuel line and throttle cables.

Harley Keihin Carb

Take the Harley Keihin carb to a work bench where you have plenty of room to spread out the parts as it is disassembled.

Harley Keihin Carb

Harley Keihin Carb

Make note of the numbers on the carburetor as they might come in handy when you need to get parts. Then pull the enrichment plunger out and set it aside.

Harley Keihin Carb

Take the accelerator pump housing, diaphragm & spring off the bottom of the float bowl.

Harley Keihin Carb accelerator pump

If the previous mechanic would have used a top shelf screwdriver like this Vessel Impacta shown here I wouldn’t have had to replace so many of the screws.

Harley Keihin Carb float bowl screw
Yes these are JIS screw

With the float bowl off inspect everything well and make note of what parts are where.

Harley Keihin Carb inside float bowl

There was a little damage on the mixture screw tower from the plug being removed. Normally there’s a cap over this that you have to drill a hole in & use a wood screw to pop it out. If you live in an emissions inspection state the cap has to be replaced with a new one. If I lived in an emissions inspection state this carb body would have to be replaced.

Harley Keihin Carb pilot mixture screw
someones been in here before

first remove the float & float valve, followed by the main jet & emulsion tube.

Harley Keihin Carb

then take out the pilot (idle) jet.

Harley Keihin Carb idle jet

Next up is the idle mixture screw, first screw it all the way in slowly & count how many turns it takes to bottom out, and make a note of it. Then remove the screw completely.

Harley Keihin Carb mixture screw

There are four parts to the mixture screw assembly on a Harley Keihin carb. 1. the screw itself 2. the spring 3. a small washer & 4 the o-ring. Chances are that the o-ring & washer will remain in the carburetor body & you’ll have to use a small pick to carefully fish them out.

Harley Keihin Carb pilot mixture screw parts

Moving on to the top cover remove it,

Harley Keihin Carb top removal

and then set it & the spring off to one side.

Harley Keihin Carb CV diaphragm

Pull the slide out, inspect the needle (metering rod) for wear & check the diaphragm for holes.

Harley Keihin Carb

I always push the needle jet that the metering rod passes through out of the body so I can inspect it too. Since I clean carbs in a heated ultrasonic cleaner if I don’t push it out and keep track of it, it’ll probably fall out any & I’ll have to go fishing for it.

Harley Keihin Carb

Here’s a shot of the float chamber with all of the removable parts out.

Harley Keihin Carb

Since this is only a repair job & not a restoration this carburetor only got a cleaning, no vaporblasting. This body was in nice shape & looks decent with only cleaning. If you’re working on a crusty old pile of junk and want your parts to look good again please see my vaporbasting page.

The next few pictures show this carburetor’s parts laid out in the order that that they go back in. Make sure you carefully inspect all parts and replace any that are not usable especially the rubber pieces.

Re-install all of the internal parts,

Harley Keihin Carb jets, float mixture screw & enrichner

and the mixture screw being sure to set it as it was before. If you think it was wrong verify the setting with a good service manual.

Harley Keihin Carb pilot mixture screw assembly

Then set the float height.

Harley Keihin Carb float height

Harley Keihin Carb

Carefully line up the accelerator pump rod through it’s hole in the float bowl & reinstall the bowl. Don’t forget to put the bellows on as shown before the float bowl.

Harley Keihin Carb accel pump linkage

The rest of the accelerator pump arts should be reassembled to the carb now.

Harley Keihin Carb

The last couple of steps are reassembling the needle to the slide making sure to put any spacers that may be present back where they were to start with and then putting the slide back in the body, with the spring & then re-installing the cap.

Harley Keihin Carburetor

Once this is all done it’s time to put the carburetor back on the bike, fire it up and make any needed adjustments. I hope you have found this pictorial overview of a Harley Keihin carb helpful & interesting.

Harley Keihin Carb ready to install

Peace Y’all ‘Psycho

Restoration tech tips

Easy Rubber Parts Cleaning

Restoration Tech Tips 1 1/1/19

Restoration Tech Tips #1

A good way to clean your dirty old rubber & even some black plastic parts is to grab a can of your favorite foaming tire cleaner and soak them down with it and let it sit until all the foam has evaporated and them wipe away the excess. Easy !

Humidity Will Humiliate You

Restoration Tech Tips 2 1/1/19
Honda SL100K2 switch bracket

`Restoration Tech Tips #2

Avoid painting during times of high humidity unless you have a fully dehumidified climate controlled spray booth in your shop . Seriously don’t even do rattle can paint. I had to repaint this dadgum little bracket 3 times to get it right without any runs or with out the gloss black paint becoming chalky. Of course the third time I painted it was the next day after the humidity had dropped back down. If it’s really humid just wait until another day to paint.

Rust Removers Don’t Work Cold

Restoration Tech Tips 3 1/1/19
For the best deal on Evapo-Rust click here!

Restoration Tech Tips #3 No matter what your favorite rust remover is, none of them work well when it is really cold. If you’re planning to soak some parts in something like Evapo-Rust during the winter months you really should put it in a warm place to get good results.