I Rode a Segway (& I Liked It!)

<Segway PTs parked at bridge>

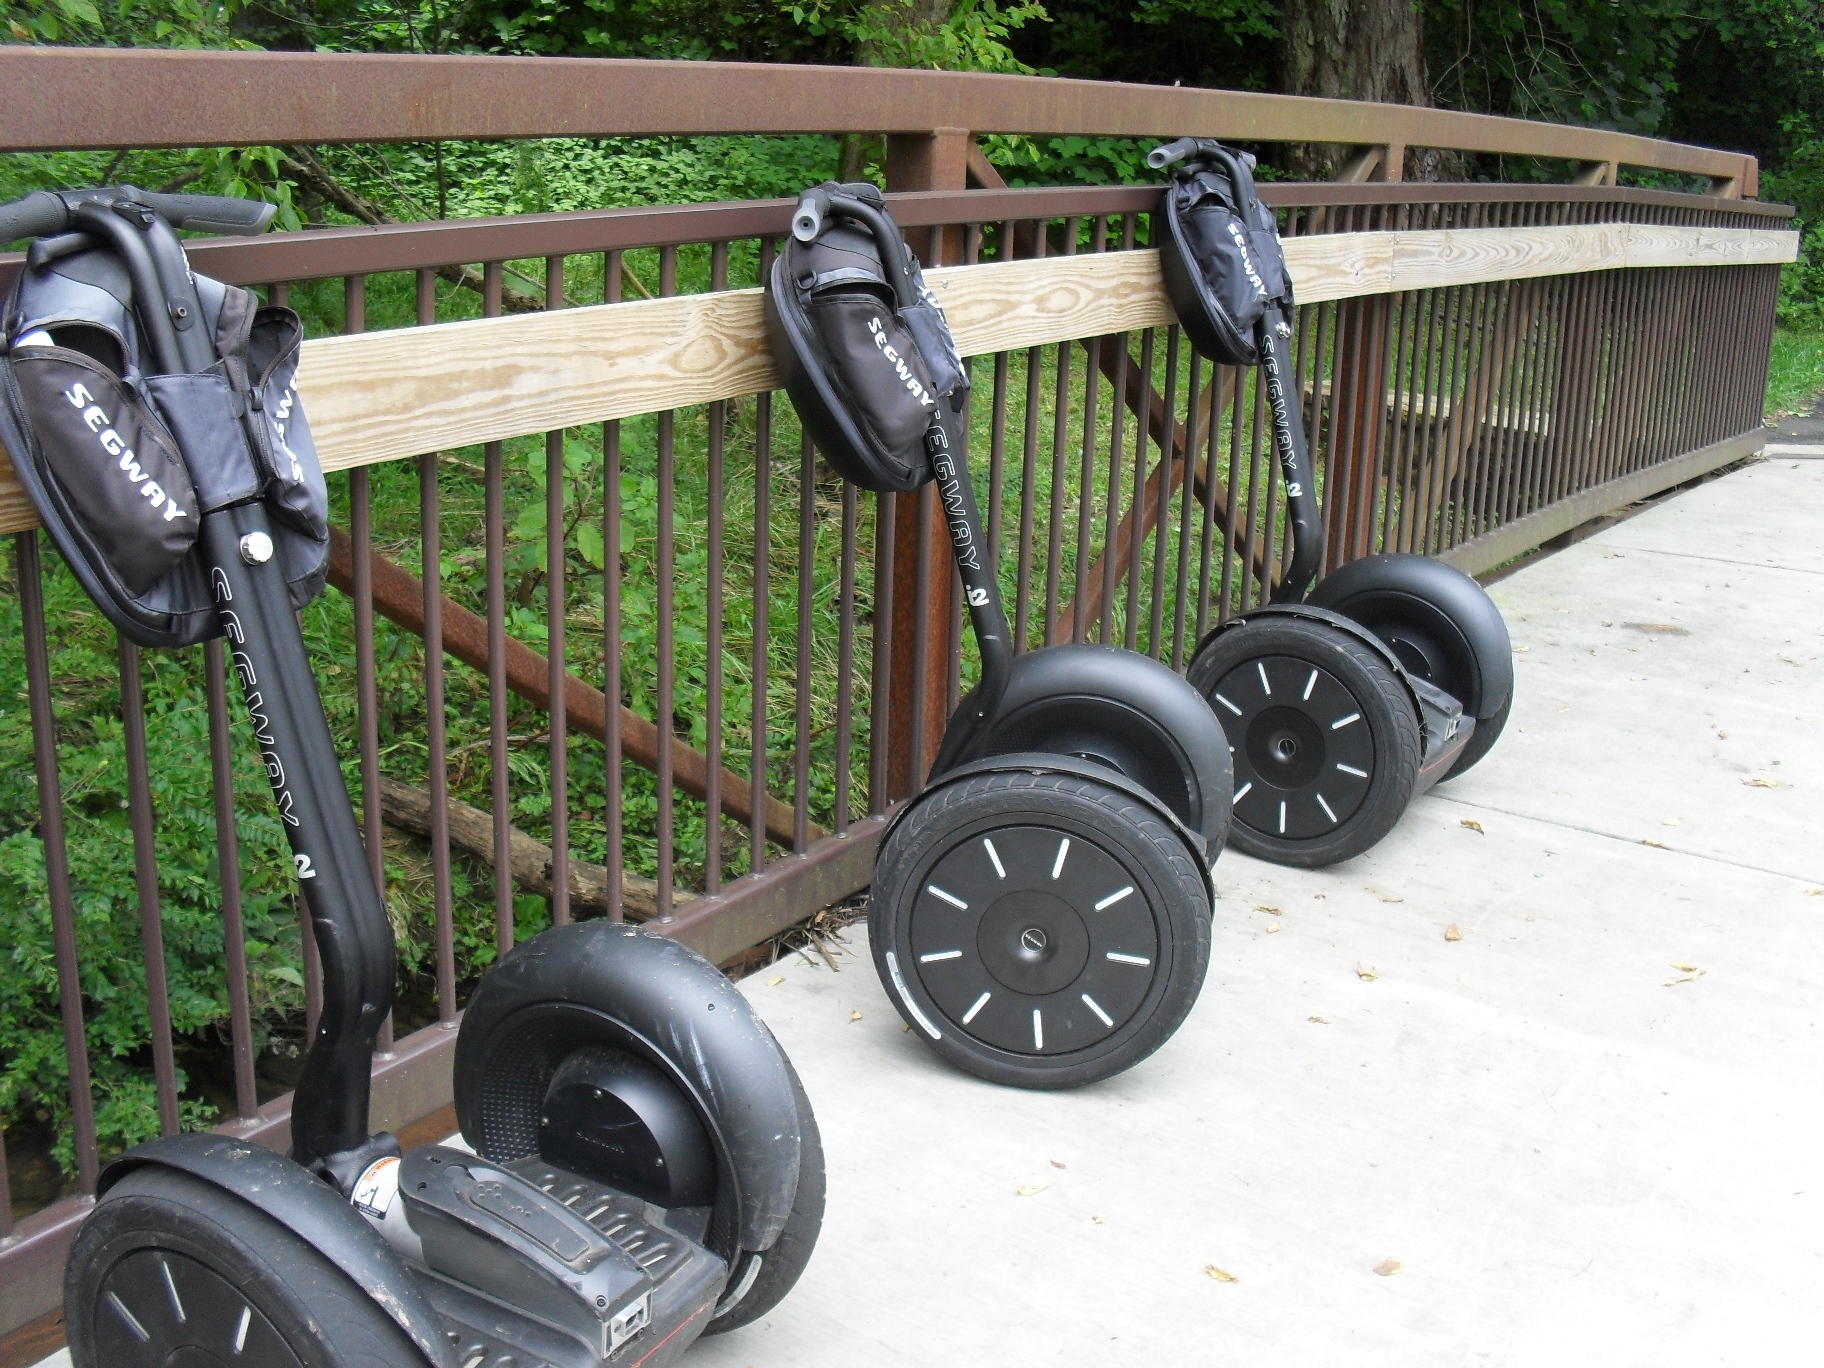
Segway PTs parked at bridge on Asheville Greenway

Yes I know the Segway is a nerd toy, but I have wanted to try one ever since they appeared on the scene a few years back. Hey it’s got two wheels & a motor. In fact it has two motors. Sure it’s not as cool as this but it is a whole lot more accessible.

<double engine triumph>

Ok, this is sexier than a Segway, but a whole lot harder to start & turn.

I guess I’m just an oversized heavily muscled nerd who is also a redneck motorcyclist, because I really enjoyed riding this thing on a recent tour around Asheville N.C. This foray into a pleasant couple of hours of geek enjoyment began as I was trying to use up my Marriot Rewards free hotel stay before it expired, so I booked a room at the Courtyard in Asheville & started checking on the internet for tours & guides & saw the Moving Sidewalk Tours website. After checking the very reasonable prices I booked two Segway PTs for the tour, one for me & one for my beautiful, patient, long suffering partner in life. Of course this led to her asking me that question that women have been asking men for thousands of years, “you want me to do what?”. I have invited her to write her own opinion at the end of my review, so be sure to read it too.

Segway Riders

The world famous Heck’s Angels lol

At the beginning of the tour there is a short class to get you acclimated with the operation of the machine. Once you put aside all of your preconceived notions & the instincts that you have developed riding all other two wheeled transportation, the controls become very intuitive.

In one way a Segway is like riding a horse, when you first learn to ride & you step up on the platform it will wiggle & dance under you a little bit. If you are nervous it will reflect that by being a little jiggly when you are trying to be still or start to maneuver. It feels like it is alive under your feet, but quickly settles down once you relax. The simple truth is that it is almost impossible to fall off of one without being really stupid. Just lean your whole body forward to go, & back to stop. For turning you tilt the handle bars in the direction you wish to go. After a few turns around the parking lot our group was ready to go. Our guide Wes was very considerate and the first leg of the tour was down a quiet residential street full of older homes before we ventured uptown to the tourist, shopping, & entertainment district.

One of my preconceived notions about these machines is that they were toys to be used on skating rink smooth surfaces. They handled pavement, sidewalks, & bike trails with aplomb even though these were the street going version, a few bumps and jolts didn’t upset them at all.

All in all this is a great machine, especially for a city dweller who works & shops within a few miles of home. Sure the top speed is only about 12.5 mph or so, but the view standing up on the platform above everything else on the street or sidewalk is terrific. The range is rated at 24 miles & I am inclined to believe that unlike some electric vehicles that it is an honest number.

Now I just got to try one of the off-road versions somewhere! Perhaps the company should send me one for a long term evaluation. 😉 I swear I’ll take good care of it and let everyone in the world know if it’s any good or not.

Peace Y’all

And Now It’s Time For Mrs. Psyco’s Opinion!

After my initial shock that we were going to be riding on these contraptions, I said to myself they can’t be that hard to ride so I made up my mind that I would try. Then we meet the other couple that was going to ride with us and they were much older than we are and they said it was so easy, so I was really ready to go. But when I stepped on it, it went to wiggling and I tried to get off but I couldn’t keep it still, so I said help me I can not do this, I want to get off. So Wes helped me off and I looked back at Floyd and I saw that he had it figured out. I decided to try again and after trying several times and being  told to relax and not to hold on so tight I finally got it. It took me between five and ten minutes and then I was on my way loving it and feeling so carefree. What a rush!

Thanks to Moving Sidewalk Tours for an enjoyable afternoon.

How to Deal With Stuck of Frozen Screws & Bolts

I was invited to be a Guest Blogger over at the Clark Heintz Tools blog, so I sat down and wrote for them what I hope is a nice informative article on one of the most vexing problems anyone can have when working on a motorcycle or bicycle. Click here to go check it out.

There is even a picture of the infamous old  Honda oil filter bolt showing just exactly what you might have to do to remove one…..

If you like the post let them know, if you don’t let me know.

Peace Y’all


quadfathercarson.com the July Website of the Month.

This website belongs to a man whom I consider to be one of the all time best friends I have. This site has nothing to do with motorcycles or atvs. The quad in the name is short for “quadriplegic.”  My friend Carson suffers from ALS, yet he is still as interesting & conversant as ever. Please check out his site over at quadfathercarson.com and follow along as he battles his way through this disease with a failing body but a soaring spirit.

Just click here to visit quadfathercarson.com

Mac Four Into One Exhaust for Vintage Motorcycles.

This is the first time I have purchased a Mac exhaust system for one of my motorcycles. In the past I have purchased a few from Kerker, Vance & Hines, Yoshimura etc. Never really gave Mac products much thought as high performance was always the ultimate goal, and I, like so many young men thought they just made cheap replacement systems for oddball old Jap bikes. Fast forward a few years & now my favorite thing to do is customizing oddball old Jap bikes such as this CB650 here. Performance & sound are still important, just not nearly as important as they use to be. Bang for the buck & good availability mean a lot in this day and time & that is two main things that Mac has going for them. Lets get started installing a set shall we? For this ratty old scrambler conversion I picked out a plain black 4 into 1 system with a shorty muffler.

First thing to do is remove the old exhaust and set aside the parts that you may be re-using. One of my favorite things about this system is that it uses the o.e.m. finned exhaust flange that to me, are very important to the looks of an old air cooled engine.

original Honda CB650 exhaust flanges

original Honda CB650 exhaust flanges

I had actually pulled the stock pipes off a couple of weeks ago and just stuffed the ports with rags to keep the critters out.

<cb650 exhaust ports>

the mud daubers around here, love to nest in motorcycle engines

Lets look at what comes with the new Mac exhaust system.

Mac exhaust hardware

Mac exhaust hardware

As you can see in addition to the muffler this set came with new split collars, muffler clamp & bolts, and 2 different hanger bracket. not shown in this picture is the new center stand stop that comes with it.

The split collars were joined together by a small strip of metal that was left when they were sawed in two. Resist the urge to break them apart.

new Mac split collars

new Mac split collar

After you place the o.e.m. exhaust flanges on your new head pipes carefully spread the collars open just barely enough to go over the pipes and then squeeze them back together so that you only have one piece to hold in place while you position the flanges & start the nuts.

split collars on Honda exhaust

split collars on Honda exhaust

I always use plenty of anti-seize compound on exhaust studs and so should you.

anti-seize compound on exhaust studs

Have some mercy on the next person to remove he exhaust system on your scoots …

Here’s a shot of the pipes in place, I had to pull on the pipes a little to persuade them into place, nothing major just a little tugging & spreading. After you get the pipes in the ports and the flanges back on do not tighten the bolts all the way down until you get the entire system installed.

<Mac Performance Motorcycle Exhaust>

Mac shorty muffler

Mac shorty muffler

Put the clamp on the muffler and slide it into place and then get your hanger bracket and figure out which one you need to attach the muffler to the passenger foot peg bracket.

exhaust hanger brackets

exhaust hanger brackets

The enclosed instructions said to use the short bracket for a CB650C (custom cruiser model) which is what this bike started off as, but in my case it did not fit. I don’t know why and it really does not matter that much to me. The longer bracket worked just fine, I bent the dog leg into it so that it would support the muffler at its natural resting point on the head pipe instead of pulling it in toward the bike. Now tighten all of the bolts attaching your new exhaust to the motorcycle to the correct final torque.

The process of tightening the clamp & muffler mount does bring me to my one major pet peeve with darn near every major motorcycle accessory manufacturer doing business in America. Here I am working my way through this install with the 3 wrenches that will disassemble 90% percent of motorcycles existing in the world today a 10mm, a 12mm & a 14mm, and I have to stop what I am doing and go get a 1/2″ wrench to install the last 2 bolts. I realize that when some of these products were first created back in the ’70s & early ’80s metric hardware was a little more “exotic” and not as cheap and easy to find as the “standard” stuff, but here in 2013 there is no excuse whatsoever to still have standard fasteners on accessories for European & Japanese motorcycles or for that matter modern Harleys & Triumphs too. It would only take a little effort & I for one will be eternally grateful.

On the other side of the bike install the new center stand stop, unless of course you are planning to remove the stand.

<center-stand stop>

After I got it all on, it looks the part & sounds great too.

Mac 4 into 1 On Honda CB650

Mac 4 into 1 On Honda CB650

With this system I get to retain the center stand, have easy access to the oil filter & I have a little cash leftover too!

Did I mention that it has a mean sounding growl too! Click this link to have a listen.

Peace Y’all

9-1-113  Just a quick update on one minor problem that surfaced after 3-400 miles of road time. The rivet holding the baffle in became loose, allowing the baffle to rattle inside of the muffler until it got hot and expanded. My solution was to tack weld the baffle into place & repaint, but one could just drill out the rivet & replace it with a bolt & nut, if by some chance you have the same problem too.