Installing Dunstall Replica Mufflers on an EX250 Ninja

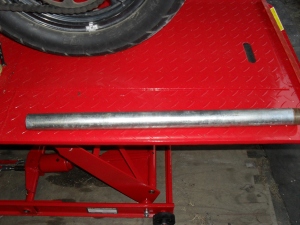
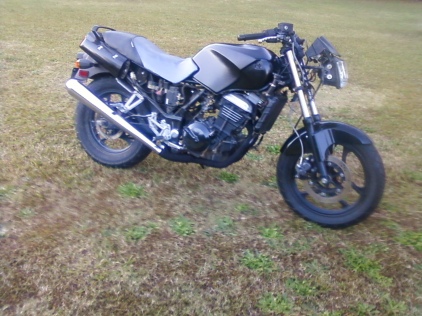
When I last posted about my work on the Minimum Ninja, you saw a photo of a damaged and worn out aftermarket exhaust header. When my wife bought this as an abandoned bike from the back lot of a Kawasaki dealer for a c-note a few years ago, it had the Yoshi pipe on it, so I had to  buy a stock head pipe. If your Ninja has the stock mufflers you don’t have to do all of this work, just figure out where to cut them off, put the right adapters in the new muffler, make some brackets and go. Not being that fortunate I had to do a little more work, not a problem for me tinkering on a motorcycle is as much fun as riding one. I started with a piece of 1 1/4″ water pipe,way bigger than the exhaust pipe but a good enough match to the size of the flange around the pipe to be easy to weld.

1 1/4 inch water pipe nipple

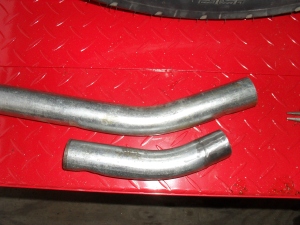
So I stuck it in my handy dandy pipe bender and bent it to the desired angle. Please note that pipe benders like this will NOT bend thin wall tubing without crushing it, they are meant to bend schedule 40 steel pipe or very thick walled DOM tubing.

An inexpensive pipe bender

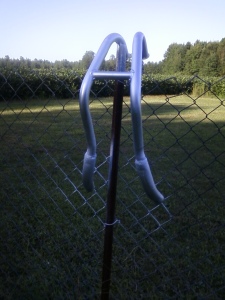
After bending and cutting it to the right length grind one down enough to slip into the new muffler. And absolutely grind away all of the galvanizing from the area to be welded. The fumes given of by burning galvanizing are very dangerous. Use all necessary precautions. I would have used black pipe but the hardware store was closed and Lowes did not carry it in this size.

home made muffler adapter

one is done and one more to go

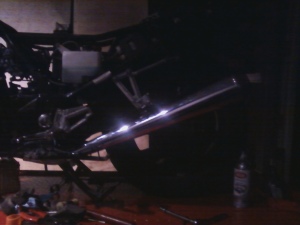
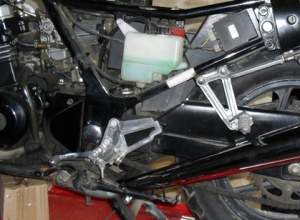
Then I mocked it all up on the bike and tack welded the adapters to the head pipes.

Ninja Dunstall muffler adapter mockup

Mocked up for tack weld

After that I pulled everything back off and seal welded the pipes together, cleaned off the scale and shot the pipes with a coat of high heat paint

tack welding completed

tack welding completed

pipes seal welded & painted

pipes seal welded & painted

Then I wrapped the entire head pipe with header wrap and reinstalled everything.

Head pipe wrapped with 2" wide fiberglass wrap

Head pipe wrapped with 2″ wide fiberglass wrap

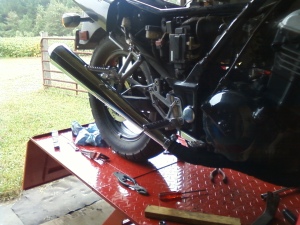
I did take the centerstand off, 😦 it just did not work with the new pipes. Besides now I have a motorcycle lift table when I need to work on it now.

Next time I’ll show you how I lined the fuel tank with tank Kreem. An oil & plug change how to is in the works too.

Peace Y’all

 fiberglass header wrap

P.S. This thing sounds really good now and is not nearly as loud as it was.

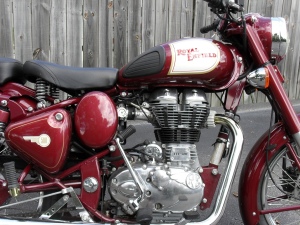
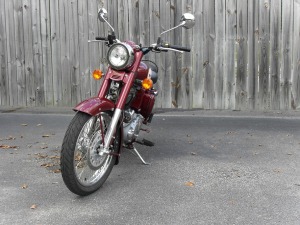
The 2012 Royal Enfield Bullet Classic 500 A Psyco Road Test and Review!

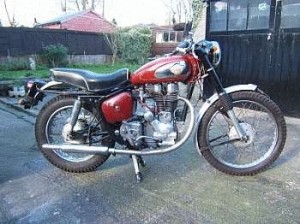
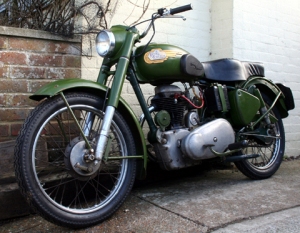
a real1956 Royal Enfield Bullet!

a real1956 Royal Enfield Bullet

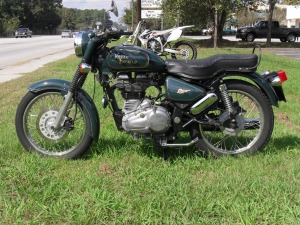
a real 2012 Royal Enfield Bullet

a real 2012 Royal Enfield Bullet

Let’s take an adventure, a time machine trip of sorts if you will. Imagine if you could take a trip back to 50’s, the golden age of the British motorcycle industry, snag yourself a snazzy new 500cc sporting machine and bring it back to your garage. Since we are dreaming big, now pretend that you have your hand crafted real steel motorcycle back in your fully equipped garage with all the latest and best machine shop equipment you could want. Then while your “friends” in the gasket industry make you a set of the finest modern gaskets and seals, you tear down the engine and re-machine and re-assemble it using modern tolerances and technology. While you are in there update the valve train to hydraulic lifters, so you don’t have to spend any time adjusting valve lash ever again.

A genuine 1954 Royal Enfield Clipper

A genuine 1954 Royal Enfield Clipper

A genuine 2012 Royal Enfield Classic 500

A genuine 2012 Royal Enfield Classic 500

Next load it into your private jet & fly it to Japan for an electronic ignition. While you are there have Kehin to custom build you a fuel injection system and calibrate for your engine. No more tickling the carbs, or cleaning them, or gas dribbling all over your garage from a 1950’s Amal trying to cope with  our 21st century imitation gasoline.

How 'bout a fuel injected thumper?

How ’bout a fuel injected thumper?

Oh well it is a nice fantasy, but one part of it is true. You can get a brand new hand built “British” (in name and style anyway) motorcycle that looks like it fell out of a time capsule from 1955. The first Royal Enfield motorcycles were produced in 1901. In 1967 the factory in England closed but the Indian made Enfield Bullets soldiered on and have evolved into the reliable, oil tight and modern emissions compliant machines we have today. While these are not fantastically powerful machines compared to our modern machinery they are much better in so many ways than an actual antique motorcycle.
Immediately when approaching the Classic or Bullet 500 you are struck by its relatively compact looking dimensions. Today so many “retro” styled machines have turned into larger than life caricatures of the machines they are trying to imitate. This is one of the reasons I dislike so many of them, being a fan of 50’s-70’s bikes such as the CB400, XS650, or old Triumphs and Enfields, to me the new “retro bikes” look tacky compared to the real thing. The 2012 Royal Enfields are not retro replicas; they are still the real deal. An upgraded genuine vintage motorcycle that is available right now with a 2 year warranty, imagine that.

See what I mean about the size of modern bikes?

See what I mean about the size of modern bikes?

When I threw my leg over the Classic 500 and hoisted it off the kickstand the first though that went through my mind is whoa this thing feels substantial. Not overweight & porky but definitely dense, solid, and hefty feeling. You can feel the steel in this one. With my 29 inch inseam I can sit on the saddle with both boots firmly on the ground.

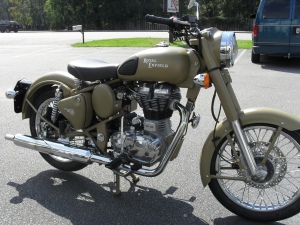
motopsyco on Enfield Classic 500 with Desert Storm paint

Just hit the magic button and you’re ready to go!

2012 tan Royal Enfield Classic 500

Rolling it round a little bit.

Bike; 2012 Royal Enfield Classic. Rider; motopsyco

Bike; 2012 Royal Enfield Classic. Rider; Motopsyco

Hit the starter button and the fuel injected single starts up with a nice thump-thump-thump idle note that is a characteristic of a big slow revving single. Yes it vibrates a little but it’s a pleasant soothing feeling not annoying. Pull in the clutch, snick it into first gear, and ease out on the lever. Just remember that you are working with authentic 1950s horsepower (27.5hp @ 5250 rpm) so don’t pull out too closely in front of that sports car that is barreling down the street at twice the speed limit. Even 1950s horsepower is more than enough to stay ahead of most traffic from stoplights around town. Plus people look. These are good looking motorcycles that are different from the mundane and commonplace Hogs and crotch rockets that litter the streets around here.
In addition to thanking LA Motorsports for allowing me to borrow a couple of their motorcycles I really want to thank general manager John for pointing me towards Jamison Road in Summerville. While it had too much traffic to really cut loose it is the kind of road that is perfectly matched to the feel and great handling of these bikes. It was just a couple of miles of nice sweeping turns that let me roll the bike from side to side in a most enjoyable fashion while the engine played a slow bass drum beat as I rolled the power on through each curve, and slowed back down just so I could do it again & again. This is the kind of handling that comes only from classic British motorcycle architecture. No high tech suspension and wheels, just good frame design and a nice wide handlebar. Sure I could probably run that same road at 3 times the speed of the Enfield on any late model plastic covered crotch rocket, but to be honest with you, I would not have been any happier, nor had a better time doing so.

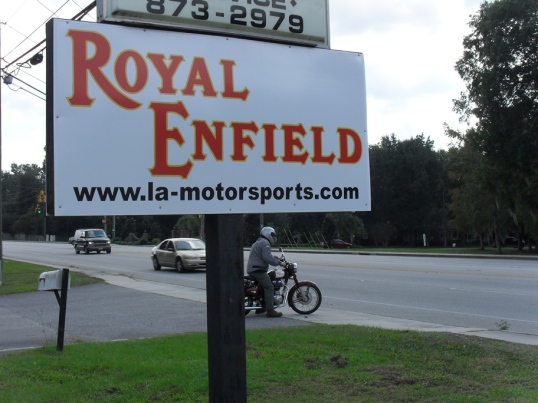
leaving LA Motorsports in Summerville S.C

leaving LA Motorsports in Summerville S.C. for a ride on an accessorized Enfield

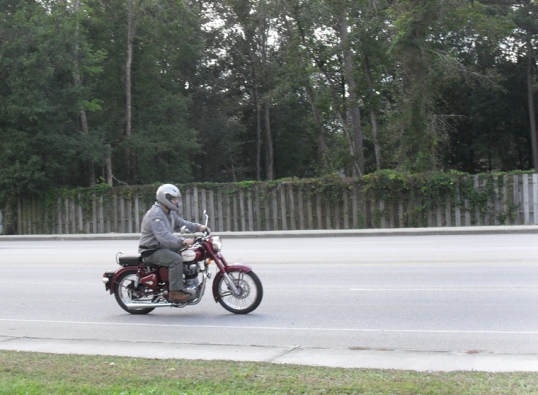
A red Classic Royal Enfield 500

The Accessory exhaust sure sounds good on a Royal Enfield 500

I did not try any interstate trolling or top speed runs, and quite frankly as the top speed is around 85 or so I would not be afraid to, but this is a bike that really belongs on twisty country roads. The suspension is basic stuff but competent. The single disc front brake & rear drum brake are well up to the task of handling what this bike can dish out.
One selling point of this machine is its 85 mpg fuel economy. Folks, that is getting close to moped territory, but on a real solid steel motorcycle that can haul 2 people around with aplomb and looks damn good doing it.
As India becomes more and more of a manufacturing powerhouse the fit and finish of these motorcycles is now much better than when they were first reintroduced to the western world back in the early ‘80s. They have always had the right look, but now they have the polish and refinement to go with it. Plus this is probably the most comfortable motorcycle I have ridden in the last ten years.

one good looking classic motorcycle

one good looking classic motorcycle

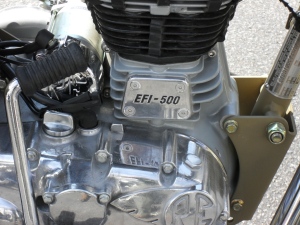
The Royal Enfield 500 engine is the epitome of classic style

The Royal Enfield 500 engine is the epitome of classic style

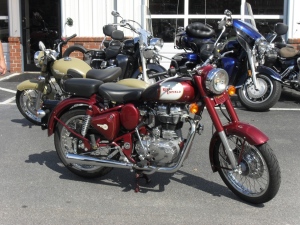
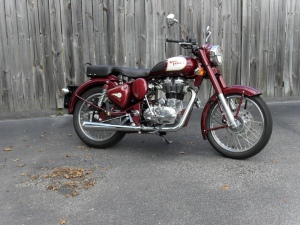
<the 2012 Royal Enfield Classic in red>
the 2012 Royal Enfield Classic in red

If you want to turn curves at reasonable speeds in the country and turn heads like a rock star in town, and you don’t care about being able to run 150 mph, or looking like a rich yuppie poser, then this is the bike for you. My road tests are not about outright performance, but about how a motorcycle makes me feel, and this bike makes me feel damn good. It’s not badass, does not have exotic cachet, power, and is not a status symbol, it is just a motorcycle without all that extra bullshit. Plus you can get a brand new one out the door tax, title, tags & all for around 7 grand.
And I can see myself owing one….

Peace Y’all

Pee Dee A.B.A.T.E. Chapter Halloween Fun Run

abate halloween fun run flyer

Pee Dee ABATE Halloween Fun Run flyer!

The Pee Dee chapter of A.B.A.T.E. is having a benefit run on October 27th to benefit the local chapter of Biker Down. Go have fun! It’s for a good cause.

Strip the Bodywork from a Ninja (93 EX250)

Here I’m just going to let you follow along as I remove the fairings, fuel tank, and exhaust system from my 93 Kawasaki 250 Ninja. Although the title of this blog is Life on Two Wheels, the truth of the matter is that for last year & over half of this year a true story of my life would have been called life in hotel rooms and rental cars. While I was away I still managed to squeeze in some bicycling time, and I did try on the occasional weekend to take my motorcycle out for a spin but unfortunately never far or often enough, and it has developed some problems related to long term storage anyway. A couple of months ago I started a new job, moved back home and now am ready to get back down to the business of serious recreational motorcycling again.
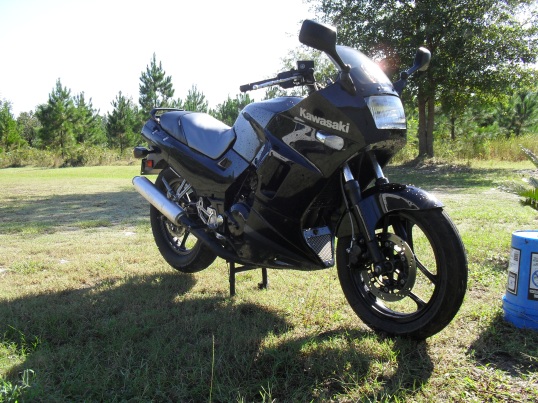
1993 Kawasaki Ninja EX250

’93 Ninja 250 Fresh out of the shop after restoration 4 years ago!

This bike still starts right up and once warmed up will zip from idle to redline with just a flick of the wrist, riding it at low speed or for a short distance no symptoms are discernible. If driven at highway speed for more than 3 or 4 miles it begins to spit and sputter and stops like it has run out of gas. So far I have done all of the easy and obvious things such as verify the gas cap & other fuel tank vents, made sure the fuel petcock was working, and that both the in tank and external fuel filters were clean. So now its time to pull the carbs back off and check everything out. Since I am tired of having to pull the exhaust system off every time I want to change the oil filter (and it got some holes in it now also), I am going to pull the Yoshimura 2 into 1 header and replace it with a pair of Emgo Dunstall replicas using some custom fabricated adapters welded to the end of some factory head pipes.

As you are following along please be aware that my cycle is not stock. It has a few aftermarket, modified or bespoke parts on it so even if you have the same make and model of motorcycle you may notice many substantial differences between mine and yours. Just remember modifications to your motorcycle are made at your own risk, some may be dangerous or illegal in some places, I am not a motorcycle engineer, nor do I play one on t.v. Use your best judgement,consult your doctor, shrink, & attorney, then get a permission slip from your mom before imitating any mods you see on this site, because I am only responsible for my own stupidity, not yours. Now that the disclaimers are out of the way , let’s get to work!

First pull the mirrors.
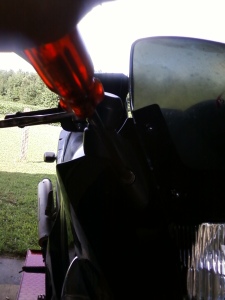
Ninja 250 mirror removal

Ninja 250 mirror removal

Unbolt the lower fairing I like to start with the front center bolt first.
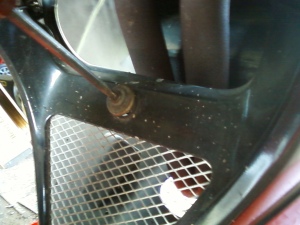
Ninja 250 lower fairing remove bolt
Ninja 250 lower fairing remove bolt

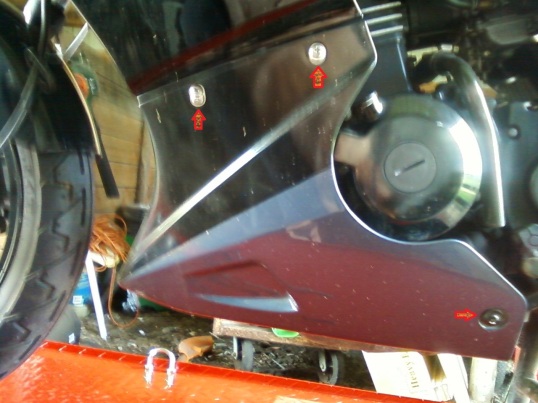
Ninja 250 lower fairing removal

Additional screws indicated by arrows.

Time to get the upper fairing loose You will notice some very blotchy spots in the next photo. It is not paint damage. I discovered the hard way that if you are shall we say a larger boy, you should not take pictures of shiny very reflective surfaces while wearing nothing but a pair of shorts. The resulting images were distorted,and bizarrely pornographic looking, so I blotched them out.

There is an arrow pointing to some damage to the tank that is a direct result of the hygroscopic nature  of this damn corn syrup that the government is forcing into our gasoline. I’ll fix it, line the tank and paint it again.
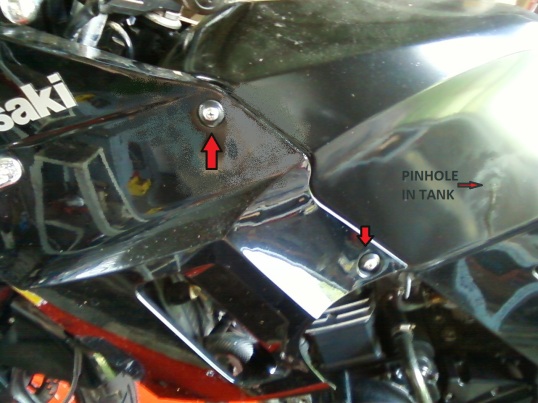
Ninja 250 upper fairing screws

Ninja 250 upper fairing screws

Then unplug the turn signals.
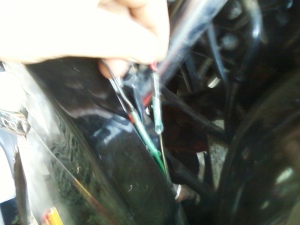
Ninja250 turn signal wires

Ninja250 turn signal wires

You could have taken the seat off as the first step but I’m doing it now, just turn the key and pop it loose.
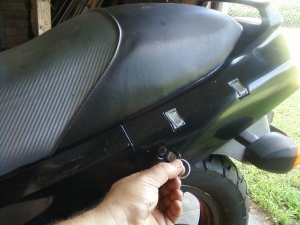
Ninja 250 seat lock

The side covers have one screw each at the bottom as shown here.
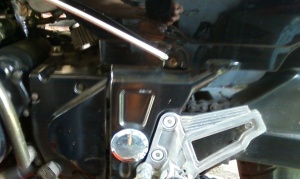
ninja 250 side cover screw

After removing this the side cover should snap off, pull it loose from the front first.

Here it is with the side covers off
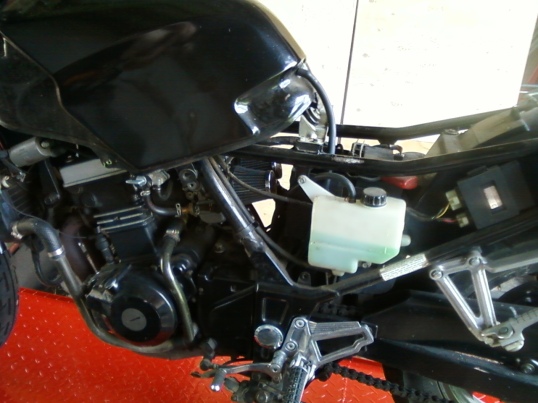
Ninja 250 coolant overflow & electronics

Ready to remove the tank now!

Remove the bolts
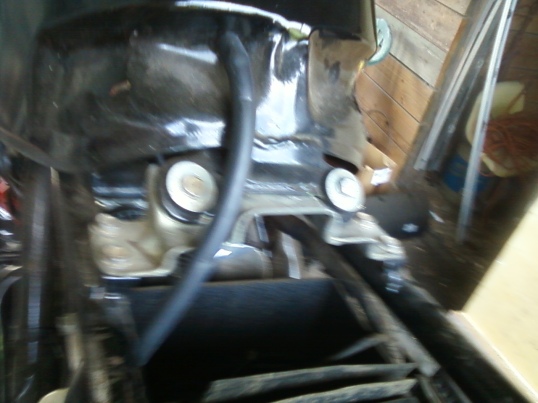
Ninja EX250 gas tank bolts

Ninja EX250 fuel tank bolts

and then disconnect the fuel & vacuum lines from the petcock
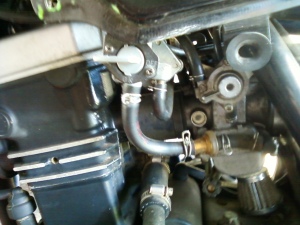
Ninja EX250 gas valve

Ninja EX250 fuel petcock

Hey look! it is a naked Ninja, enjoy the view.
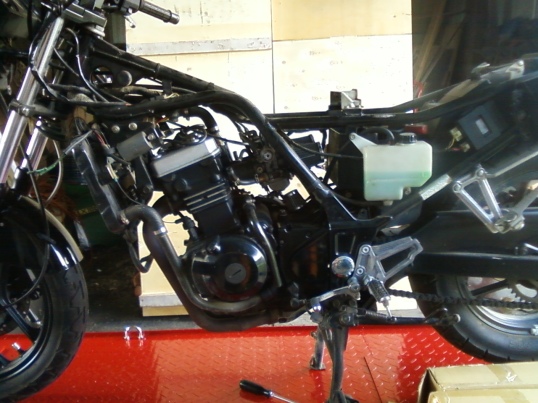
a live nude ninja 250

Now you know what a sportbike looks like with no clothes

I still have to loosen the radiator to remove the head pipes. The hoses can stay attached but all of the bolts indicated by the arrows have to be removed from both sides.
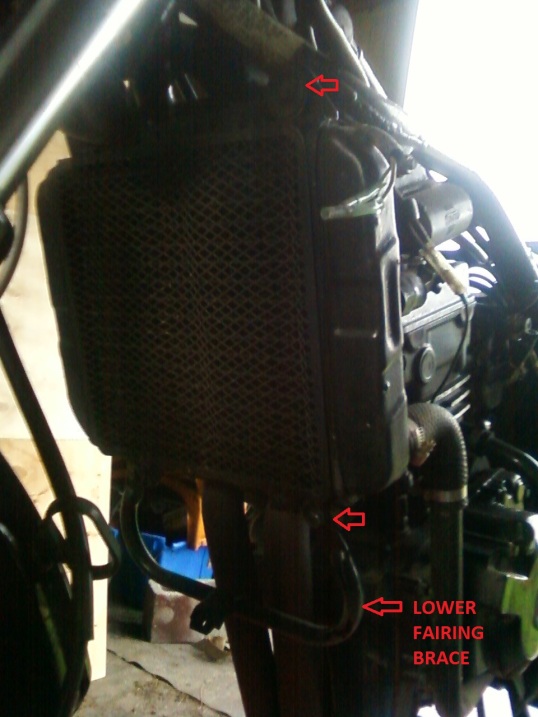
NInja 250 radiator & fairing brace

NInja 250 radiator & fairing brace

This will allow me to pull it forward to remove the exhaust system. It’s hard to see in this picture but after unbolting the flanges from the head remove the bolts attaching the pipes to the frame. This particular system is suspended from the drivers foot peg.
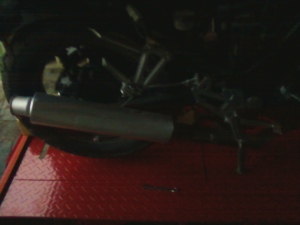
Yoshi pipe on Ninja 250

My soon to be former exhaust.

It is crazy but all of the preceding steps were necessary every time I wanted to change the oil filter, I loved the sound and performance of this system but due to the extra maintenance work and the damage it has suffered over the years (it was on the bike when my wife bought it for me) I decided to replace it.
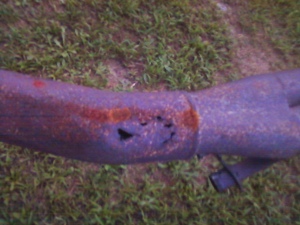
Rusty pipe

Until next time,

Peace Y’all