The 2015 VJMC National Rally Day 2

It is the end of the second day of the 2015 VJMC National Rally, and a little rain is falling  from a passing thunderstorm this evening but for most of the day the weather was beautiful and the group rides went off without a hitch.

image

We all had a great time on a various rides to various different places in the mountains. My wife and I actually followed the tiddler group up to the Sugarland visitors  center, after a brief visit to the museum we proceeded to the Metcalfe Bottoms picnic area where we had a nice lunch.
In the meantime the convention center continues fill up with an ever increasing assortment of nice bikes as people rolled in.

image

image

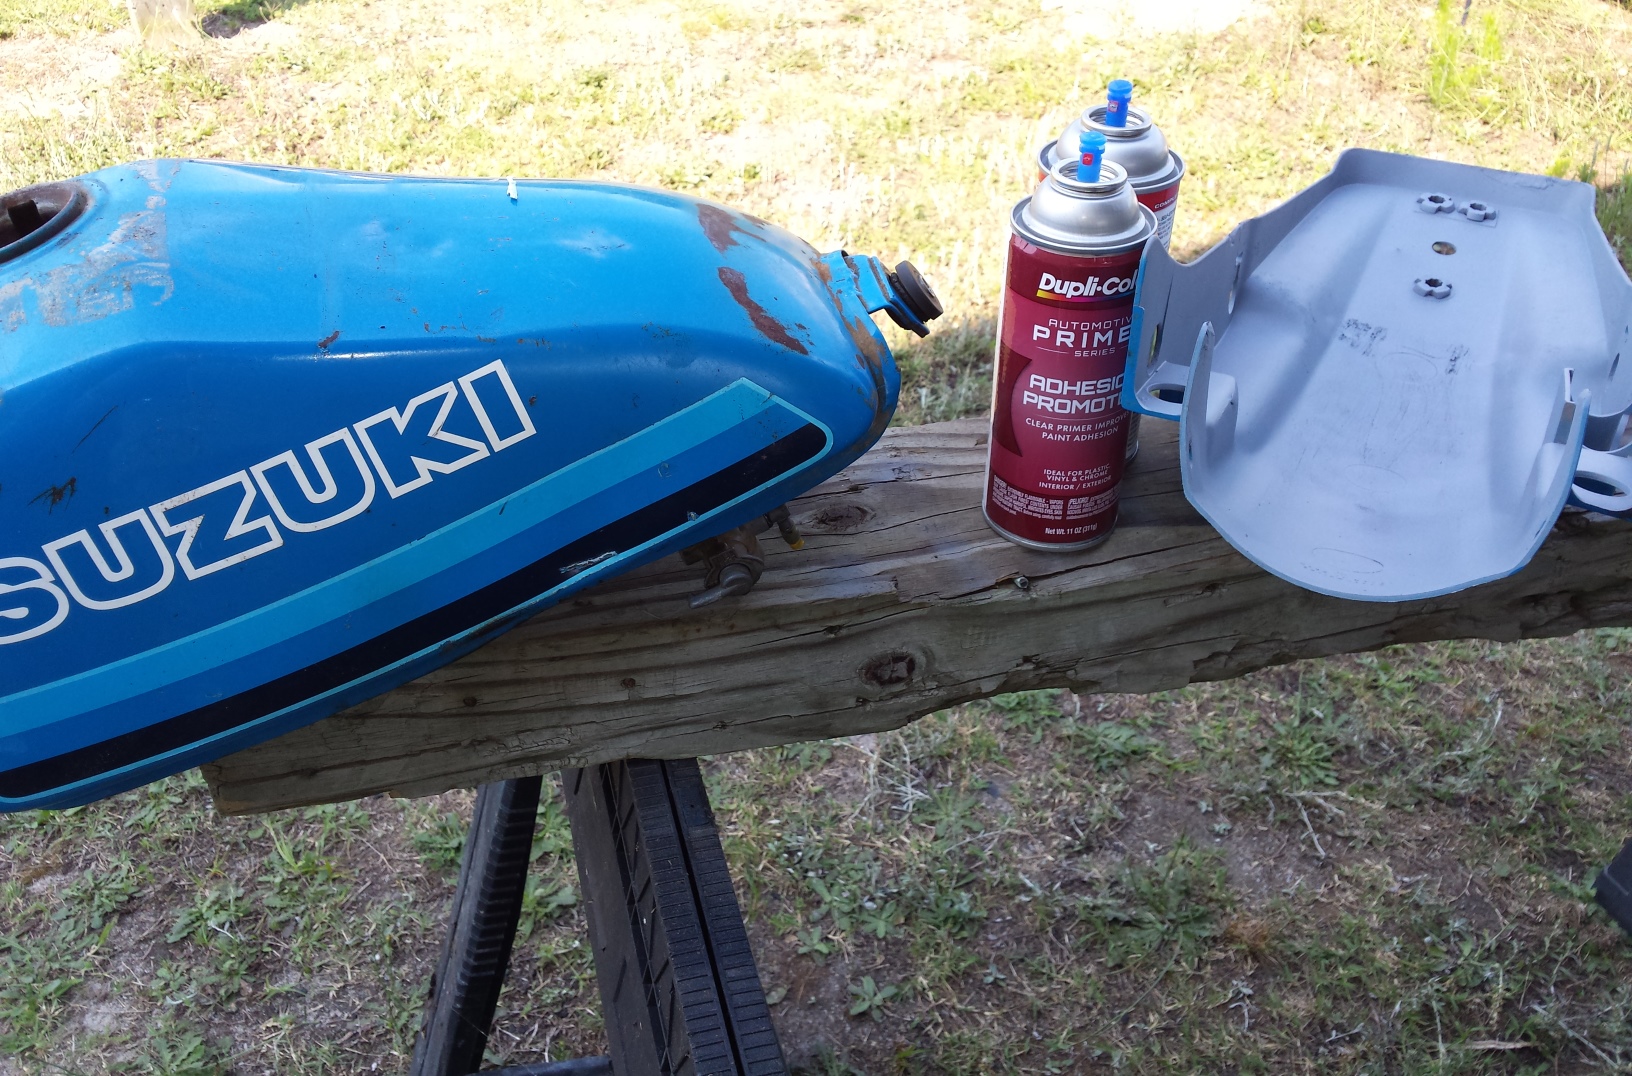
It turns out I’m not the only one who brought a 185 Suzuki.

image

Above is an entire row of classic Kawasakis.

image

image

Here’s a nice original XS500

After a great BBQ supper we listened to a presentation from Pete Boody the owner of Pistol Pete’s services who is restoring the prototype Goldwing serial number 2. Pete gave us a good run down of the early history of the development of the Goldwing and the difference between the prototypes, the pre-production units and  the final production units.

image

It has been a terrific day and I do have some video footage from the ride that is up on YouTube.


Peace Y’all

2015 VJMC National Rally Day 1

Today was the first day of the 2015 VJMC National Rally

image

Here are a few more pictures from the first day’s action .

image

I actually feel bad about loading the Suburban Assault Scrambler onto  to a trailer for this short little trip, but I wanted to take both bikes.

image

image

This blue and white Suzuki water buffalo is terrific looking.

image

Another blue and white Suzuki.

image

image

A Honda Grom and a CB 1100 parked outside of the Convention Center.

image

A raffle bike from the  Cincinnati group.

image

It just wouldn’t be a vintage motorcycle rally without a Honda ST90.

image

A beautiful Yamaha but check out the odometer below.

image

Before I sign off for the day, I  just have to include a picture of my Suzuki TS185 sitting inside the convention center with all the pretty show bikes.

image

Peace y’all.

1981Suzuki TS185 Finished!

Well, I got it finished! The entire build is chronicled from start to finish in the 23 minute video. I started out with a little bit of step by step video, but quickly realized that with the time constraints, that would not be possible so I morphed it into an overview video. The last few minutes is me taking it out of the yard and down the road for it’s first test ride.

It ran and handled fairly well, but the stock suspension is too light for a big guy like me to do any serious off-roading with it. I just have a couple more little things to tweak, and then if I can’t find  reasonably priced suspension upgrades, I’ll probably put it up for sale after I return from the VJMC National Rally.


The 20 Foot TS185 Restoration Part 4!

Mission Main Street Grants

Hello everyone & welcome back! It’s time for just a few more pictures of this little project TS185 I’ve been working on but first let me talk to you a little about the banner ad above. I have applied for one of these grants and I only have until June the 19th 2015 to reach the required number of votes. If you have a couple of minutes of time & a Facebook account could you please go vote for me? It would be greatly appreciated.


<bmx platform pedals on a motorcycle>

As mentioned last time this motorcycle is more of a restomod than a proper TS185 restoration and one of the things that I have always wanted to try out was putting a set of BMX bicycle platform pedals on a motorcycle. So out came the reciprocating saw some scrap metal & the welder.

As I mentioned the last time I was changing the color so here it is just a plain old machinery gray from a Duplicolor spray can.

<suzuki TS185 headlight & fender>

Added the shop logo to the number plates

<motopsyco.com>
Of course there were some new parts installed, missing bolts replaced & a few leaks stopped while I was at it.

<ts185 restoration>

Some hard lessons were learned such as don’t install the clutch release arm upside down and that cheap enamel clear really doesn’t spray well in 100 degree temperatures. There are still a few odds & ends that need doing but it is mostly done. Now I just need the upholstery shop to have my seat ready this week!  I also think the new pedals are fantastic looking but I do have to be careful when using the kick starter.

<motorcycle with bmx pedals>

One advantage to doing all of this was having time to sort out the various electrical bodges that previous owners had inflicted on this poor machine. It now has a fully functional key switch, brake & taillights, a battery, fuse etc. Of course it still starts easily & runs like a top!

<1981 TS185 restomod>

Peace Y’all


The 20 Foot Restoration Part 3

Mission Main Street Grants
<1981 Suzuki TS185 roller>

This old motorcycle is finally making it’s way back into one piece. It has new tires, wheel bearings, brake shoes, tapered roller steering head bearings, and anything else it needed to make it safe & reliable. Surprisingly enough even after 34 years of being beaten like a government mule, the engine & transmission are still in very good functional condition. This makes my life a lot easier.

Lets start with a quick look at the rear wheel & brake linkage before I started.

<TS185 rear wheel before>

<ts185 brake pedal before>

Yes I know I need my head examined for riding it for so long in this condition, but it was still a lot of fun!

<TS185 rear wheel after>

I had to replace the brake rod, adjuster and the lever. The rod & its hardware are new old stock parts, & the lever was simply adapted from a junked motorcycle.

<TS185 brake lever after>

This is the exact same brake pedal that is shown in the picture above. I straightened it with a torch, hammer & anvil, before cutting the end off of an old dirtbike footpeg and welding it to the brake lever.

<1981 ts185 carburetor>

I had to buy an entire extra used carburetor to get a couple of parts that are no longer available separately, and I’m still waiting on my throttle cable to arrive from England so for now the carb is just sitting here until I receive the cable.

While waiting on some other parts it was time to start some body work.

<motorcycle repainting>

Have I mentioned anywhere in this series just how incredibly nasty this thing was? Check out the red clay mud dried to the bottom of this tank.

<bottom of ts185 tank>

The side covers are decent used parts that only required minor work to repair, but the tank itself is actually requiring a fair amount of body work to make look good.

<20 foot restoration TS185>

It’s so tempting just to throw money at a project like this, and to a certain extent I have done that with the mechanical & safety bits. Since this is the 2o Foot Restoration the appearance of the machine will be handled in the most economical way possible, with a few cans of Duplicolor spray enamel. So many of the parts needed for this bike are either unavailable or priced beyond what I feel like spending on it, this is actually going to be a resto-mod more than a restoration. Plus the blue has to go, I want a tougher more subdued look for my trail bike so the color will be changed. No I’m not going to tell you yet, keep checking back (or just scroll down & subscribe) o see what it winds up looking like!

<ts185 right side primer bondo>

Peace Y’all