’97 Honda Shadow 1100 Carb Cleaning & Jetting ~ Part 2

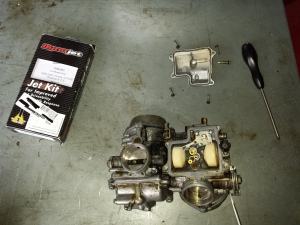
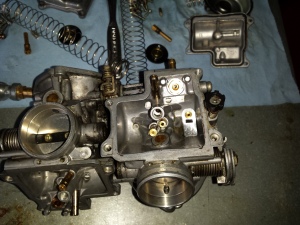
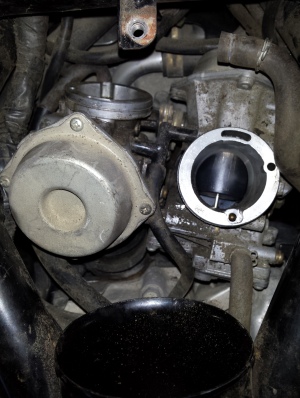
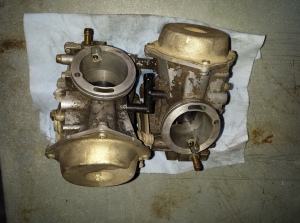
In the last installment, I had removed this set of carburetors from a 97 Honda Shadow 1100, after washing all of the loose crud from the exterior it was time to begin dis-assembly. This is not going to be a full on complete step by step tutorial, but we will cover all of the highlights that are specific to this job. Here you can see that the float bowl is off and although the interior of this carb does not look that bad there is a thin film of of fuel varnish on all the surfaces so I definitely going to clean that out.

Don’t forget, that if you need to you can enlarge any picture on this blog by clicking on it.

<001 dynojet honda shadow kit>

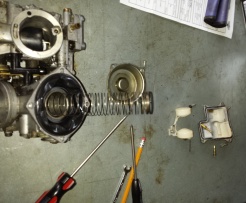
As always when working with multiple carburetors, it is best to dis-assemble one at the time and to lay the parts out in a reasonably orderly fashion so that you can reinstall the parts back into the carb body that you removed them from. Below you can see the float bowl, float, jets, etc. are lying on the table and I’ve removed the top and am about to pull out the spring and slide.

<002 97 shadow 1100 slide spring>

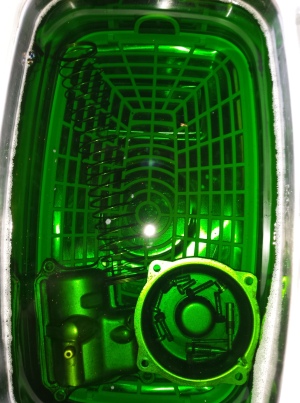
Since my ultrasonic cleaner is small to prevent part mix ups I only put one carbs parts at the time in it. One nice thing about dealing with the Shadow carburetors is that both of the air cut off diaphragms are on the outside of both carb bodies and can be reached without breaking the carbs apart, this makes it much easier to clean those critical passages.

<003 carb parts ultrasonic cleaner>

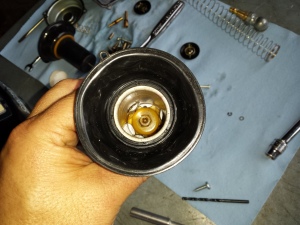
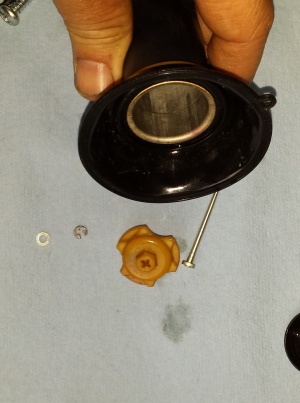
Now it’s time to begin the modifications that will really wake your old Honda up and make it sing a new song of power and glory! You should wash the slides off good and inspect the diaphragms for holes, or rips, if you find any problems you will need to replace the diaphragm before proceeding but if all is well, look insde at the retainer and using either a proper JIS screwdriver or an 8mm socket twist the retainer counter clockwise about 1/4 of a turn until it pops loose and will fall out, remove the needle (aka the metering rod) being sure to note if there damage to the retainer or it’s spring.

<004 shadow ace jet needle retainer>

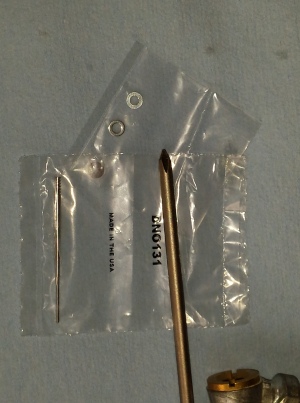
The Dynojet Research needles are packaged as shown, refer to the instructions in your jet kit for assembly instructions to match your particular application.

<005 dynojet research metering rod>

Here’s a quick shot of the slide, retainer & jet needle.

<006 metering rod removed honda 1100>

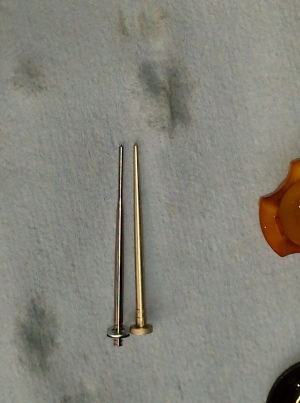
The next picture down is a comparison of the shape of the stock needle to a Dynojet needle. This difference in shape makes enough of a difference in flow that it should be used with the matching jets supplied in the kit. Likewise you can’t use your leftover kit jets in another bike without purchasing the correct needles.

The stock Honda needle is on top and the Dynojet needle is below it.

<007 needle jet comparison>

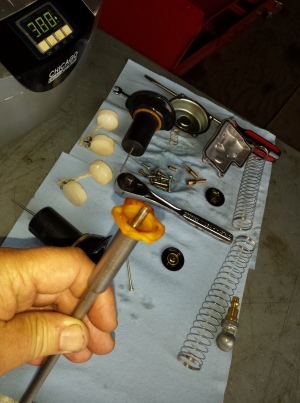
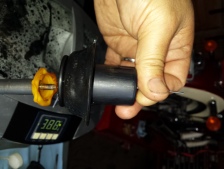
To simplify reinstalling the needle first insert it along with any spacers into the slide, then place the retainer into the end of an 8mm socket like this and then turn the slide upside down

<008 reinstall shadow ace jet needle>

while holding onto the needle as shown in the following picture andinsert the retainer into place and turning it to the locked position.

<009 metering rod install honda shadow>

Before I finish cleaning the bodies the idle mixture screws need to be removed. They are located under these caps on the sides of the carburetors. If you live in a state that requires visual emissions equipment inspection you should purchase new caps when you buy your carb kits or your bike will fail inspection if it does not have these caps on it.

<010 mixture screw cover>

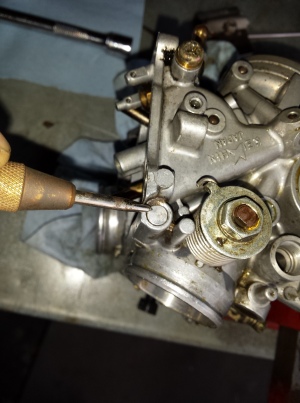
Centerpunch the holes and the very carefully drill through the caps stopping as soon as the drill bit breaks through the caps so you do not damage your carbs.

<011 drill it out>

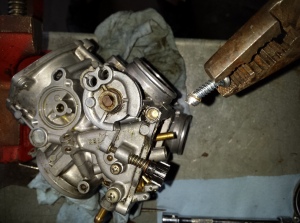
Then you a sheet metal screw of the right size (supplied in the Dynojet kit as is the drill bit) and screw it into the hole far enough to get a good grip on it & then

<012 screw it in>

yank it out with a pair of pliers. If you are just installing the jet kit without cleaning the carburetor turn the screws all the way in until seated and then back out 3 turns for your initial setting. If your are cleaning the carbs as I am here carefully remove the mixture screws, their springs, washers and o-rings and then thoroughly clean the carb bodies.

<013 pull it out>

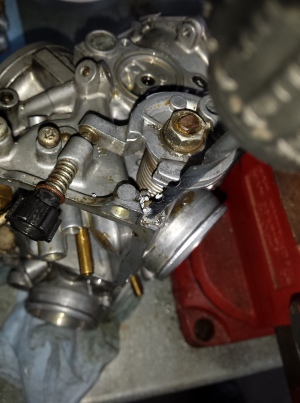
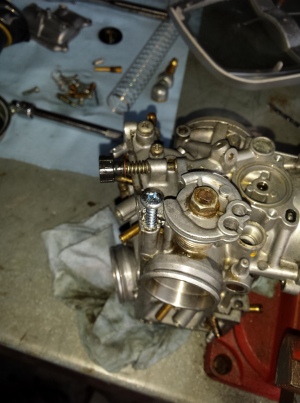
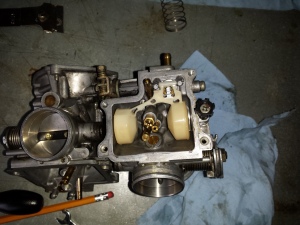
In this shot below things are going back together now, just reverse the diss-assembly process checking all of your parts,float height, gaskets etc. and correcting any problems you find.

<014 honda ace carburetors>


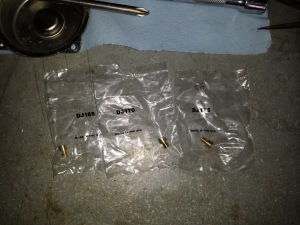
<015 dynojet research jets>

When it is time to put in the main jet you have a decision to make based upon the modification level of your motorcycle. Since this particular bike had a pair of large tube drag pipes on it, I went ahead & put the largest jets in the kit in it. Don’t just automatically put the biggest jets in especially if you are running stock or quite aftermarket pipes and the factory air filter setup.

<016 97 honda shadow 1100 carbs>

You should also be prepared to do a bit of tweaking especially to the idle mixture screws to get a good idle with a good throttle response as you come off idle. One must also be prepared if necessary to pull the carburetors completely back out if need be to try a different set of jets or alter the jet needle cir-clip position for the best running. If you pay attention to the instructions in the kit this is not likely but it is a possibility.


<017 Carburetors ready to reinstall>

There you have it, if you’re contemplating doing this to your bike at home first make sure that it is running well, and that it has new plugs, and that the ignition and charging systems are up to spec, and that there are no other problems such as cracked intake boots that would cause you to have drivability issues. If you put a jet kit in a motorcycle that is not running right to start with, you are very likely to have a motorcycle with a jet kit in it that still does not run right.

Just take your time, read the directions, and keep everything as clean as possible and you should be able to make your old Shadow run & sound even better than it does now.

Peace Y’all
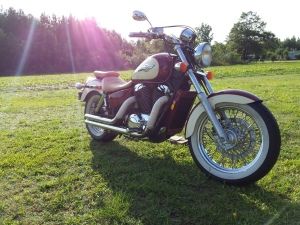
<97 Honda Shadow Ace>


97 Honda Shadow 1100 Carb Cleaning & Jetting ~ Part 1

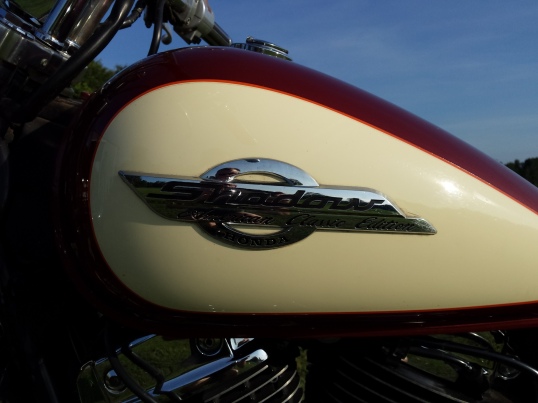
<97 Honda Shadow American Classic Edition>

Let’s jump into another “how to” post! Above is today’s patient a 1997 Honda Shadow, a great riding 1100cc v-twin that while still running very well, needed a little tweaking.  These motorcycles came from the factory with the carburetors set up toward the lean end of the spectrum for emissions reasons. This led to some drivability issues on some of them, when you combine the original lean jetting with a set of drag pipes, and 17 years of ethanol contamination it was running mighty lean indeed. The engine had a tendency to run hot, hesitate on acceleration, and frequent backfiring on deceleration. So I am going to pull the carbs off, clean them up a bit and install a Dynojet Research jet kit in them. To hear what this bike sounds like before the carb tuning click here go to my youtube channel.

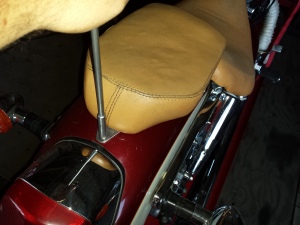
First get the bolt out of the rear of the passenger seat.

<001 ace seat bolt>

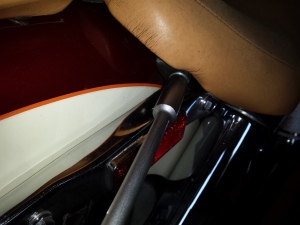
Then remove the 2 from beneath the drivers seat one on either side

<002 ace shadow seat bolt>

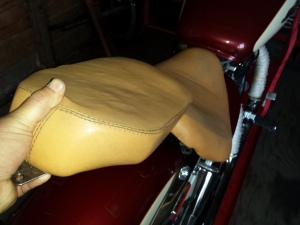
Lift it up and set it out of the way.

<003 honda shadow seat remove>

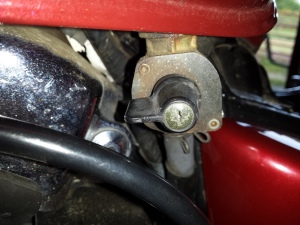
Locate the petcock and shut off the fuel.

<004 honda 1100 petcock off>

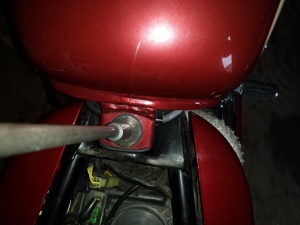
Remove the bolt at the rear of the tank,

<005 shadow 1100 tank bolt>

and the other one at the front of the tank.

<006 shadow ace tank bolt>

Disconnect the fuel line from the petcock.

<007 remove fuel hose>

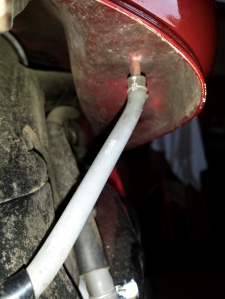
afterwards lift the tank high enough to remove this vent hose from the bottom

<008 honda shadow tank vent>

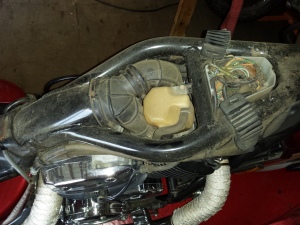
After you have removed the gas tank and placed it in a safe location this is what you should see.

<009 honda 1100 air inlet>

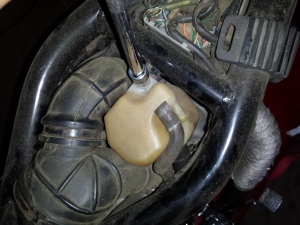
The yellow plastic container is there to catch any oil that happens to emanate from the crankcase ventilation system, so unbolt it,

<010 shadow ace oil breather catch>

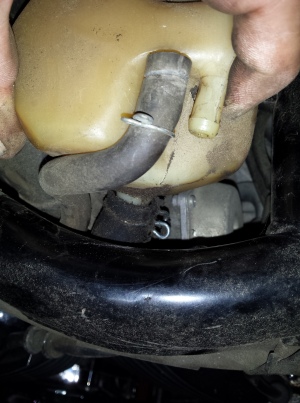
pull the hoses loose, and set it out of the way.

<011 crankcase vent hose honda>

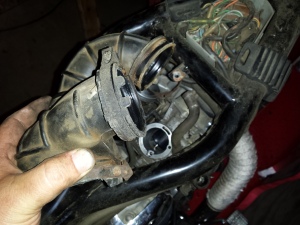
Next loosen the hose clamps on the rubber piping that leads from the frame to the inlet of the carburetors.

<012 honda shadow air hose removal>

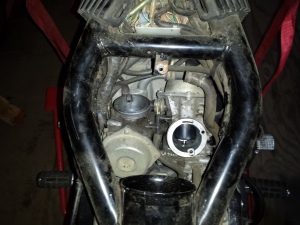
Now we can finally see the carbs!

<013 there be the carburetors>

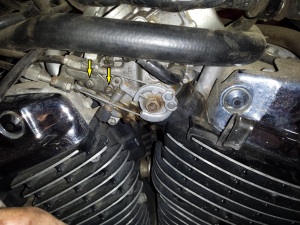
Time to remove the throttle cables, remove the 2 screws (indicated by arrows) and you will be able to get the cables out of the pulley on the end of the butterfly shaft.

<014 1100 shadow throttle cable>

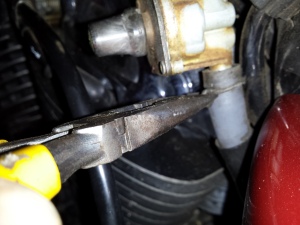
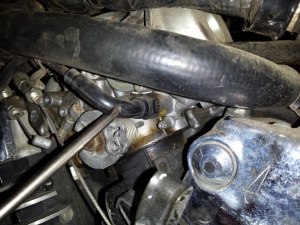
The cold start enrichener is next. These 2 little plungers take the place of choke flaps on the most of the last production carbureted motorcycles. Instead of blocking the air they just add more gas. It works well but is a bit more aggravating to remove. I used to have a special home made tool for getting these out but it has been at least 10 years since I saw it last so I just you whatever combination of open wrench & needle nose pliers that allows me to remove & reinstall them without boogering them up.

<015 honda enrichener aka choke>

Here I am holding one of the enrichment plungers so you can see what it looks like on the inside.

<016 cold start enrichner honda ace>

Go around to the right side of the bike and pull the hoses in this tee junction that was connected to the crankcase vent reservoir and fold them back out of the way.

<017 shadow crankcase vent hose>

The rear spark plug wire runs through a loom that is attached to the right carburetor so remove it and the enrichener  on this side.

<018 rear plug wire standoff 1100 shadow>

You can reach under the carbs now & loosen the clamps holding the carbs to the spigots.

<019 carb boot clamps honda shadow>

With a rocking and twisting motion you should be able to pop the carburetors loose, but dont rush to pull them up out of the frame just yet.

<020 pop the carburetors loose>

Before you try to pull them all the way out remove all of the fuel lines and vent hoses, being sure to note which hose goes to which barb.

<021 pull off all the hoses>

These carbs come out of the top, just tilt them up sideways and turn them as needed, this is actually much easier than most Japanese cruisers of the same time period that require you to remove the carbs from the side.

<022 shadow carbs come out the top.>

Here are the carbs sitting on the workbench ready for cleaning. The next step is into the parts washer to get all of the exterior crud off for dis-assembly.

<023 dirty nast filthy carburetors>

Keep checking back as I will be posting part 2 of this series very soon.

Peace Y’all
Part 2 of this how to article is up & you can reach it by clicking here.


Ton Up NC Blog The July 2014 Website of the Month

I first heard of the Ton Up Club during a visit to the International Motorcycle Show in 2013, they had a cool display setup with a bunch of neat vintage motorcycles and flyers for their upcoming shows. Last September I visited the Bull City Rumble and saw just what a great show (and party) these fine people over in NC can throw & I’ve been keeping up with them ever since.
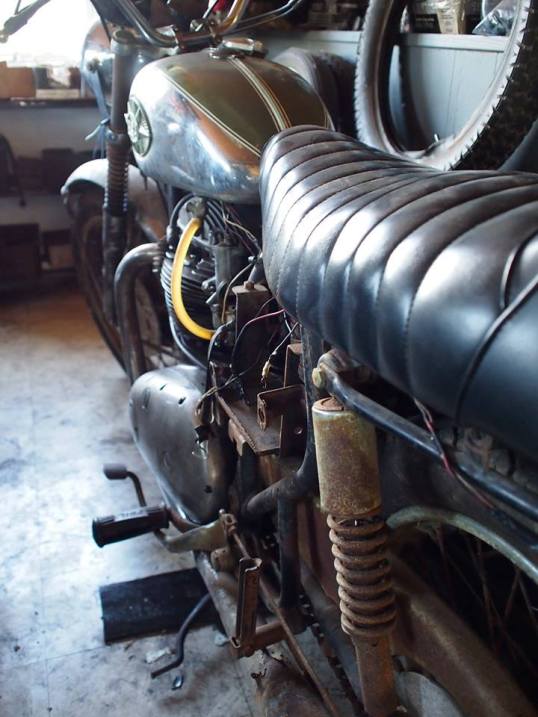
About a month ago they published a really cool post, “After the Flood, The BSA That Refused to Die.” After reading it I immediately hit them up for permission to link to it. No I’m not going to give you the details, click on the link and go read the post for yourself.
<bsa motorcycle survivor>

In the last few weeks that annoying as hell real life that pays the bills got in the way & I am just now getting around to sharing this post and decided just to make

Ton Up NC the website of the month, so go check them out and let them know that the old ‘Psyco sent you.

Of course if you are not in the great South-land but are really into vintage style Cafe Racer customs you might want to check out the site of Ton Up North America to see what is going on near you, the home page itself seems out of date but there are links to the local chapters, that can probably get you up to speed an what they are doing.

Peace Y’all