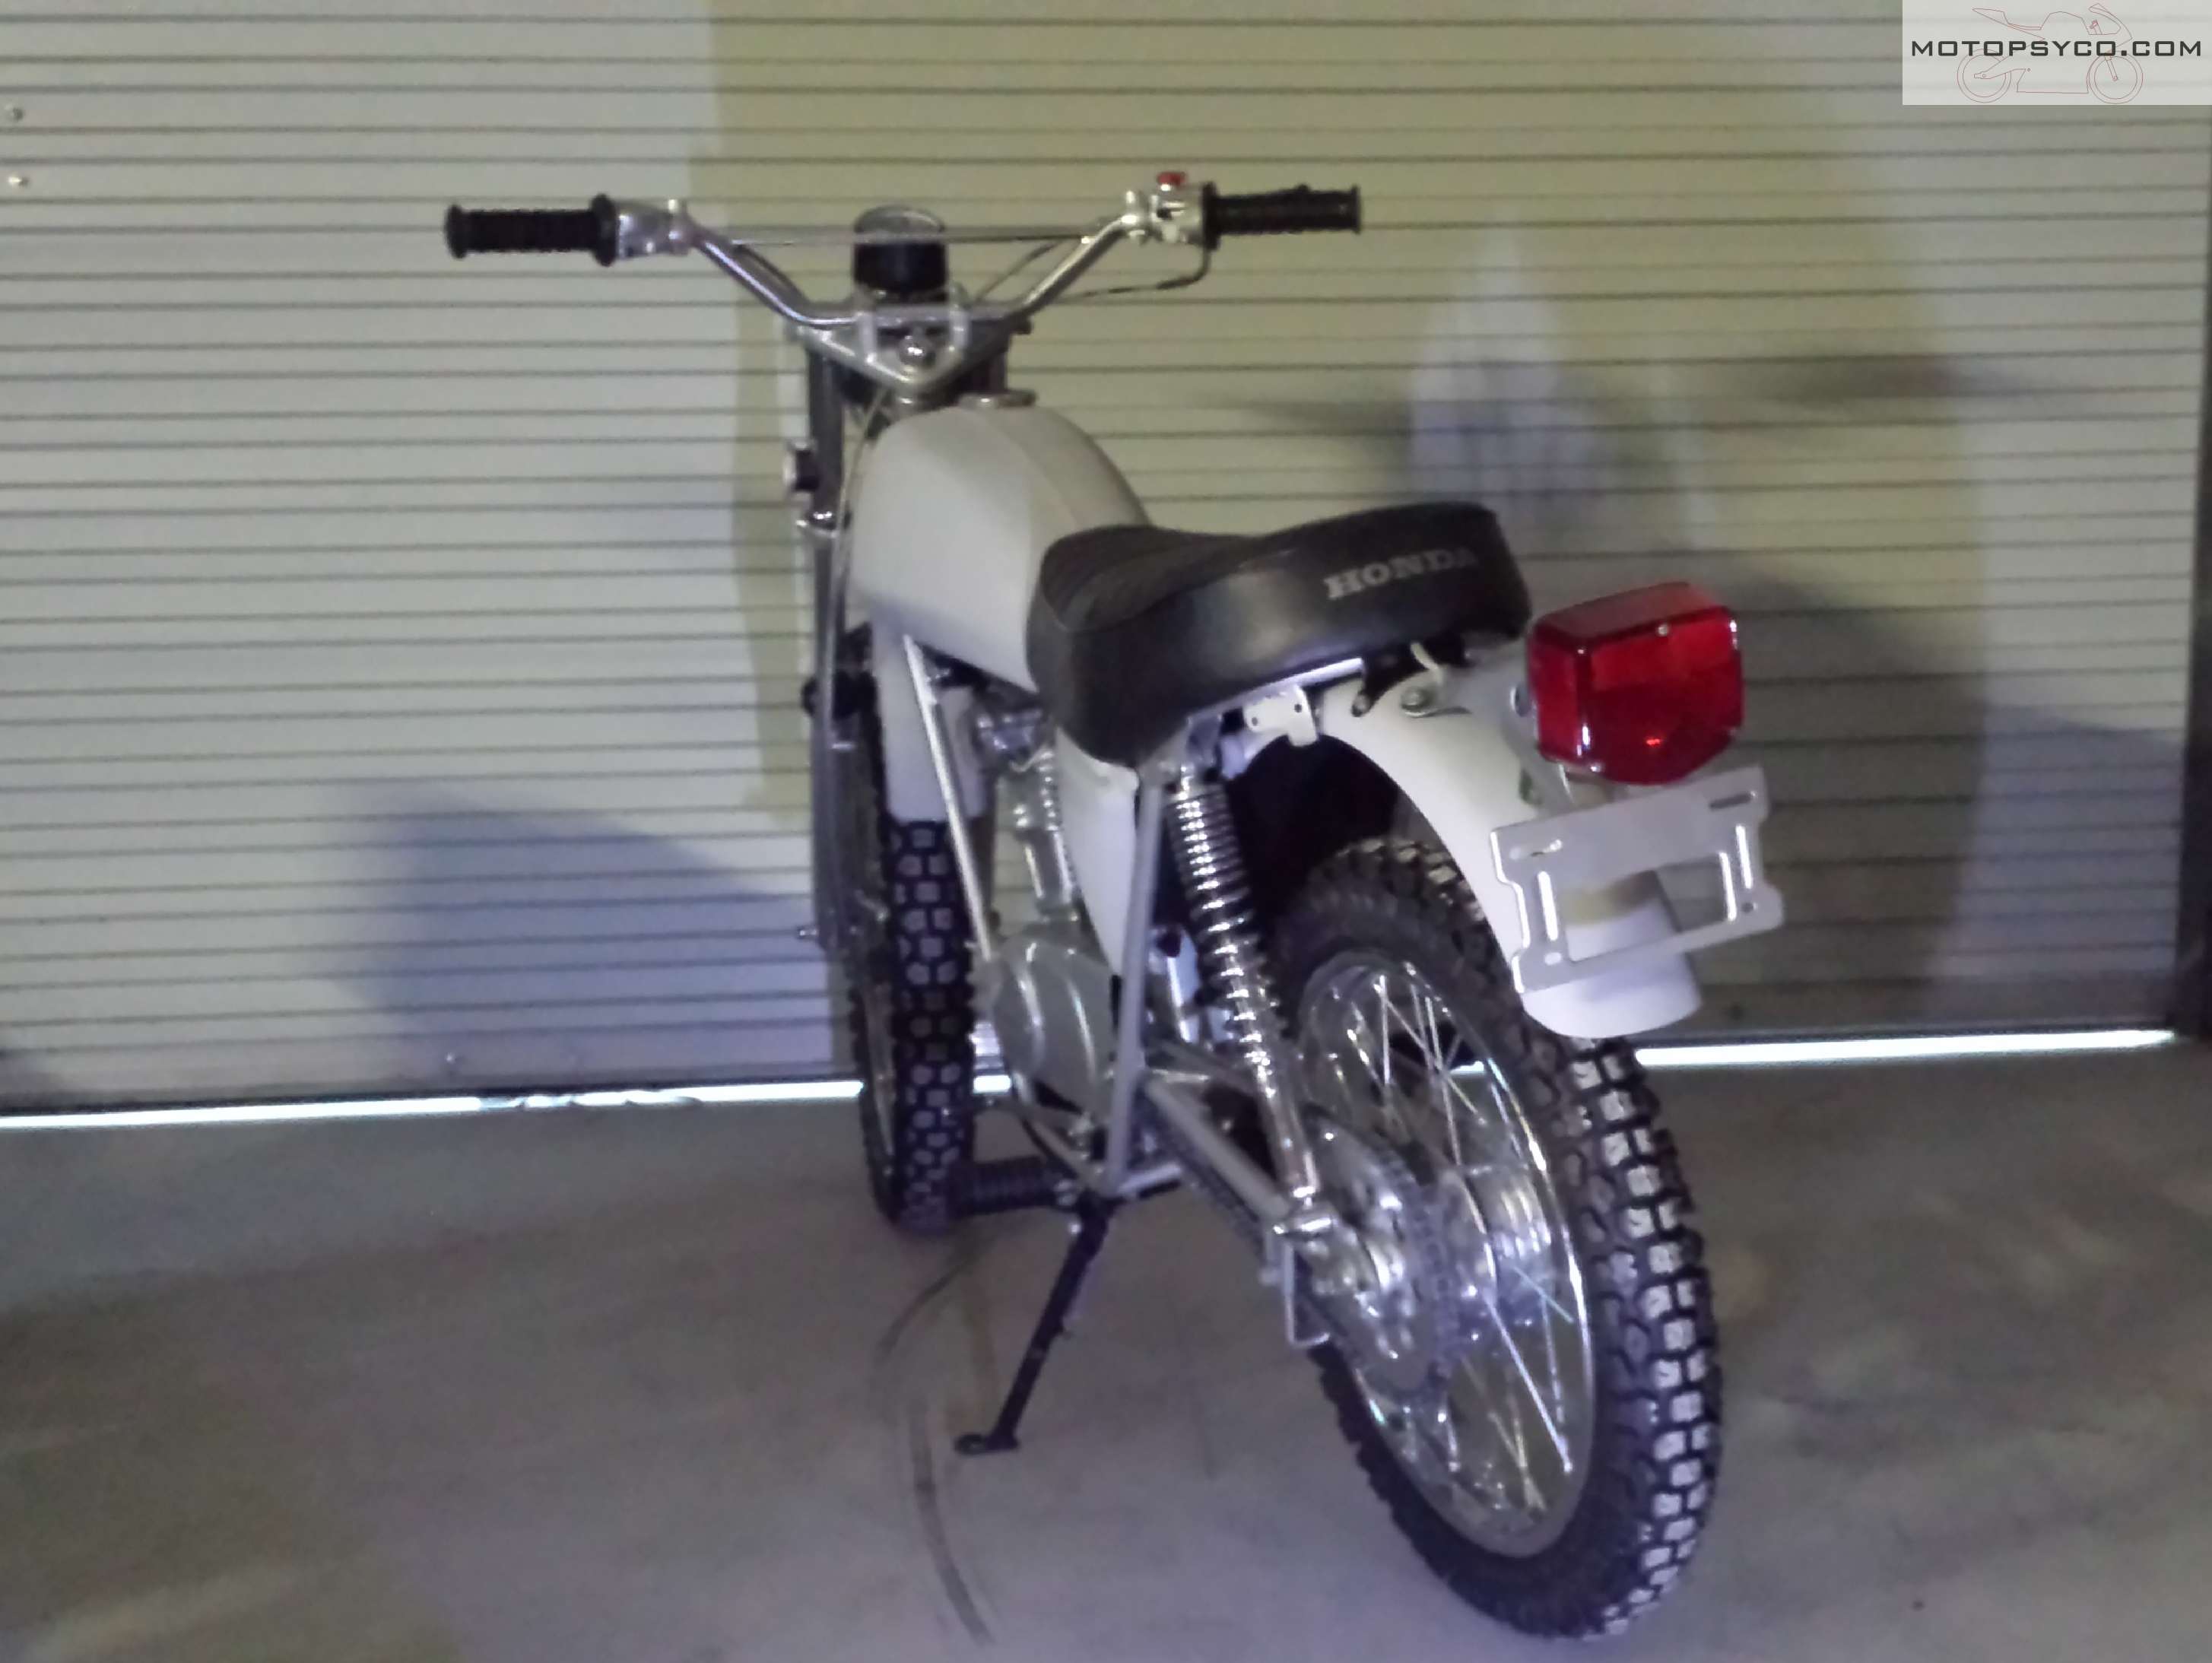
Project Honda SL100K2 Update

Honda Sl100K2

This little Honda is perhaps the ultimate junker to jewel story that I’ve ever been a character in. When I first brought it home  it didn’t seem that bad, a rolling frame, couple of boxes of parts and an engine that I assumed was stuck from sitting but should’ve been easy to get freed up with a new set of rings. Initially I planned to do a top end job, reassemble it and flip it to someone else as a running restoration project. I still don’t know what the hell happened. Now my quick and easy 1972 Honda SL100K2 flip has become a full on high level restoration that I can never hope to ever sell for enough money to recuperate the dough that I have in it.

1972 Honda SL100K2 before
as purchased, the rest of it is in boxes inside

It started with the fuel tank which looked really great until I started sanding the paint off of it and discovered that although there was no rust visible rust that I could see through the filler neck, the entire lower rear end of the tank was full of pinholes that took a few hours and a couple of brazing rods to fix. Oh well the stupid gas tank looks okay now and I’ll be putting the paint on it soon.

The engine was another complete nightmare. What I had hoped was a simple case of an old engine stuck from sitting turned out to be a case of one left out in the weather for decades with no sparkplug in the head to keep the water out. To make matters even worse the piston was at exactly top dead center. Finally I turned the entire engine upside down on top of a bucket of Evaporust with the cylinder submerged for about a week before it loosened up enough that I could beat it out of the bore with my big fucking hammer. Thankfully I didn’t bust the connecting rod or ruin the crankshaft in the process.

At this point I was already spending a fortune so the decision was made to keep this motorcycle and turn it into a full on restoration project that looked as good as possible. The engine has a lot of new old stock parts including a new cylinder & piston, valves etc.

1972 Honda SL100K2  rear wheel before
Don’t forget I do vaporblasting! This is the brake panel that matches this hub.

1972 Honda SL100K2 rear wheel after
new rim new spokes lots of vaporblasting & polishing

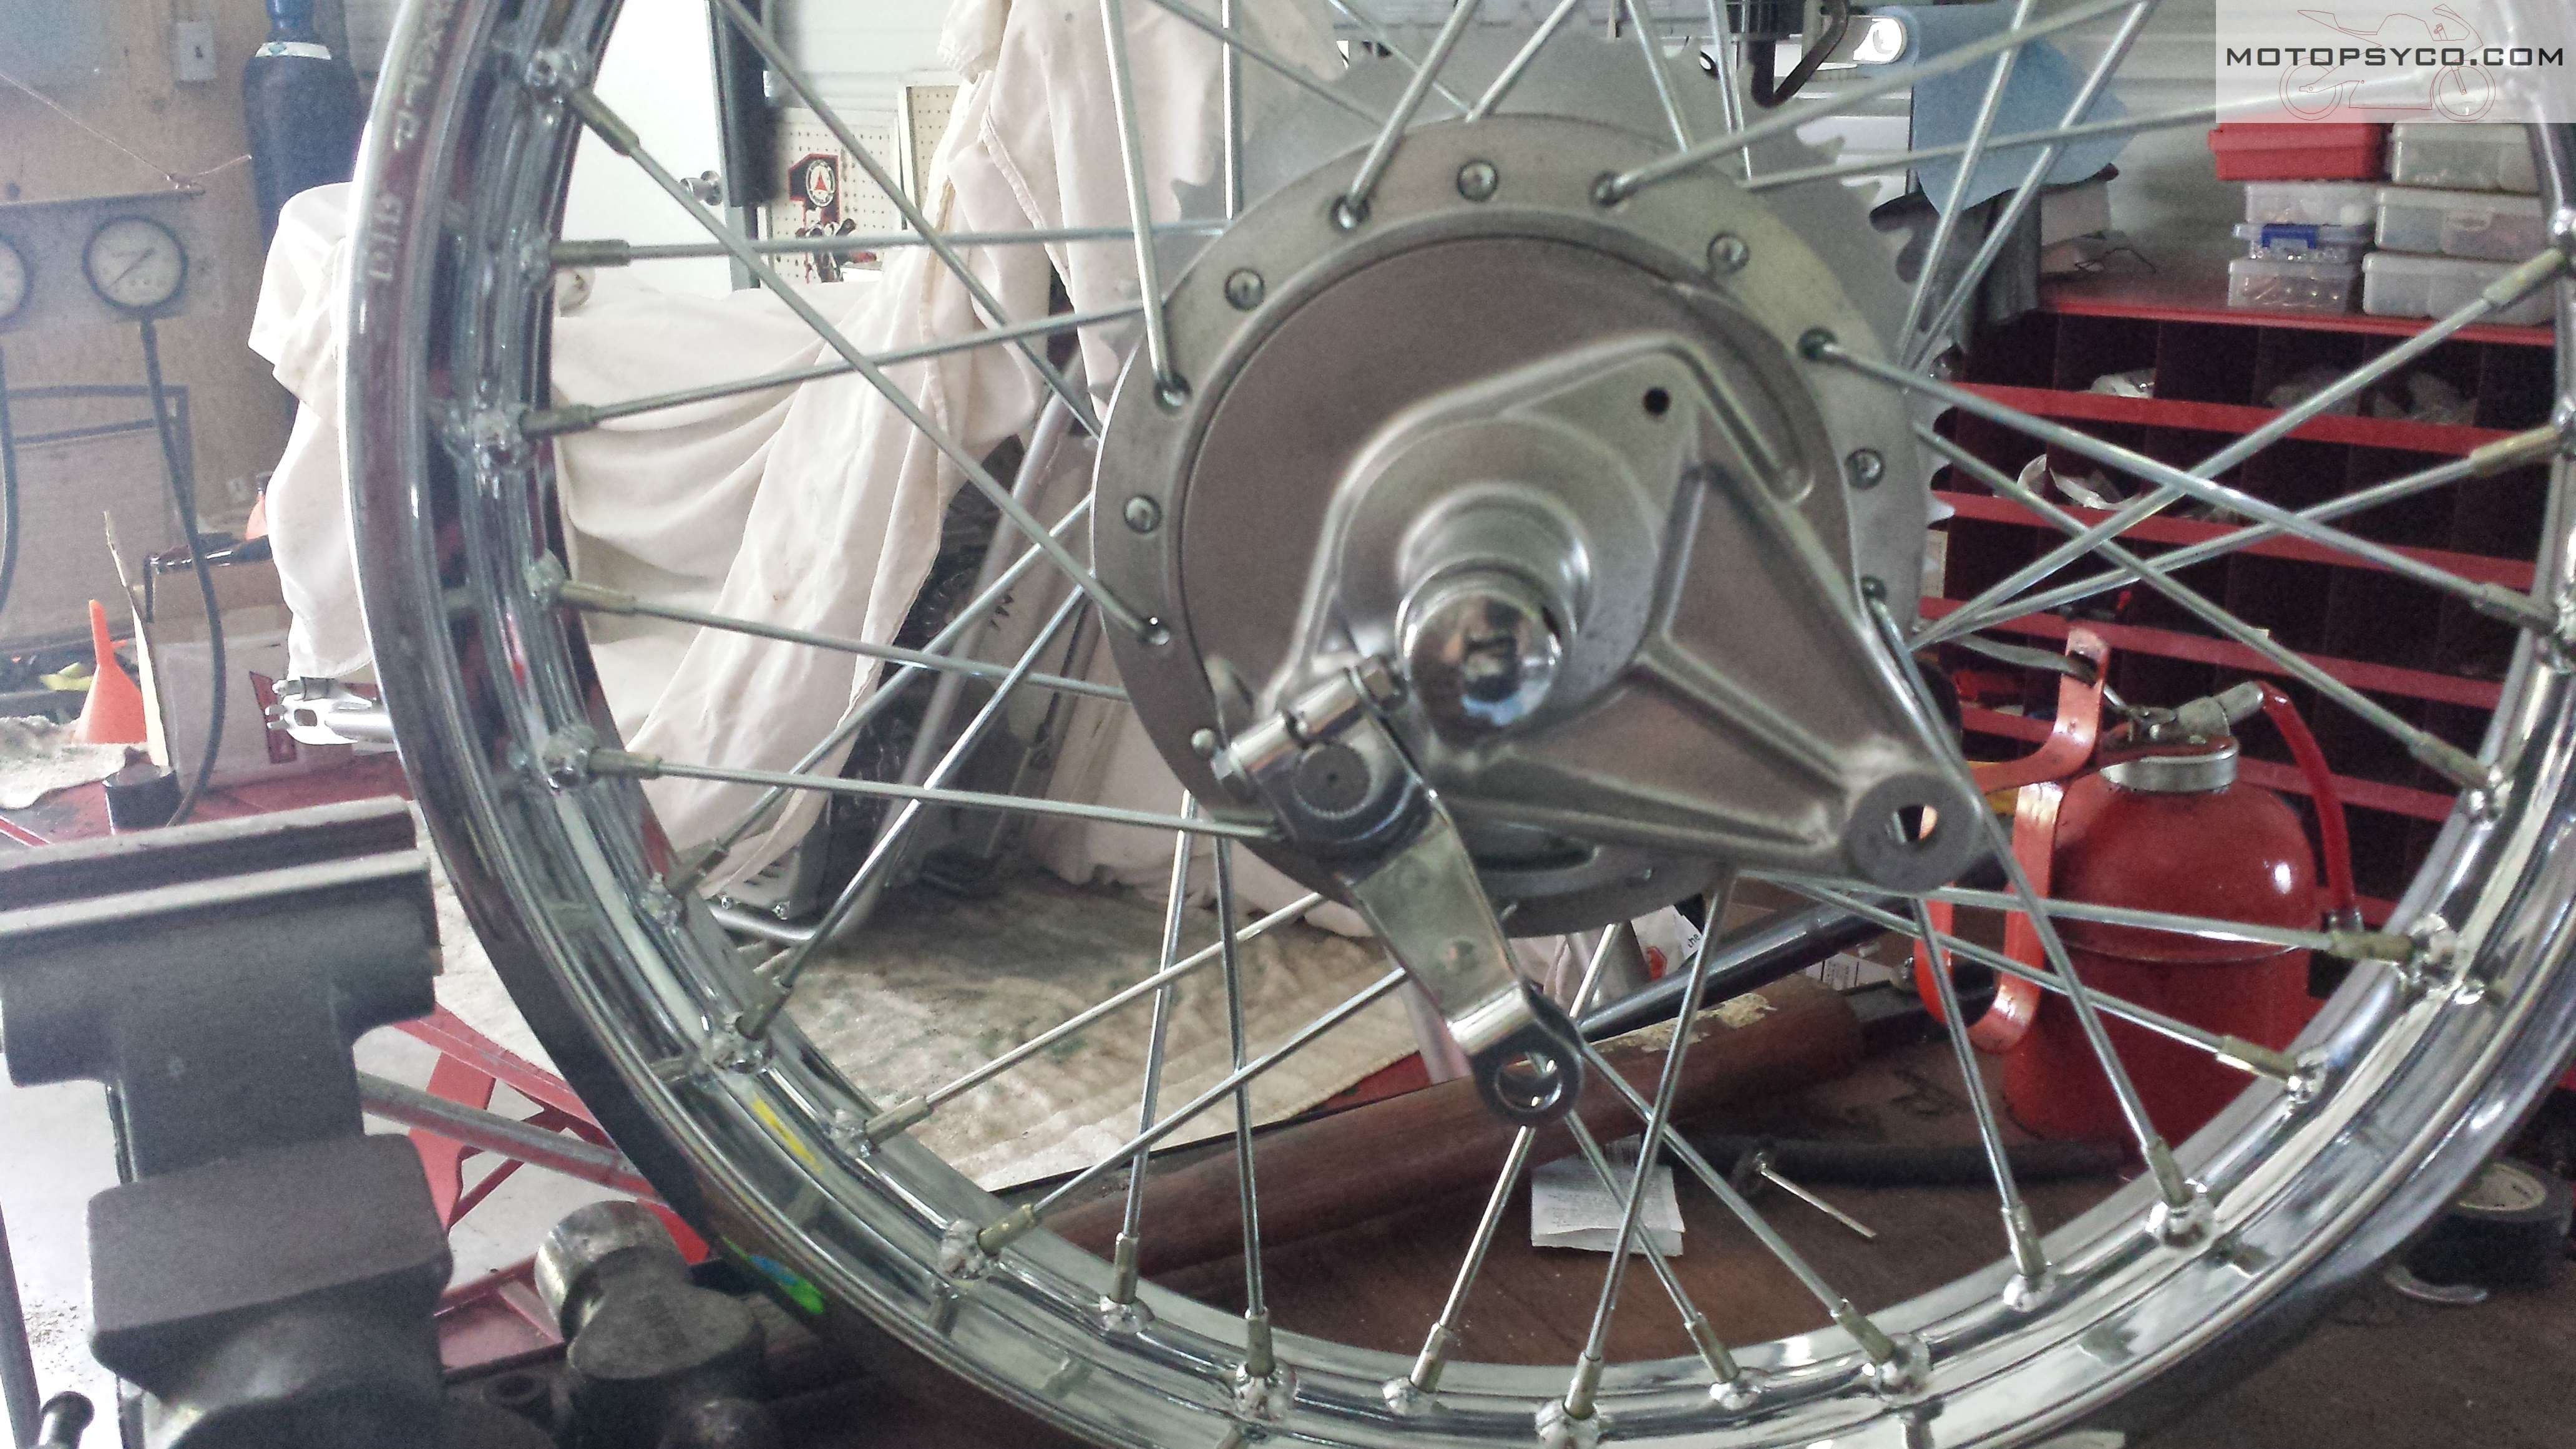
Not going full into all details here but this has been one of the most frustrating projects I have ever done. It seems like every other bolt either broke or rounded out & had to be drilled out & replaced. Several replica replacement parts were sourced from overseas that turned out to be such crap that I threw them away and ponied up the cash for real Honda NOS parts. As many original parts as possible have been refurbished and are the subjects of several previous posts here. I’ve even fired up the engine and it runs like a new one.

It really does run as good as it looks!

Last week I put it all together so that I could see what parts and hardware still needed to be ordered. This week I took it back apart so that I can block sand all the sheet metal again and finally get around to spraying the metallic green paint. You’ll see it here first when it’s done.

Honda SL100K2 almost done.
Honda SL100K2 rear

SL100 Speedometer Restoration

We’ve all seen it before, maybe even on our own bikes, beautiful paint, shiny new chrome, highly polished aluminum and dull faded out hazy looking gauges. Granted for custom bikes it’s pretty easy just to swap in a new speedometer, heck it might even be cheaper than fixing your original. I decided to perform this speedometer restoration for 2 reasons; to keep the original correct low odometer reading on this bike and I had never attempted speedometer restoration before and really wanted to try it. Sure I did make a couple of mistakes along the way but overall I am very pleased with the results. Next time I do this it’ll be even better.

Honda SL100 Speedometer Restoration

Disassembly

On some instruments the bezel that surrounds the face and mechanism is crimped to the base with a metal ring that has to be carefully removed & re installed to access the inside of the gauge.  On this little Honda the bezel was a one piece plastic part that appeared to have been either over-molded onto or permanently glued around the base of the mechanism. The first step after removing the chrome trim on the bottom is to cut away the plastic that is folded over the metal part of the gauge. Cut it all the way around so that you can carefully pull the gauge straight out of the housing. Initially I just tried cutting it part of the way around thinking that it would make it easier to re-seal when I put it back together, big mistake as I bent the thin aluminum gauge face when I tried to pull it out and had to carefully straighten it out. Slice it loose all the way around pull the gauge straight out so you don’t damage it.

Honda SL100 Speedometer Restoration

After getting it apart, carefully grasp the needle where it’s attached to the shaft & pull it straight up and off then set it aside in a safe place. On this particular bike 2 screws held the face plate on to the speedometer. There are also 2 tubes that the neutral & high beam lights shine through that have little rubber boots that are glued to the back of the face plate, cut these away carefully.

Cosmetic improvements

For some more popular motorcycles speedometer restoration is easier because ready-made gauge faces are available for them, what I did for this one was to visit my local screen printing & graphics shop and had them scan the old face in and print me a new one on a vinyl decal that was stuck into place over my dirty faded speedometer.

Honda SL100 Speedometer Restoration
The extra one is for sale $18 shipped in North America.

Since the speedometer needle was very faded I gave it a quick shot of white paint. After the white paint dried a little bit of red was applied to the tip of the speedometer needle. One very important thing to remember especially with magnetic drive speedometers & tachometers is that too much paint will make the needle heavier causing it to be slower to respond and affect the accuracy of the gauge. Use the absolute bare minimum of paint necessary to make the needle look good again.

Honda SL100 Speedometer Restoration

The clear plastic lens on this one was a little hazy & had a lot of scratches on it so I spent about 15-20 minutes polishing it with toothpaste & a damp paper towel. This removed the haze & a lot of the scratches. It’s not perfect but it looks really good.

Reassembly

I assembled the face plate to the speedometer carefully lining up the light tubes to the back of their respective lenses sealing them in place with a small amount of my favorite adhesive/sealant, Automotive Goop. Since all of the existing nuts and washers were rusty they were replaced with new hardware at this time.

Honda SL100 Speedometer Restoration

With a little careful work, on the third try I was able to slide the speedometer needle back into place so that when viewed head on at rest the needle indicated exactly zero miles per hour. Just use a little patience and take your time when doing this and everything will be okay.

Honda SL100 Speedometer Restoration

Next I made sure everything was as clean & dust free as possible inside & out and dropped the speedometer into the bezel. When I cut it loose I left enough plastic so that it snapped back into place. Then I took a good look at it and since I was satisfied with the way everything looked it was time to pull the gauge back out of the bezel just enough so that I could run a thick bead of the Goop adhesive all the way around it and then snap it back into place for good, then it was time to reinstall the chrome beauty ring on the bottom.

Conclusion

Honda SL100 Speedometer Restoration

Here’s a picture of the finished assembly mounted on the bike. Even if you never plan to do speedometer restoration yourself at least you know how it can be done. There are a few specialist repair shops out there that do nothing but repair & rebuild gauges. In fact if your gauges are inoperable you should find one of them to do your repair & restoration for you. If they’re just faded & ugly you can do them yourself as I’ve shown here or you can send them to me and I’ll do it for you for a very reasonable price.