Project 333 Honda C200

It’s just a little evil.

1964 Honda C200 Junkyard Dog
as found

In case you’re wondering dear reader, I have not stopped working on bikes but have been steadily cranking them out. Between my day job & a shop full of projects both mine & other peoples, there just hasn’t been time to sit down at the keyboard & document everything. That is about to change with this little Honda C200 . A lot of cool things have happened; including me purchasing the second brand new motorcycle I’ve ever owned a Moto Guzzi V9. On a sadder note the Suburban Assault Scrambler CB650 has gone on to its next owner but not before proving itself on the dyno by putting out the most horsepower per cc at a show last March. In case you’re wondering it cranked out an honest 50 rear wheel horsepower.

CB650

Sometime in all this there’s been a bare crankcases up rebuild on a CB400F Honda, a complete mechanical refurbishment of a Suzuki DR350 and a few others too numerous to write about. It’s all been a blast and there are plenty more on deck waiting for me to get started on them.

Honda CB400 jigsaw puzzle
3d jigsaw puzzle

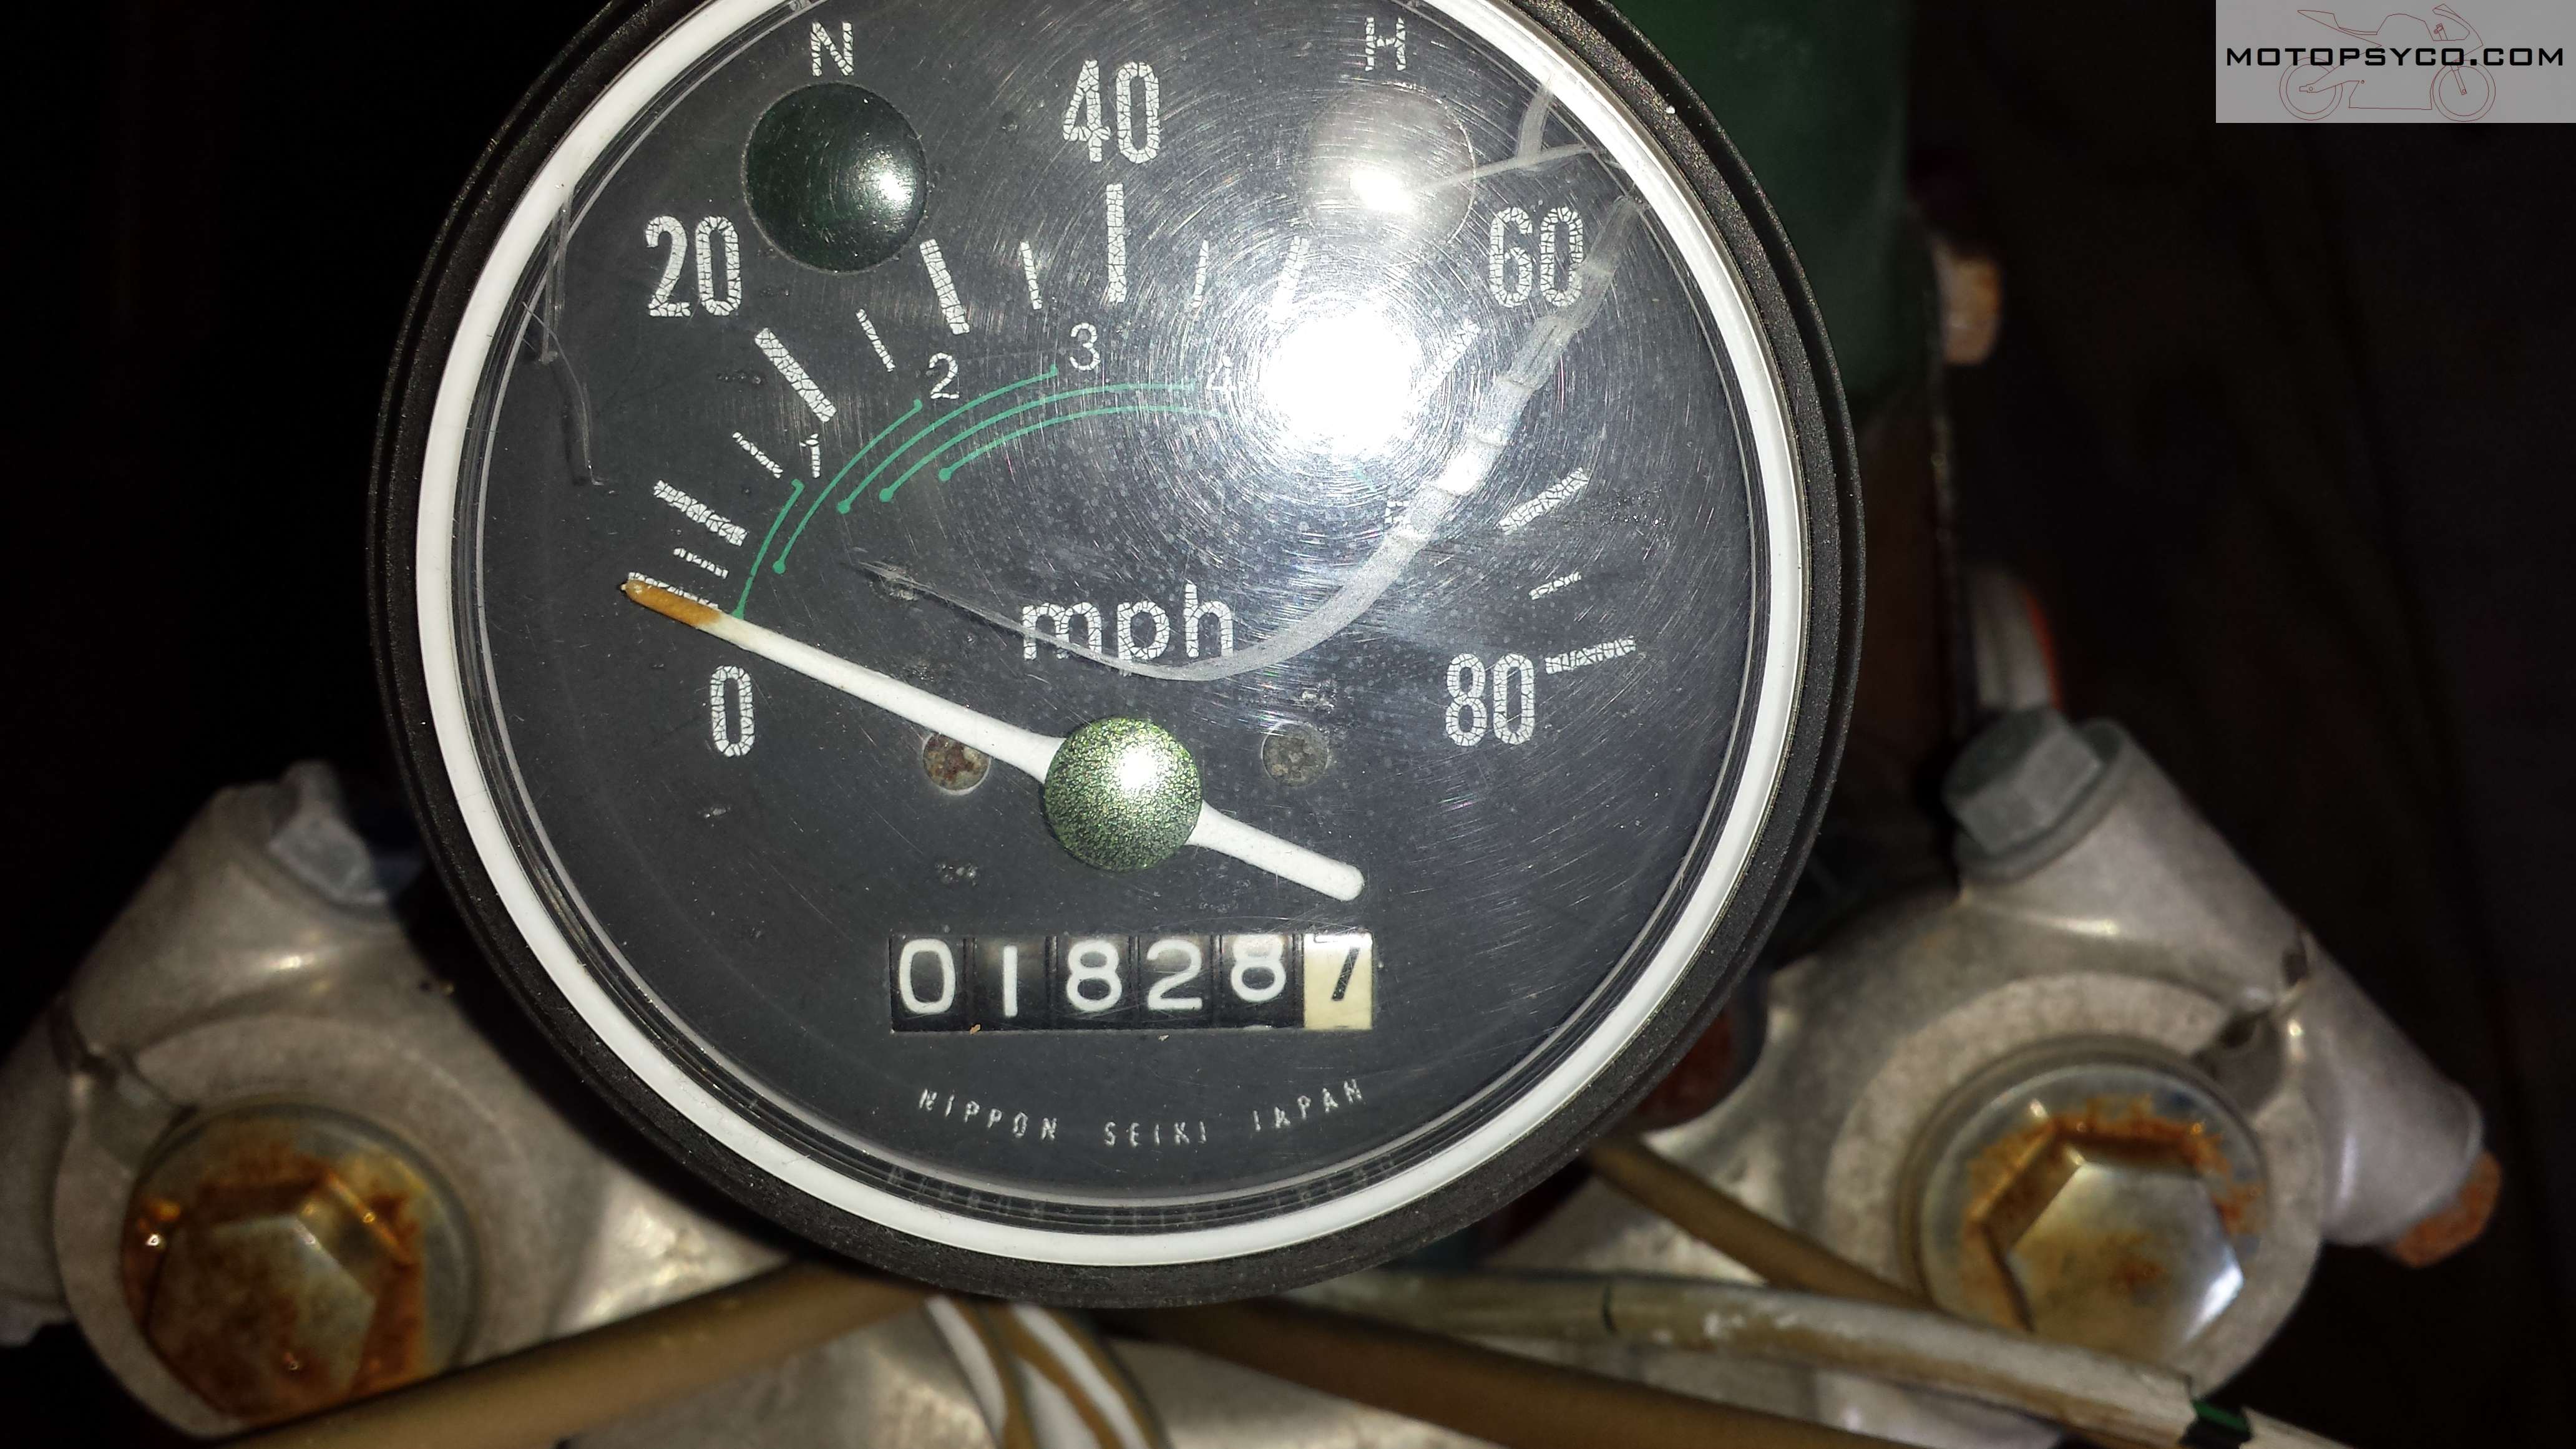
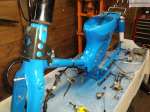
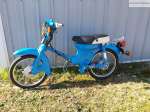
This particular Honda C200 is one that I acquired from a friend; it’s in fair condition with nothing but light surface rust & dings but is missing a few parts and hasn’t been run in several years. Most importantly of all it came with a title. I generally don’t have much trouble getting titles for old bikes without one but it is an extra bit of expense & time.

Honda c200 ca200

Restoration is not in the cards for this particular 1964 Honda C200. I’ve proven that I can do a show winning 100% stock restorations and I will do a few more later but this build is going to be about me getting back to my rat bike roots. The goal for this one is to have it done & ready in time to cruise around at the Barber Small Bore Festival organized by MNNTHBX the first weekend in June.

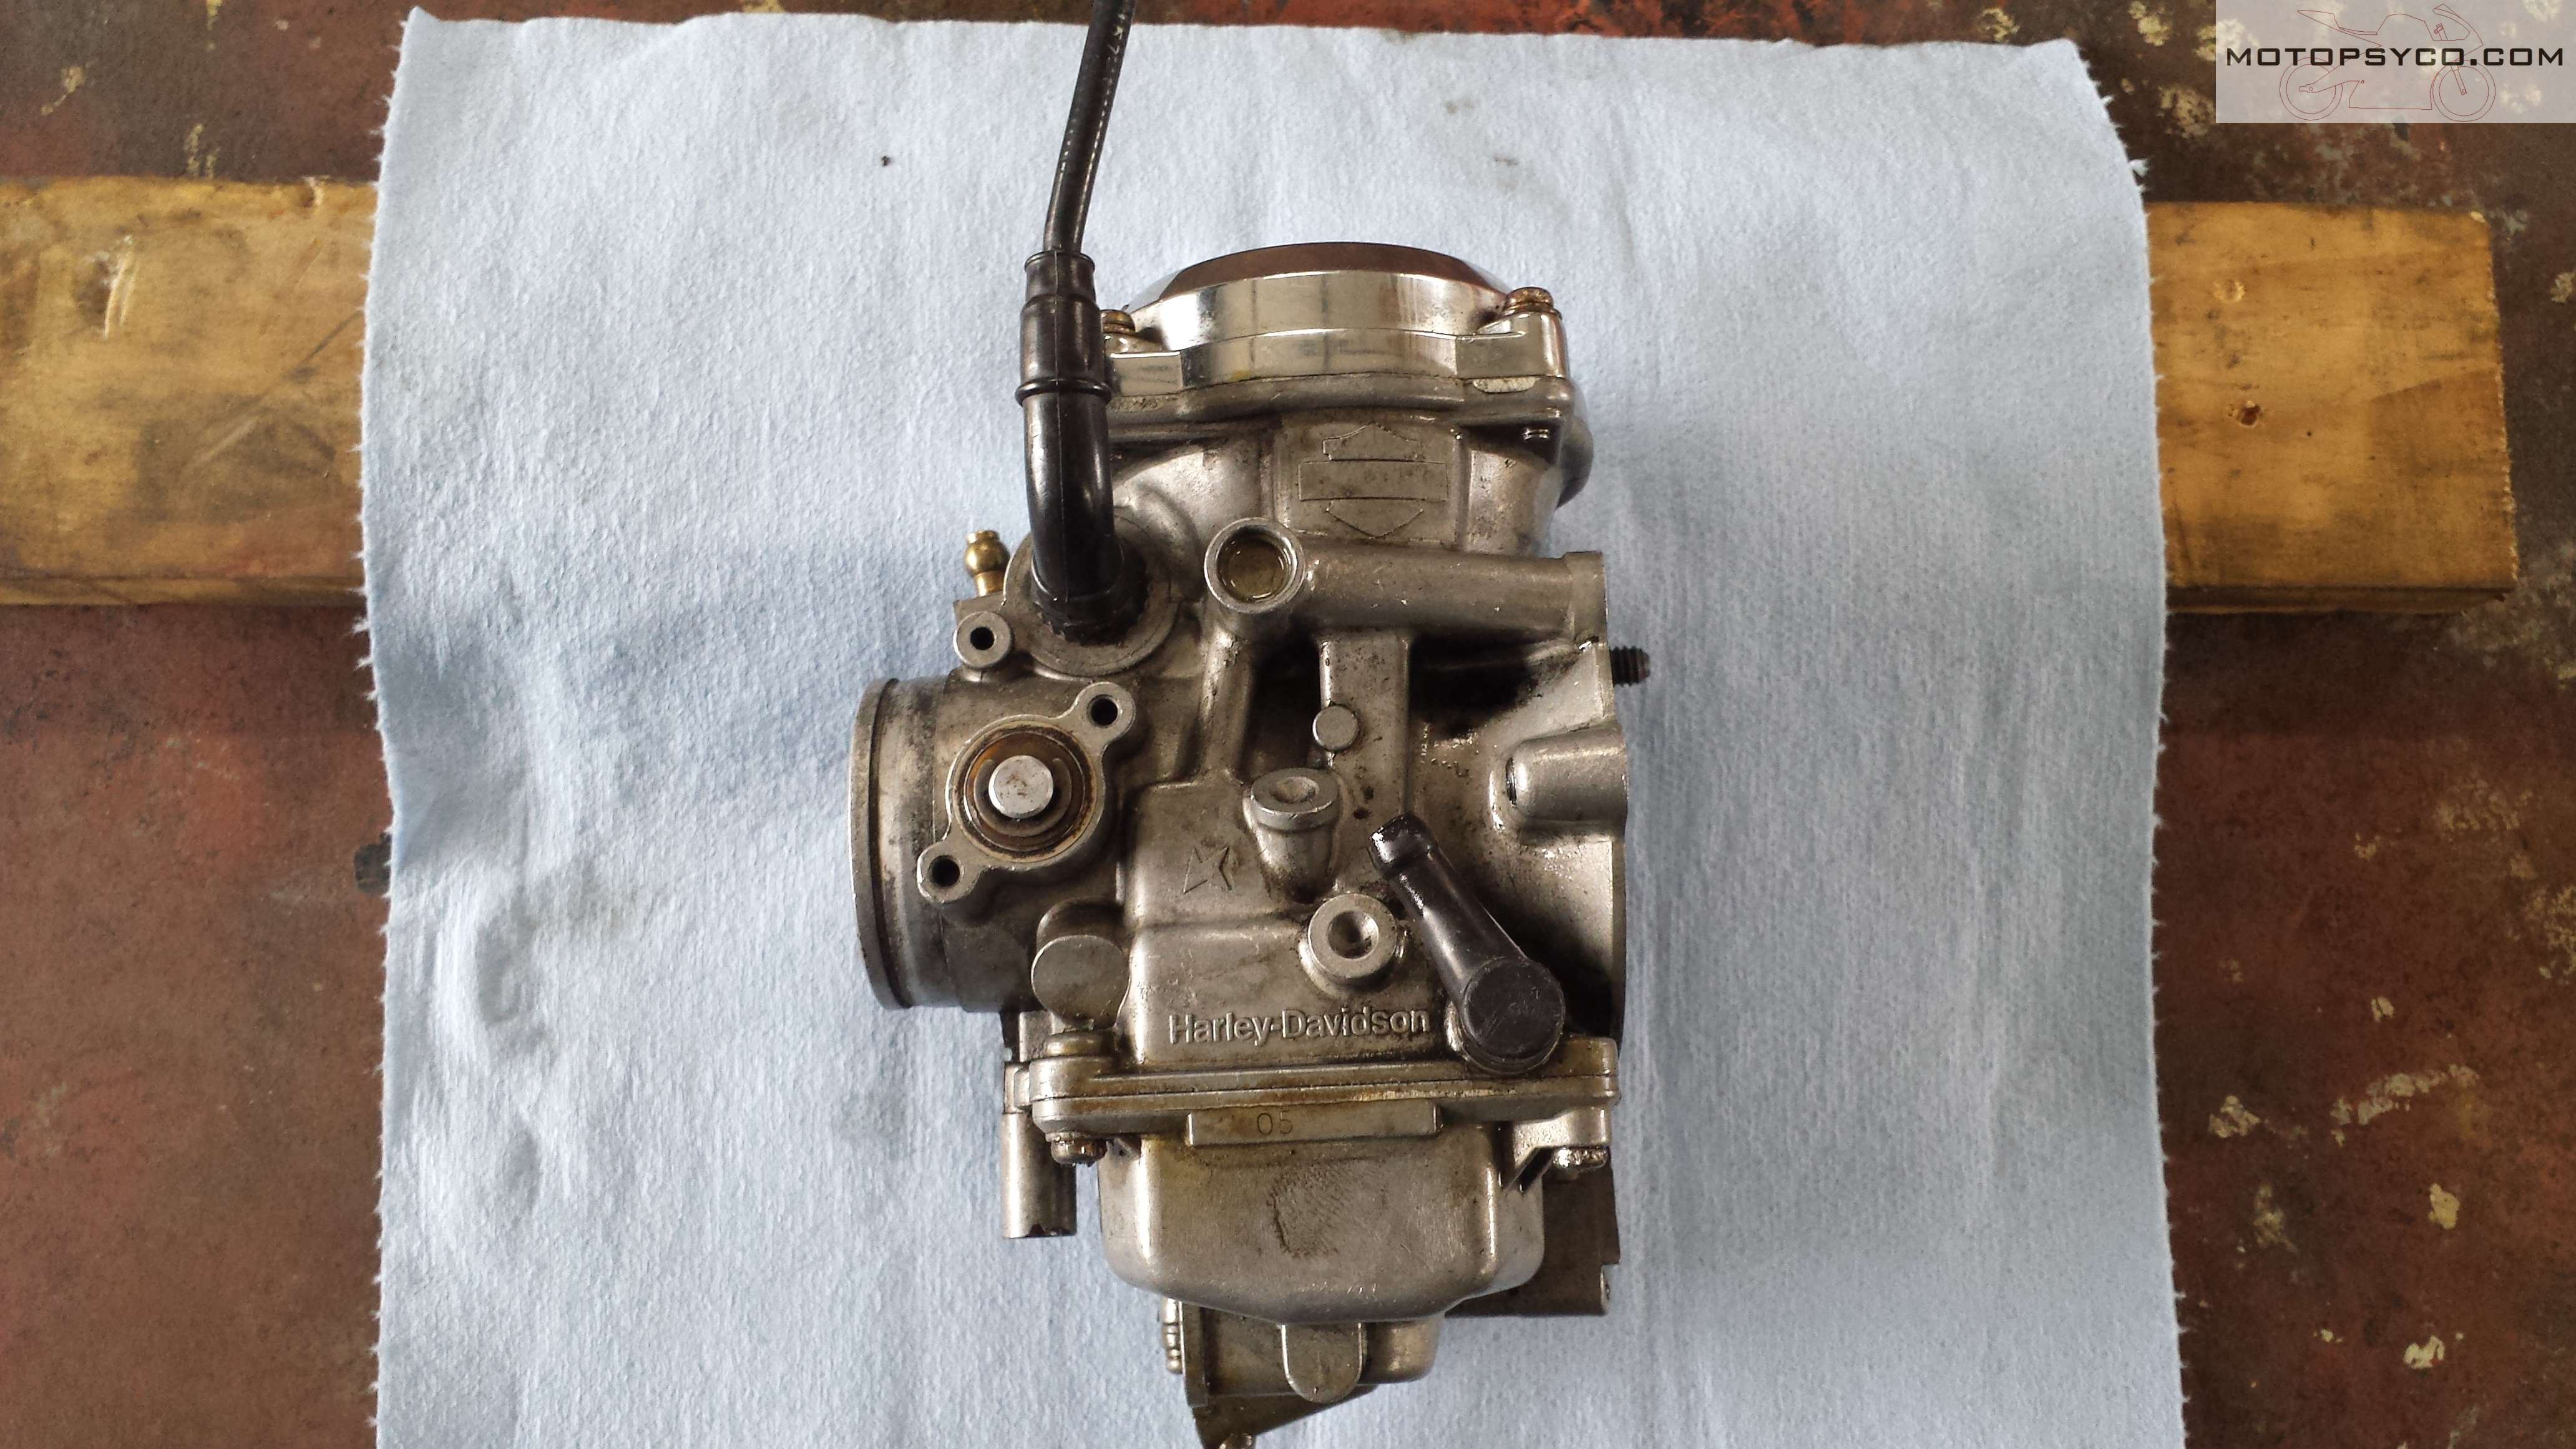
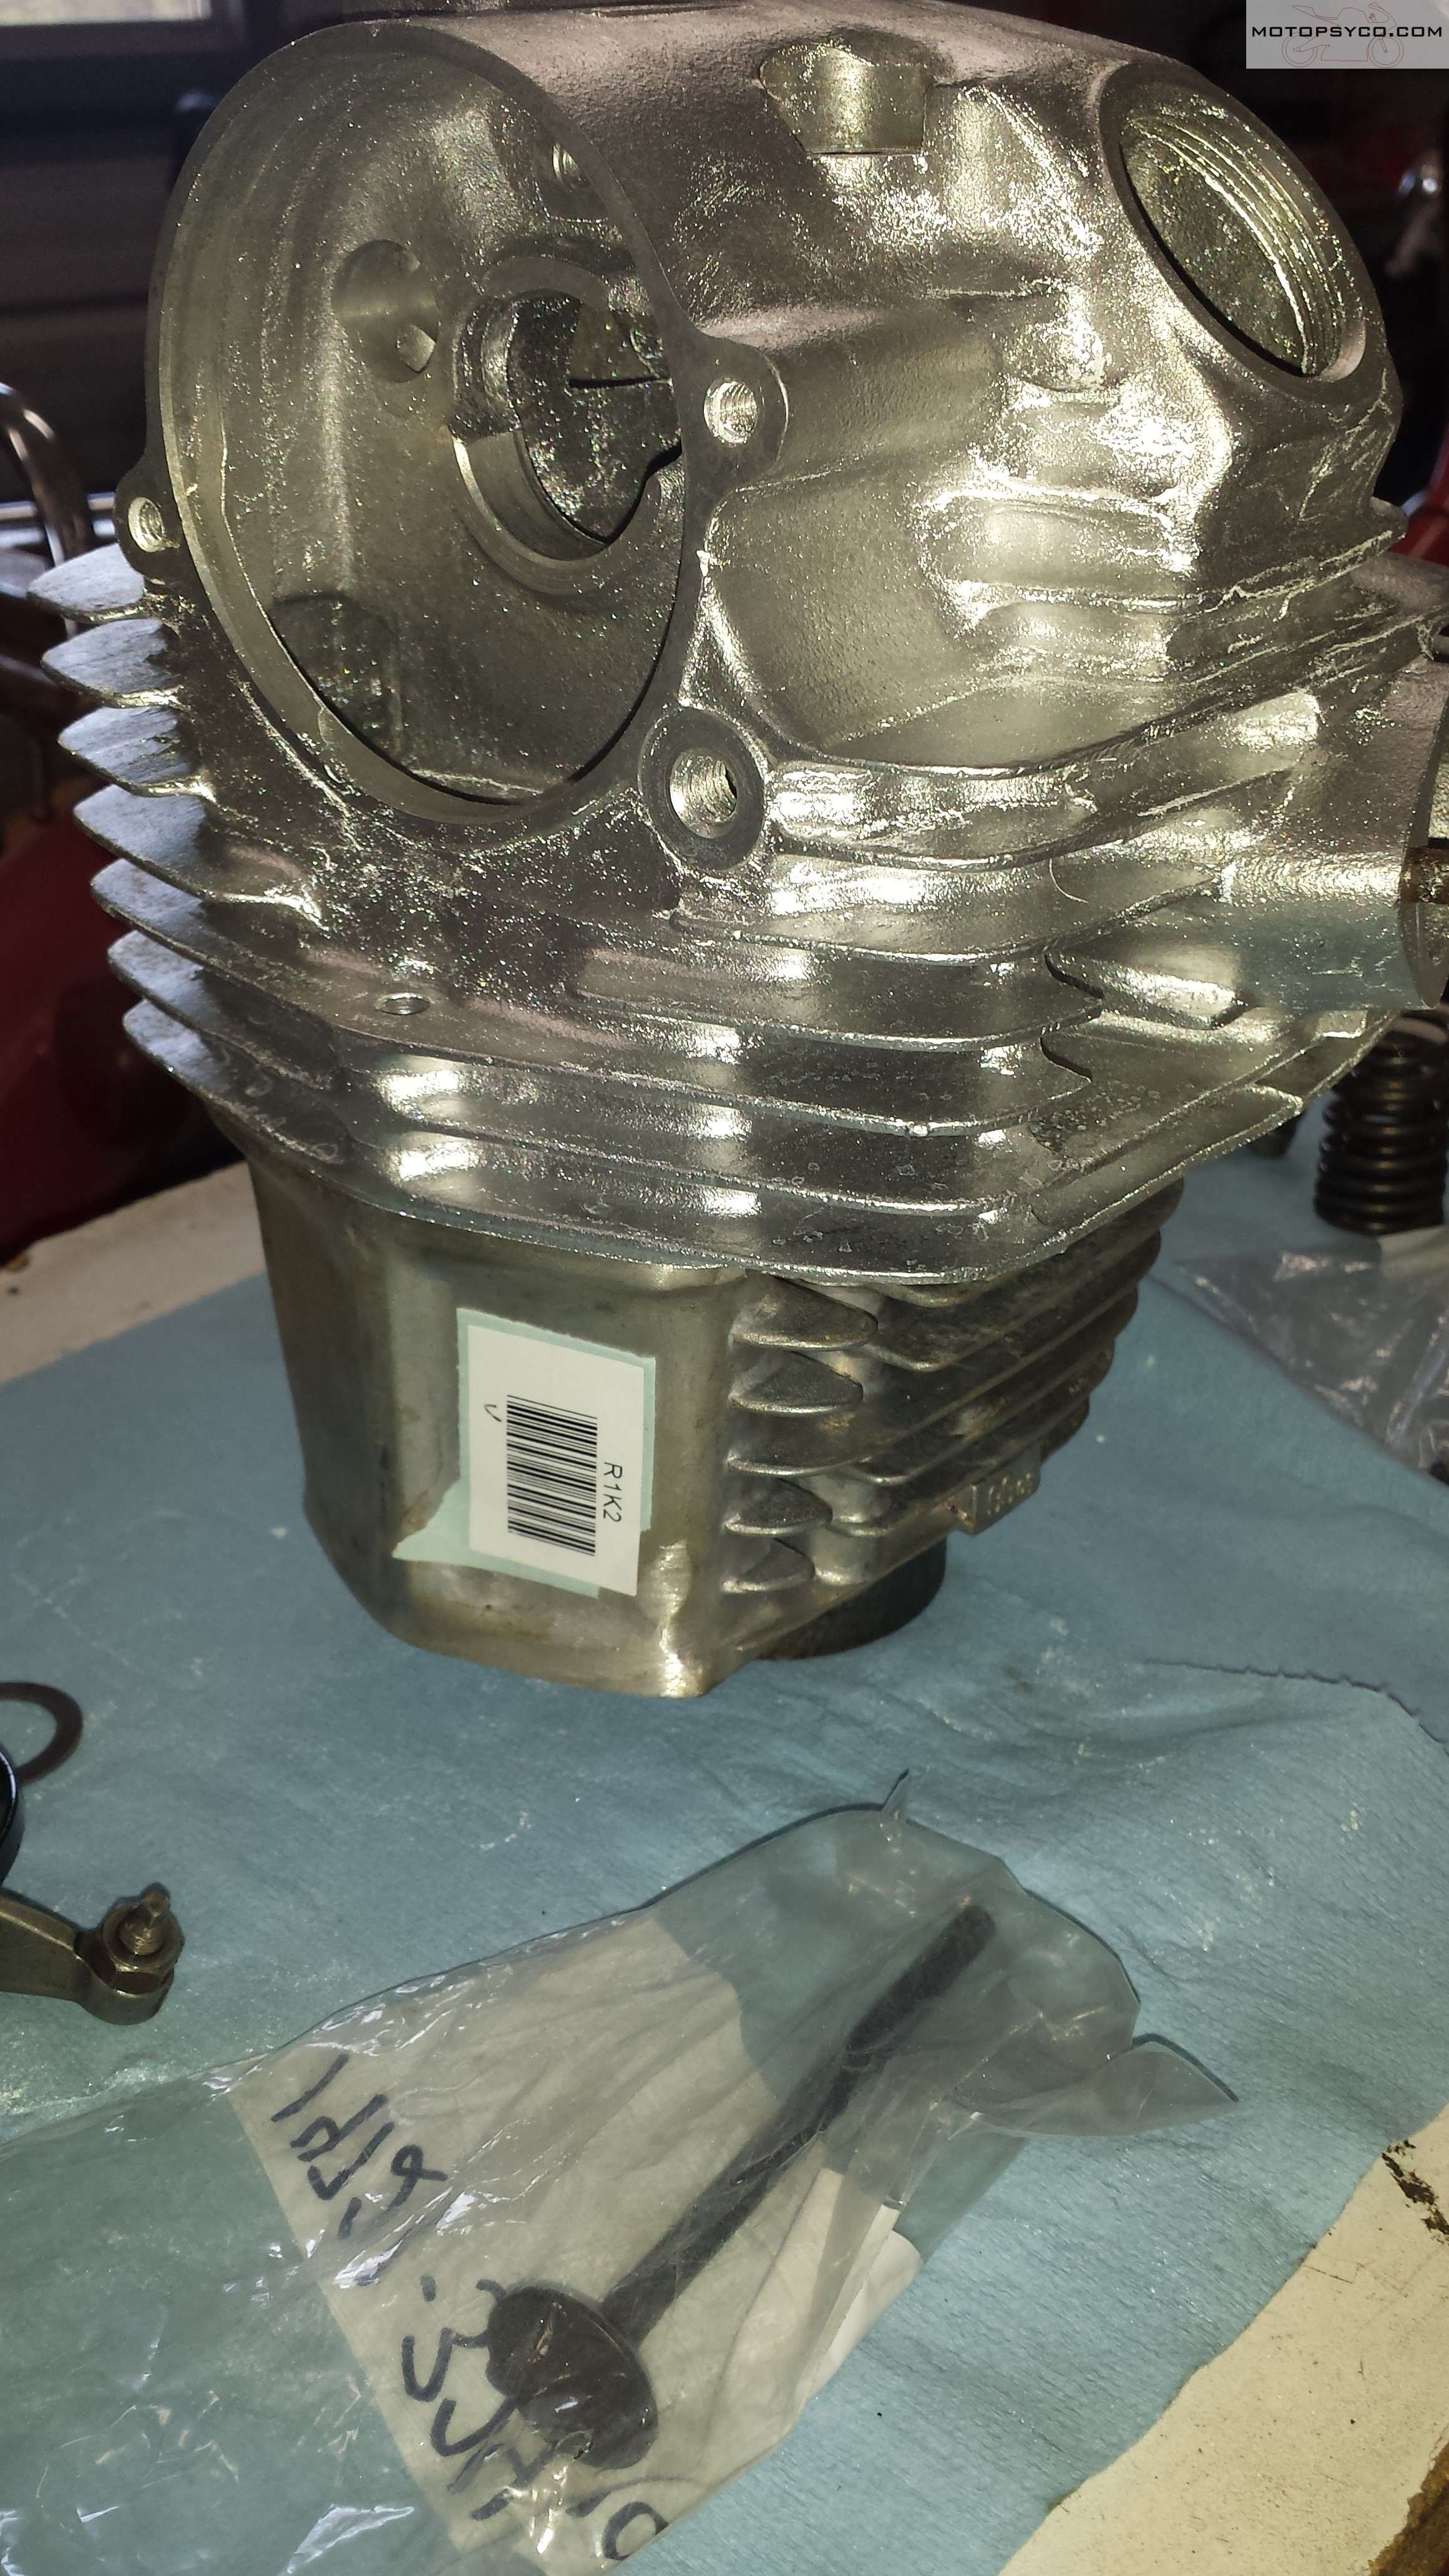
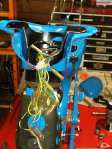
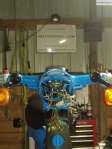
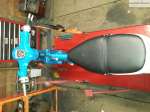
The stock 90cc Honda C200 engine has been placed into my parts stash to make room for a Piranha YX140 engine. In addition to being much more powerful than the original pushrod engine it also has an electric start and a semi-auto clutch on the 4 speed transmission. This engine is available with a manual clutch if you want it but I didn’t for this build. You can probably go faster with the manual but I know how to build up the revs and launch a semi-auto so I’m not too concerned with that.  There’s a lot more to this little bikes new purpose in life than just blasting down the 1/32 mile drag strip.

Piranha 140cc engine
https://amzn.to/37z1jgZ click to get your own

I’ll tell you more about YX140 engine in my next post. The pushrod engines in the Honda C200, CA200, & CT200 engines have the same mounting bolt pattern as the later CT70s, Z50s, and other common pit bikes so you don’t need any special adapters & spacers to put them in like on a later overhead cam 90cc Honda. That being said you still have to modify your frame by grinding some clearance for the protrusions on the rear corners of the engine before it will bolt in.

Piranha 140 engine in 64 Honda C200 CA200

Goodbye for now, I’ve got to get my wiring run and fire this thing up. Once that is done I’ll come back and tell you all about it.

22mm Mikuni Carburetor
Pit bike Mikuni Carburehttps://amzn.to/37Ff7qator

SL100 Speedometer Restoration

We’ve all seen it before, maybe even on our own bikes, beautiful paint, shiny new chrome, highly polished aluminum and dull faded out hazy looking gauges. Granted for custom bikes it’s pretty easy just to swap in a new speedometer, heck it might even be cheaper than fixing your original. I decided to perform this speedometer restoration for 2 reasons; to keep the original correct low odometer reading on this bike and I had never attempted speedometer restoration before and really wanted to try it. Sure I did make a couple of mistakes along the way but overall I am very pleased with the results. Next time I do this it’ll be even better.

Honda SL100 Speedometer Restoration

Disassembly

On some instruments the bezel that surrounds the face and mechanism is crimped to the base with a metal ring that has to be carefully removed & re installed to access the inside of the gauge.  On this little Honda the bezel was a one piece plastic part that appeared to have been either over-molded onto or permanently glued around the base of the mechanism. The first step after removing the chrome trim on the bottom is to cut away the plastic that is folded over the metal part of the gauge. Cut it all the way around so that you can carefully pull the gauge straight out of the housing. Initially I just tried cutting it part of the way around thinking that it would make it easier to re-seal when I put it back together, big mistake as I bent the thin aluminum gauge face when I tried to pull it out and had to carefully straighten it out. Slice it loose all the way around pull the gauge straight out so you don’t damage it.

Honda SL100 Speedometer Restoration

After getting it apart, carefully grasp the needle where it’s attached to the shaft & pull it straight up and off then set it aside in a safe place. On this particular bike 2 screws held the face plate on to the speedometer. There are also 2 tubes that the neutral & high beam lights shine through that have little rubber boots that are glued to the back of the face plate, cut these away carefully.

Cosmetic improvements

For some more popular motorcycles speedometer restoration is easier because ready-made gauge faces are available for them, what I did for this one was to visit my local screen printing & graphics shop and had them scan the old face in and print me a new one on a vinyl decal that was stuck into place over my dirty faded speedometer.

Honda SL100 Speedometer Restoration
The extra one is for sale $18 shipped in North America.

Since the speedometer needle was very faded I gave it a quick shot of white paint. After the white paint dried a little bit of red was applied to the tip of the speedometer needle. One very important thing to remember especially with magnetic drive speedometers & tachometers is that too much paint will make the needle heavier causing it to be slower to respond and affect the accuracy of the gauge. Use the absolute bare minimum of paint necessary to make the needle look good again.

Honda SL100 Speedometer Restoration

The clear plastic lens on this one was a little hazy & had a lot of scratches on it so I spent about 15-20 minutes polishing it with toothpaste & a damp paper towel. This removed the haze & a lot of the scratches. It’s not perfect but it looks really good.

Reassembly

I assembled the face plate to the speedometer carefully lining up the light tubes to the back of their respective lenses sealing them in place with a small amount of my favorite adhesive/sealant, Automotive Goop. Since all of the existing nuts and washers were rusty they were replaced with new hardware at this time.

Honda SL100 Speedometer Restoration

With a little careful work, on the third try I was able to slide the speedometer needle back into place so that when viewed head on at rest the needle indicated exactly zero miles per hour. Just use a little patience and take your time when doing this and everything will be okay.

Honda SL100 Speedometer Restoration

Next I made sure everything was as clean & dust free as possible inside & out and dropped the speedometer into the bezel. When I cut it loose I left enough plastic so that it snapped back into place. Then I took a good look at it and since I was satisfied with the way everything looked it was time to pull the gauge back out of the bezel just enough so that I could run a thick bead of the Goop adhesive all the way around it and then snap it back into place for good, then it was time to reinstall the chrome beauty ring on the bottom.

Conclusion

Honda SL100 Speedometer Restoration

Here’s a picture of the finished assembly mounted on the bike. Even if you never plan to do speedometer restoration yourself at least you know how it can be done. There are a few specialist repair shops out there that do nothing but repair & rebuild gauges. In fact if your gauges are inoperable you should find one of them to do your repair & restoration for you. If they’re just faded & ugly you can do them yourself as I’ve shown here or you can send them to me and I’ll do it for you for a very reasonable price.

Drilling Handlebars for Wiring

A lot of old motorcycles like my old 1972 Honda SL100K2 have their switch gear wiring inside of the handlebars for a nice neat clean appearance. I was actually able to locate a couple of sets of genuine Honda new old stock handlebars but the cheapest set I saw was over $150. Plus a lot of the NOS parts I find tend to have some shelf wear or corrosion on them so I just went ahead & bought a set of nice new reproduction bars without the wiring holes for $50. So this post is going to be about drilling handlebars for wiring. Whether you are try to do an authentic restoration or a sleek custom the basic procedure is the same

Drilling Handlebars for Wiring

The first step is to determine where the holes & slots should be. These Thailand sourced bars had holes pre-drilled for the switch housing locating pins but they were in the wrong place. Since I was replacing the old but non-original bars I taped them together wile I measured and marked the locations for the new holes and slots. Pay attention to detail while doing this so that you don’t make any mistakes or remove excess metal from your handlebars. A prime example of this is visible on my old handlebars. The left side only needed a hole large enough for the single horn wire but whoever installed them cut a large slot instead. Watch for little things like that.

Drilling Handlebars for Wiring

I like to put a couple of layers or masking tape & duct tape on the areas to be slotted out. This does two things, it makes marking the hole & slot locations easier and protects the handlebar from inadvertent tool marks while you are cutting & grinding the slots.

Drilling Handlebars for Wiring

After you get it all laid out & are certain of where you need to drill be sure you use a center punch, otherwise it is nearly impossible to drill a hole straight into a piece of round tubing. For the slots drill a hole of the correct size at each end of the slot & then use a rotary tool or a die grinder with a cut off wheel to cut out the center section. Once that has been done put a small grinding stone or sanding drum on your tool to finish shaping and smoothing the slot. Don’t remove the tape until this step is complete.

Drilling Handlebars for Wiring

Now it’s time to remove the tape, clean up the tape residue & get all of the shavings out of the handlebar. Grab a small file that will fit into your cut outs and go over them one more time to be sure that all burrs & sharp edges that could damage the wires are removed.

In these next two pictures you can see how I slotted & drilled the left and right ends of the bars.

Drilling Handlebars for Wiring
Right end
Drilling Handlebars for Wiring
left end

Before you pull the wiring through, if you have one piece clutch & brake lever perches be sure to put them back on first. I like to put a piece of string through the bars & tape the wire to it as it is much easier to feed the wiring through if you pull it and push it at the same time. Nonabrasive hand cleaner makes a great lubricant for pulling a thick bundle of wires through a small tube with multiple bends in it. The hand cleaner wipes off easily when you get done.

Drilling Handlebars for Wiring

Once you have it a done, reinstall the bars on your bike and admire your handiwork for a minute or two before you get back to work on the rest of your build. If you have ever thought about drilling handlebars for wiring now you have an idea of what is involved. Just work slowly and carefully so that when you finish it will be a job that you’re proud to say, “I did that myself.”

Drilling Handlebars for Wiring
Pardon the messy shop.

Handlebar switch restoration

If you look at a lot of restored vintage bikes, you may notice that even some very nicely restored bikes have switch gear that looks okay but you can tell that the switches were not fully refurbished to the same level as the rest of the bike. I plead guilty to doing this myself because the switches are full of little tiny springs, detent balls, delicate soldered connections etc. and if a single piece gets lost or broken your switches are ruined. Since I am putting so much effort into my current 1972 Honda SL100 project I could not settle for anything less than a full on handlebar switch restoration to make the whole bike look as new as possible. If something had gone wrong I was prepared to spend the money on a set of new old stock switches to replace them.

Handlebar Switch Restoration

Before beginning your handlebar switch restoration clean off your workbench and the floor around it & under it, so that if any of the tiny parts fall out or go flying you at least have a chance of finding them.  Keep a magnet close by in case you need it. Also remember that sometimes the old plastic knobs & buttons often become fragile with age so be careful handling them.

Handlebar Switch Restoration

Take a few minutes to study how the wires & switches are placed & secured in the housing, and then remove the retaining screws & plates. You should also look at and remember how any tape or sleeves are applied to the wires in the housing to protect them from chafing.

In the picture below you can see a detent ball sitting on top of the black slider for the headlight controls, there is a spring under this ball that can (and did) send it flying so use caution to be sure you don’t lose any parts.

Handlebar Switch Restoration

Once I pulled the e-clip off of it, the engine stop switch and its wiring could be removed through the top of the housing. Go ahead and completely remove all of the switches, wiring, & clips from the housings.

Handlebar Switch Restoration

If you have any damaged threads or broken screws in the housings now is the time to deal with that. In this case the throttle stop screw was snapped off in the bottom of the housing so I had to drill it out and tap the hole. You’ll notice that there are magnetic rubber vise jaws attached to my vise. These are an absolute necessity for doing this kind of work without damaging your parts.

Handlebar Switch Restoration
click here for padded jaws for your vise

With your switch housings stripped bare & all repairs made now is the time to clean them up. I use my vapor blasting machine because no other method I know can restore a factory new appearance to old aluminum the way vapor blasting can. If you don’t have access to a vapor blaster you can send your parts to me & I can do it for you. See my vapor blasting page for rates & information.

vapor blasting & Handlebar Switch Restoration

After everything was repaired & cleaned I painted the stop switch with a little spray paint and used an oil paint marker to paint the red lettering & dots as you can see below. For more information on this technique click this link to see my previous post on emblem & badge refurbishment.

Handlebar Switch Restoration

Now that everything is clean & new looking gather up the supplies & tools you need for reassembly. At the least you’ll need some new wire sleeves, tape to match the sleeve, JIS screwdriver, a small pick, some grease, the finest point needlenose pliers that you own, some tweezers, a sharp knife and a multimeter. Depending on what you are working on you may need more or less tools than these, for example if you have a broken wire connection a soldering iron might be needed.

tools for Handlebar Switch Restoration

Carefully reinstall all of the parts in reverse of the order you removed them. Take time to tape & sleeve wires as needed because you might not be able to after everything is back together. Be sure to watch out for flying springs etc. during reassembly, it’d be a shame to get this far and lose a critical part. Work slowly & stay as relaxed as possible when doing delicate work like this.

Handlebar Switch Restoration

The final step of handlebar switch restoration is to test the function of all of the switches using either the ohmmeter or diode tester function of your multimeter.  If everything is working great you are ready to reinstall the switch gear to your motorcycle. If not, it’s a whole lot easier to fix it now than after putting the bike back together.  This is especially if the wires are going to be inside of the handlebars.

test the Handlebar Switch Restoration

I hope that you’ve enjoyed following along while I completed my handlebar switch restoration. The next post that I have planned will show how I measured & drilled the holes in my handlebars for the wiring to pass through.

completed Handlebar Switch Restoration
Ready to install!

Until then, Peace Y’all

Harley Keihin Carb clean

Another bike left to die


This patient is a 2000 Harley Davidson FXST Softail standard. I realize this isn’t really vintage but it is 19 years old. Picked up not running, coated with a quarter of an inch of dust, 2 flat tires, and a tank full of stale gas it is in dire need of some attention before it’s too late. After making sure it had compression and spark I was ready to tear into the Harley Keihin carb.

Harley Keihin Carb on 2000 Twin Cam Softtail

First thing was to remove the air cleaner than go to the other side of the bike to loosen the enrichment(or choke) knob so you remove it cable and all with the carburetor. After this pop the carburetor out of its spigot.

Harley Keihin Carb on 2000 Twin Cam Softtail

Once you have the carb loose unhook the fuel line and throttle cables.

Harley Keihin Carb

Take the Harley Keihin carb to a work bench where you have plenty of room to spread out the parts as it is disassembled.

Harley Keihin Carb

Harley Keihin Carb

Make note of the numbers on the carburetor as they might come in handy when you need to get parts. Then pull the enrichment plunger out and set it aside.

Harley Keihin Carb

Take the accelerator pump housing, diaphragm & spring off the bottom of the float bowl.

Harley Keihin Carb accelerator pump

If the previous mechanic would have used a top shelf screwdriver like this Vessel Impacta shown here I wouldn’t have had to replace so many of the screws.

Harley Keihin Carb float bowl screw
Yes these are JIS screw

With the float bowl off inspect everything well and make note of what parts are where.

Harley Keihin Carb inside float bowl

There was a little damage on the mixture screw tower from the plug being removed. Normally there’s a cap over this that you have to drill a hole in & use a wood screw to pop it out. If you live in an emissions inspection state the cap has to be replaced with a new one. If I lived in an emissions inspection state this carb body would have to be replaced.

Harley Keihin Carb pilot mixture screw
someones been in here before

first remove the float & float valve, followed by the main jet & emulsion tube.

Harley Keihin Carb

then take out the pilot (idle) jet.

Harley Keihin Carb idle jet

Next up is the idle mixture screw, first screw it all the way in slowly & count how many turns it takes to bottom out, and make a note of it. Then remove the screw completely.

Harley Keihin Carb mixture screw

There are four parts to the mixture screw assembly on a Harley Keihin carb. 1. the screw itself 2. the spring 3. a small washer & 4 the o-ring. Chances are that the o-ring & washer will remain in the carburetor body & you’ll have to use a small pick to carefully fish them out.

Harley Keihin Carb pilot mixture screw parts

Moving on to the top cover remove it,

Harley Keihin Carb top removal

and then set it & the spring off to one side.

Harley Keihin Carb CV diaphragm

Pull the slide out, inspect the needle (metering rod) for wear & check the diaphragm for holes.

Harley Keihin Carb

I always push the needle jet that the metering rod passes through out of the body so I can inspect it too. Since I clean carbs in a heated ultrasonic cleaner if I don’t push it out and keep track of it, it’ll probably fall out any & I’ll have to go fishing for it.

Harley Keihin Carb

Here’s a shot of the float chamber with all of the removable parts out.

Harley Keihin Carb

Since this is only a repair job & not a restoration this carburetor only got a cleaning, no vaporblasting. This body was in nice shape & looks decent with only cleaning. If you’re working on a crusty old pile of junk and want your parts to look good again please see my vaporbasting page.

The next few pictures show this carburetor’s parts laid out in the order that that they go back in. Make sure you carefully inspect all parts and replace any that are not usable especially the rubber pieces.

Re-install all of the internal parts,

Harley Keihin Carb jets, float mixture screw & enrichner

and the mixture screw being sure to set it as it was before. If you think it was wrong verify the setting with a good service manual.

Harley Keihin Carb pilot mixture screw assembly

Then set the float height.

Harley Keihin Carb float height

Harley Keihin Carb

Carefully line up the accelerator pump rod through it’s hole in the float bowl & reinstall the bowl. Don’t forget to put the bellows on as shown before the float bowl.

Harley Keihin Carb accel pump linkage

The rest of the accelerator pump arts should be reassembled to the carb now.

Harley Keihin Carb

The last couple of steps are reassembling the needle to the slide making sure to put any spacers that may be present back where they were to start with and then putting the slide back in the body, with the spring & then re-installing the cap.

Harley Keihin Carburetor

Once this is all done it’s time to put the carburetor back on the bike, fire it up and make any needed adjustments. I hope you have found this pictorial overview of a Harley Keihin carb helpful & interesting.

Harley Keihin Carb ready to install

Peace Y’all ‘Psycho

Restoration tech tips

Easy Rubber Parts Cleaning

Restoration Tech Tips 1 1/1/19

Restoration Tech Tips #1

A good way to clean your dirty old rubber & even some black plastic parts is to grab a can of your favorite foaming tire cleaner and soak them down with it and let it sit until all the foam has evaporated and them wipe away the excess. Easy !

Humidity Will Humiliate You

Restoration Tech Tips 2 1/1/19
Honda SL100K2 switch bracket

`Restoration Tech Tips #2

Avoid painting during times of high humidity unless you have a fully dehumidified climate controlled spray booth in your shop . Seriously don’t even do rattle can paint. I had to repaint this dadgum little bracket 3 times to get it right without any runs or with out the gloss black paint becoming chalky. Of course the third time I painted it was the next day after the humidity had dropped back down. If it’s really humid just wait until another day to paint.

Rust Removers Don’t Work Cold

Restoration Tech Tips 3 1/1/19
For the best deal on Evapo-Rust click here!

Restoration Tech Tips #3 No matter what your favorite rust remover is, none of them work well when it is really cold. If you’re planning to soak some parts in something like Evapo-Rust during the winter months you really should put it in a warm place to get good results.

Vapor Blasting NOS Parts

Vapor Blasting NOS Parts

Confession time, on of my favorite things about the whole antique & vintage motorcycle restoration business is hunting down good deals on new old stock parts. It’s astounding what you can find for these old motorcycles sometimes. The  joy of finding these 30, 40, or even 50 plus year old gems is often dulled by the fact that when you get them, they look old. Now this may be fine if you’re replacing parts on an original machine with a bit of patina as they will blend right in. But if you are doing a full restoration this just wont do. Let me give you a couple of examples using some parts that I have recently purchased for my current personal project a 1972 Honda SL100 K2. These will illustrate why I recommend vapor blasting NOS parts. When I removed the fork top bridge from the bike, one of the fork tube clamps had broken completely off. A brand new one was sourced on Ebay for a reasonable price, and this is how it looked when I took it out of the box.

Vapor Blasting NOS Parts

NOS top bridge before vapor blasting.

It’s just a little dull & oxidized, plus it has a little bit of magic marker writing on it. Even though it’s obviously 100% new & unused it still looks old, so I put it through the vapor blaster. 15 minutes later it looked like this (below)

Vapor Blasting NOS Parts

NOS top bridge after vapor blasting.

Vapor blasting NOS parts does not give them a polished finish. What it does is restore the aluminum so that it looks like it was freshly cast. Because this process has a light peening effect it closes the pores on the aluminum so that it stays cleaner longer. No clear coat is needed just occasional cleaning.

Here’s another example, a freshly vapor blasted cylinder head sitting on top of a brand new old stock cylinder. The new cylinder looks positively dull & dirty compared to the head, so after I finished all my clean up honing, ring gap checking etc. I ran the cylinder through my vapor blaster to clean up the appearance of it.

Vapor Blastin NOS Parts

NOS SL100 cylinder before vapor blasting.

If you look at the assembled engine below you can see how much better the cylinder looks and how well it matches the rest of the bare aluminum parts on this engine.

Vapor Blasting NOS Parts

Complete SL100 engine after vapor blasting.

Seriously if you’re performing a restoration on a motorcycle and you are not happy with the appearance of your new old stock aluminum parts find a shop near you that does vapor blasting.

Emblem & Badge Refurbishment

Author’s Note; Emblem & Badge Refurbishment originally appeared in the Vintage Japanese Motorcycle magazine earlier in 2017.

There are quite a few different methods you can use to restore motorcycle emblems that have paint that needs refinishing. You can repaint them by hand using small artist’s brushes. I have even spray painted tank badges using a solvent soaked rag on a sanding block to remove the paint from the high points of the lettering after spraying on the paint. Of course masking off the different colored areas was a pain.

Recently I learned of a much easier way to quickly and inexpensively refresh your tired looking motorcycle emblems & badges. To give credit where credit is due, I learned of this technique in a post to the Vintage Japanese Motorcycle Club’s Facebook page by Toby Jones in which he spoke of using paint markers from a welding supply house and posted a couple of examples that looked really good. I’d like to say thank you Toby for sharing.

For this article I’m using the front cover badge of my C70 Passport as a Guinea pig to try this technique. The chrome on this part stilled looked good, but the long exposure to the elements had resulted in the paint flaking out of the lettering and accent lines.

C70 badges before

C70 badges before


Start by gathering up your supplies, you’ll need oil paint markers, a couple of shop towels, and little bit of odorless paint thinner. For this job I used artist paint markers but you can also get them from welding supply houses. My reason for using odorless paint thinner is that I did this in the house but if you’re working outside you can use whatever paint thinner you have.


Open up the marker and color in the areas that need paint just as if you were a kid playing with a coloring book. Have a shop towel handy with a small amount of thinner on it, not soaking wet, and every minute or so stop and wipe off any paint that has stuck to the chrome outside of the lettering.  Be sure to wipe frequently because it will make the paint harder to remove from the wrong places if you let it dry.

When completed, let it dry, and them wipe over the whole thing with a clean shop rag and reinstall it on your bike and enjoy the vast improvement in its looks.

After emblem & badge refurbishment

After emblem & badge refurbishment


Prime Day – Prime Membership $3 bounty

1982 Honda Passport C70 For Sale

This motorcycle has been sold!

1982 Honda Passport C70 For Sale

1982 Honda Passport C70 For Sale

I have greatly enjoyed this little Passport over the last year and a half that I’ve owned but it is time to let it move on to someone who will love it and enjoy it for what it is. It has been completely refurbished. It’s not a true restoration, as the paint is Ford blue rather than the original Angel blue. All of the plastic parts except for the sidecovers are new aftermarket parts. It has new Michelin Gazelles, with all new tubes, rim strips, wheel bearings, and brake shoes. The muffler is a new replica. The carb has been cleaned and tuned. The fuel lines are new, and there are a pair of filters installed under the tank. It has a Shorai lithium battery, and an aftermarket headlight assembly with a replaceable bulb. Being a 1982 model it has a factory 12 volt charging system and CDI ignition.  It runs better than it looks, and it looks pretty good. The mileage is correct at 3352 miles but may go up as I will ride it occasionally to keep it running correctly.

1982 Honda Passport C70 For Sale

My price on it is $1400 firm but I may consider interesting trades for certain project bikes. I am located in Eastern South Carolina and would be willing to assist your shipper or meet you at a safe public location within 150 miles of my place.

1982 Honda Passport C70 For Sale

Contact me at motopsyco@motopsyco.com if you’re interested, but please be patient with me as I am still operating on batteries due to the aftermath of Hurricane Matthew so please allow up to 24 hours for a response.

1982 Honda Passport Restoration Part 3

As mentioned before I had a request from a reader to share more of my pictures from my 1982 Honda Passport restoration So here are some of the repainting & reassembly process. Due to all the rust and pitting I sandblasted the entire exterior of the frame and them primed it with a green zinc primer. and refinished a few other small parts by various means. For the cadmium plated parts click here to see how I handled those. Although not shown here I had the front rack redone with chrome powder coat.


At the time I was taking these pictures the rear rack was simply sprayed with that horrible looking chrome paint so that I could get the bike back together and ride it, recently I removed it and had it powder coated chrome also. The wheels are still all original with just the best cleaning that I could give them at the time. Since then they have been thoroughly vapor blasted and clear coated, followed by a careful painting of the hubs & spokes.  Some of the pictures may seem kind of random but hopefully this will be of some use to someone out there trying to restore their own 1982 Honda Passport. Sorry but there are no engine rebuild pictures because there was no need for an engine rebuild, just the usual carburetor & crankcase screen cleaning, followed by a valve adjustment and a new spark plug. In the near future I’ll do a post on the trials & tribulations of dealing with aftermarket body parts for these things.