Install a Trailer Hitch

Almost Anyone Can Install a Trailer Hitch

I have a confession to make; at one time the very thought of putting a perfectly good running motorcycle on a truck or trailer was horrifying to me. But as I’ve gotten older my once hard core has become a soft chewy center. Crash damage, arthritis, and a growing disdain for any kind of suffering will do that to you. The missus & I will still do a bit of long riding from time to time, and I still scratch my head when I see a full dresser riding solo on the back of a tow vehicle. If said Goldwing or ‘Glide is surrounded on the trailer by some fine vintage machinery, choppers or hardcore sportbikes I can understand. Having discovered the joy of vintage motorcycle shows & swap meets it’s not unusual for me to take multiple motorcycles plus miscellaneous trade items, making a tow vehicle necessary. If I’m only taking one motorcycle or scooter capable of making the trip, to the show with no plans to buy or sell anything I usually just ride the darn thing because without riding what’s the point of owning a motorcycle?

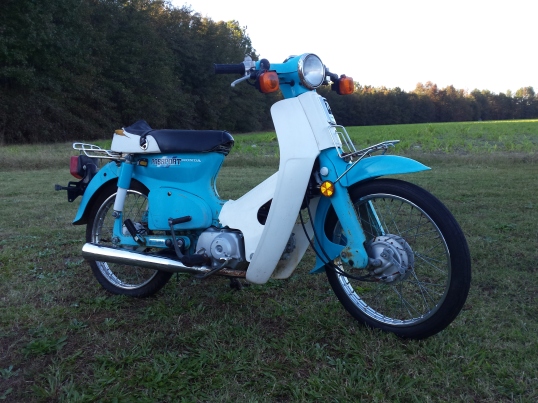
<1982 C70 Passport>

One of my trailer queens.

Now let me make an apology to all of you old geezers that I used to pick on about your trailer queens. I am well on my way to becoming one of you and own a couple of motorcycles that I would never even attempt to travel on.

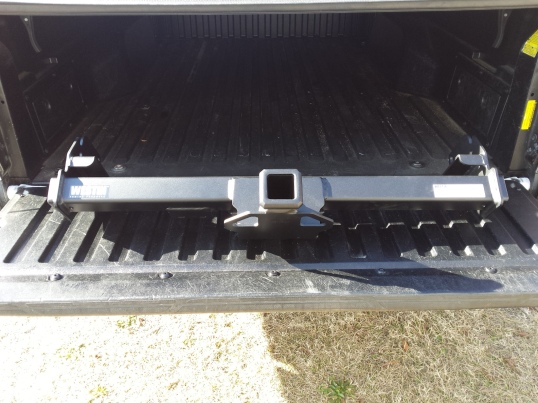
<Westin Trailer Hitch>

Westin trailer hitch

Let’s get on to the meat of this how to, my previous tow vehicle was a Chevy van that served me okay for a while but last year I sold it and acquired a nice low mileage 2010 Toyota Tacoma that was the plain Jane work truck of my dreams that I thought did not exist anymore. So I ordered up a Westin Receiver Hitch
hitch to fit it, along with a Reese T-connector kit for the trailer lights. Now let’s see how it was installed.
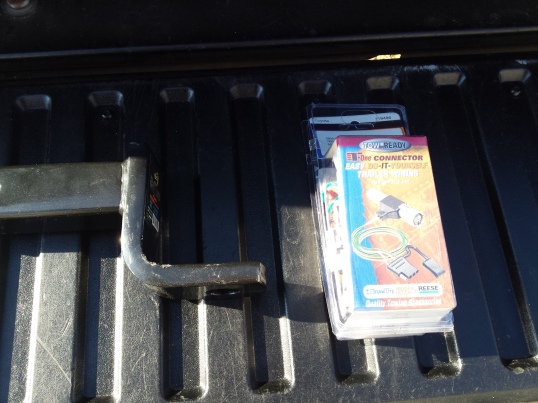
<Reese Trailer Hitch Connector>
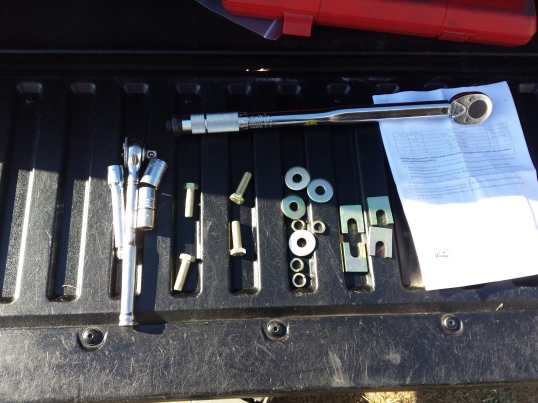
Open up the package, and read the instructions. Then count all of the hardware supplied to make sure it matches what you are supposed to have. Next gather up all of the tools you need to match the bolts in the kit & on your truck, van, or SUV. While what is shown here is specific to my truck & hitch the vast majority of installations will be very similar to this. Buy your trailer hitch from a reputable manufacturer and read the instructions.

<hitch receiver hardware>

Don’t forget, read the instructions first!

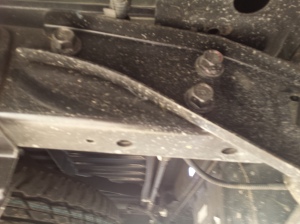
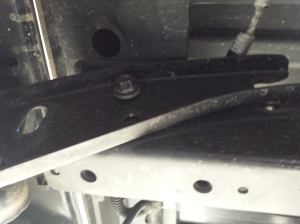
Like most of them this Westin hitch receiver uses the bumper brackets to attach it to the truck. The instructions called for me to remove 2 of them on each side and leave one attached loosely. Work carefully and don’t allow your bumper to drop down suddenly as this could cause damage to your vehicle and or injury to you.

<bumper bolts>


<bumper bolts loosened>

Please make sure you take reasonable safety precautions when you are doing this. You will be handling large heavy awkward items over your head in a cramped space. It’s possible to install a hitch alone but it’s better if you have help. At the very least you need someone nearby in case it falls and beans you in the head.
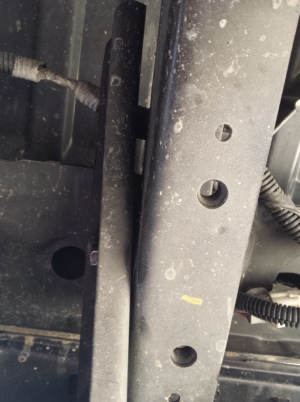
<install a trailer hitch>
My truck also had the above tapped holes in the frame that were put there for the location of a trailer hitch, make sure that if your vehicle has additional holes like this that your hitch will use, that the holes are clean and the threads are good before putting the hitch in place.
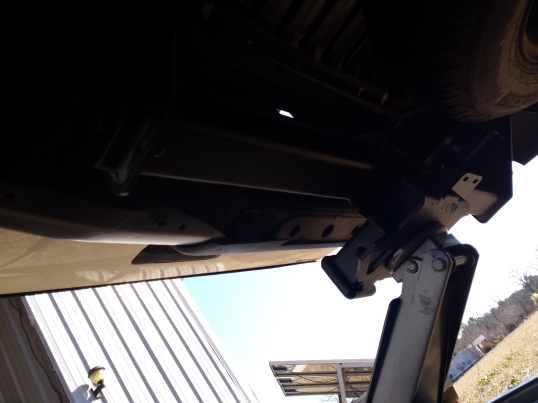
<a good floor jack>
Since I was working alone a floor jack was called into action to support the receiver as it was lifted into place. For most of us a good floor jack is a necessity to install one of these alone.
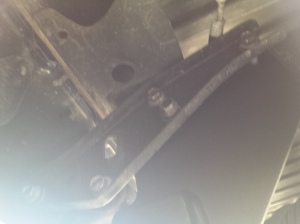
install a trailer hitch
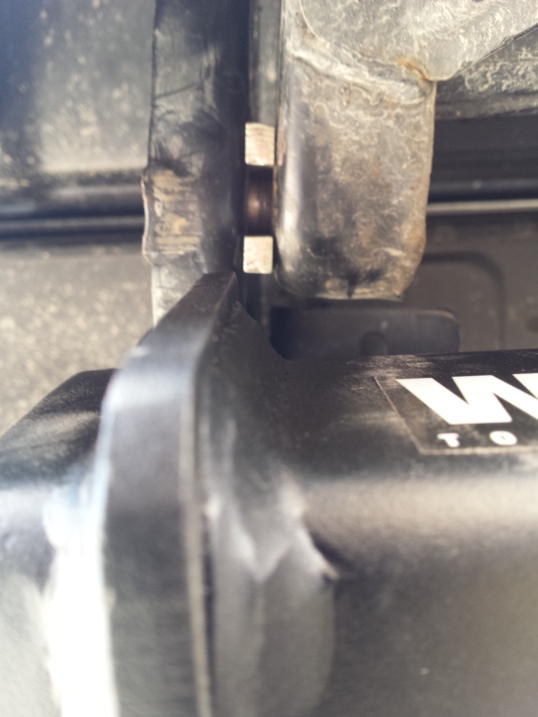
Line up the bolt holes and start all of the bolts. Do not tighten any of them until you have them all started securely. Once you have every bolt started in its own hole, then you may need to install some shims if supplied and realign your bumper so that it looks right.

use shims as needed

use shims as instructed

After the shims are in place and the bolts are all snug, check your bumper alignment again and adjust if needed.
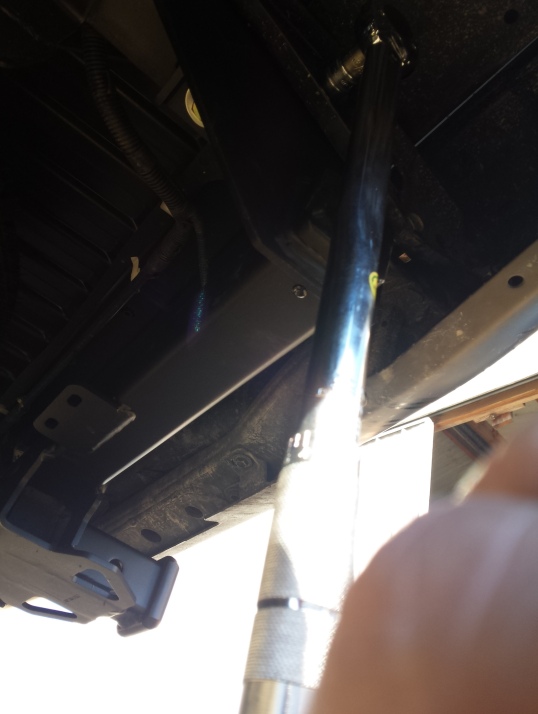
torque wrench install a trailer hitch
Now it’s time for the final tightening of the bolts, grab your trusty torque wrench and tighten all of the bolts to the specified torque for your application.
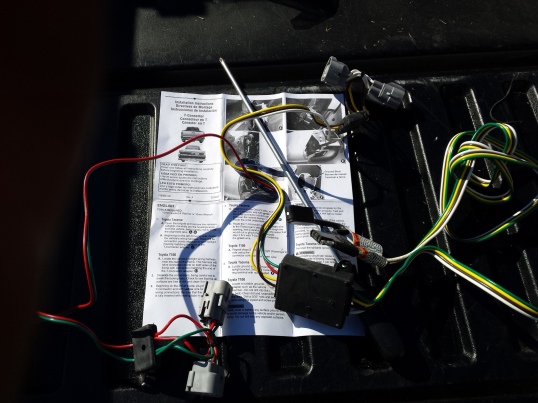
<reese t connector toyota tacoma>
Now it’s time to move on to the wiring connections, Old timers will remember the bad old days when hooking up a trailer lighting harness meant cutting and splicing wires. Then came the Scotchlock connectors that made the job quicker but weakened any wire they were attached to and made it more likely that the wire would fail a few years down the road. Now everything is plug and play for most vehicles.
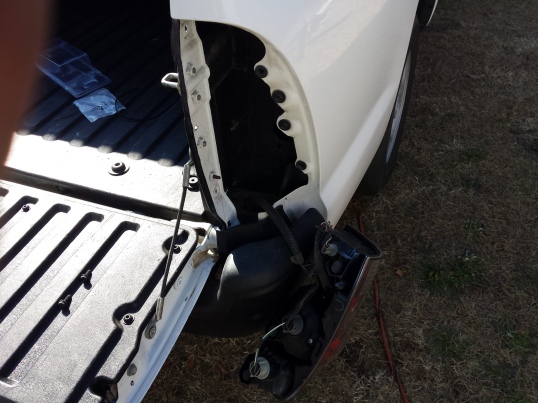
<reese t connector toyota tacoma>
The instructions called for me to remove the right rear tail light so I did.
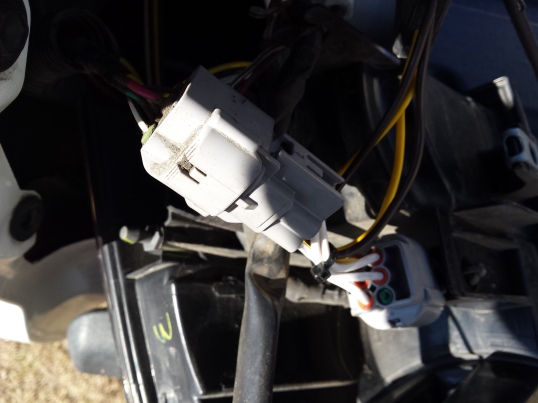
tee connector install a trailer hitch
Then plug the Reese T-connector wiring harness in between the trucks harness and the tail light.
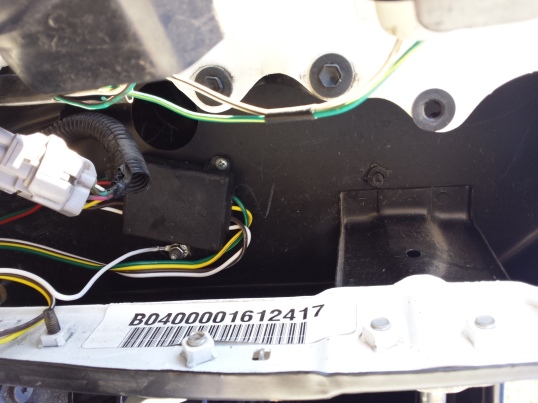
trailer lighting control box
The only part of the installation that required any drilling was to mount the control box. Be sure to paint the metal inside the hole and let it dry mounting the box with screws & lock nuts. Please note on some applications these boxes can be mounted directly to the receiver hitch without any modifications. One other thing to note, many modern trucks have composite plastic beds that do not conduct electricity well, so make sure that you attach the ground wire to a metal component that is attached to the chassis. Using outdoor rated UV resistant cable ties secure the wiring neatly allowing just enough slack at the end to work with all of your trailers but without dragging the ground.
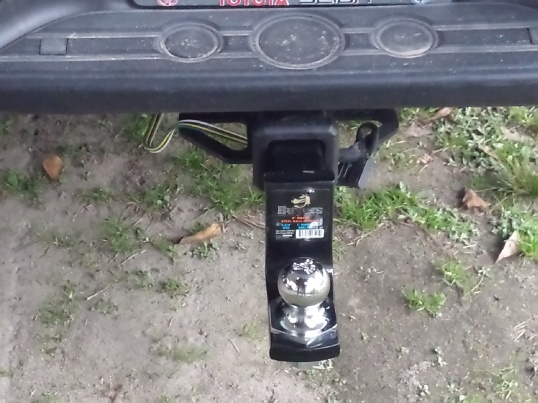
Toyota Install a trailer hitch Westin
Now slide in your hitch and hook up your trailer & test everything. I have been using this Westin Receiver Hitch
for a year now dragging trailers all over the eastern United State and have absolutely no complaints about it. It was easy to install to. Even if you still don’t feel up to doing it yourself at least now you know what it takes to install a trailer hitch. See you on the road!
Peace Y’all
Metal Rescue Reviewed!

Mission Main Street Grants

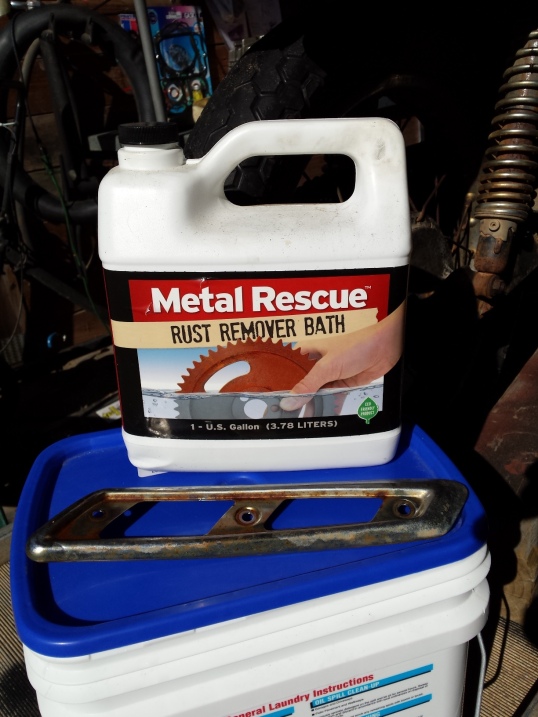
For this ‘Psyco product review let’s checkout Workshop Hero’s Metal Rescue
rust remover. In the past I have always used good old phosphoric acid for removing rust. In fact I have a 15 gallon tank of the stuff carefully stored away for cleaning old gas tanks & stuff like that. It really removes the rust quite well but it is also toxic, smelly and will corrode the base metal while removing the rust. To use it requires rubber gloves and eye protection.
Last year at the VMA swap meet in Eustis Florida, I bought a gallon of Metal Rescue from a vendor and brought it home, then I poured some out in a small container & dropped a couple of extremely rusty parts in it and left them overnight. The next day they were a little better but not as good as I hoped so threw them into the acid tank and stuck the Metal Rescue on a shelf under the workbench until last month (January 2015).
I’m in the very beginning stages of ruining a wonderful dirtbike by restoring it, so I decided to try the Metal Rescue on some of the chrome bits that really needed cleaning up. First I got a good bucket large enough to hold the parts with a good fitting lid to seal it up and poured the entire jug of rust remover into it.

<RUSTY TS185 HEAT SHIELD>
After waiting a day I opened it up and this is what I found, meh give it another day.

<METAL RESCUE  1 COLD DAY>
This is a picture of the same after 3 days, I am not a happy camper at this point.

<is this stuff gonna work?>
So I pick up the jug to look for a way to file a complaint and read the part of the instructions that says; “For best results, use at room temperature (68°F or 20°C) or above. Metal Rescue™ works optimally at room temperature (68°F or 20°C) and above, so it may require heating in cold temperatures.” Looks like using it in an unheated shop in January is out of the question unless you live closer to the Equator than I do or on the opposite side of it.
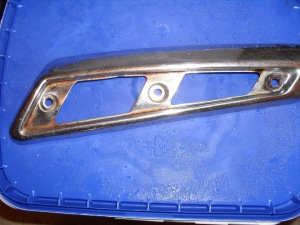
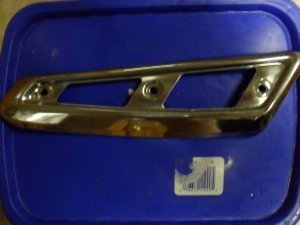
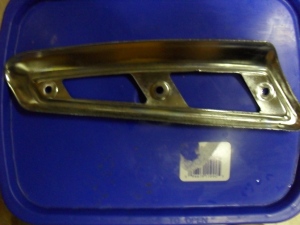
Determined to get my money’s worth out of this product I carried the bucket into the house and put it in the laundry room to warm up. When I checked on it the next day 90% of the rust was gone and on the fifth day of soaking the heat shield looked like this!

<Metal Rescue heat shield>

<Metal Rescue heat shield>
The rust was completely removed from both sides and I was very impressed. It probably would have helped a lot if I had read the instructions first. Since then I just keep this bucket of Metal Rescue in a safe place in the house. It is chemically safe with no hazardous ingredients and if you take care to ensure that no hazardous substances get into it, Metal Rescue can be safely disposed of in most sewer systems but check your local laws first.

<rusty ts185 headlight ring>
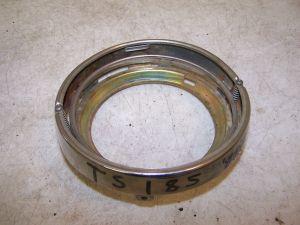
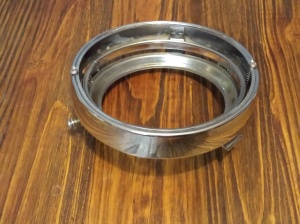
To give you an idea of how much I like this product, I bought some more and put it into the bucket with what I already have. With the solution at room temperature it took less than 24 hours to clean up this headlight ring to the condition that you see here. Plus I was able to leave it assembled with all of the plastic parts & springs while it soaked something you would not dare do with acid.

<Metal Rescue headlight ring >
The instructions do warn that if you leave plain steel parts in the Metal Rescue
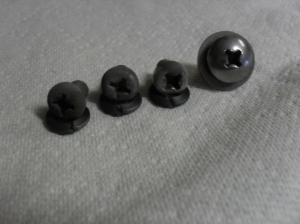
too long that it will turn them dark after removing the rust. Plated parts don’t seem to be affected by this. The screws in the picture below illustrate this. Since I am going to be re-coating these screws it’s not an issue for me, but if you are restoring something that calls for a natural metal finish you should be aware of this.

<metal rescue screws>
What’s the bottom line, is it worth 25 -30 bucks a gallon? Yes, especially when you consider that if properly stored it can be used over & over combined with the fact that it is biodegradable and contains no VOCs, solvents, acids, bases or hazardous ingredients. Just be sure you read the dadgum instructions on the jug first. It really does work much better when it is warm.
Peace Y’all
’97 Honda Shadow 1100 Carb Cleaning & Jetting ~ Part 2

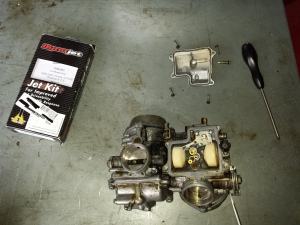
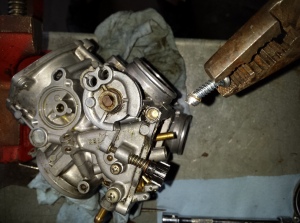
In the last installment, I had removed this set of carburetors from a 97 Honda Shadow 1100, after washing all of the loose crud from the exterior it was time to begin dis-assembly. This is not going to be a full on complete step by step tutorial, but we will cover all of the highlights that are specific to this job. Here you can see that the float bowl is off and although the interior of this carb does not look that bad there is a thin film of of fuel varnish on all the surfaces so I definitely going to clean that out.

Don’t forget, that if you need to you can enlarge any picture on this blog by clicking on it.

<001 dynojet honda shadow kit>

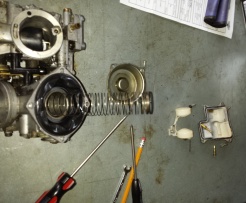
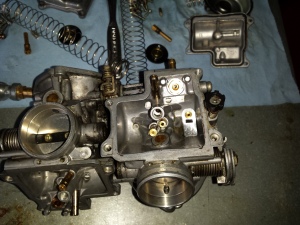
As always when working with multiple carburetors, it is best to dis-assemble one at the time and to lay the parts out in a reasonably orderly fashion so that you can reinstall the parts back into the carb body that you removed them from. Below you can see the float bowl, float, jets, etc. are lying on the table and I’ve removed the top and am about to pull out the spring and slide.

<002 97 shadow 1100 slide spring>

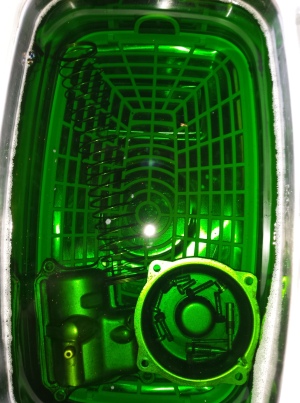
Since my ultrasonic cleaner is small to prevent part mix ups I only put one carbs parts at the time in it. One nice thing about dealing with the Shadow carburetors is that both of the air cut off diaphragms are on the outside of both carb bodies and can be reached without breaking the carbs apart, this makes it much easier to clean those critical passages.

<003 carb parts ultrasonic cleaner>

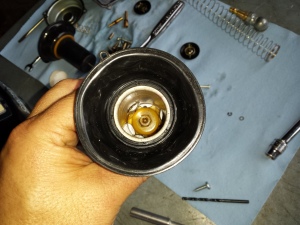
Now it’s time to begin the modifications that will really wake your old Honda up and make it sing a new song of power and glory! You should wash the slides off good and inspect the diaphragms for holes, or rips, if you find any problems you will need to replace the diaphragm before proceeding but if all is well, look insde at the retainer and using either a proper JIS screwdriver or an 8mm socket twist the retainer counter clockwise about 1/4 of a turn until it pops loose and will fall out, remove the needle (aka the metering rod) being sure to note if there damage to the retainer or it’s spring.

<004 shadow ace jet needle retainer>

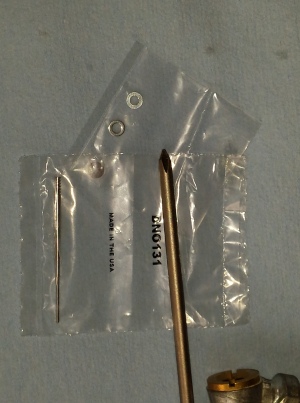
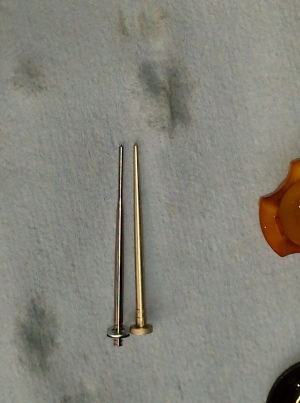
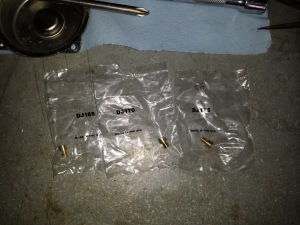
The Dynojet Research needles are packaged as shown, refer to the instructions in your jet kit for assembly instructions to match your particular application.

<005 dynojet research metering rod>

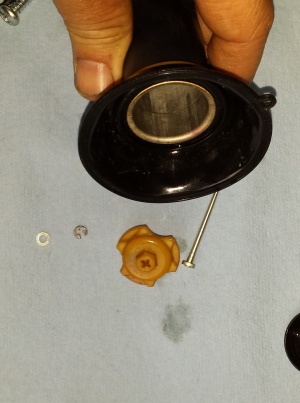
Here’s a quick shot of the slide, retainer & jet needle.

<006 metering rod removed honda 1100>

The next picture down is a comparison of the shape of the stock needle to a Dynojet needle. This difference in shape makes enough of a difference in flow that it should be used with the matching jets supplied in the kit. Likewise you can’t use your leftover kit jets in another bike without purchasing the correct needles.

The stock Honda needle is on top and the Dynojet needle is below it.

<007 needle jet comparison>

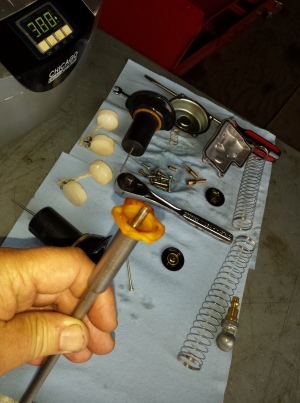
To simplify reinstalling the needle first insert it along with any spacers into the slide, then place the retainer into the end of an 8mm socket like this and then turn the slide upside down

<008 reinstall shadow ace jet needle>

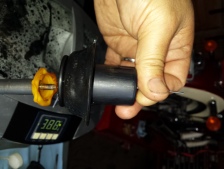
while holding onto the needle as shown in the following picture andinsert the retainer into place and turning it to the locked position.

<009 metering rod install honda shadow>

Before I finish cleaning the bodies the idle mixture screws need to be removed. They are located under these caps on the sides of the carburetors. If you live in a state that requires visual emissions equipment inspection you should purchase new caps when you buy your carb kits or your bike will fail inspection if it does not have these caps on it.

<010 mixture screw cover>

Centerpunch the holes and the very carefully drill through the caps stopping as soon as the drill bit breaks through the caps so you do not damage your carbs.

<011 drill it out>

Then you a sheet metal screw of the right size (supplied in the Dynojet kit as is the drill bit) and screw it into the hole far enough to get a good grip on it & then

<012 screw it in>

yank it out with a pair of pliers. If you are just installing the jet kit without cleaning the carburetor turn the screws all the way in until seated and then back out 3 turns for your initial setting. If your are cleaning the carbs as I am here carefully remove the mixture screws, their springs, washers and o-rings and then thoroughly clean the carb bodies.

<013 pull it out>

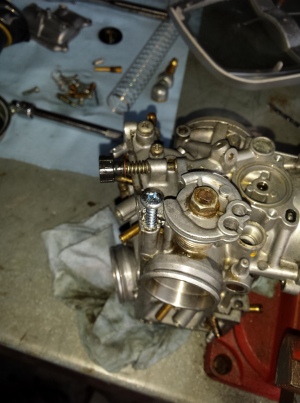
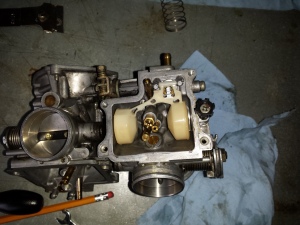
In this shot below things are going back together now, just reverse the diss-assembly process checking all of your parts,float height, gaskets etc. and correcting any problems you find.

<014 honda ace carburetors>


<015 dynojet research jets>

When it is time to put in the main jet you have a decision to make based upon the modification level of your motorcycle. Since this particular bike had a pair of large tube drag pipes on it, I went ahead & put the largest jets in the kit in it. Don’t just automatically put the biggest jets in especially if you are running stock or quite aftermarket pipes and the factory air filter setup.

<016 97 honda shadow 1100 carbs>

You should also be prepared to do a bit of tweaking especially to the idle mixture screws to get a good idle with a good throttle response as you come off idle. One must also be prepared if necessary to pull the carburetors completely back out if need be to try a different set of jets or alter the jet needle cir-clip position for the best running. If you pay attention to the instructions in the kit this is not likely but it is a possibility.


<017 Carburetors ready to reinstall>

There you have it, if you’re contemplating doing this to your bike at home first make sure that it is running well, and that it has new plugs, and that the ignition and charging systems are up to spec, and that there are no other problems such as cracked intake boots that would cause you to have drivability issues. If you put a jet kit in a motorcycle that is not running right to start with, you are very likely to have a motorcycle with a jet kit in it that still does not run right.

Just take your time, read the directions, and keep everything as clean as possible and you should be able to make your old Shadow run & sound even better than it does now.

Peace Y’all
<97 Honda Shadow Ace>