Dirt Bike Carburetor 101 Part 1 (how to clean a single cylinder motorcycle or atv carb)

Hello everyone and welcome to this multi-part lesson on the basics of carburetor  cleaning for single cylinder motorcycles. The cadaver we will be resuscitating in this lab is an 02 Honda XR100.

“barn fresh” xr100

Believe it or not this bike would still run with the choke on even with the dead gas and clogged jets, gotta love a Honda! This will be a general step by step guide to repairing carbs, so I will not be giving you the actual specifications as they vary so much from year to year on some bikes. As I’ve said before you need to obtain the specific information for your exact bike from a reputable source like say a service manual. For this first post let me show you how to remove the carburetor from this bike.

First let me say that it is possible to pull the carb from an XR100 without removing the bodywork, but A; you need to clean or replace the air filter and B; if it’s been sitting long enough to need the carburetor cleaned you need dispose of any fuel in the tank and clean it out before re-starting the bike after you finish the carb.

Now take off the side covers. This picture shows the location of the air filter cover on the XR100

Next look under the rear fender and remove the 2 nuts holding the seat on. Then pull it up and rearward to remove it.

I like to put the nuts and any spacers back on the studs like this so they will not get lost. In fact whenever possible I do this for all nuts and bolts as it keeps them from disappearing.

Now go the the fuel switch, valve or petcock, whichever terminology you use for it and turn off the flow of gas to the carburetor and disconnect the fuel line. Be prepared to cut it off with a knife and replace it if necessary.

Remove the rubber strap that holds down on the rear of the fuel tank and the two bolts at the front of the tank.

It is not required that you remove the shrouds like I did for this photo, I simply removed them so that I could show you the location of the bolts at the front of the gas tank.

After setting the gas tank aside in a safe location it is time to disconnect the throttle cable. On some models it attaches to an arm on the side of the carb but on simpler ones like this it is attached directly to the carb slide. Unscrew the cap as indicated by the screwdriver and pull the slide out.

This next shot is a little fuzzy but it indicates how the throttle cable is retained in the slide, and the following picture shows the slot in the side of the slide that allows you to remove it from the cable.

Now all you have to do is to compress the spring and push the end of the cable out of its hole, past the end of the slide, pull it out through the slot and then through the big hole at the top.

Here’s the removed and disassembled slide, jet needle, and return spring laid out for you to see.

Loosen the clamp holding the rubber hose from the air box to the carb and then remove the bolts attaching it to the engine and pull it out.

Yes I’m using the obstruction wrenches again. Two tools that I feel are must haves for any serious cycle mechanic are obstruction wrenches of decent quality and some extra long screwdrivers of the finest quality money can buy (i.e. Snap On etc.) Inexpensive wrenches are often okay but cheap screwdrivers will drive you bleeping crazy, by stripping out the soft metal heads on Japanese motorcycle screws.

Here’s a shot of the carburetor on the workbench. I like to use the red toolbox tray shown to help me organize the parts as I disassemble the carb, and to keep the parts from disappearing into the wormhole that exists behind my workbench. No part that falls back there is ever seen again, so I try to keep them from rolling of of the back edge. No dear reader I am not going to move the bench to look for them either. In my shop I coexist peacefully with all matter of snakes and spiders both harmless and venomous, and that is their territory and I stay out of it.

Don’t’ forget to protect the engine by plugging the intake hole while the carburetor is off.

I’ll show you the rest later, don’t forget to bookmark this page or to sign up for the email notification of updates on the right side of this page. Click here for part two!

Peace Y’all
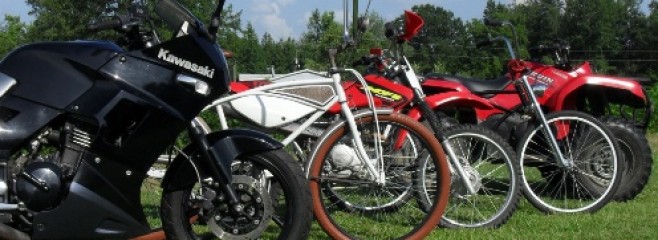
Seriously Y’all, Replace Those Cotter Pins

ATV wheel with brand new cotter pin


The slightly dark picture above shows an ATV that I recently re-installed the hub on. With a new cotter pin in the castle nut. Do yourself a big favor, and no matter what never ever re-use a cotter pin on any thing. Whether is a motorcycle, ATV, automobile, or any other application. They are there to prevent the sudden disastrous failure that could result from a nut coming loose on a critical component. If you really must perform an emergency road or trail side repair and re-use one to get home do not forget to change it ASAP before using the vehicle again. Isn’t your ass worth the small amount of pocket change these things cost?

Yes I practice what I preach, here is the cotter pin assortment that I keep on hand, a couple of sizes need refilling but that’s okay the piece of mind is worth it.


Motorcycling and ATV riding is risky business anyway, but if you insist on having a gnarly bone grinding crash, at least let it be because you were doing something stupid and fun, and not that the wheel fell of because you were too cheap to replace a 39 cent cotter pin.

Peace Y’all
‘Psyco

The Innocence Project Motopsyco’s July Website of The Month

This month I want to try and help out one of my favorite organizations The Innocence Project.

  No matter what your background, political views, religious beliefs, one thing we can all agree on is that no one deserves to be imprisoned for crimes that they did not commit. Normally I don’t ask anything of my readers but to look at my pages and maybe hopefully click on the occasional ad so that I can make a few cents, but today I will ask you to visit the Innocence Project website and see if you can help them out a little. After all, two of the greatest injustices I can think of are an innocent person rotting in prison, and a guilty person walking around free because of it.

Goodnight and God bless you,

‘Psyco

2006 V-Star 650 Basic oil and plug change.

Hello Everyone!

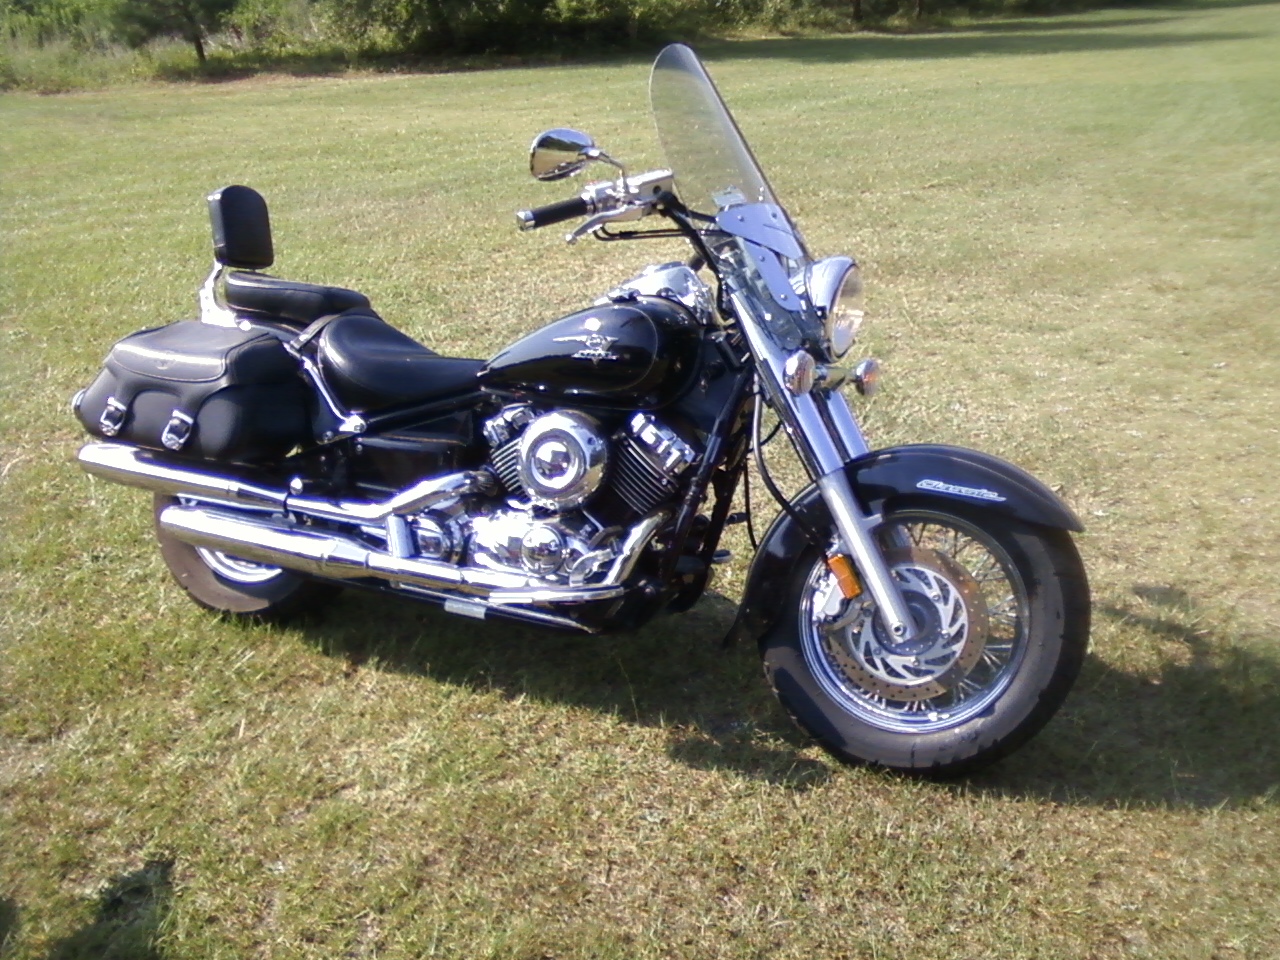
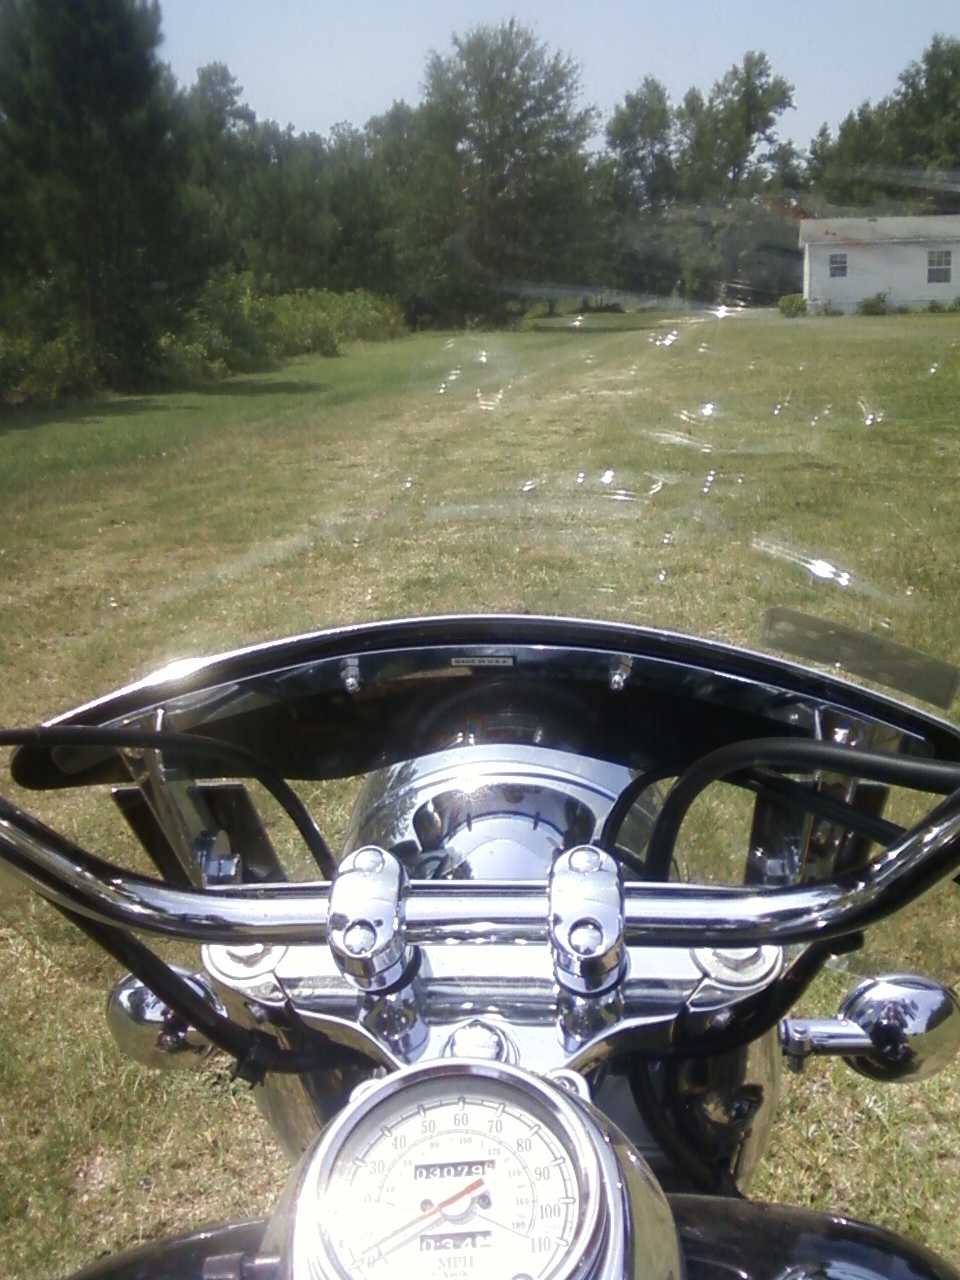
Yes I have been having lots of fun lately, but every now and then you gotta do some work. Let’s turn our attention back to the motorcycling world a bit and I’ll give you a nice meaty maintenance how to for the 2006 Yamaha V-Star 650 pictured above. This is a low mileage bike that is in for a basic oil & spark plug change. I am going to do this down on the ground without using a lift, just like the majority of you who do this yourself will.

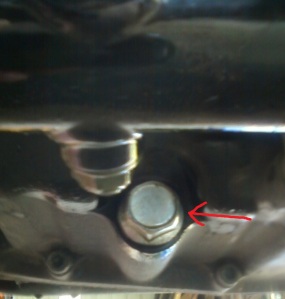
First lie down on the left side of the bike and identify the oil drain plug on the side of the block.

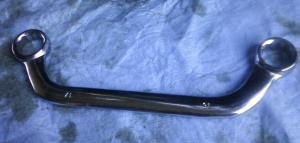
This 17mm plug will be a lot easier to remove if you have an obstruction wrench like this, but might be able to be done with a normal box end. (I didn’t try sorry)

These 2 shots show the wrench on the plug for removal to give you a better idea of where it is.

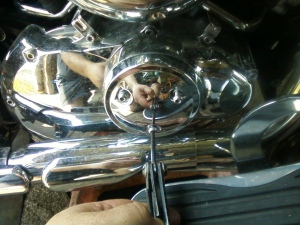
Next to get to the oil filter you have to remove this fake “derby” cover.

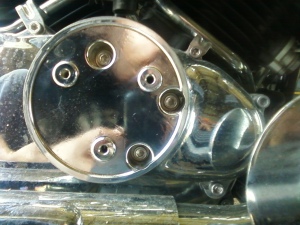
Now you can access all 5 of the bolts holding the oil filter cover on.

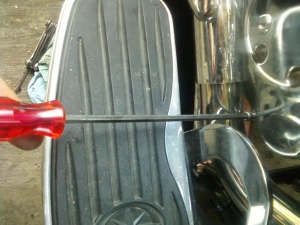
This long handled ball end Allen wrench is optional but I am glad to have it for jobs like this.

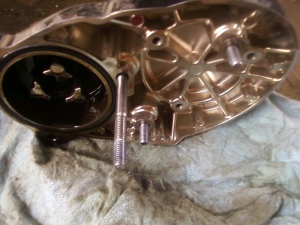
Here’s the back side of the cover showing the location of the long bolt in the center.

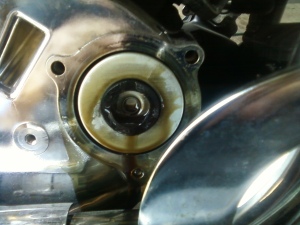
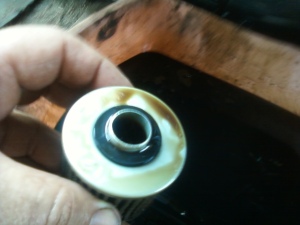
Be sure you pay close attention to how the oil filter sits in the crankcase so that you put the new one back in the same way.

Here’s the other end of the filter.

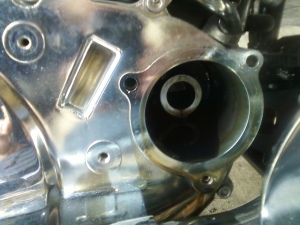
Be sure to clean this hole out well with a CLEAN lint free shop rag.

When you are cleaning the oil filter cover inspect the o-ring thoroughly and if you have any doubt about its condition replace it. Absolutely, under no circumstances should you use any type of sealer here.

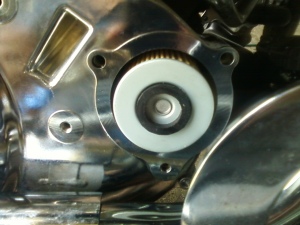
The new oil filter is sitting in place.

This shot shows the location of the long bolt on the front of the oil filter cover.

While you are putting the drain plug back in make note of the oil sight glass. For reasons I will explain later I despise these archaic things, especially on bikes without a centerstand. But this engine is actually a detuned and over decorated direct descendant of the best air cooled 1980’s Japanese cruiser to ever exist the Virago, so I understand why this engine has one.

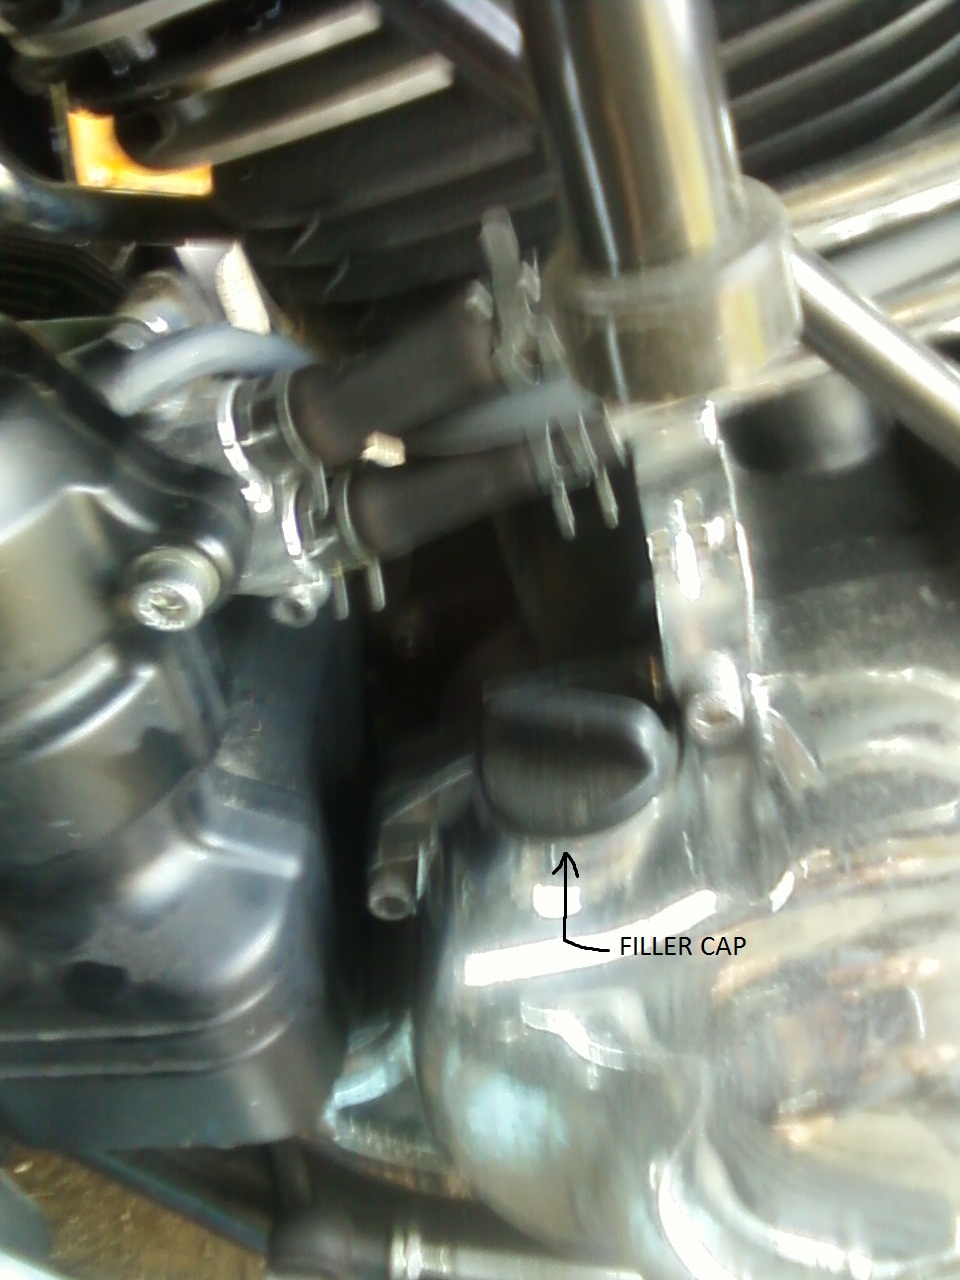
On top of the left crankcase you will find the oil filler cap, take it off, insert a good clean funnel and pour in 2 ½ quarts of any good brand of oil the meets the minimum API standards for the engine. Put the cap back on and get your lovely assistant straddle the bike and hold it straight up and check the oil level in the sight glass. It should be over the top of the glass at this point.

Start the engine and let it run at idle for just a minute and then shut it off.  Once again have your stunning, ravishing, gorgeous, assistant hold the bike in a vertical position and verify the level of oil in the sight glass and if needed add more until it is at least halfway up the sight glass as shown here.

Let me add a slight disclaimer, when checking the oil level resist the urge to nibble on you beautiful assistants ankle, she might be ticklish and drop the motorcycle on your head.

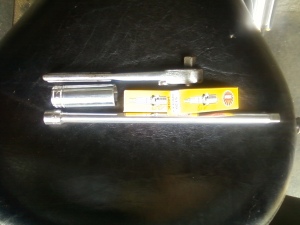
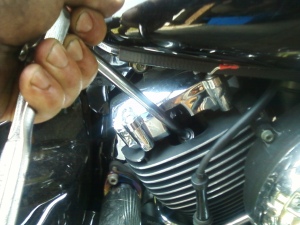
At this point I am ready to replace the spark plugs, first gather your tools and parts. Because the plugs are recessed so deeply into the heads I recommend the use of either a locking extension as shown here or a factory plug wrench.

If you tend to be ham fisted, I am going to urge you to get a service manual and use a torque wrench to tighten the plugs to their specified torque values, because aluminum heads are easy to strip out. I warned you so be careful not to over-tighten your spark plugs.

Here’s a shot of an original plug next to an new plug.

Once you get the first head done, it is time repeat the process on the other cylinder.

Put the wires back on, hit the starter button and go for a ride!

Don’t forget to properly dispose of the old filter and recycle your oil!

Peace Y’all