Hello again everyone!
Welcome to another fun filled post on basic motorcycle maintenance. Today I am going to show you how I change the spark plugs and oil in my own personal motorcycle, a 1993 Kawasaki EX250 Ninja. While not exactly the same the procedure should be similar for other Kawasaki models such as the EX500 etc. To change the plugs requires removal of the seat & fuel tank at least. If your Ninja has the factory exhaust you can change the oil & filter without removing the exhaust system. Certain aftermarket pipes that run directly under the center of the engine will require you to remove the body work & the exhaust system just to change the oil. If you need a guide to removing the fairings & gas tank, please look here.
Before we get too far, let me go ahead and throw out a useful tech tip out for you. Most modern street bikes have the spark plugs buried down in deep holes in the center of the head(s). Combine this with compact frame design that often obstructs access to many parts of the engine and you can understand the need for long extensions to reach these parts with a socket & ratchet. The problem with this is that sometime the socket slips off of the end of the extension and remains trapped in the hole for you to fish out. Most of the time this is not a problem except with spark plug sockets that have the rubber grommet inside to hold the plug and the socket together. Those can be a royal pain in the ass if it gets stuck to the plug 6 to 8 inches deep in the head, when you pull the wrench away. Just to save some headaches any time I am working with a deeply recessed spark plug I use a locking extension such as the one shown in the picture below so that when I get ready to pull the socket out it doesn’t get left behind.
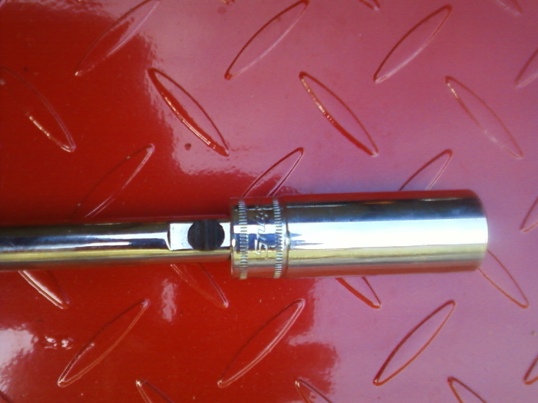
spark plug socket on locking extension
Consult your manual for your particular motorcycle and pick up a fresh set of the proper plugs for your motorcycle. Please be aware that some manufacturers will list plugs as interchangeable for motorcycles and these plugs will screw right in, but are of absolutely the wrong heat range to work properly. The result of this is a very short plug life with possible engine damage. For the Japanese, British, & most European brands I try to stick with NGK & Nippondenso brands, but have also used Autolite successfully as well also. The important thing is to get both the correct size & heat range for your engine.
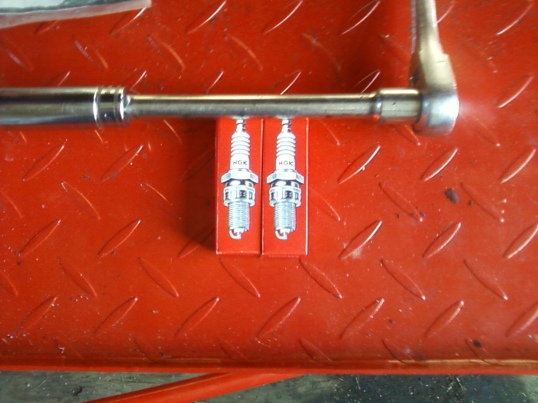
fresh new NGK spark plugs
Once you get all of the body work off, pull the plug wires loose and either vacuum or blow out the holes with compressed air. Then using a long extension put the spark plug socket into the hole(s) and unscrew the plugs. If you are using a spark plug socket they should come out with the socket. If using a regular socket you may have to use a magnet to remove the plugs from the holes. Looking at the next couple of picture should show you why I am a fan of locking extensions for this job.
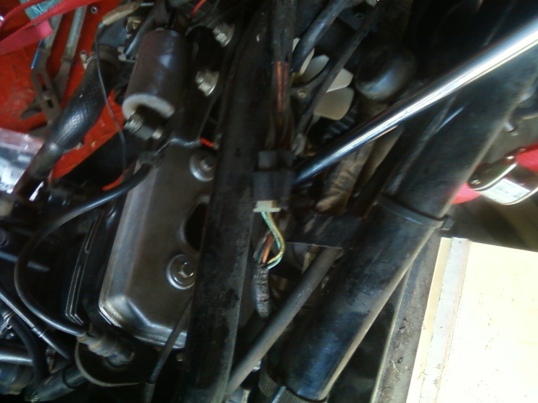
how a spark plug wrench fits a Ninja 250
Next take your new plugs and inspect the gap between the electrodes. Spark plugs today come pre-gapped and protectively packaged but it is till a good idea to at least check the new plugs for damage such as electrodes pushed together, or cracks in the insulation. Place a plug securely into the socket so that it wont fall out and insert it into the plug hole taking care not to hit the end of the plug on anything and close up the gap (this will keep it from working). You should be able to start the threads and screw the plugs 80% of the way into the heads by hand with no problems, and then finish them up with the ratchet. Most of these heads are aluminum, so take great care not to cross thread them or strip the holes out, because the repairs for that are expensive & difficult. I never use more than one hand to tighten them and even then I don’t use full force. Now for the disclaimer part; You should always follow the manufacturers recommended torque settings. Unless you are an experienced wrench turner you should buy a torque wrench and use it. Even if you are an experienced wrench but are prone to screwing up every now & then you should use a torque wrench too. There is absolutely no way for me to teach you how tight is just tight enough. Not even if you were standing here next to me.
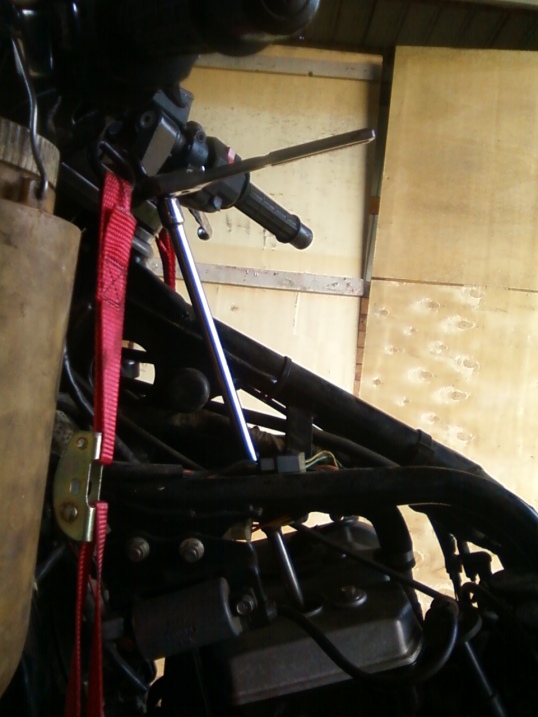
using a long extension to reach down into the plug recess
After you get the plugs in put the wires back on securely, put any parts back that you had to remove to get to them, then re-install the tank and seat. Start the engine and if everything sounds okay take it for a test ride. If you have any problems that you didn’t have before retrace your steps until you find what went wrong. If you were having a problem before changing the plugs and you have the same problem afterward something else is probably wrong.
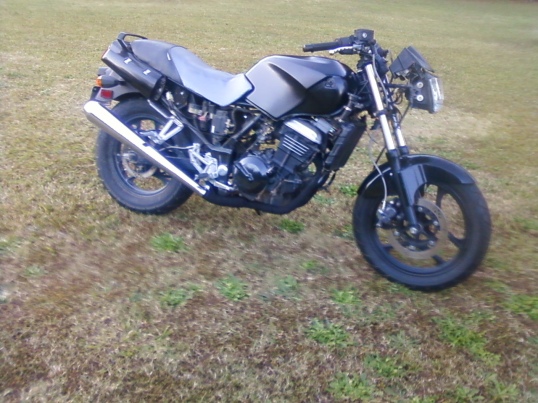
go for a test ride before putting all the bodywork back on
Since I already had all of the bodywork off of this one I took it for a test drive just like this.
Time to change the oil
Locate the oil drain plug
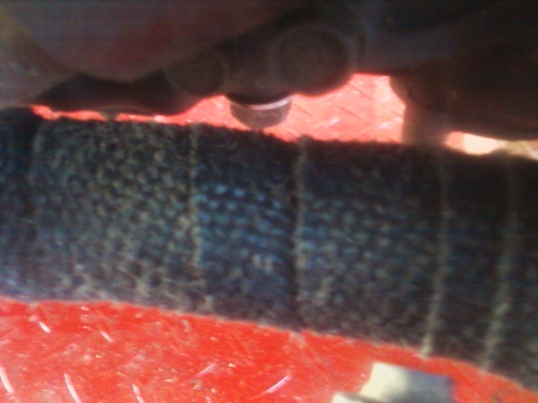
ninja 250 drain plug location seen from above
Here’s a better shot of the oil drain plug & filter bolt. The 250 Ninja, like a lot of older motorcycles uses an internal cartridge oil filter instead of a spin on filter.
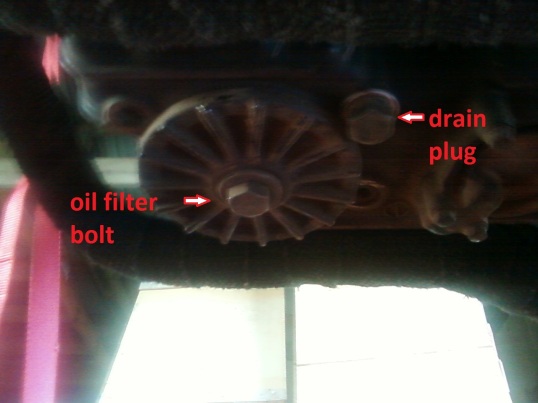
ninja oil filter & drain plug location
Place a container under the drain plug an remove it to let the oil drain out.
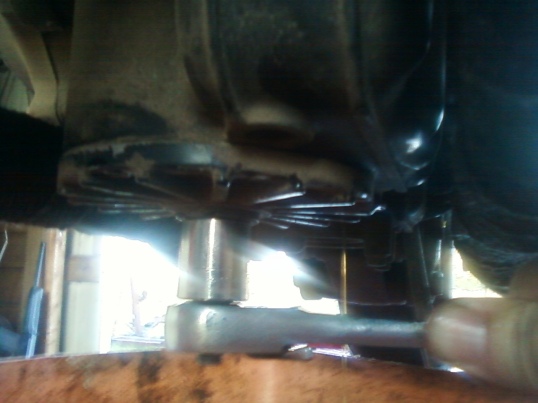
wrench on ninja oil filter bolt
Then put your wrench on the oil filter bolt and unscrew it. When you get it loose a lot of oil may come out around it so stop a few seconds & let it finish draining and then completely remove it from the bike.
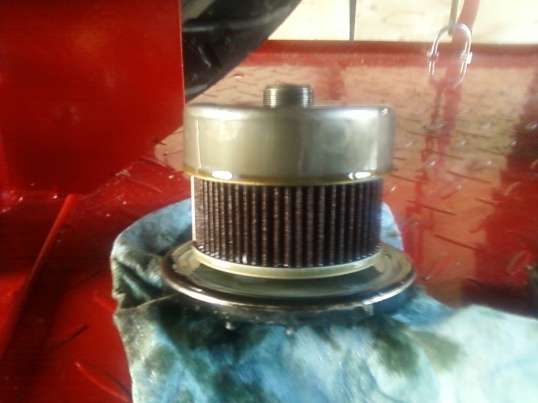
Here’s how the filter looks when it comes out.
Pull the assembly apart taking note of how all of the parts fit together discard the old oil filter in an ecologically responsible fashion and thoroughly clean & inspect all of the other parts. If your new oil filter came with new o-rings then use the new ones. If it did not (& some brands don’t) carefully inspect your old ones & if there is any doubt about their condition get new ones before going any further. After all nothing will ruin your day as fast as a nice slippery rear tire coated with motor oil.
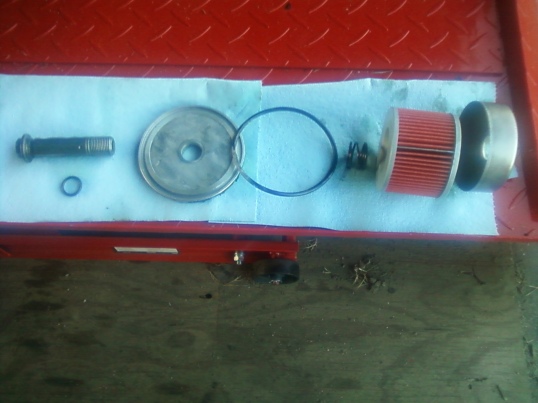
exploded view of 250 Ninja oil filter assembly
Put all of the parts of the oil filter back together & re install it into the engine. Next check the aluminum sealing washer on the drain plug & replace it if needed, before re-installing the drain plug.
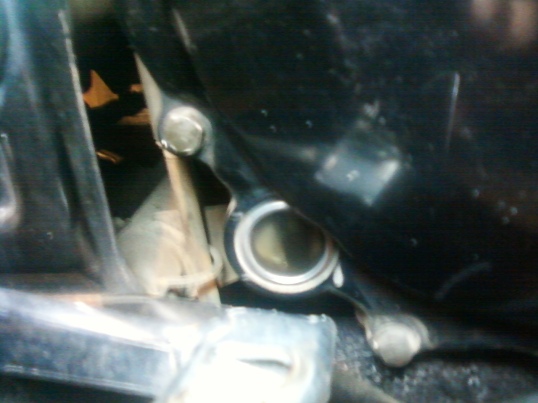
93 Ninja 250 oil level sight glass
Locate the sight glass on the lower right hand side of the engine.
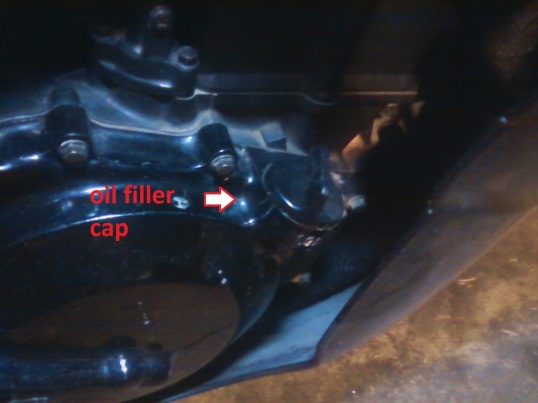
the oil filler cap
Then remove the filler cap, place a clean funnel in the hole and with the motorcycle straight up either on the center-stand or workbench or held up by a friend pour oil slowly into the engine until the oil reaches the top of the sight glass. Replace the filler cap.
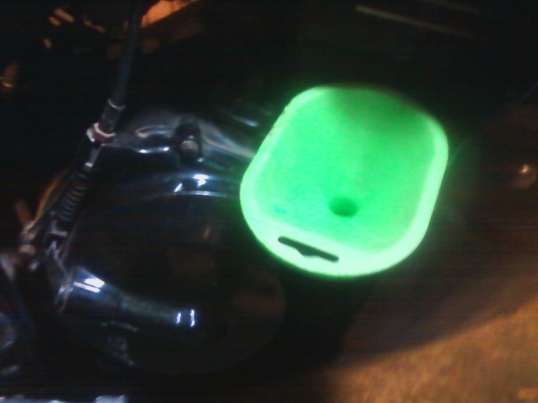
always use a clean funnel
Then start the engine for a few seconds, watch for leaks as you do and then shut it off. Now with the motorcycle still perpendicular to the ground check the oil again. You will probably not be able to see any oil in the sight glass at this point so remove the filler cap and add oil until it is at least halfway up the sight glass but not over the top of it. After doing this replace the filler cap & start the engine again and let it run a few minutes while you check for oil leaks.
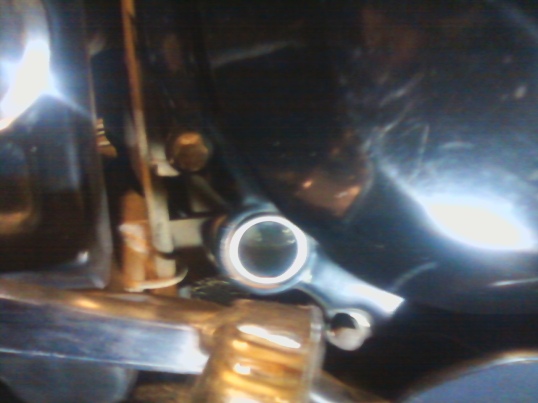
proper oil level in Ninja 250 sight glass
After you stop the engine again check the oil level one more time just to be safe. After all a an EX250 only holds a couple of quarts so you really don’t want to be a half a quart low. Now get to riding!
Peace Y’all
