Almost Anyone Can Install a Trailer Hitch
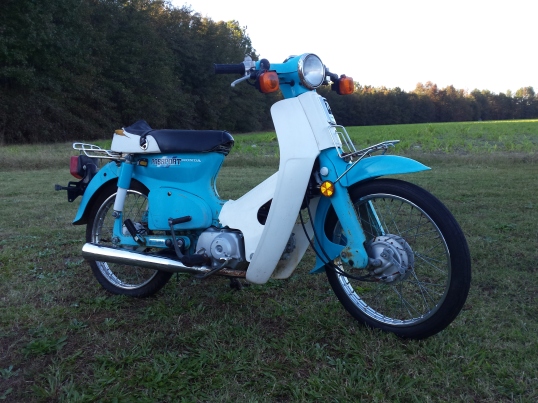
I have a confession to make; at one time the very thought of putting a perfectly good running motorcycle on a truck or trailer was horrifying to me. But as I’ve gotten older my once hard core has become a soft chewy center. Crash damage, arthritis, and a growing disdain for any kind of suffering will do that to you. The missus & I will still do a bit of long riding from time to time, and I still scratch my head when I see a full dresser riding solo on the back of a tow vehicle. If said Goldwing or ‘Glide is surrounded on the trailer by some fine vintage machinery, choppers or hardcore sportbikes I can understand. Having discovered the joy of vintage motorcycle shows & swap meets it’s not unusual for me to take multiple motorcycles plus miscellaneous trade items, making a tow vehicle necessary. If I’m only taking one motorcycle or scooter capable of making the trip, to the show with no plans to buy or sell anything I usually just ride the darn thing because without riding what’s the point of owning a motorcycle?
Now let me make an apology to all of you old geezers that I used to pick on about your trailer queens. I am well on my way to becoming one of you and own a couple of motorcycles that I would never even attempt to travel on.
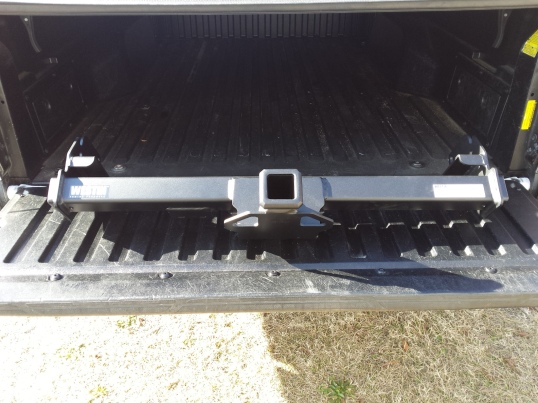
Let’s get on to the meat of this how to, my previous tow vehicle was a Chevy van that served me okay for a while but last year I sold it and acquired a nice low mileage 2010 Toyota Tacoma that was the plain Jane work truck of my dreams that I thought did not exist anymore. So I ordered up a Westin Receiver Hitch
hitch to fit it, along with a Reese T-connector kit for the trailer lights. Now let’s see how it was installed.
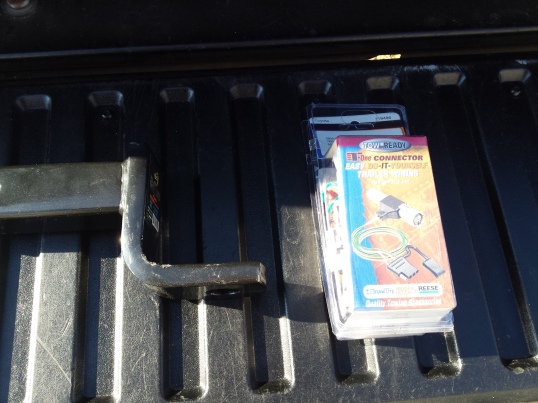
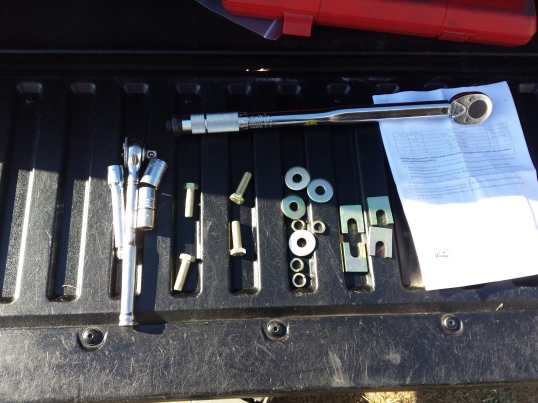
Open up the package, and read the instructions. Then count all of the hardware supplied to make sure it matches what you are supposed to have. Next gather up all of the tools you need to match the bolts in the kit & on your truck, van, or SUV. While what is shown here is specific to my truck & hitch the vast majority of installations will be very similar to this. Buy your trailer hitch from a reputable manufacturer and read the instructions.
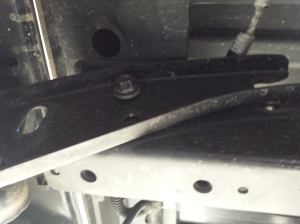
Like most of them this Westin hitch receiver uses the bumper brackets to attach it to the truck. The instructions called for me to remove 2 of them on each side and leave one attached loosely. Work carefully and don’t allow your bumper to drop down suddenly as this could cause damage to your vehicle and or injury to you.
Please make sure you take reasonable safety precautions when you are doing this. You will be handling large heavy awkward items over your head in a cramped space. It’s possible to install a hitch alone but it’s better if you have help. At the very least you need someone nearby in case it falls and beans you in the head.
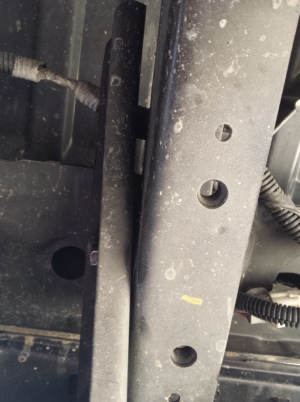
My truck also had the above tapped holes in the frame that were put there for the location of a trailer hitch, make sure that if your vehicle has additional holes like this that your hitch will use, that the holes are clean and the threads are good before putting the hitch in place.
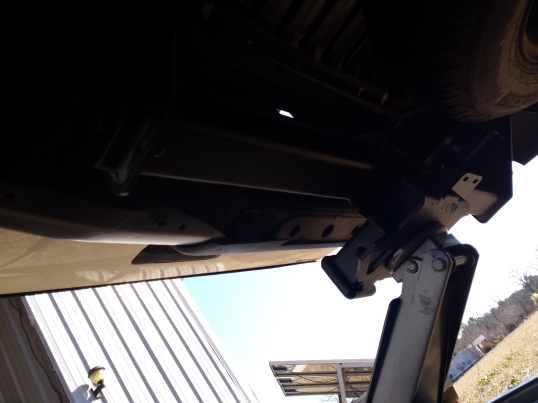
Since I was working alone a floor jack was called into action to support the receiver as it was lifted into place. For most of us a good floor jack is a necessity to install one of these alone.
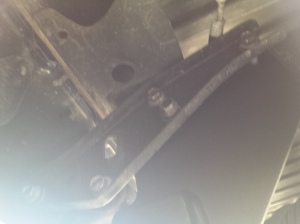
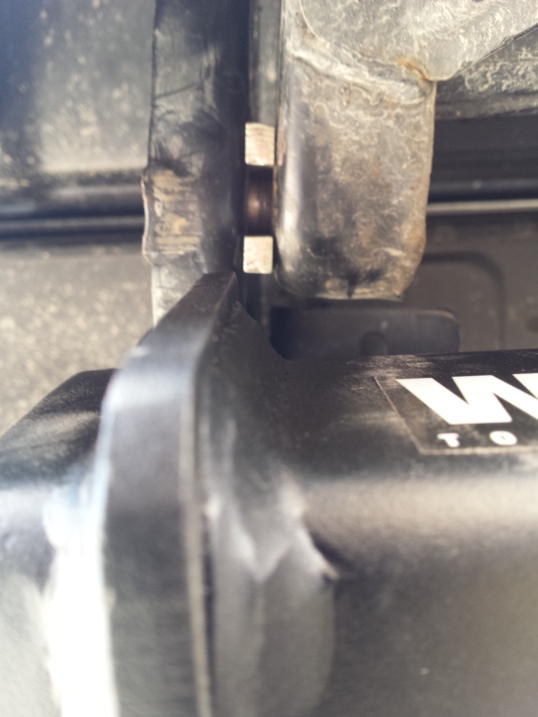
Line up the bolt holes and start all of the bolts. Do not tighten any of them until you have them all started securely. Once you have every bolt started in its own hole, then you may need to install some shims if supplied and realign your bumper so that it looks right.
After the shims are in place and the bolts are all snug, check your bumper alignment again and adjust if needed.
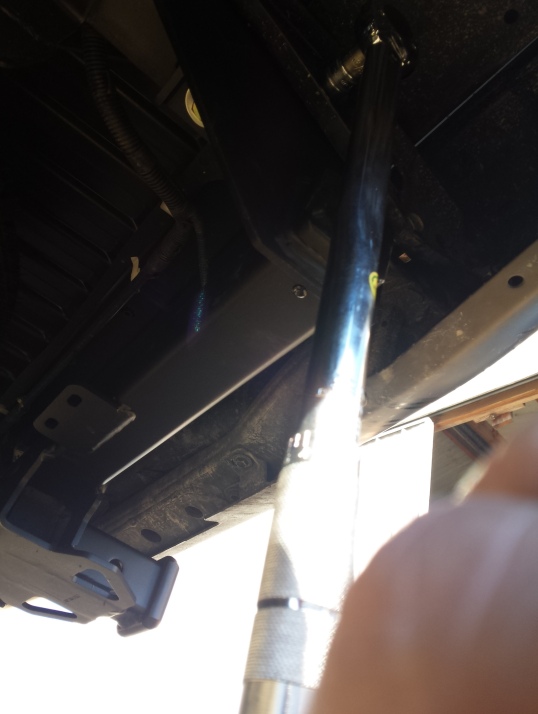
Now it’s time for the final tightening of the bolts, grab your trusty torque wrench and tighten all of the bolts to the specified torque for your application.
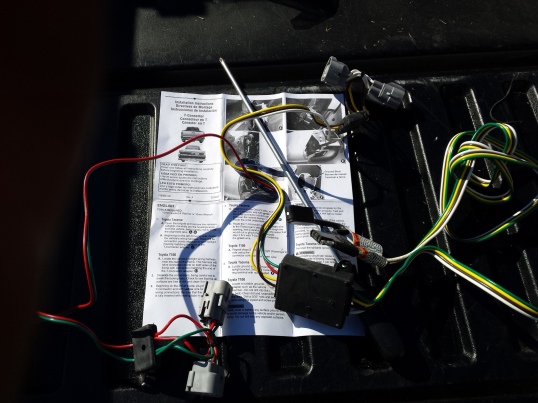
Now it’s time to move on to the wiring connections, Old timers will remember the bad old days when hooking up a trailer lighting harness meant cutting and splicing wires. Then came the Scotchlock connectors that made the job quicker but weakened any wire they were attached to and made it more likely that the wire would fail a few years down the road. Now everything is plug and play for most vehicles.
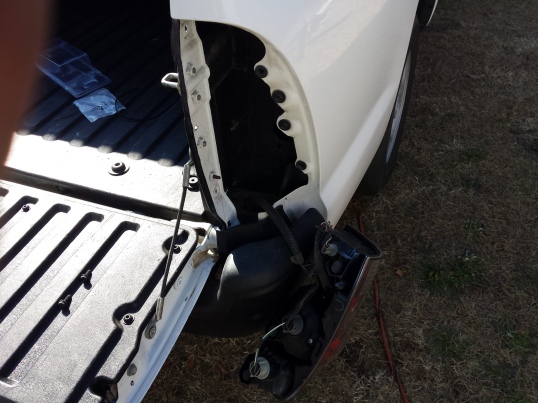
The instructions called for me to remove the right rear tail light so I did.
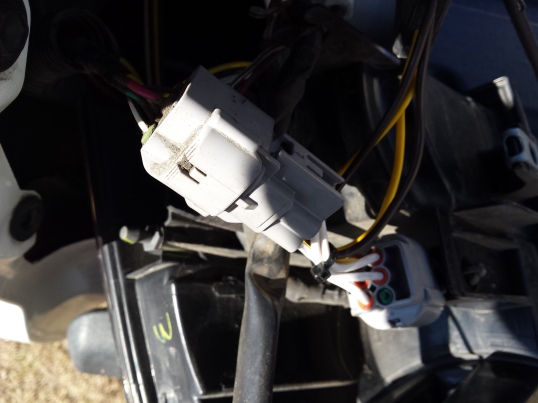
Then plug the Reese T-connector wiring harness in between the trucks harness and the tail light.
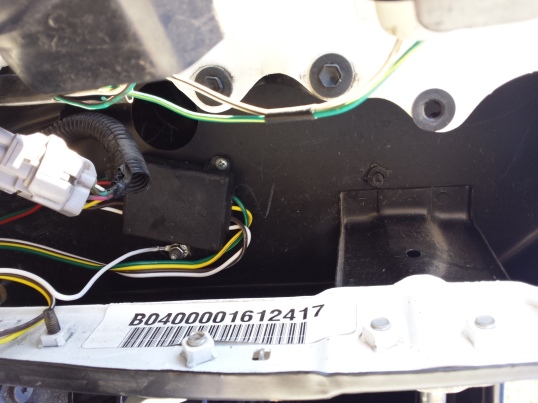
The only part of the installation that required any drilling was to mount the control box. Be sure to paint the metal inside the hole and let it dry mounting the box with screws & lock nuts. Please note on some applications these boxes can be mounted directly to the receiver hitch without any modifications. One other thing to note, many modern trucks have composite plastic beds that do not conduct electricity well, so make sure that you attach the ground wire to a metal component that is attached to the chassis. Using outdoor rated UV resistant cable ties secure the wiring neatly allowing just enough slack at the end to work with all of your trailers but without dragging the ground.
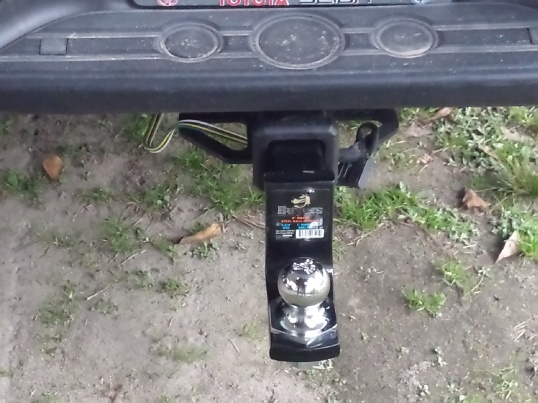
Now slide in your hitch and hook up your trailer & test everything. I have been using this Westin Receiver Hitch
for a year now dragging trailers all over the eastern United State and have absolutely no complaints about it. It was easy to install to. Even if you still don’t feel up to doing it yourself at least now you know what it takes to install a trailer hitch. See you on the road!
Peace Y’all
