Pillioness.com Website of the Month Jan.’16

Pillioness.com Website of the Month for January

I told you I was bringing back the website of the month feature, & here is a great one that is oriented toward motorcycle passengers. Let face it as fuzzy faced, hairy chested biker men we are usually talking about women. Now we all love tough strong independent women who ride their own motorcycles but there is truly a special togetherness in having your significant other sitting behind you as the miles fly by. And for those ladies who prefer to ride with us Dr. Liz Hardy has created a unique website just for them called Pillioness.com.

Among the truly great things Dr. Hardy does is to talk about the comfort aspect of riding pillion, the passenger accommodations on many motorcycles can be less than accommodating. If you’re trying to get your better half into riding with you it is definitely something that needs to be taken into consideration. For more information you should check out this post entitled, ” A Pillion Seat Fit for a Princess”

Another good thing for you to keep in mind is how you behave. Whether breaking in a new passenger, or trying to convince your life long love to try it for the first time, leave your machismo at home, keep both wheels on the ground, speeds reasonable, and control inputs smooth until they feel comfortable with stepping up the pace. If you scare the living shit out of her or make her miserable with an uncomfortable seat, I won’t blame her for not riding with you. In other words just don’t be an asshole.

That’s Pillioness.com Website of the Month for January 2016. Don’t forget to share this with that special someone in your life, Especially if you are still trying to convince her to join you on a motorcycle.

Clean Inside of Sockets & Wrenches

Clean Inside of Sockets & Wrenches

Here’s a quick random tech tip for you. Although this one is mainly aimed at restorers & customizers it will be of benefit to anyone who values a neat and clean appearance on their project vehicle. When it is time to reassemble your motorcycle make sure that you clean the grease out of your sockets and box end wrenches. When appearances count you really don’t want the old grease & dirt that is inside of your tools dirtying up your clean shiny fasteners. Sure on chrome plated or stainless nuts & bolts it’s more of an inconvenience having to go back and clean them but with zinc plated, cad plated or even painted hardware the dirty old crap stuck in the recesses of your tools can stain the surfaces beyond cleaning. Not to mention that grit from dirt or metal shavings can sometimes be suspended in the old grease and scratch even stainless fasteners when you tighten them down.

Clean Inside of Sockets & Wrenches

So even if all you do is just twist up a rag & stuff it through the wrench, it will make a big difference. I think in the future whenever I finish a big greasy dirty project on an engine or an off-road vehicle, I’ll try to remember to run all of the tools used through the parts washer & clean them inside & out.

How I got reminded of this…

<Honda C70 Passport Restoration>
My last big project was the resurrection of an old ATV for use as a hunting & farming vehicle. It was filthy nasty & greasy even after being washed thoroughly. When I was done all of the tools were wiped off and returned to the tool box without a second thought. Then I used them to disassemble my crusty little C70 Passport, but today when I started putting it all back together with everything cleaned & painted the grease & dirt marred a couple of the bolts so I began wiping the wrenches out after that.

Today I’d also like to apologize to my regular readers for my reduced post output over the last few months since my shoulder injury. Things are getting better now and there is a ton of material saved up, so look for a lot more good stuff to come, including some classic four wheeler tutorials, product reviews, and the return of the Website of the Month category to active status. Still with so much going on there’s no way that I can fit every cool random event into this blog so why don’t you join me on Facebook, follow along on Instagram or on Twitter

Don’t forget the Psyco Youtube channel!

Peace Y’all!


Honda CM400 Custom Project wAmmo Finished

The day I originally brought this Honda CM400 home it was sold and the new owner almost immediately asked me to rebuild it as a tribute to his days as an ordnance technician during the first gulf war. He wanted a rat bike simple and rough edged with his rank and an Ammo Corp logo on it. Olive drab paint was necessary, wrapped exhaust & low bars were part of his specification.  He also did not want a side mount tail light, a rather unusual request on this type of bike. The rest was up to me


rigid frame Honda CM400E>

<ammo corp flaming bomb>

The hand painted logo is not necessarily authentic to his unit but is based on a generic amalgamation of such insignia as I found online.

<od green paint>

The long exhaust pipes were made from small chain link fence posts bent & brazed to the stubs of the original head pipes. The exhaust wrap makes everything look cool and it has a mean sound, just listen to this video.


The rear fender started life as a brand new aftermarket front fender for a Harley Electraglide, that I cut down & installed backwards to make a fantastic custom rear fender. The voltage regulator was bolted to the side and a good old fashioned Sparto tail light was mounted on top.

<cm400e voltage regulator>

A little while back I did a post on twin leading shoe brakes and here they are installed and working just fine on the front of this little Honda CM400

<twin leading shoe brakes>

The factory carbs got a serious overhaul and were re-jetted to work with the 54 mm velocity stacks & open exhaust with a Six Sigma jet kit. The fine people at Six Sigma really know their stuff and can usually set you up with a jet kit custom matched to your application. The key switch is your basis auto parts store universal hot rod part but the alloy bracket and the ABS plastic battery box & side covers are my work.

<hand fabricated motorcycle parts>

The solo seat was a swap meet find that was reworked to fit and the covered in olive drab Cordura fabric.

<Cordura motorcycle seat>

<Honda CM400 bobber chopper>

Here’s a shot of my buddy trying to look all serious and tough when he really wants to smile

<part time tough guy>

The bar end mirrors actually work very well on this bike.

<bar end mirrors>

That’s enough words from me, here’s a little 1 3/4 minute video showing various excerpts from the build and the proud owner taking it for his first spin around the parking lot, and a couple big pictures further down on this page.

<kustom Honda CM400>

<kustom Honda CM400>

Peace Y’all!


Loving the Reader Feedback on This Blog

It’s always great to hear from readers about the various things that I’ve written through the years, for example a little over three years ago I wrote a post underscoring the importance of always using a new cotter pin every time you need one. Just a few weeks ago I received an email from a reader who had a near tragic ending and these next few words will be his.

Comment: I just wanted to share a story about why you should always check those cotter pins.

I had just rebuilt a 200cc bike, and after riding 50 miles, the back wheel came off. I broke my clavicle, went to the ER in an ambulance, destroyed my helmet, broke my crankcase, and scraped up fairings and the frame. The towing & impound were expensive too. In the end, this cost me thousands, and I was out for 6 weeks w/ a hurt shoulder.

All this because I rode the bike without a cotter pin.

I’d torqued up the rear nut to spec, and it only took 50 miles for the nut to back out. I never thought it would happen…but it did.

Now you’ve heard from a man who really knows and yes he still rides motorcycles. He asked me to keep his identity completely private so I will, and thank you very much kind sir for sharing this with us. If the rest of you don’t already have one stop right now & get yourself a cotter pin assortment.

Another post that has generated a lot of comments & feedback was the one entitled Vintage Piston Valve Keihin Carburetor Overhaul. If you look at this post without reading the commentary you’re only getting half of the story. Check out the whole page, I learned as much from my readers as they learned from my meager do it yourself post. Of course this leads into my other series of posts Dirt Bike Carburetor 101.

Those of you with CV carbs don’t fret, I have several dozen detailed close up pictures of 2 different style of CV carburetors that I have worked on recently & will be getting a couple of detailed posts going for you about those.

Some of you may be wondering about the Project wAmmo bobber that I had started on. It’s probably the main reason that I have not posted as steadily this month as I should have because the darn thing needs to be finished. But it’s up on it’s wheels and actually went to it’s first show despite needing a few more details to finish it up. I hope to have it all wrapped up in the next 2 weeks for final pictures in the meantime give a listen to this video.


That’s about it for this post if you haven’t already signed up for email notifications please do so using the box below. There’s a lot of great stuff coming up & you don’t want to miss a thing.

Most of all thanks for the reader feedback on this blog.


Install a Vista-Cruise Throttle Lock

For the last 3 or 4 months a shoulder injury has severely curtailed my riding and blogging. In addition to this I’ve had problems with numbness & tingling in my hands seemingly forever but simply wrote it off as the cost of working on a computer all day every day for a living. Using a Cramp Buster on the throttle helped, but once I hurt my shoulder it just wasn’t enough anymore.
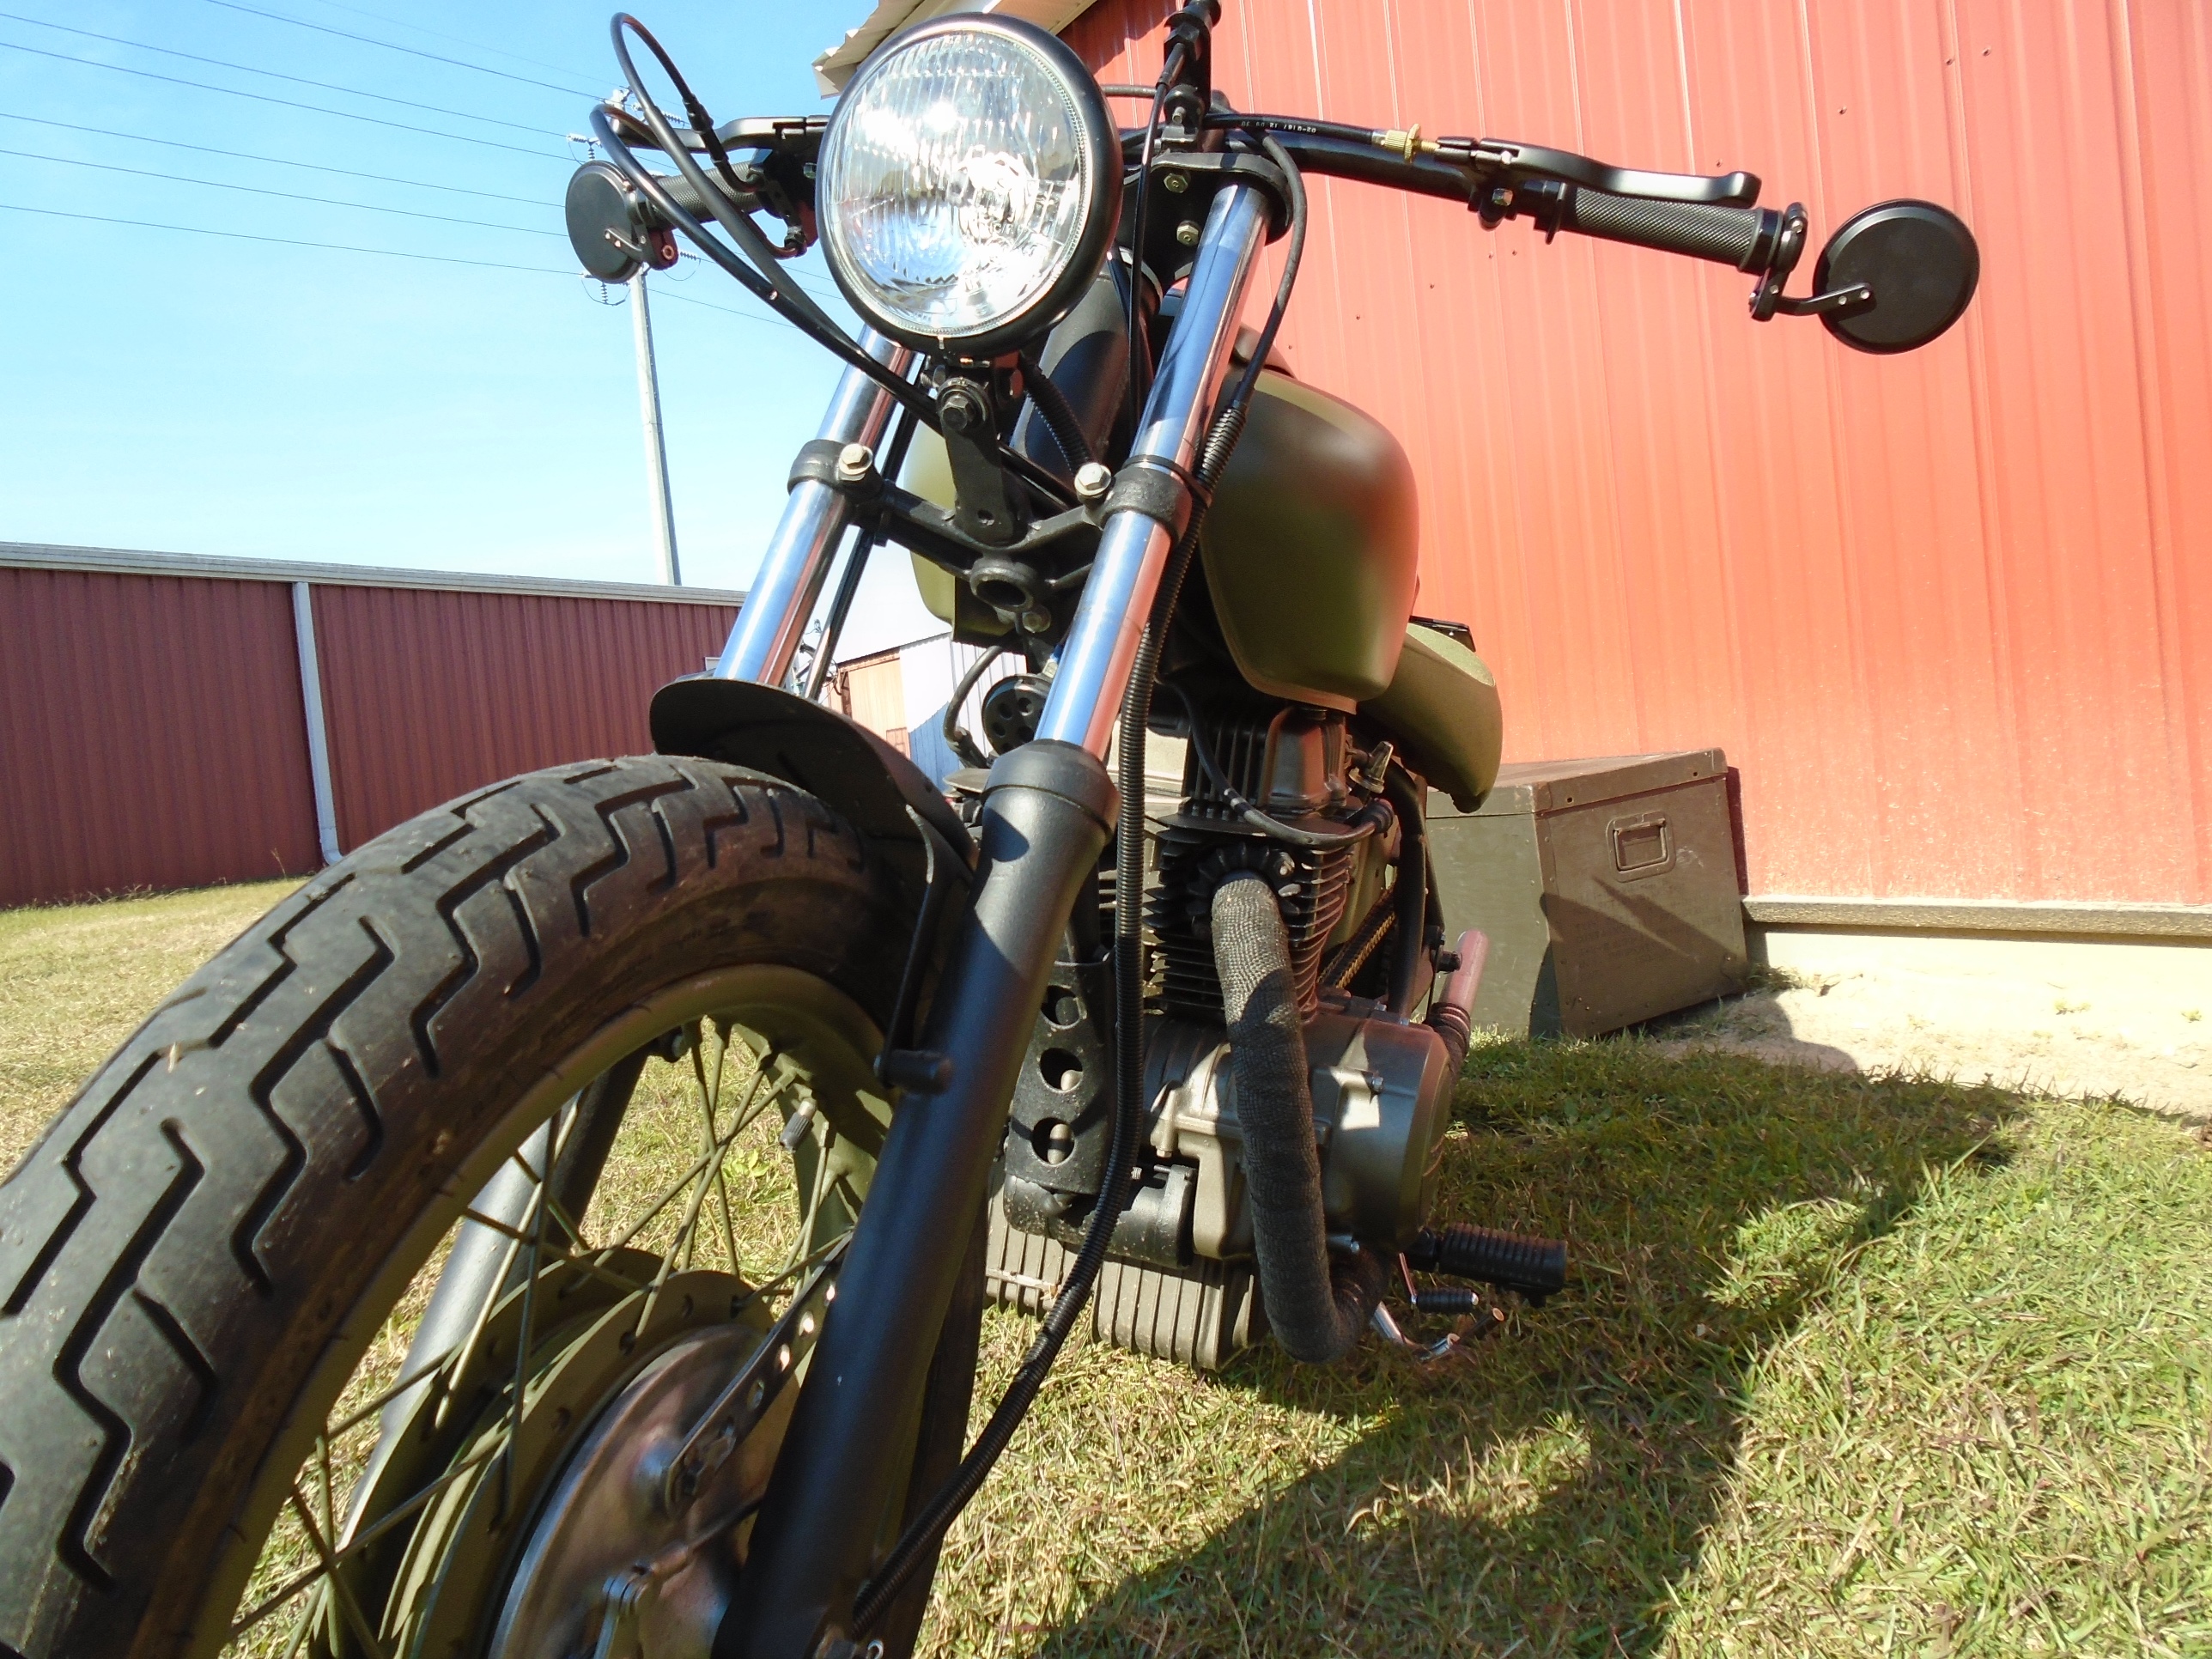
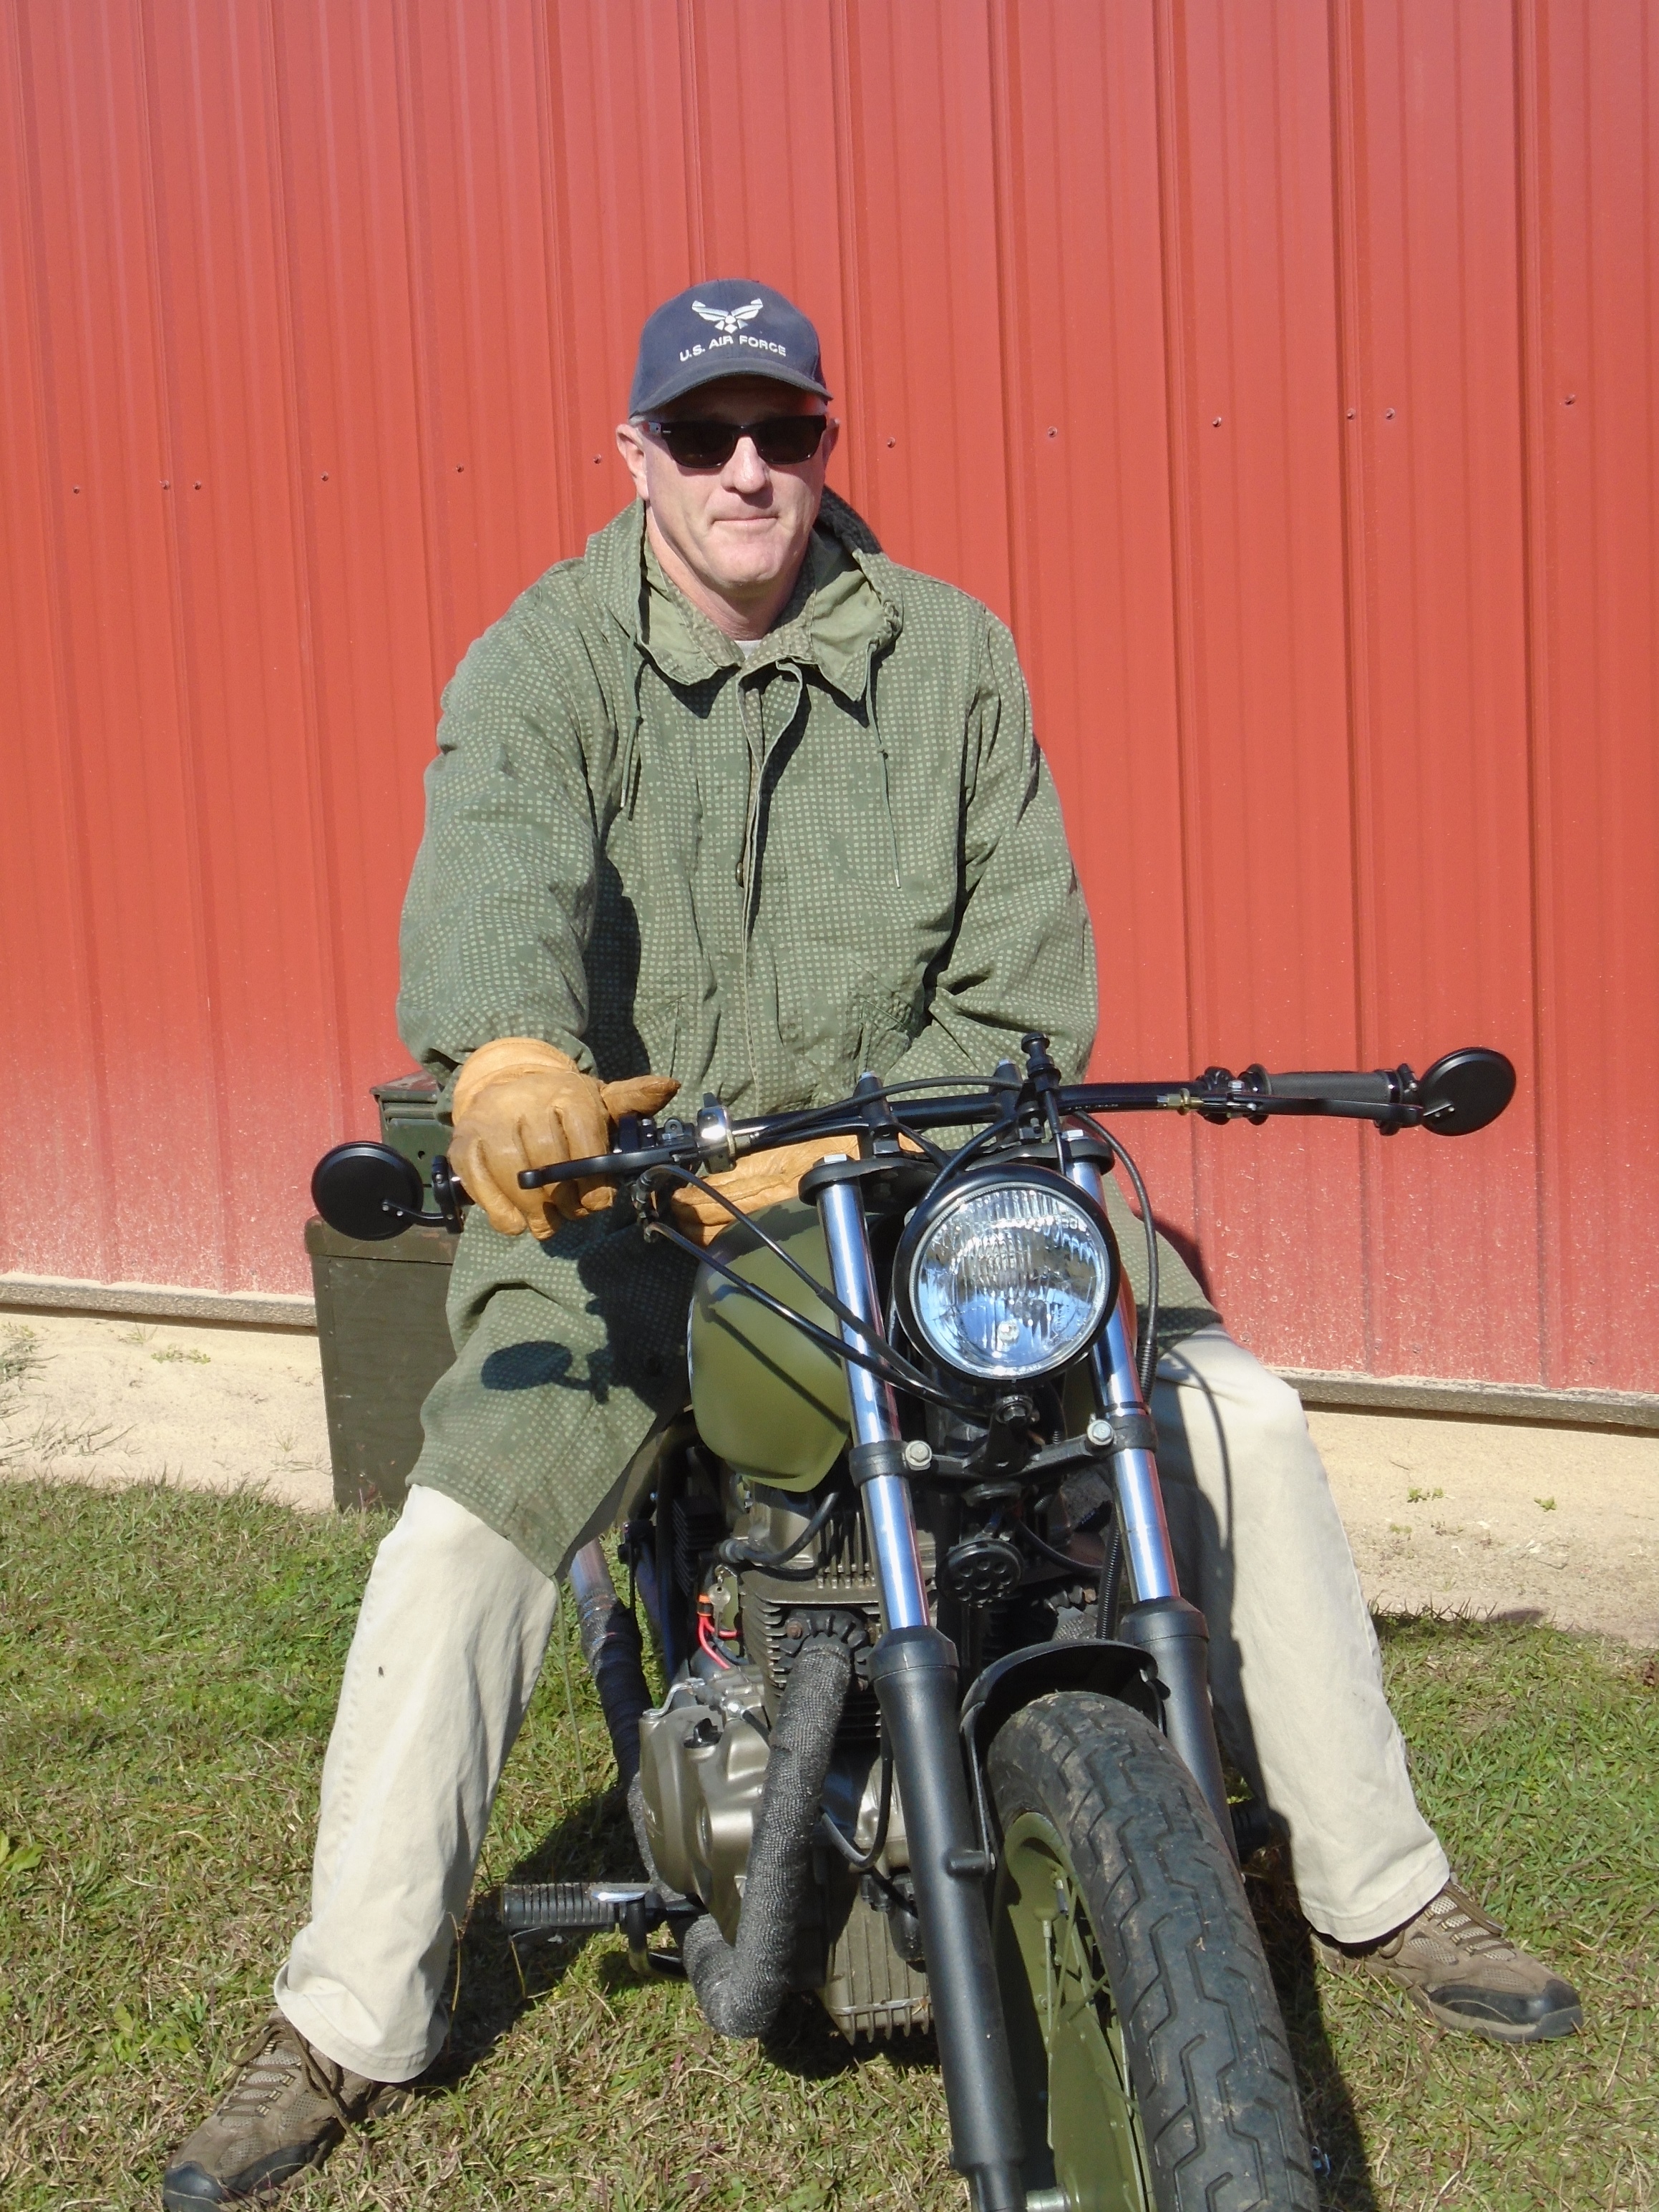
Although sitting at a desk drawing pictures and filling out spreadsheets on a computer all day often leaves my hands & fingers sore whether I ride or not, some of the things about my main daily driver motorcycle greatly exacerbate the problem. To start with as part of the whole vintage/rat/survivor look it still had the original 35 year old factory rubber grips on it. While they really looked the part, these grips were rock hard and slick, to the point that I might as well have been gripping the steel handlebar directly. The bar itself was robbed from a 71 Honda CL450 and is one of the most rigid & indestructible off road handlebars ever made, this combined with the fact that it is clamped directly to the top of the triple tree with no insulation of any kind, sent the high frequency vibration of the engine straight up into my arms. In all honesty it was nothing that I couldn’t live with until becoming afflicted with bursitis in my right shoulder. Faced with the reality of not being able to ride more than a few minutes at the time, I decide that it was time to do something about it.

<vista-cruise motorcycle cruise control>

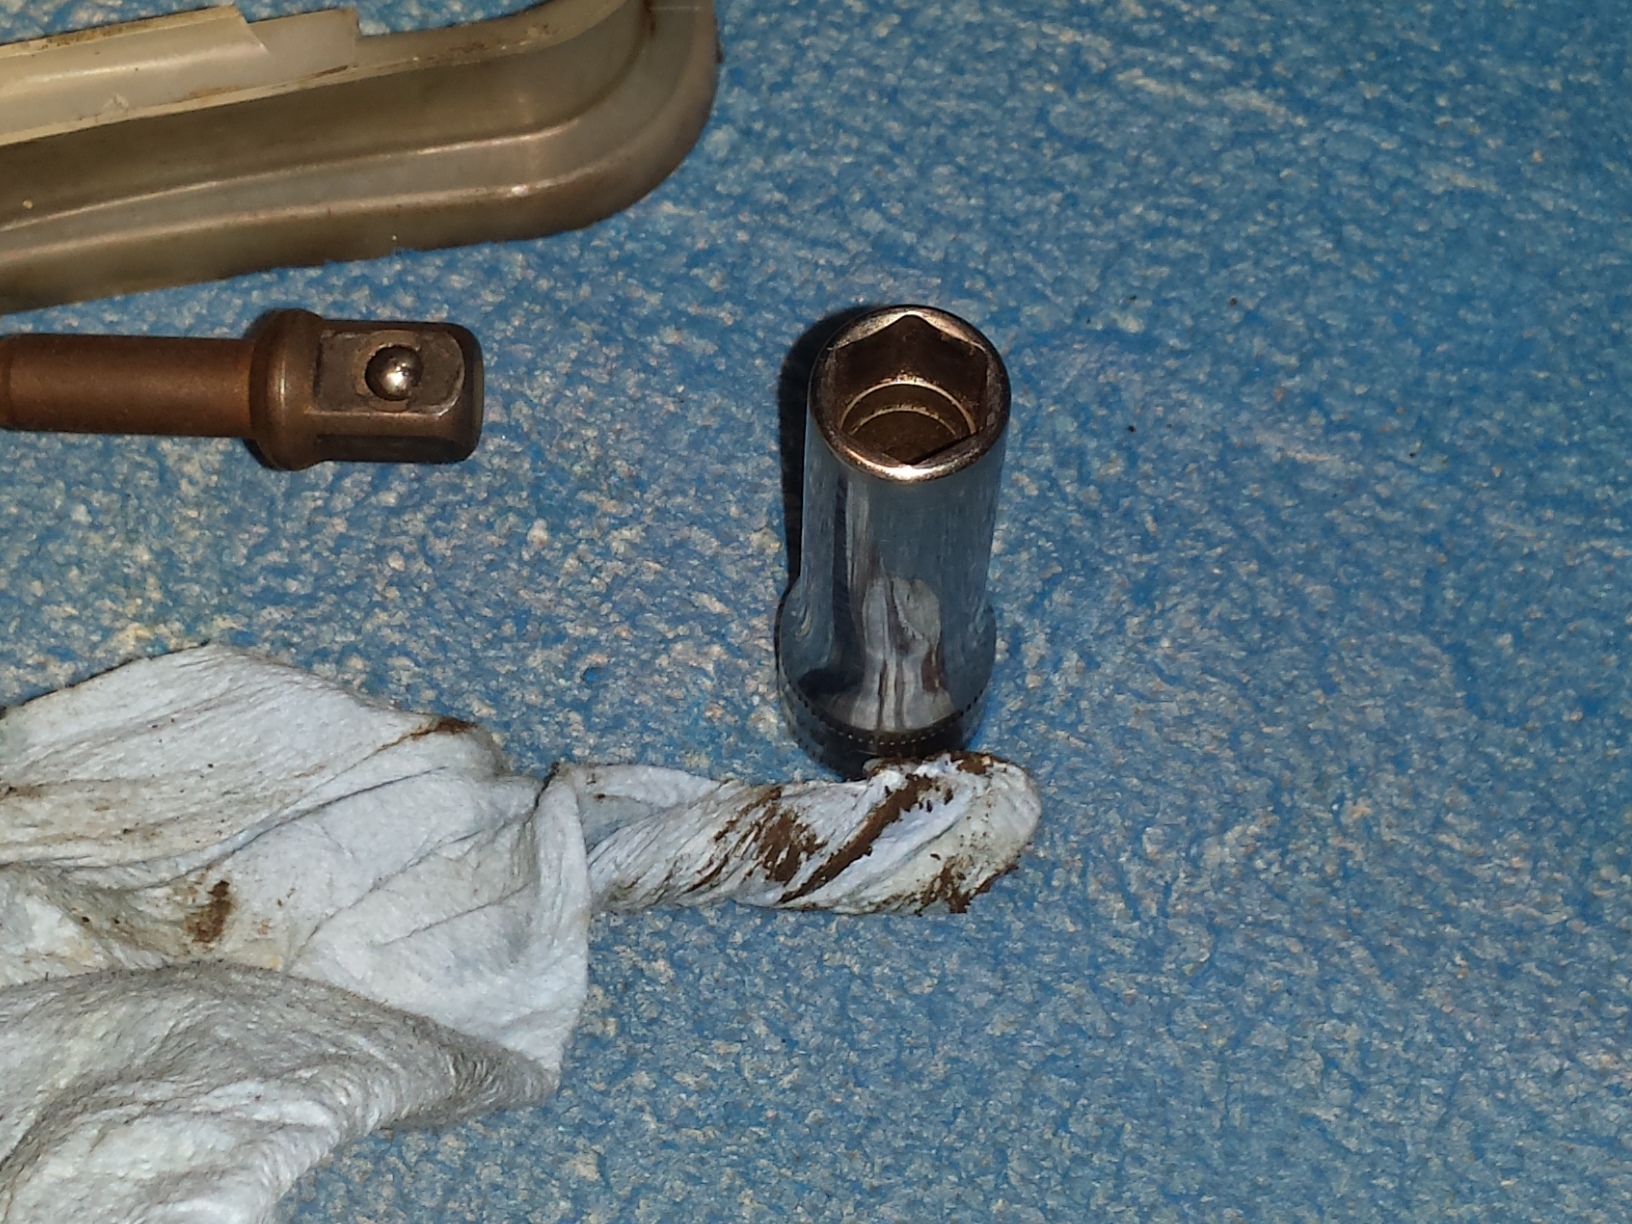
So I decided to replace the grips and install a Vista-Cruise Throttle Lock. This universal motorcycle “cruise control” is a product that I have used before on 2 other motorcycles not for pain relief but mainly for long distance riding and for riding no handed and other fun stupid stuff. This like most universal products may or may not work with your particular motorcycle, and it’s highly unlikely that it will fit any motorcycle without some modification. These throttle locks were designed around a typical late ’60s through mid ’80s universal Japanese motorcycle with dual throttle cables. Even then the instructions warn that some cutting or filing may be necessary to make it work. As you see in the picture below it would not fit up against the switch housing as delivered.

<vista-cruise motorcycle throttle lock>

So I had to file it to fit.

<universal motorcycle throttle lock>

Remove the least amount of material possible, & check the fit often. This is how I had to modify it to fit my 1980 Honda CB650, your bike may require something totally different. If you’re not comfortable with cutting & modifying a brand new part to make it work then you probably should not install a Vista-Cruise throttle lock. I recommend that you use a Brakeaway custom fit cruise control instead.

<universal motorcycle cruise control>

It is not really necessary to remove the grip to install the throttle lock but since I was replacing the grips anyway it is much easier. If you are not changing the grips you can just pry it back from the switch housing a little bit and fit it around the throttle tube as directed in the Vista-Cuise instructions.

<motorcycle throttle lock>

Once you have it fitted properly here’s the adjustment key that is supplied. Use it or a flat screwdriver to adjust the tension screw so that it holds the throttle in place when locked but allows it to return to idle as soon as you flip the switch up to unlock it.

<motorcycle cruise control>

Don’t forget the clear washer shown below that goes between the grip and the throttle lock to prevent the grip flange from hanging up on the side of the Vista-Cruise.

<vista-cruise installation>

I decided to use new Oury grips for the vintage look and proven vibration dampening abilities. Oury Grip has been in business for decades and have always provided a good product at a decent price. Just be sure to clean your handlebar and throttle tube well, then use a good handlebar grip glue to make sure everything stays in place.

<Oury vintage motorcycle grips>

The new grips are nice and soft so the handlebar buzz is greatly reduced, plus I don’t have to squeeze the throttle so tight to move it. Once up to speed in a place where I don’t need to accelerate or slow down too often just push down on the lever & lock the throttle. Even with the throttle locked you should still be able to move the throttle to adjust your speed as needed. One caveat that is worth mentioning is that you will not get true seamless “cruise control” action. This is a throttle lock if you start downhill the bike will speed up, going uphill it may slow down. On bikes like mine with four old mechanical carburetors and / or strong throttle return springs,  your adjustment to the lock may end up being a compromise. At low speed the leverage of the carb internals and return spring will gradually close the throttle. Once the throttle is opened far enough to negate this problem it will stay locked in place for miles of smiles.  It could be adjusted tight enough to hold at all speeds but then it would not return to idle immediately upon released. This is the single most important thing to remember, for the sake of safety it must always be adjusted so that when the lock is released the engine will return to idle just the same as if you simply let go of the throttle.

After a nice 100 mile test ride I am very pleased to say that my arms & hands felt great & I can’t wait for the next road trip!

<new grips on the assault scrambler>

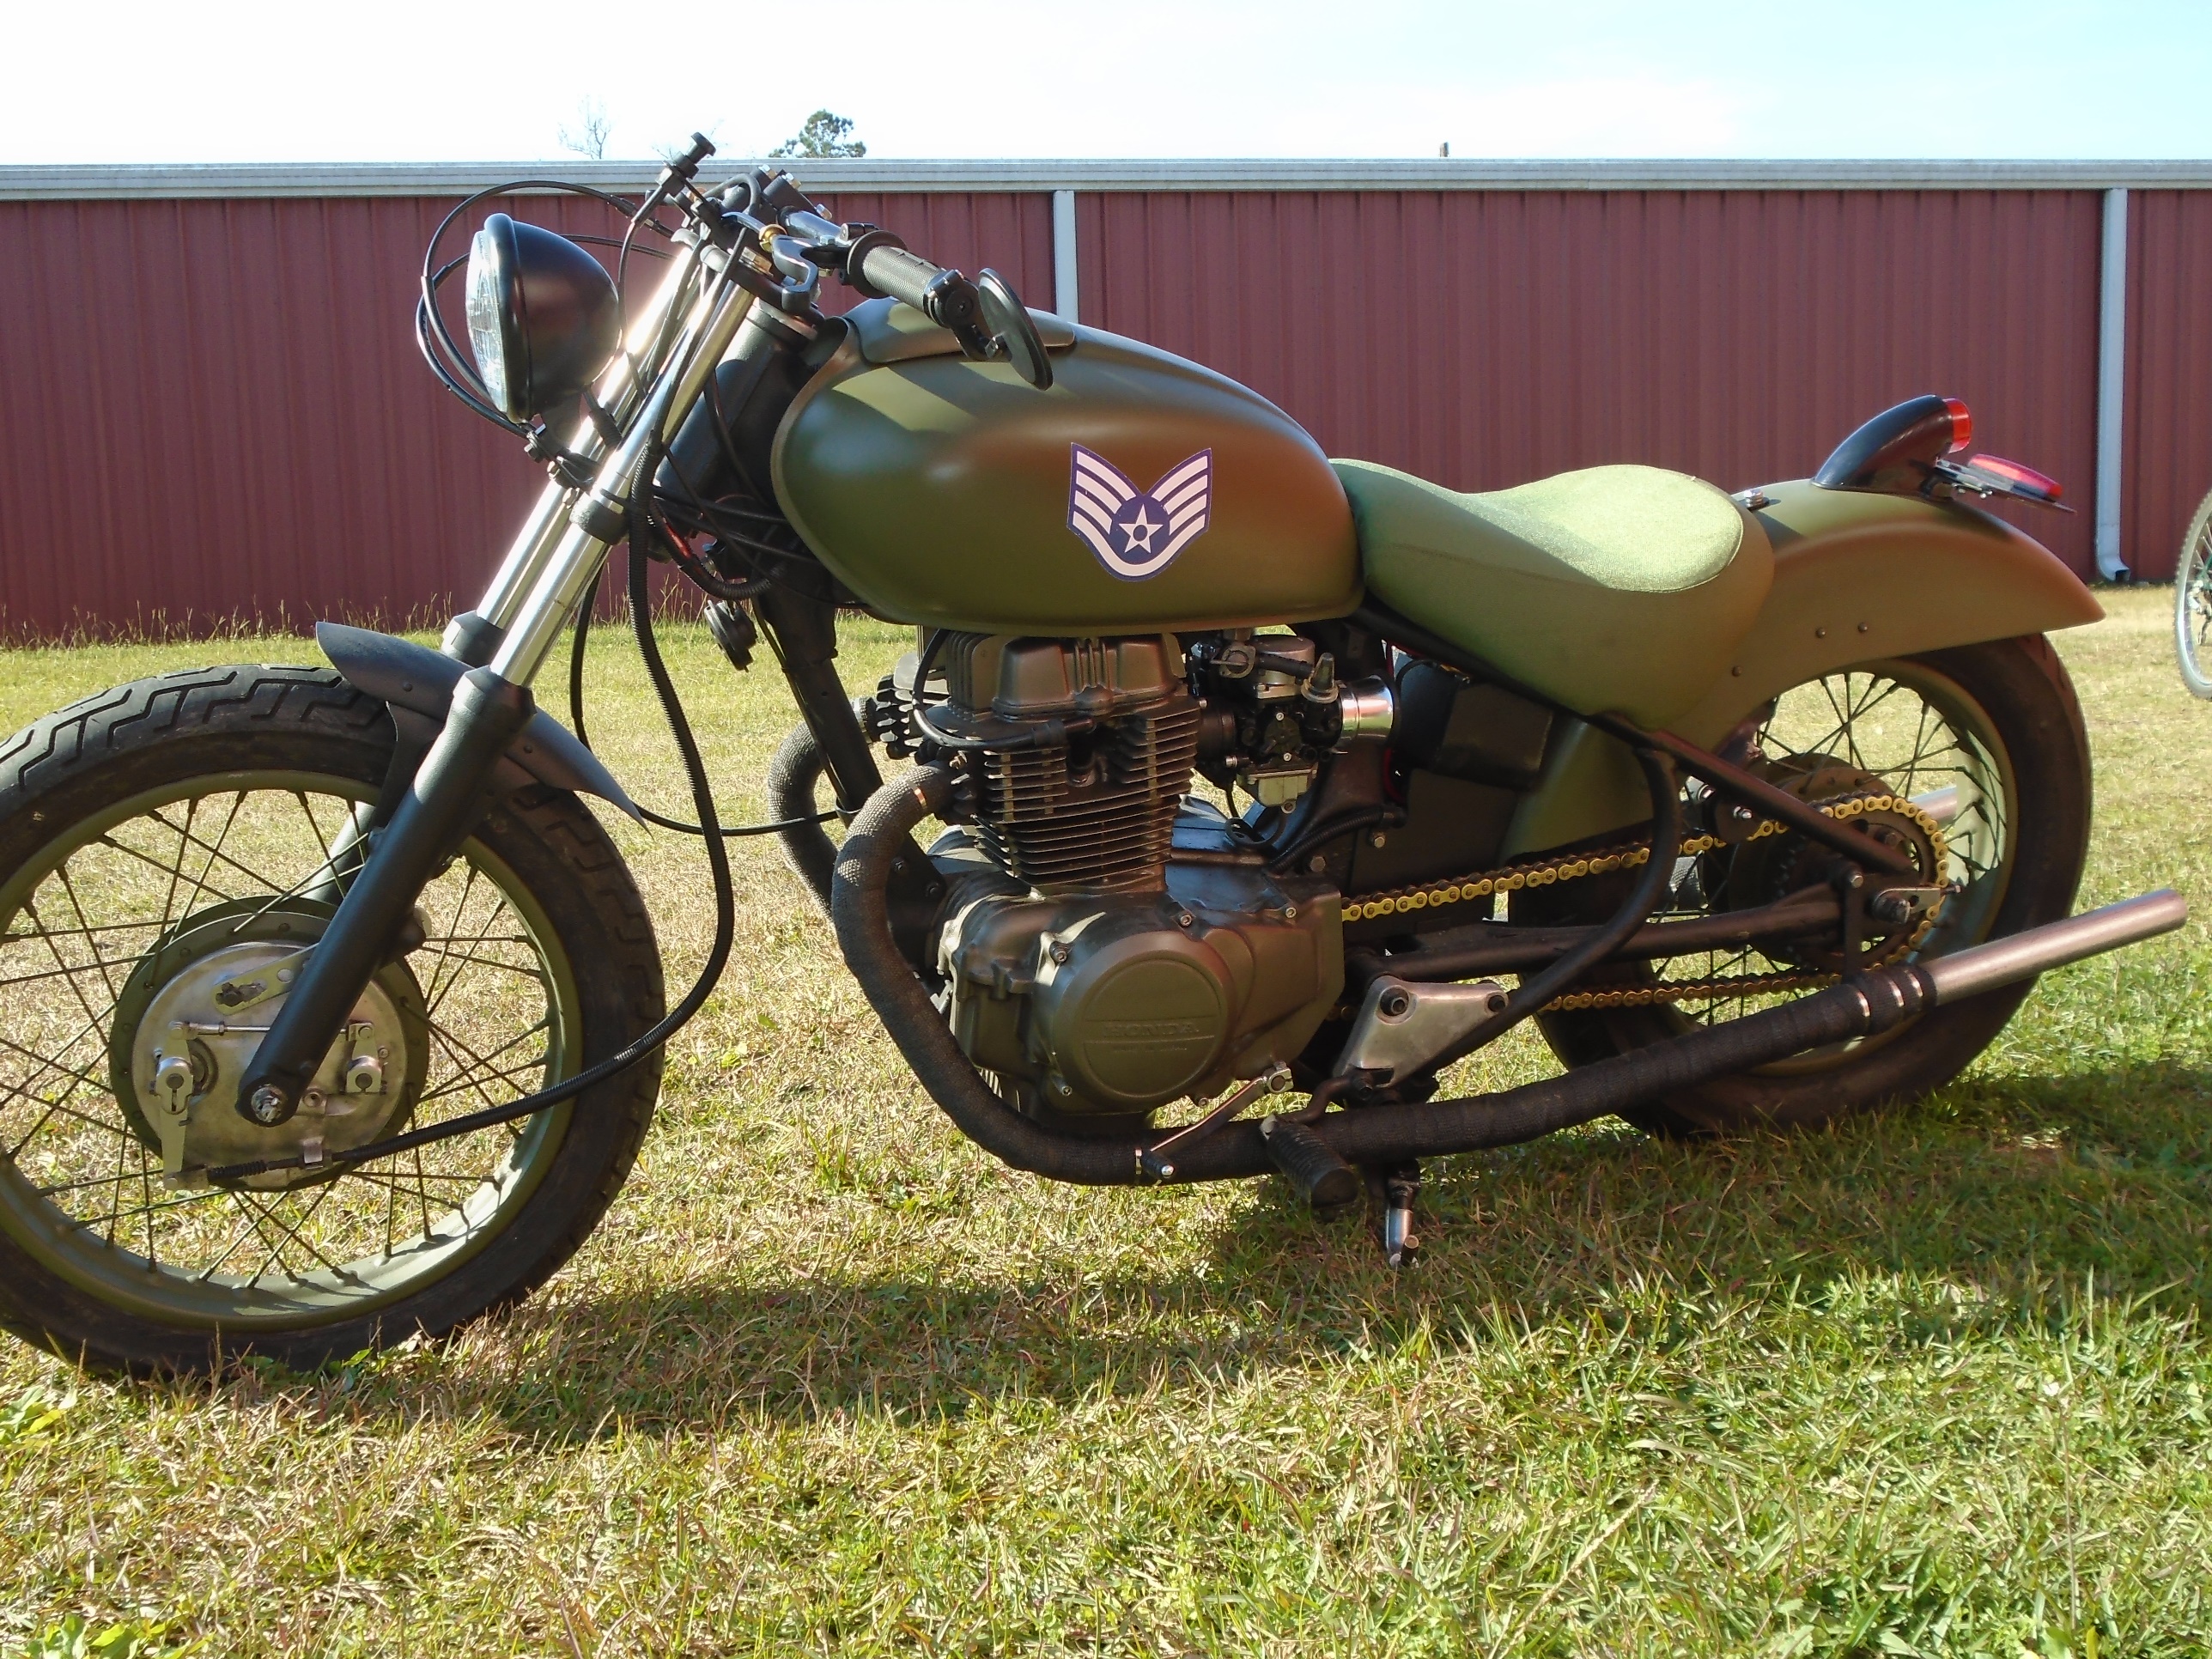
It’s still the same old road running rat but with cruise control & nice new grips!

Products used in this post;

’77 Honda CT70 A Junkyard Puppy!

This ones a little bit too small to be a dawg

<CT70 in back of Tacoma>

That’s why I’m calling it a puppy. I’ve been searching for a Honda ST or CT motorcycle to restore for a while now, so when this 77 Honda CT70 popped up on the local Craigslist for a bargain basement price I jumped on it asap. When searching for gems like this, if you find one going (relatively) cheap you should be prepared to go see it immediately.

<Junkyard fresh Honda>

It’s got a lot of neglect but still it should be a very cool project. The person I bought it from had started to restore it somewhat with some fresh Chevy engine orange spray paint & new decals. Then they painted all of the chrome black. Unfortunately, they could never get the engine to run so they just gave up & lost interest in it.

<ct70 messed up wiring>

<damaged Honda CT70>

I have no clue how the left handlebar was broken, but that’s okay, it will replaced with a N.O.S. or authentic reproduction. The plans for this one are very simple, it will be as close to a concours quality restoration as I can get it. There will be some internal upgrades to the engine, steering, & suspension but the outward appearance will be 100% box stock.

<Honda Mini Trail 70>

Mini Trails Rule!

Thankfully there’s still plenty of new old stock parts left out there along with tons of reproduction stuff

<Mini Trail needs restoration>

If you drink a beer or two, and squint at this picture long enough you can almost see a restored 77 Honda CT70.  Can’t wait to get started on it.

Peace Y’all

BTW, if you don’t have time money & space for the real thing, why don’t you try one of these little gems below.


1957 Zundapp Junkyard Dog

Here’s some real motor archeology for you, a 1957 Zundapp. I am fairly certain that it is a Super Sabre, feel free to let me know if I’m wrong.

Zundapp Motorcycles were built in Germany beginning in  1919. The KS750 sidecar motorcycle produced for military use was probably their most well known product, but they also made sporting two stroke singles like this one and a wide variety of scooters as well. They had a reputation for being solid well built machines.

<1957 Zundapp>

1957 Zundapp

Shame I couldn’t have gotten hold of it 20 or 30 years ago.

<1957 Zundapp>

<1957 Zundapp speedo>

<1957 Zundapp front hub>

Got Rust?

The cylinder head doesn’t have any broken fins, wonder what it looks like on the inside?

<1957 Zundapp engine>

It’s a shame to see such a fine piece of German engineering in this condition.

<1957 Zundapp tank badge>

<1957 Zundapp>

The original ID tag is still in place behind the headlamp.

<1957 Zundapp>

At this point it is highly unlikely that I will attempt to restore this motorcycle. The plan is to carefully dissect the cadaver to see if there are still any parts that would be of any use to anyone who has one of these rare old motorcycles.

<1957 Zundapp>

1957 Zundapp Super Sabre

If this were a typical Craigslist ad here is where it would say, “tires still have plenty of tread left.”
<1957 Super Sabre>

If you would like to find out more about these motorcycles, or if you are just curious to see what this pile of junk used to look like visit the Zundapp Fool website by clicking here.

Peace Y’all

The 2015 VJMC National Rally Day 2

It is the end of the second day of the 2015 VJMC National Rally, and a little rain is falling  from a passing thunderstorm this evening but for most of the day the weather was beautiful and the group rides went off without a hitch.

image

We all had a great time on a various rides to various different places in the mountains. My wife and I actually followed the tiddler group up to the Sugarland visitors  center, after a brief visit to the museum we proceeded to the Metcalfe Bottoms picnic area where we had a nice lunch.
In the meantime the convention center continues fill up with an ever increasing assortment of nice bikes as people rolled in.

image

image

It turns out I’m not the only one who brought a 185 Suzuki.

image

Above is an entire row of classic Kawasakis.

image

image

Here’s a nice original XS500

After a great BBQ supper we listened to a presentation from Pete Boody the owner of Pistol Pete’s services who is restoring the prototype Goldwing serial number 2. Pete gave us a good run down of the early history of the development of the Goldwing and the difference between the prototypes, the pre-production units and  the final production units.

image

It has been a terrific day and I do have some video footage from the ride that is up on YouTube.

Peace Y’all

2015 VJMC National Rally Day 1

Today was the first day of the 2015 VJMC National Rally

image

Here are a few more pictures from the first day’s action .

image

I actually feel bad about loading the Suburban Assault Scrambler onto  to a trailer for this short little trip, but I wanted to take both bikes.

image

image

This blue and white Suzuki water buffalo is terrific looking.

image

Another blue and white Suzuki.

image

image

A Honda Grom and a CB 1100 parked outside of the Convention Center.

image

A raffle bike from the  Cincinnati group.

image

It just wouldn’t be a vintage motorcycle rally without a Honda ST90.

image

A beautiful Yamaha but check out the odometer below.

image

Before I sign off for the day, I  just have to include a picture of my Suzuki TS185 sitting inside the convention center with all the pretty show bikes.

image

Peace y’all.

1981Suzuki TS185 Finished!

Well, I got it finished! The entire build is chronicled from start to finish in the 23 minute video. I started out with a little bit of step by step video, but quickly realized that with the time constraints, that would not be possible so I morphed it into an overview video. The last few minutes is me taking it out of the yard and down the road for it’s first test ride.

It ran and handled fairly well, but the stock suspension is too light for a big guy like me to do any serious off-roading with it. I just have a couple more little things to tweak, and then if I can’t find  reasonably priced suspension upgrades, I’ll probably put it up for sale after I return from the VJMC National Rally.