Honda CM400 Custom Project wAmmo Finished

The day I originally brought this Honda CM400 home it was sold and the new owner almost immediately asked me to rebuild it as a tribute to his days as an ordnance technician during the first gulf war. He wanted a rat bike simple and rough edged with his rank and an Ammo Corp logo on it. Olive drab paint was necessary, wrapped exhaust & low bars were part of his specification.  He also did not want a side mount tail light, a rather unusual request on this type of bike. The rest was up to me


rigid frame Honda CM400E>

<ammo corp flaming bomb>

The hand painted logo is not necessarily authentic to his unit but is based on a generic amalgamation of such insignia as I found online.

<od green paint>

The long exhaust pipes were made from small chain link fence posts bent & brazed to the stubs of the original head pipes. The exhaust wrap makes everything look cool and it has a mean sound, just listen to this video.


The rear fender started life as a brand new aftermarket front fender for a Harley Electraglide, that I cut down & installed backwards to make a fantastic custom rear fender. The voltage regulator was bolted to the side and a good old fashioned Sparto tail light was mounted on top.

<cm400e voltage regulator>

A little while back I did a post on twin leading shoe brakes and here they are installed and working just fine on the front of this little Honda CM400

<twin leading shoe brakes>

The factory carbs got a serious overhaul and were re-jetted to work with the 54 mm velocity stacks & open exhaust with a Six Sigma jet kit. The fine people at Six Sigma really know their stuff and can usually set you up with a jet kit custom matched to your application. The key switch is your basis auto parts store universal hot rod part but the alloy bracket and the ABS plastic battery box & side covers are my work.

<hand fabricated motorcycle parts>

The solo seat was a swap meet find that was reworked to fit and the covered in olive drab Cordura fabric.

<Cordura motorcycle seat>

<Honda CM400 bobber chopper>

Here’s a shot of my buddy trying to look all serious and tough when he really wants to smile

<part time tough guy>

The bar end mirrors actually work very well on this bike.

<bar end mirrors>

That’s enough words from me, here’s a little 1 3/4 minute video showing various excerpts from the build and the proud owner taking it for his first spin around the parking lot, and a couple big pictures further down on this page.

<kustom Honda CM400>

<kustom Honda CM400>

Peace Y’all!


The 20 Foot TS185 Restoration Part 4!

Mission Main Street Grants

Hello everyone & welcome back! It’s time for just a few more pictures of this little project TS185 I’ve been working on but first let me talk to you a little about the banner ad above. I have applied for one of these grants and I only have until June the 19th 2015 to reach the required number of votes. If you have a couple of minutes of time & a Facebook account could you please go vote for me? It would be greatly appreciated.


<bmx platform pedals on a motorcycle>

As mentioned last time this motorcycle is more of a restomod than a proper TS185 restoration and one of the things that I have always wanted to try out was putting a set of BMX bicycle platform pedals on a motorcycle. So out came the reciprocating saw some scrap metal & the welder.

As I mentioned the last time I was changing the color so here it is just a plain old machinery gray from a Duplicolor spray can.

<suzuki TS185 headlight & fender>

Added the shop logo to the number plates

<motopsyco.com>
Of course there were some new parts installed, missing bolts replaced & a few leaks stopped while I was at it.

<ts185 restoration>

Some hard lessons were learned such as don’t install the clutch release arm upside down and that cheap enamel clear really doesn’t spray well in 100 degree temperatures. There are still a few odds & ends that need doing but it is mostly done. Now I just need the upholstery shop to have my seat ready this week!  I also think the new pedals are fantastic looking but I do have to be careful when using the kick starter.

<motorcycle with bmx pedals>

One advantage to doing all of this was having time to sort out the various electrical bodges that previous owners had inflicted on this poor machine. It now has a fully functional key switch, brake & taillights, a battery, fuse etc. Of course it still starts easily & runs like a top!

<1981 TS185 restomod>

Peace Y’all


A Truly Unique Dirty Chopper

Mission Main Street Grants
Carolina Honda Powerhouse, hosted a really nice vintage motorcycle rally today (Saturday May 30th, 2015). While I plan to post a few pictures from that at a later time right now I am overwhelmed with the desire to share this fantastic custom. The owner shall remain nameless here, but he was willing to pose for a couple of pictures with his creation. First just let me give you the list of parts that make up this unique dirty chopper custom bitsa. (You know a few bits of this and a few bits of that, none of it matching but it all works together.)

<Maverick Dirt Chopper>

1978 Yamaha XT500; frame

2000 something Honda Rebel; engine

1969 Yamaha DT-1; rear wheel, brake, sprocket & sidestand

1984 Honda CR125; gas tank, forks, front wheel & brakes

1980 something Harley Sportster; shocks, seat, front & rear fenders

1972 Honda CB500-4; footpegs

1960 something Triumph clutch lever,

It also had a utility trailer tailight, cheap driving lamp headlight, a bicycle handlebar and a bunch of homemade small parts!

Yes I would ride it, would you?

<a dirty bitsa chopper>

<extended shifter>

<auxillary gas tank dirty chopper>

I forgot to mention this awesome auxiliary fuel tank sourced from some unknown ancient lawnmower.


<home built chain guard>

<cheap ass air filter>

<Honda Rebel Voltage Regulator on chopper>

<unique dirty chopper>

How about a view from the cockpit?

<mountain bike handlebars on motorcycle>

Amazingly enough despite it’s ratty origins & seemingly haphazard design when you view it from the side the proportions are nearly perfect.

< a Unique Dirty Chopper>

a Unique Dirty Chopper

<a Maverick Chopper builder>

The final flourish to set off this masterpiece of junkyard art is this emblem added to the numberplate!

<not a ford maverick>

Peace Y’all!

A Quick look at Harley’s Street 750

<HD Street 750>

I took a quick trip to Charleston S.C. this past weekend, mainly so could spend the gift certificate from Low Country Harley Davidson that I won at the Rockabillaque bike show, and so the Mrs. & I could have a nice romantic lunch at Gilligan’s restaurant in Monck’s Corner on the way. Low Country is a very well set up dealership with a large bike showroom that actually takes precedence over the boutique gift & t-shirt portion of the store. Yes the other merchandise is housed in an impressively sized store with a very upscale appearance, but it is clear that the bikes come first when you walk in.

There was one bike in particular that I wanted to check out, Harley’s Street 750 & 500 models. They had one of each with the 500 sitting at the front of the showroom and the 750 off to one side on display in front of a Christmas tree, at the entrance of the boutique.

<750cc of liquid cooled power>

Unfortunately, it was pretty well being ignored as most customers seemed to head straight to the baggers. Yet even with the improvements that created the liquid cooled “Rushmore” line of motorcycles the fact remains that this is the most advanced engine that HD has released since the V-Rod or the short lived Buell 1125. With liquid cooling and overhead cams it steps firmly into the modern age of motorcycling. I do realize that all of my fellow Japanese iron riders will yawn with boredom at the thought of a mere 57 rear wheel hp (as measured by Cycle World here), but when compared to other mid size machines with a similar design focus, based on unique or classic styling, beginner friendliness, and character it compares very well. Bikes such as the Triumph Bonneville, Moto Guzzi V7, and Honda’s new series of 700cc machines such as the NC700 have similarly modest horsepower. The folks that buy these machines are not after barn burning power, but unique styling combined with ease of use is the name of the game.

If these bikes were available through the rental program, I would rent one and try it out, perhaps I can snag a demo ride on one somewhere. After throwing a leg across it and sitting on it I really liked my first impression. Even though it seems small compared to all of the big bikes in the showroom, for a genuine vintage rider like me it seems perfect.

<the Motopsyco on Harley's Street 750>

the Motopsyco on Harley’s Street 750

Let me be totally 100% honest with you, I really do not like to ride cruiser or touring style motorcycles. Chrome don’t thrill me & I thoroughly despise floorboards, forward controls, and infotainment systems on motorcycles, after all when I ride a motorcycle I expect it to entertain me without any outside help. The street 750 &500 models will probably be available in other colors soon enough but the murdered out appearance of the current model really turns me on, as do the mid controls and the bikini fairing reminiscent of the 77 XLCR.

<Harley's Street 750>

Harley’s Street 750

I have the feeling that I could live with one of these in bone stock form at least through the first summer. But as soon as the wrenching season hit it would wind up with my laptop plugged into the first aftermarket injection controller I could find. Then I would have to dig up a wrecked CBR/GSXR something or another and con one of my machinist friends into helping me swap the forks & wheels onto it, along with some taller shocks & lower handlebars.

Yes I know the target market is beginners who are planning to move up to a big twin from Milwaukee, not nutcase rat/brat/cafe racer fanatics like me. This little twin is really cool, and I think it’d be fun to cut it up and make it into something KUSTOM! The only thing I wouldn’t change is the color scheme.
Peace Y’all


Rockabillaque

Here’s a cool event to check out this coming Saturday November 15th 2014! Rockabillaque in North Charleston, S.C.

So if you enjoy vintage custom cars, old motorcycles, rockabilly music, pinup girls, & Kustom Kulture in general you really don’t want to miss this show!

In addition to the main website you can check out their Facebook Page too!

An Enjoyable Compilation of Bad Ideas (a Custom Baja Minibike)

compilation :

[kom-puhley-shuh n]

noun

1. the act of compiling      2. something compiled

Yes that sounds like the perfect definition for this little project, it was a compilation, and now it is a compilation. It started out as a little extra sweetener thrown in on a deal when I purchased an old motorcycle to part out. Originally I planned to see if it would run and do the bare minimum to get it rideable and flip it. One of the great things about the Baja MB165 & MB200 minibikes is the fact that they are actually big enough for a grown man to ride comfortably. The bad thing for a full grown idiot like myself is that they are slooow. This is great when your kid is riding it but kind of dull for daddio. Plus there was no dirtbike in my stable so I decided to keep it and have some fun with it!

The original gas tank was full of rust and the carburetor was gummed up but the engine was otherwise sound. It turned out to be so inexpensive to replace the Honda clone carburetor that was on it, that there was no point in overhauling it. The rusted original engine mounted fuel tank has been removed and tossed in favor of a motorized bicycle gas tank. Plus I decided to use an aftermarket air filter as much for the looks of it as anything else. The stock muffler was retained so that I could use it for driving to my deer stand without disturbing every creature for miles around.

<custom headlight baja minibike>

The other really noticeable bad idea you see here is the addition of a large heavy duty sprung bicycle seat. This was accomplished by cutting up an old jack handle and welding it to the frame. The seat has been kind of a mixed blessing. the extra height gives an even more comfortable riding position and the springs do help a teeny tiny little bit on small bumps, but the padding is so thin on this particular seat, that the engine vibration will buzz your taint if you slide too far forward on it. No it’s not an enjoyable feeling either, sorry.

<mini rat bike patina>

Of course, being me I kept as much of the crustiness as I could only covering the fenders and the crappy looking dirtbike handlebar with a thick coat of do it yourself truck bed liner.

<custom baja mb165>

The handlebar came from an eighties Honda XR250. It had a fair amount of surface rust that I knocked off with a wire brush before coating it with the bed liner. I am sure the rust will eventually come back through but that’s okay with me for now. Changing out the handlebar was the single best comfort & control improvement to this minibike. From the factory Baja installs what looks like a “beach cruiser motorcycle” handlebar on it. Very good for little people with short arms, not so good for long armed gorillas like myself. The foot pegs are a set of passenger pegs from another old Honda motorcycle and are much bigger & sturdier than the oem items that came with it.

<xr250 handlebar on minibike>

Also missing was the original big round chrome chopper style headlight, but in all honesty it would have been ditched in favor of the evil eye shaped driving lamp you see below. Like the original this light’s a bit dim at idle, but give it some gas and it keeps getting brighter & brighter.

<the evil eye>

There is one really good performance enhancing mdification and that is the installation of a GTC Torque Converter. In my last post I did a quick installation overview & product review on this part. There is also a video of this mini running & being ridden on that page so that you can check it out. Click here to view it if you haven’t seen it yet.

<minibike in a box>

The front end is still a little bit tweaked from an accident that is was in prior to my owning it, and will stay that way. It’s such a little thing & it doesn’t bother me or anyone else who has ridden it. It’s just that the handlebar is cocked about a half a degree to the right when the bike is going straight, & not really worth trying to fix.

<custom Baja Warrior minibike>

Now that I have told you all about this custom Baja minibike, it is time to say that it is for sale. There’s a real running dirt bike sitting in the barn and I anticipate that this one will soon be sitting around more & more. So the first person to give me $350 bucks for it gets it. Although I would prefer to sell locally for cash, I am willing to crate it for shipping as long as 1. you make all the arrangements for the shipping. and 2. I get at least 3 working days notice to build the crate before pick up. and 3. I have been fully paid via verified USPS money order. NO online payment options available for this, as I have been the target of too many scams lately. If you do purchase this machine you acknowledge that it has been altered from its original factory condition using questionable & potentially unsafe modifications and that you the purchaser assume all risks associated with operating it including the possibility of severe injury or death. And for heavens sake if you’re gonna let a kid ride it, put a belt guard on it.

This minibike has been sold!

Peace Y’all


Introducing Project wAMMO!

Perhaps I should just write all of this down and wait til I finish to start posting. Nothing like laying everything bare for the public eye to put the pressure on a man, but that’s okay it’s under control and everything’s gonna be alright. Before I started the teardown I just had to hear it run one more time, click here to have a listen for yourself. At the end it started to act like a runaway but settled back down a second or so after I let off the throttle, definitely a sign that it is running a bit lean. All the necessary bits to fix that are already en-route to my secret workshop as we speak.

CM400 chopper

Let’s get started

The seat just hit the scrap pile, notice that in a pinch you can substitute bandage tape & scotch tape for electrical tape, zip ties, & proper brackets.

<1981 CM400E>

I’m digging the old rhinestones glued to the rear fender aren’t you?

Here was the ingenious repair repair to the broken carb boot. McGyver would be proud. I must confess that if I were broke and/or stuck in the middle of nowhere I would do something like this to get home. New carb insulators inbound as I type this.

Honda CM400E Carb insulator

Hey it runs just like this.

And there were a large number of auxiliary fuses embedded all through the tape, of course all of them except for one had been bypassed….

<murdercycle kustomizing>

<kustom ratrod motorsickle>

<hellbilly special murdersickle>

This one has got me feeling more like a motor archeologist than a mechanic. Speaking of which if any of my readers can identify the object in the next two pictures would you please be so kind as to let me know. Thank you in advance for for being such fantastic and intelligent people.

<strange doohickey>

<if u no tel me>

if you know what it is please tell me

I was able to get the fender off without needing a tetanus shot.

<a real ratbike fender>

a real rat bike fender

Looking a little bit cleaner…

<backyard built rat chopper>

The original shock mounts were used for the fender struts and the side mount license plate holder.

<side mount plate holder>

Fortunately the frame modifications all appear to be well done by someone that had a clue about welding. Can’t say the same about the decades of accumulated stuff that got put on it afterwards.

<dangerous repair>

At least this is safer than no cotter pin at all.

I did a little more but will show you later as the UPS man just dropped off my new riding suit & I want to go try it on!

Peace Y’all

The Organic Rat! Honda CM400 Junkyard Dog!

This one has a kind of an interesting story to it. I had stopped at lunchtime a couple of weeks ago to fill the Suburban Assault Scrambler up up with ethanol free premium at my favorite gas station, when a local folk artist named Frank Cooper rolled up next to me in his mural covered Roadmaster. He comes over & tells me that he has an old Honda 400 in a storage unit that he might like to sell.

art car

super cool acrylic painted sled

I really didn’t think anything more of it for a week or two and then this morning  I gave him a call and met him at the rented storage unit where he stored this bike & apparently the rest of his worldly possessions also. After moving piles of junk (aka art supplies) this little bobber came into view. My immediate reaction was oh no I don’t want anything to do with that one. but after we got it outside he hooked up a battery & poured some gas in the tank and within a minute or so it fired right up and the engine sounded pretty good.

<ratty old cm400 motorcycle>

After negotiating a price I loaded it into my van & let it ride along to lunch with my beautiful wife & I. She didn’t even roll her eyes at me for buying it, I wish every man were as lucky as me. Here it is tucked into the back of my old Astro van. A normal sized motorcycle will not fit without removing the mirrors & maybe folding down the handlebars, but this one is so low it fits with plenty of headroom to spare.

<rat bobber chevy van>

loaded up and ready to haul

After getting it home I snapped a few pics of it to share with you. Lets start with the details first. I have no idea where this hardtail came from or what that silver thing is that is hose clamped to the frame.

<honda twinhard tail>

It kind of sketchy and dangerous looking….

The bottle opener is a nice touch.

<crazy dangerous motorcycle>

I might trade the bottle opener for one that says Guinness

I have no doubt this was the license plate he rode around with. 😉

<folk art license plate>

The seat is literally a junkyard dog.

<junkyard dog motorcycle seat>

woof woof!

How ’bout a top view?

<bobbed Honda CM400>

I hope any passengers don’t mind the comfy looking rear fender.

Come on you have to admit it has a mean looking stance!

<bobbed honda chopper 400>

“The Gunn”

The design and fabrication look as dangerous as a gunfight but all I plan to do to this one is to get it as functional & dependable as possible without changing anything about the way it looks or worrying about safety beyond making sure that it is not too likely to break in half if it hits a bump in the road. All motorcycles are dangerous, but some are more dangerous than others.

<wicked evil dangerous chopper motorcycle>

“The Bullet”

I am more than willing to entertain reasonable offers on this machine, as long as you understand that it is being sold as folk art with no warranty that you would ever be able to ride it at all and that it was fabricated by an unknown amateur of questionable talent & that I am not responsible for anything that happens to you as a result of attempting to ride this motorcycle. Of course the longer I keep it & the more I do to it, the better your offers must be.

Peace Y’all

Motopsyco.

QUICK UPDATE! A friend of mine saw this bike on Facebook & has purchased it from me. It is still parked in my shop because I have been commissioned to rebuild it to his specifications. Though I hate to see a real vintage rat disappear it will be a gritty down & dirty bobber, just right for him to tool around on down here in the dirty south! STAY TUNED!

Revenge of a Junkyard Dog! (Suburban Assault Scrambler Finished!)

It seems hard to believe that it has already been six months since I dragged home a rusty non running 1980 Honda CB650 Custom that I bought sight unseen at a local junk auction for the princely sum of 150 bucks.  If you didn’t see it back then click on this link to see the before pictures. Of course along the way there were various challenges & fun but I had a blast getting this one going and as unlikely a candidate as it was for a scrambler conversion it really did turn out that the whole was greater than the sum of its parts!

Normally I am a man of way too many words so how about if this time I just show you some pictures interspersed with a few tidbits of technical information?

<next to the old yard truck>

1980 Honda CB650 with 1974 Honda CB750 gas tank & a set of 1979 CB650 standard wheels.

<1980 Honda CB650 Scrambler>

1980 Honda CB650 Custom Scrambler

The handlebars are courtesy of a 1970 Honda CL450 I just happen to have lying around. The tires are Shinko 705 adventure touring tires.

<Vintage Honda with vintage plasma cutter>

I wish I had a plasma cutter like this at home!

The green paint is a mixture of gloss green & flat black tractor enamel, & the exhaust is from Mac.

<custom Honda vintage Lincoln welder>

they don’t make machines like this vintage Lincoln welder anymore.

<custom scrambler front forks>

Don’t let the nasty looking lowers fool you, the forks have new seals, Progressive Suspension springs & fresh 10w fork oil. I decided to keep the 650 Custom fork legs for the scrambler conversion since they are longer than the 650 standard forks. When I raised the rear by switching to the 17 inch wheel & taller tire it helped to compensate for the extra rake of the custom and gave more ground clearance.

<kustom 1980 Honda CB650C>

<old Honda with giant press brake>

At this time I would like to give thanks to the wonderful folks who provide me with my day job that makes all of this possible.

Safe Harbor Access Systems for allowing me use of the old warehouse and some production areas for this photo shoot. Click here to see the stuff I spend all day drawing blueprints for! And if you see anything you need let them know where you got the information.

<a green scrambler>

Here’s some more of that headlight bracket drillium that I showed you in my last post.

<1980 CB650C headlight>

speed holes make it faster right?

I couldn’t stand the 85 m.p.h. speedometer that came on this bike, plus it was making a horrible squeaking sound, so on went the 140 m.p.h. speedo & tach from a 1976 CB750F, with green faces of course.

<cb650 engine>

Do you have any idea how hard it was for me not to attack this with the polisher?

K&N air filters hang off the back of the original carburetors, to learn what I did to them just click here. Other than a re-jetting

& a Mac pipe the engine is bone stock in all of it’s 11,000 original mile glory.

<scrambler baby!>

Slug & liquids? Sounds like the results of cheap beer & too many hot wings…

<80 Honda 650 chain guard>

I put a lot of speed holes in this one ’cause I wanted it to be really fast 🙂

Holding up the rear is a set of Progressive Suspension 412 shocks with the heavy duty springs. I have been very pleased with this suspension, it gives a nice cushy ride over some pretty rough bumps but is still firm enough to rock out on a set of curves. Well at least as much as you can with a bike like this.

<honda cb650 with flatbed>

Sometimes you just find the perfect graffiti to really set a picture off.

<Suburban Assaullt Scrambler CB650>

Beware of the Dog

Peace Y’all

‘Psyco

The Fool Tank Chronicles Part 1

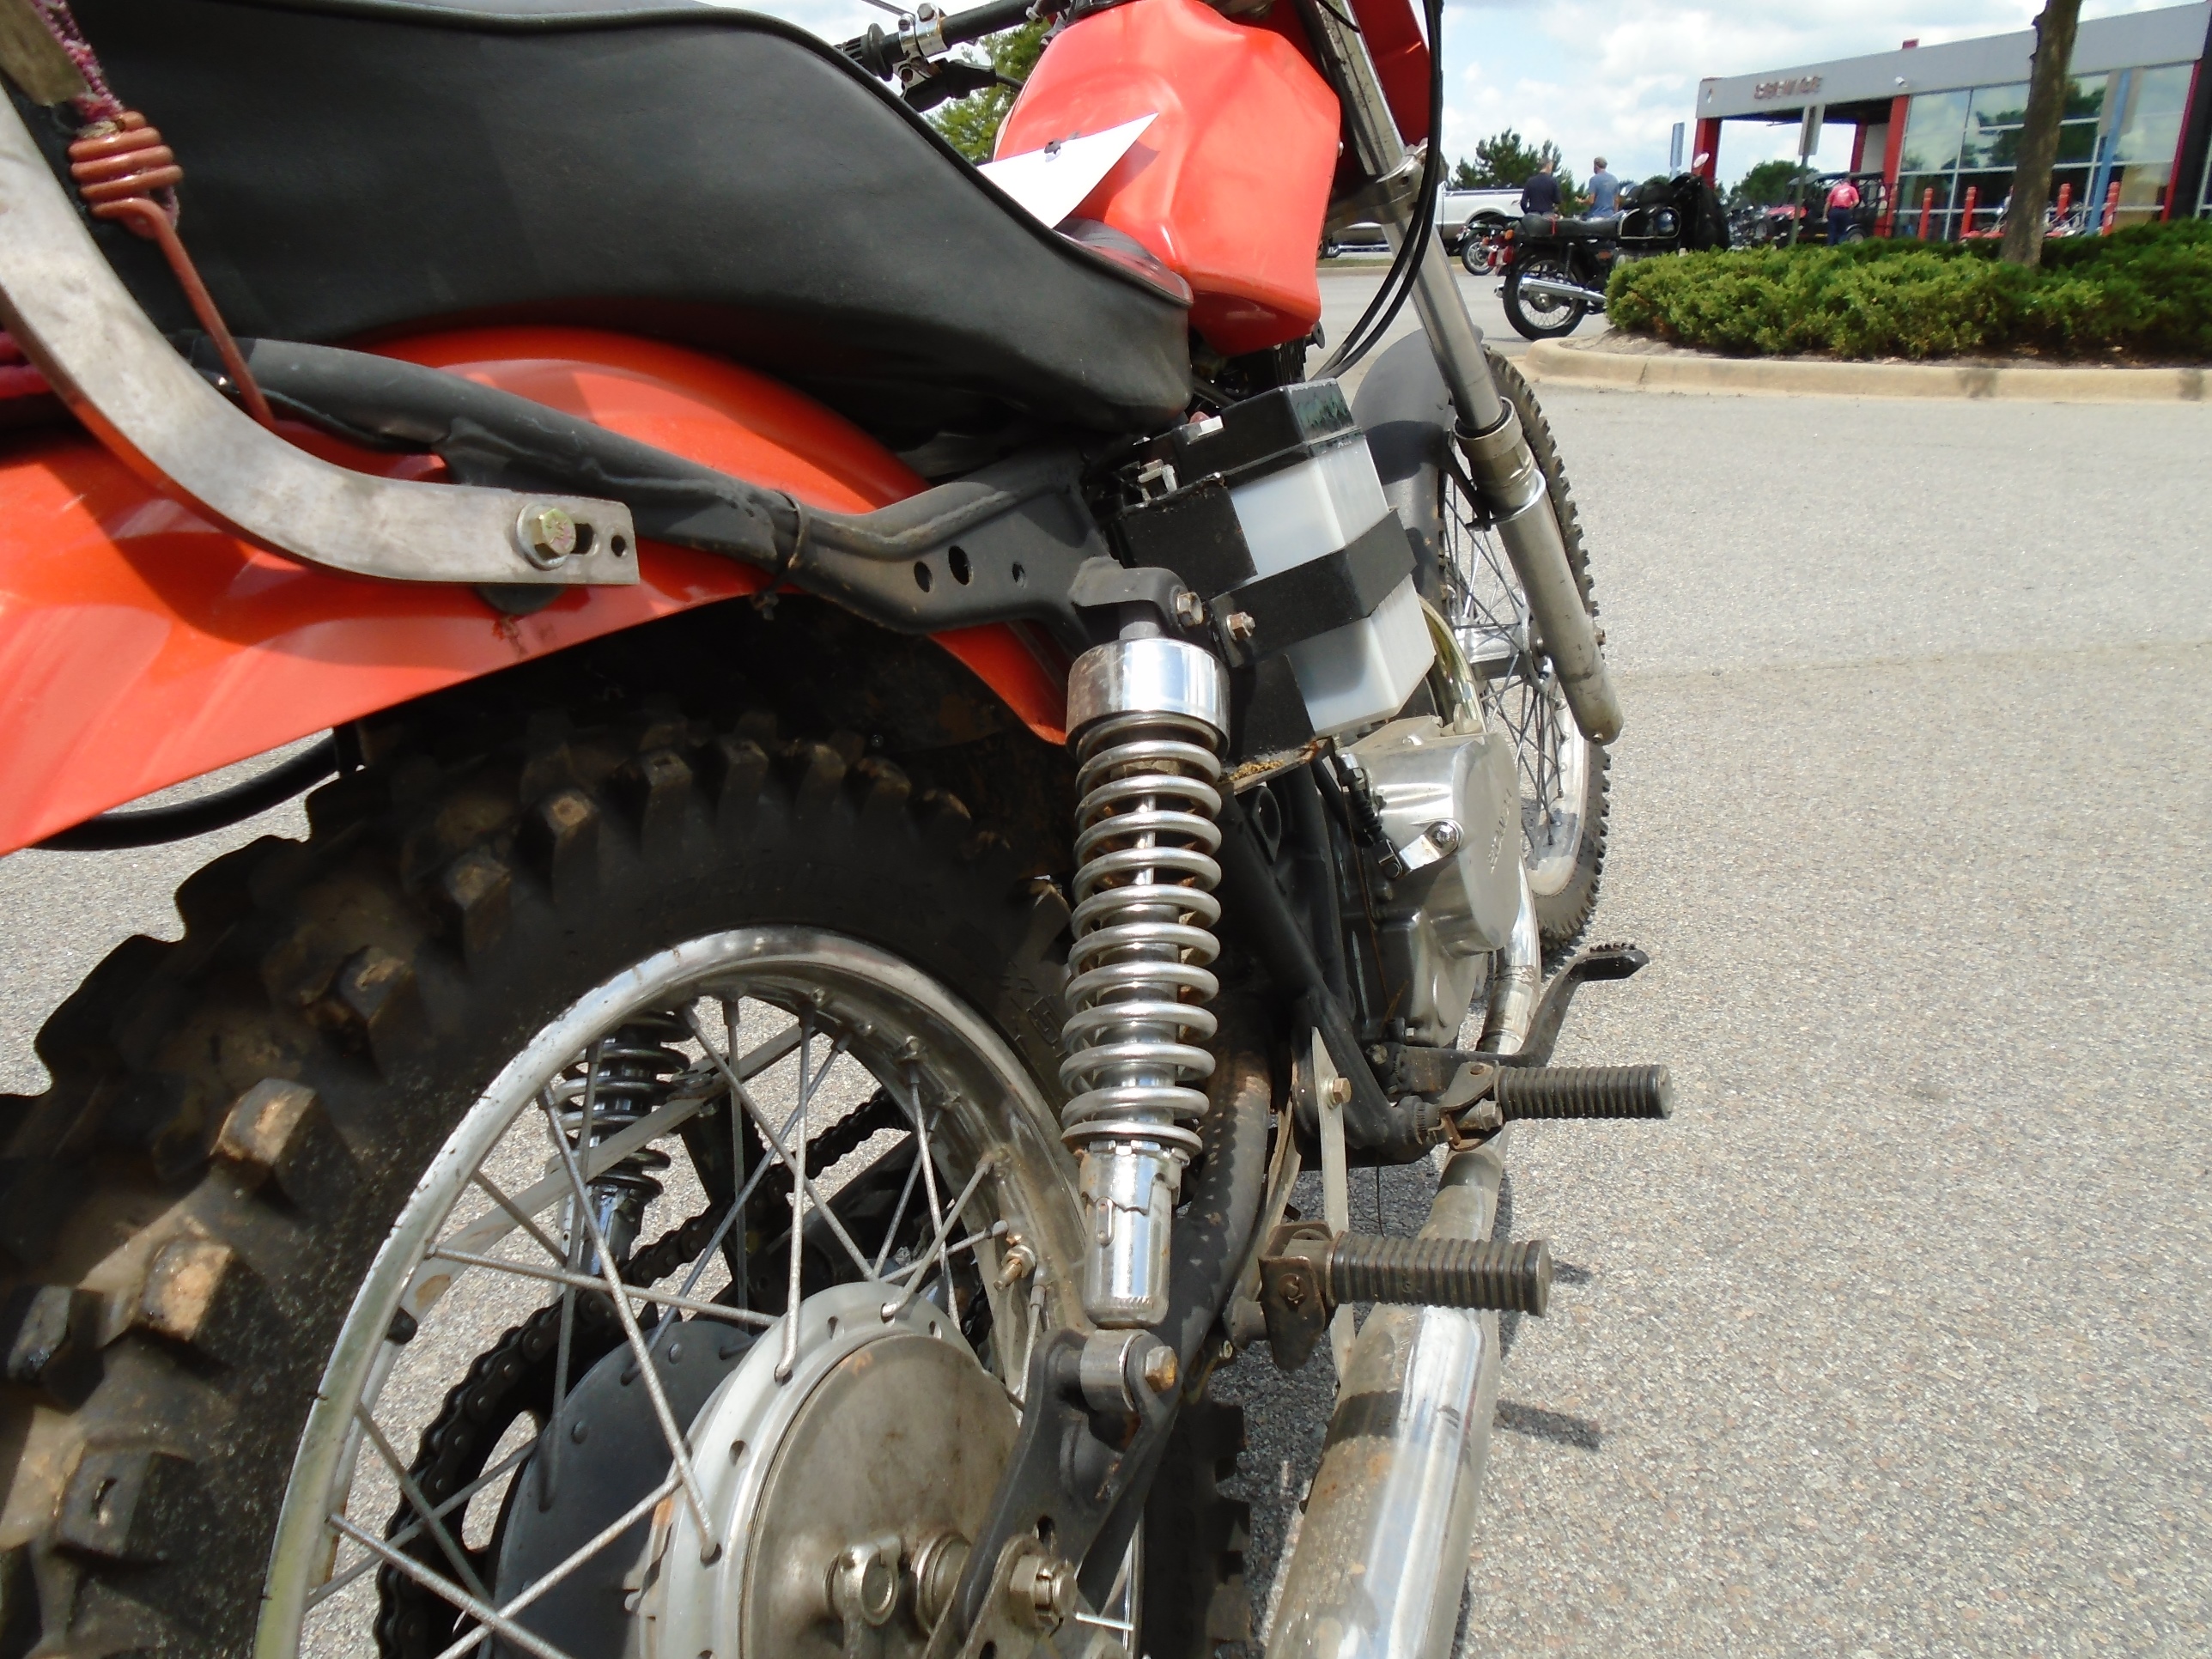
Some of us just have to do things the hard way, it’s in our blood and it will not be denied. Take me for example, while by no means wealthy in money I could probably buy any new motorcycle I wanted just sign the dotted line & add another automatic draft to my checking account & ride. But even the new retro bikes don’t have the pull on my soul that the old ones do, they aren’t part of my memories, & they don’t need my love to get back on the road. I don’t know about you, but for me the turning of the wrenches, watching dial gauges & degree wheels, the smell of parts washer fluid & the massaging & painting of old sheet metal bring me just as much pleasure a actually riding the finished product. When I finish one project, or sometimes even before I am constantly scanning Craigslist, Ebay, the local trader papers, & the internet message boards to find the next one.

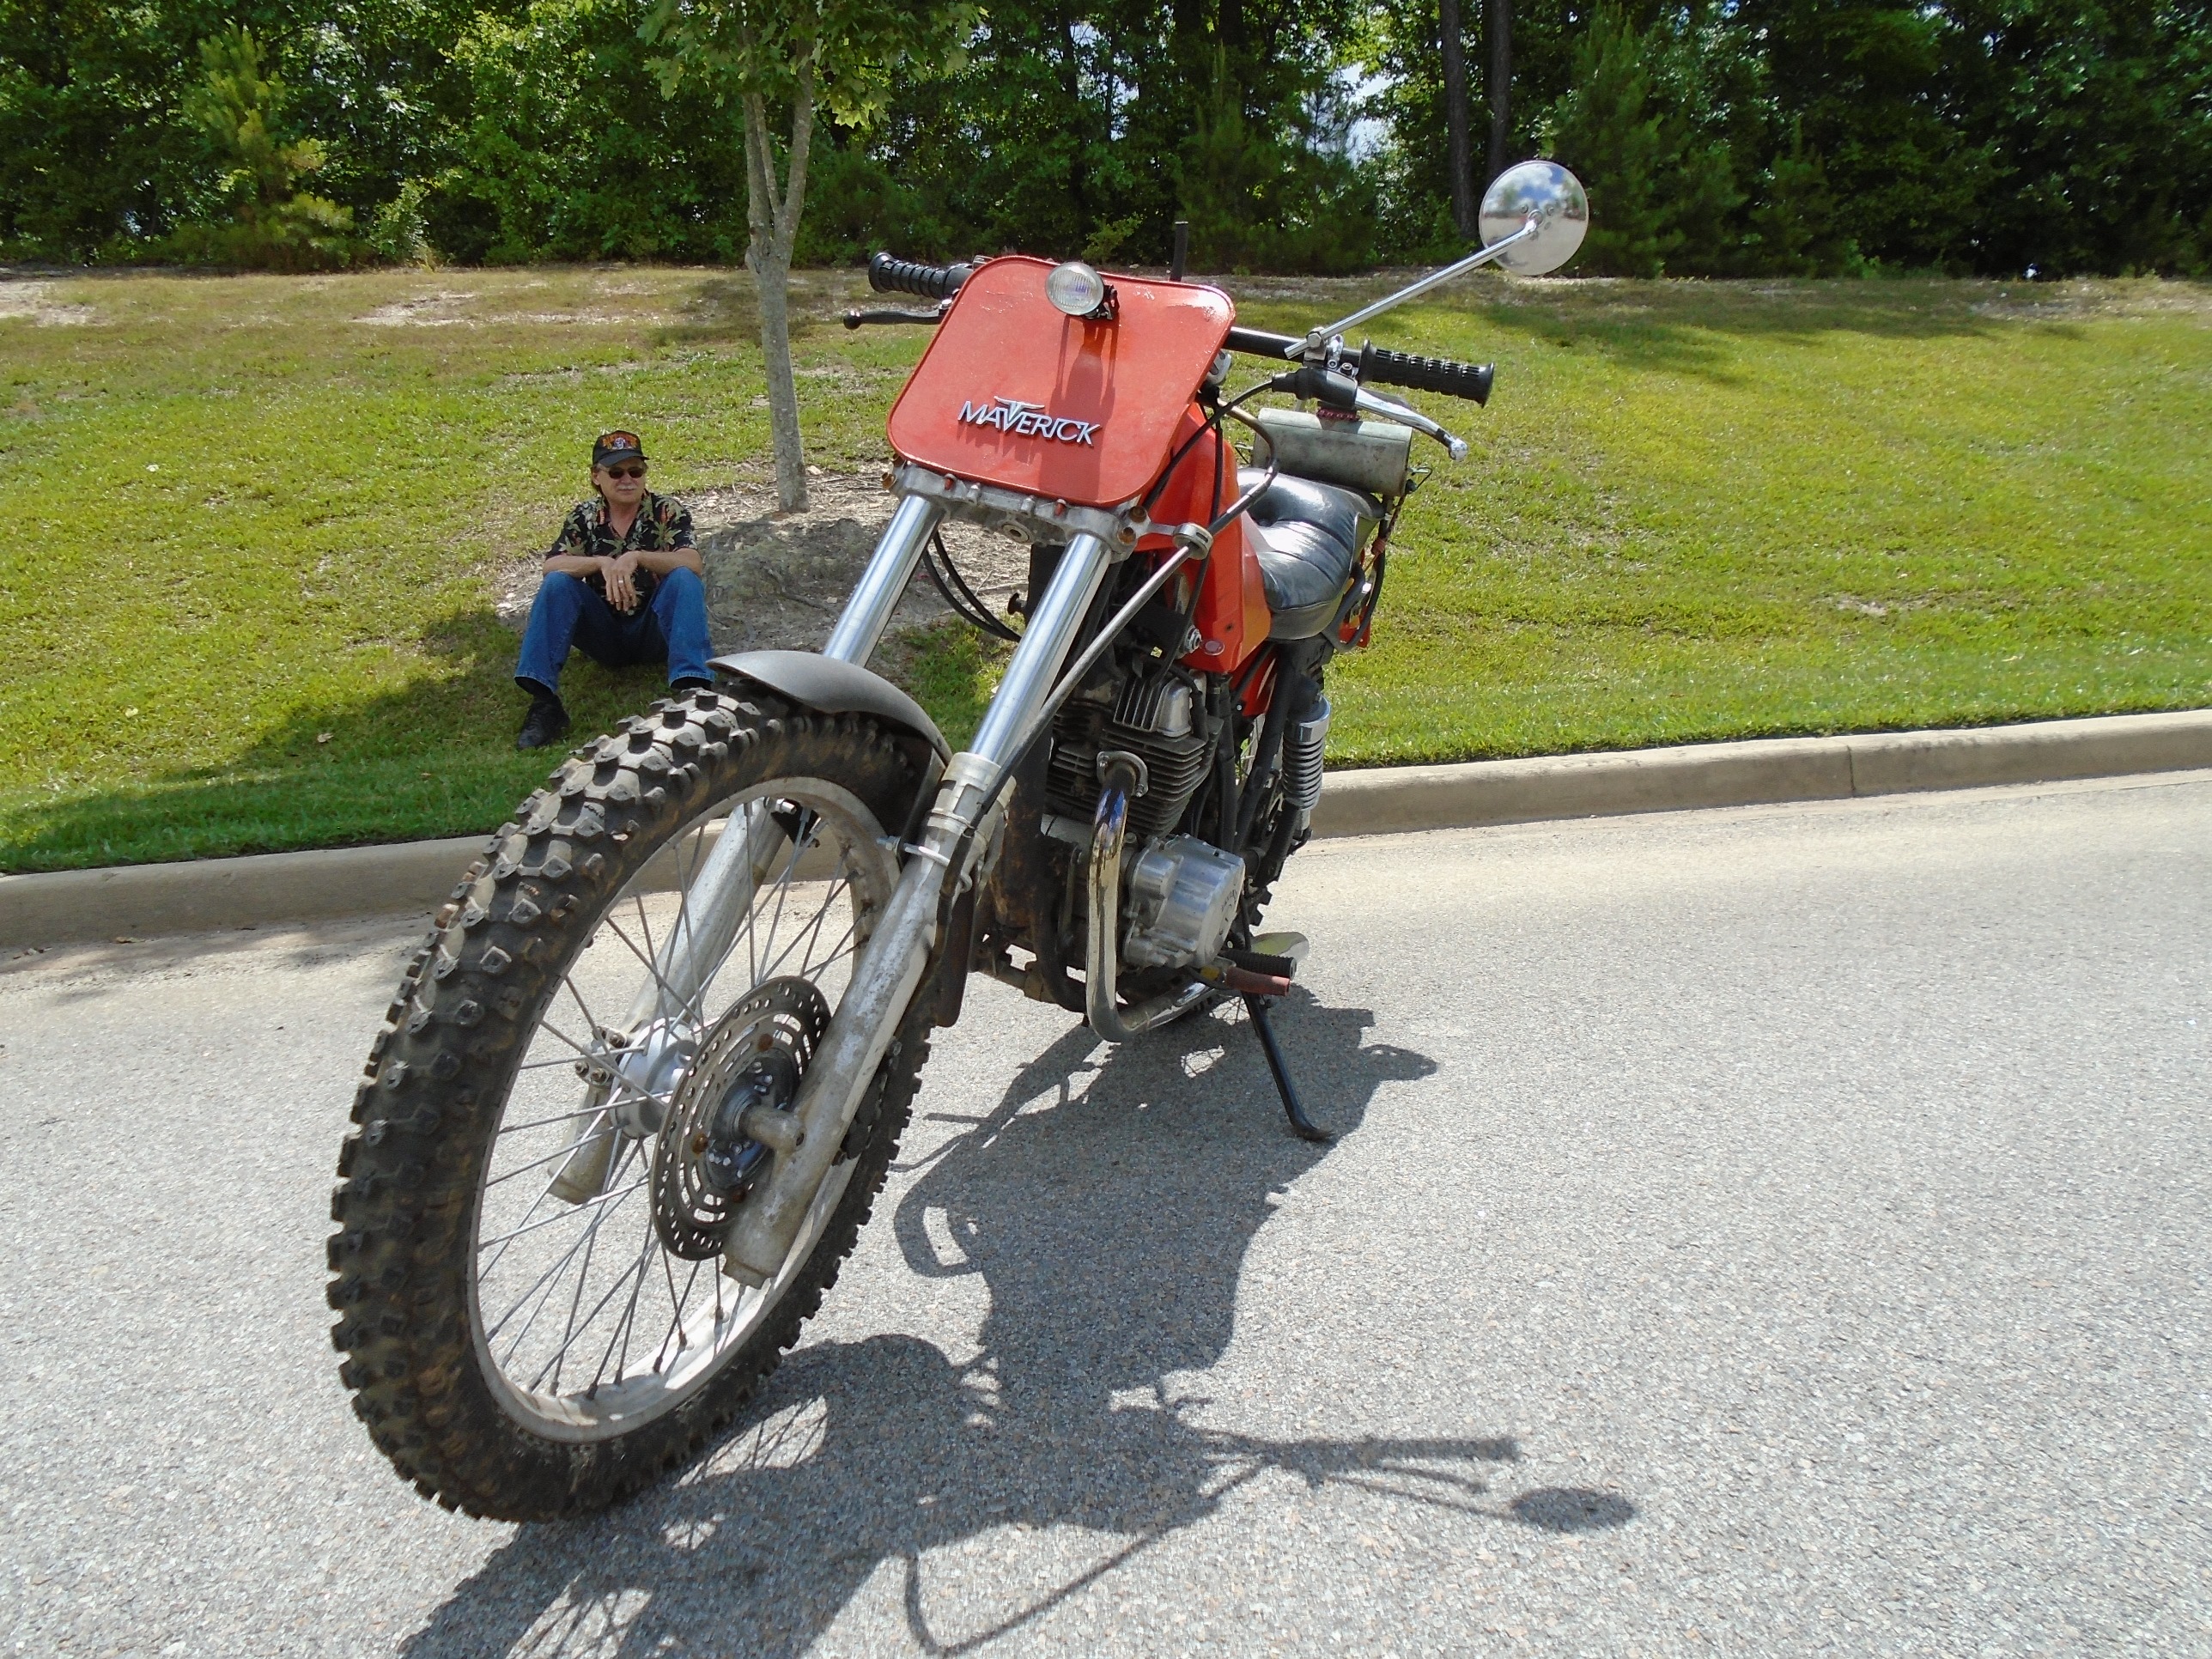
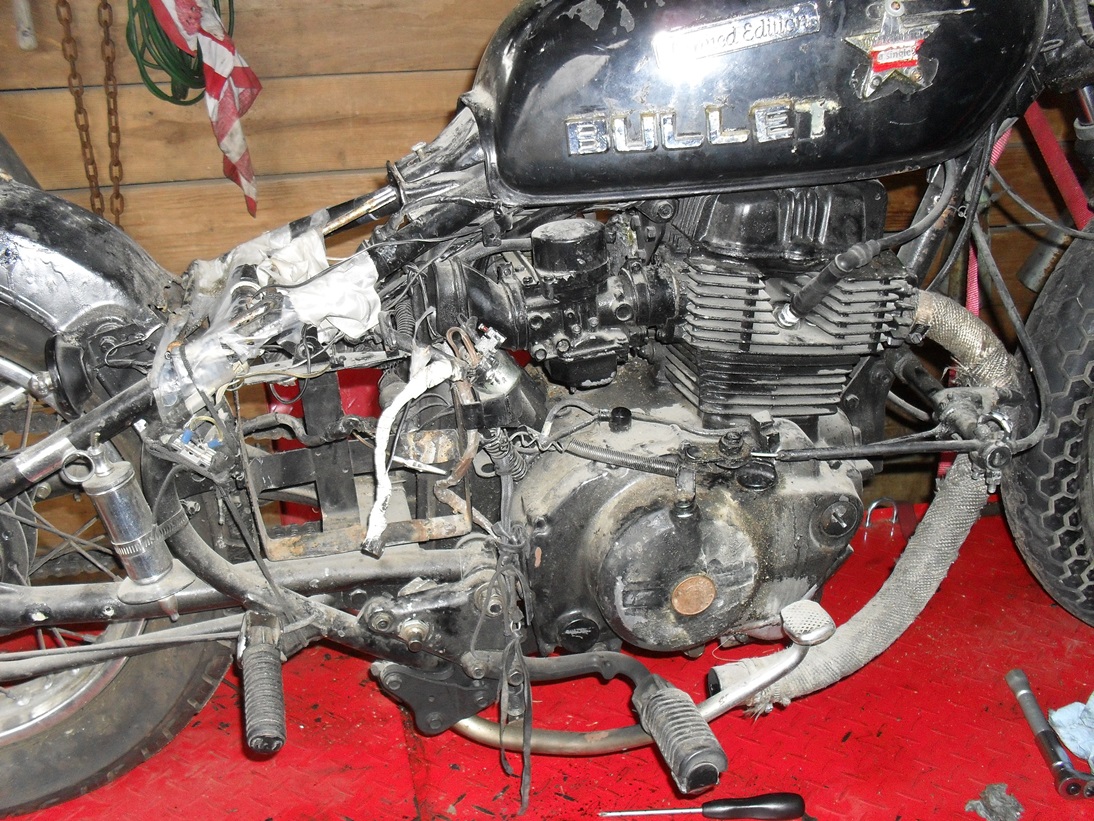
Sometimes I do very irrational things that create far too much work for myself even by my own masochistic, self flagellating standards. This is the story of how I modified & then destroyed a fuel tank for my CB650 Scrambler project, & then had to fix another one.

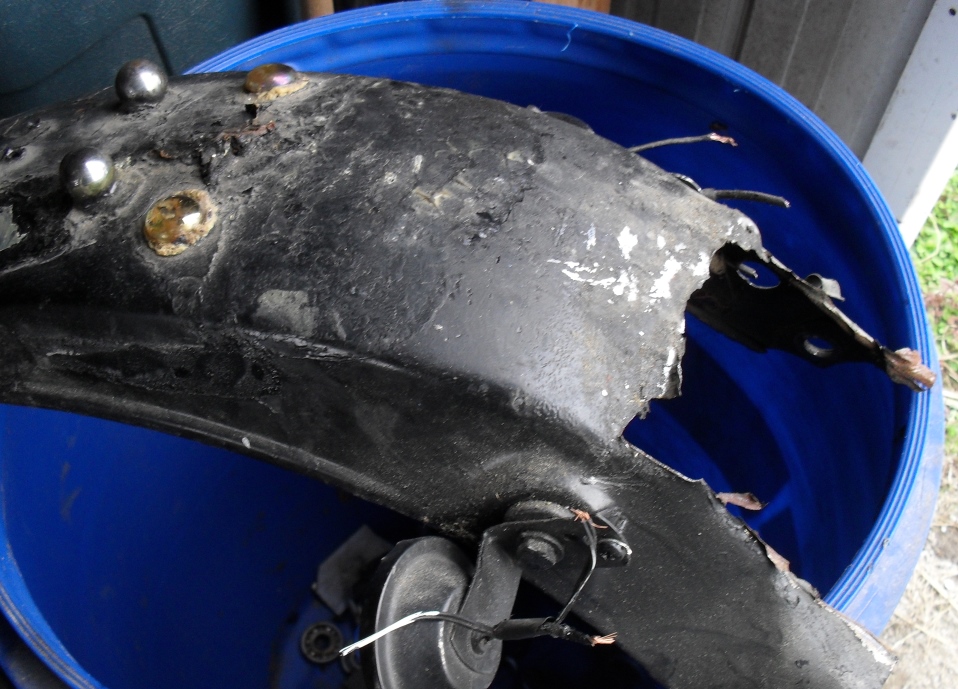
Let’s start from the beginning, first there was my junk auction CB650C with this very holey tank.

<original CB650C tank>

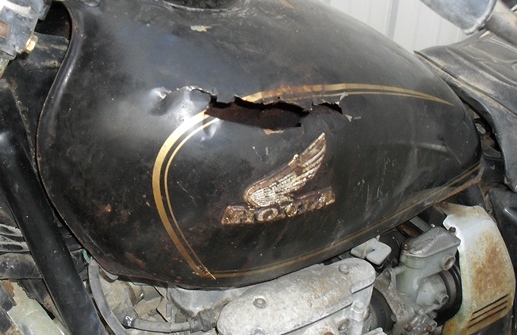
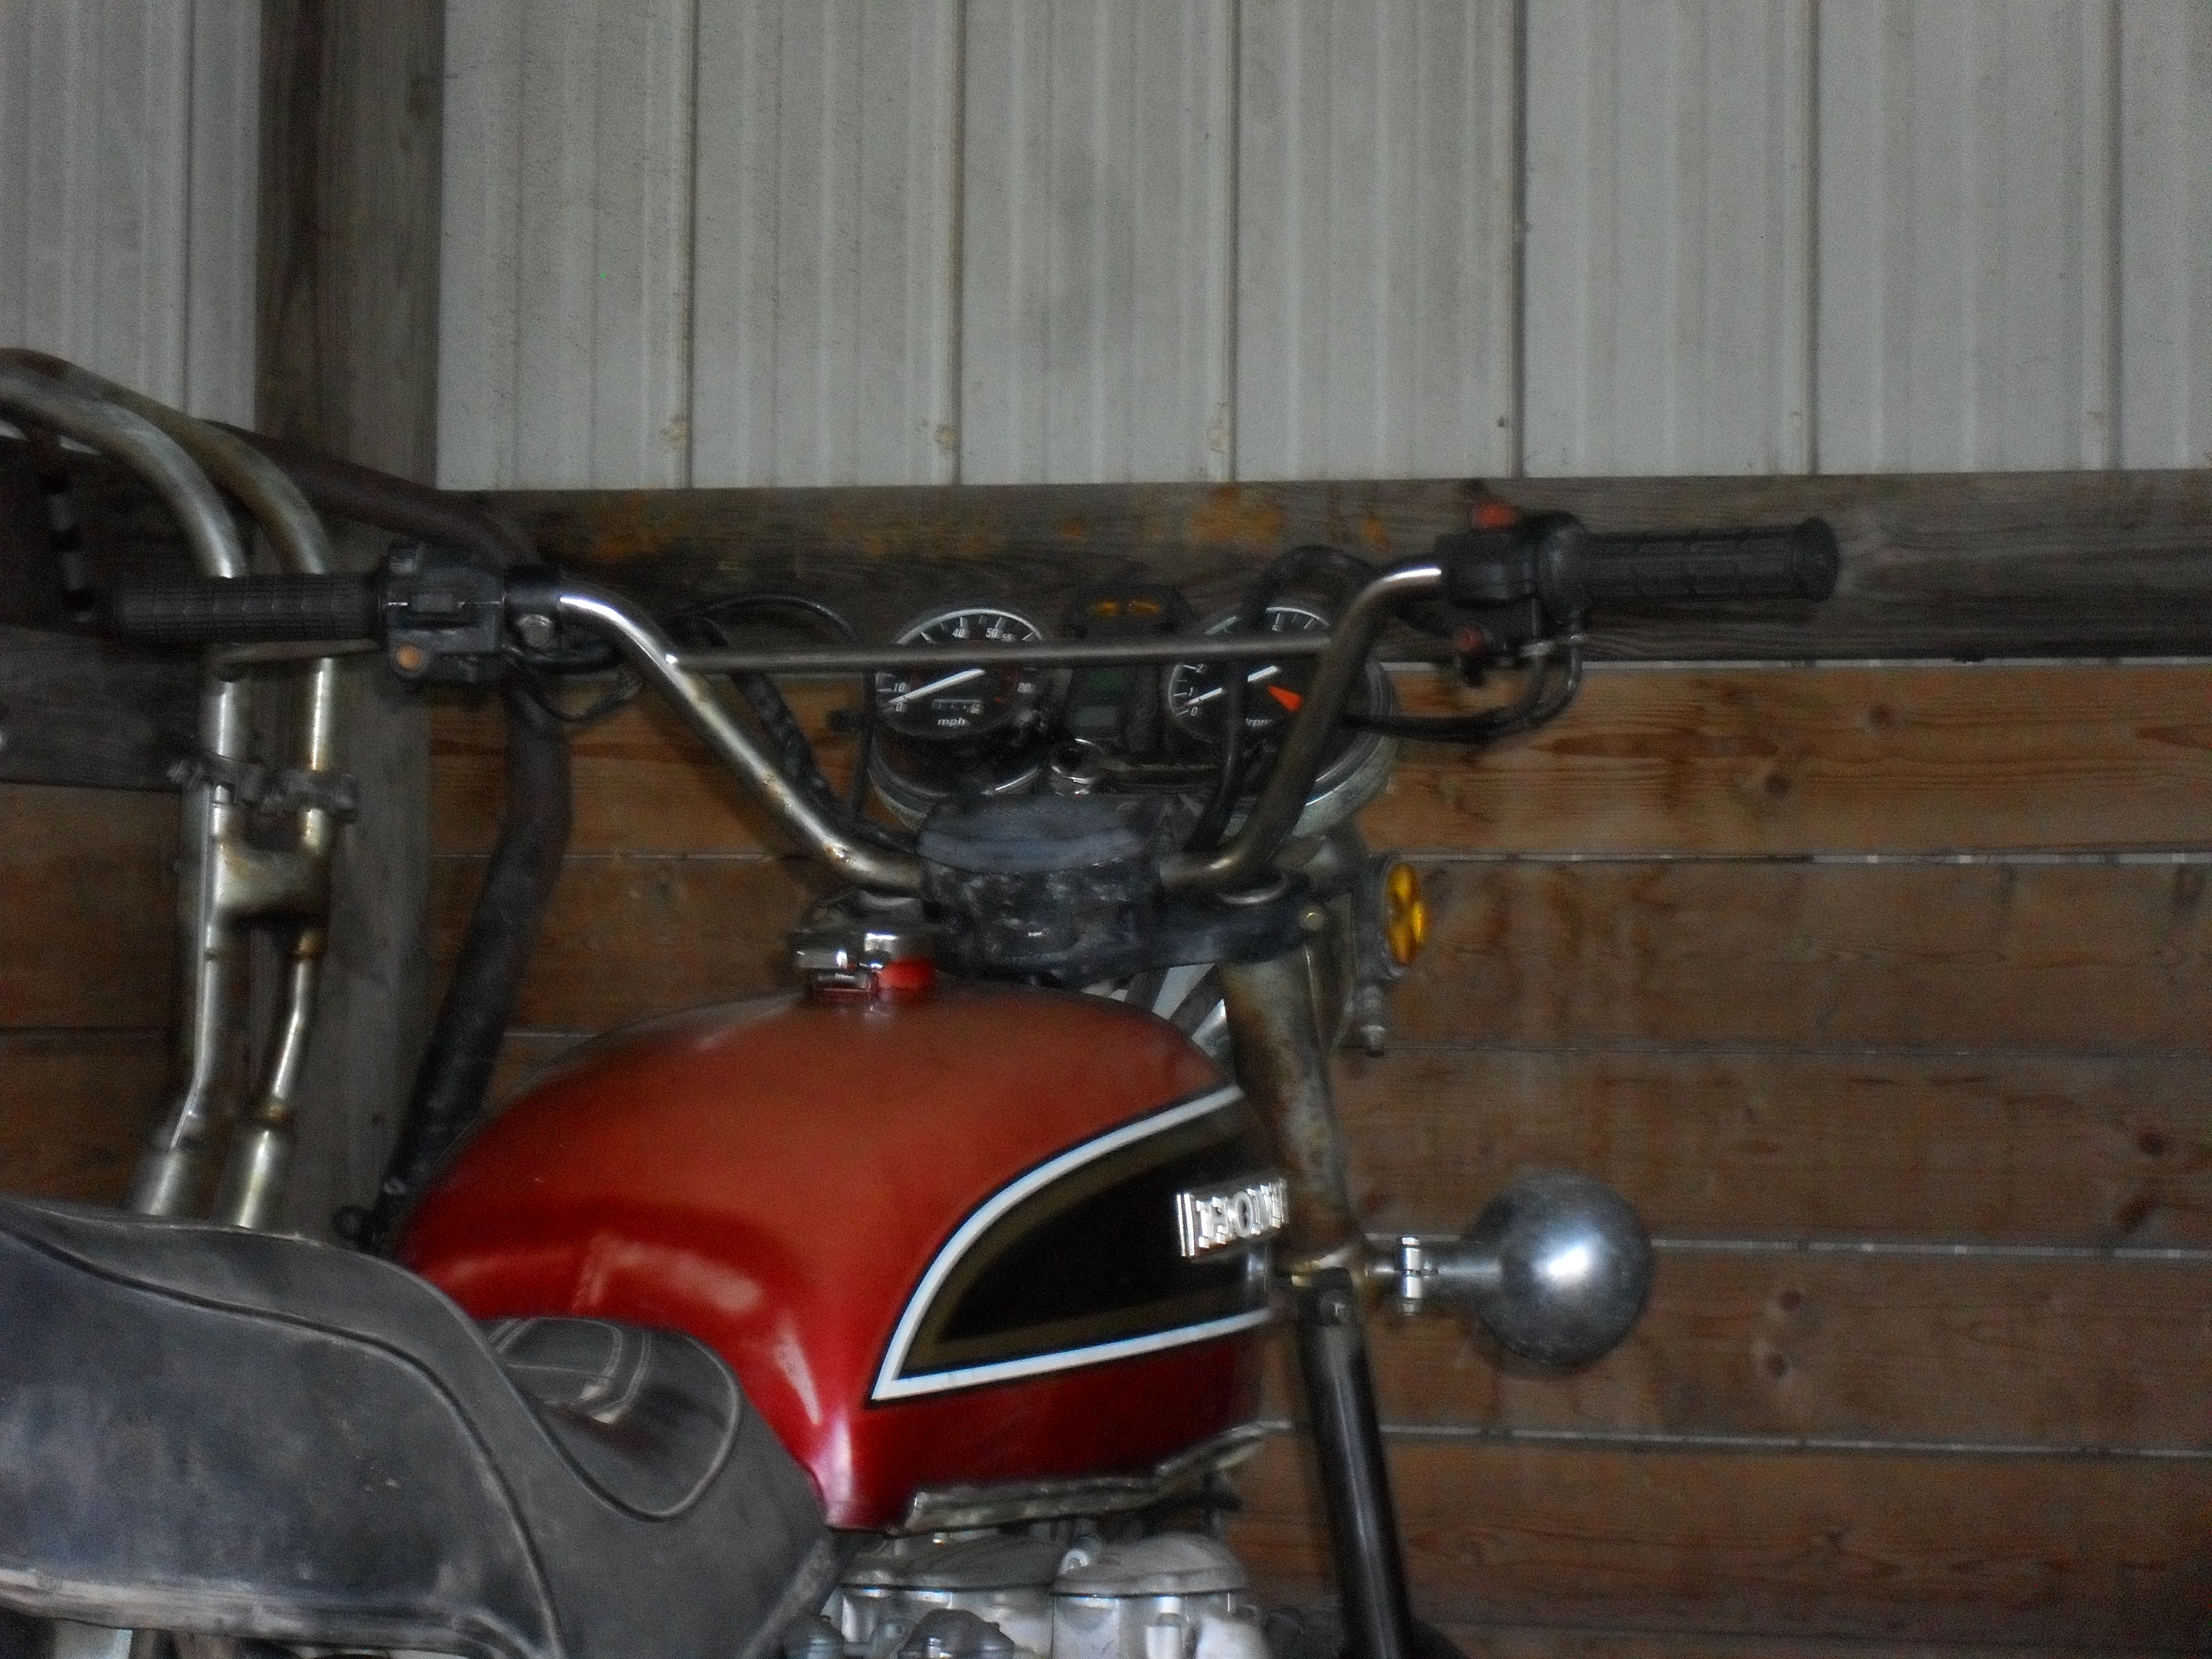
As you can see there wasn’t much point in trying to fix that one so I used it for target practice & threw it away. Initially my plan was to turn this bike into a shiny polished cafe racer style custom with a big ’70s tank & some clip-ons, so I ordered up a 1974 CB750 tank from Ebay & set it on the bike just to see how it would look. Of course it wouldn’t work with the stock seat so I broke out the sawzall & cut 2 inches from the front of the seat. At this point I was still planning to cut the rear sub-frame off & put in a tail loop to support a proper cafe racer seat with a bum stop, because I had the Ninja for me & Mrs. Psyco to ride around on two up. Here’s a shot of the initial mock up.

<old 750 tank mockup>

old 750 tank mockup

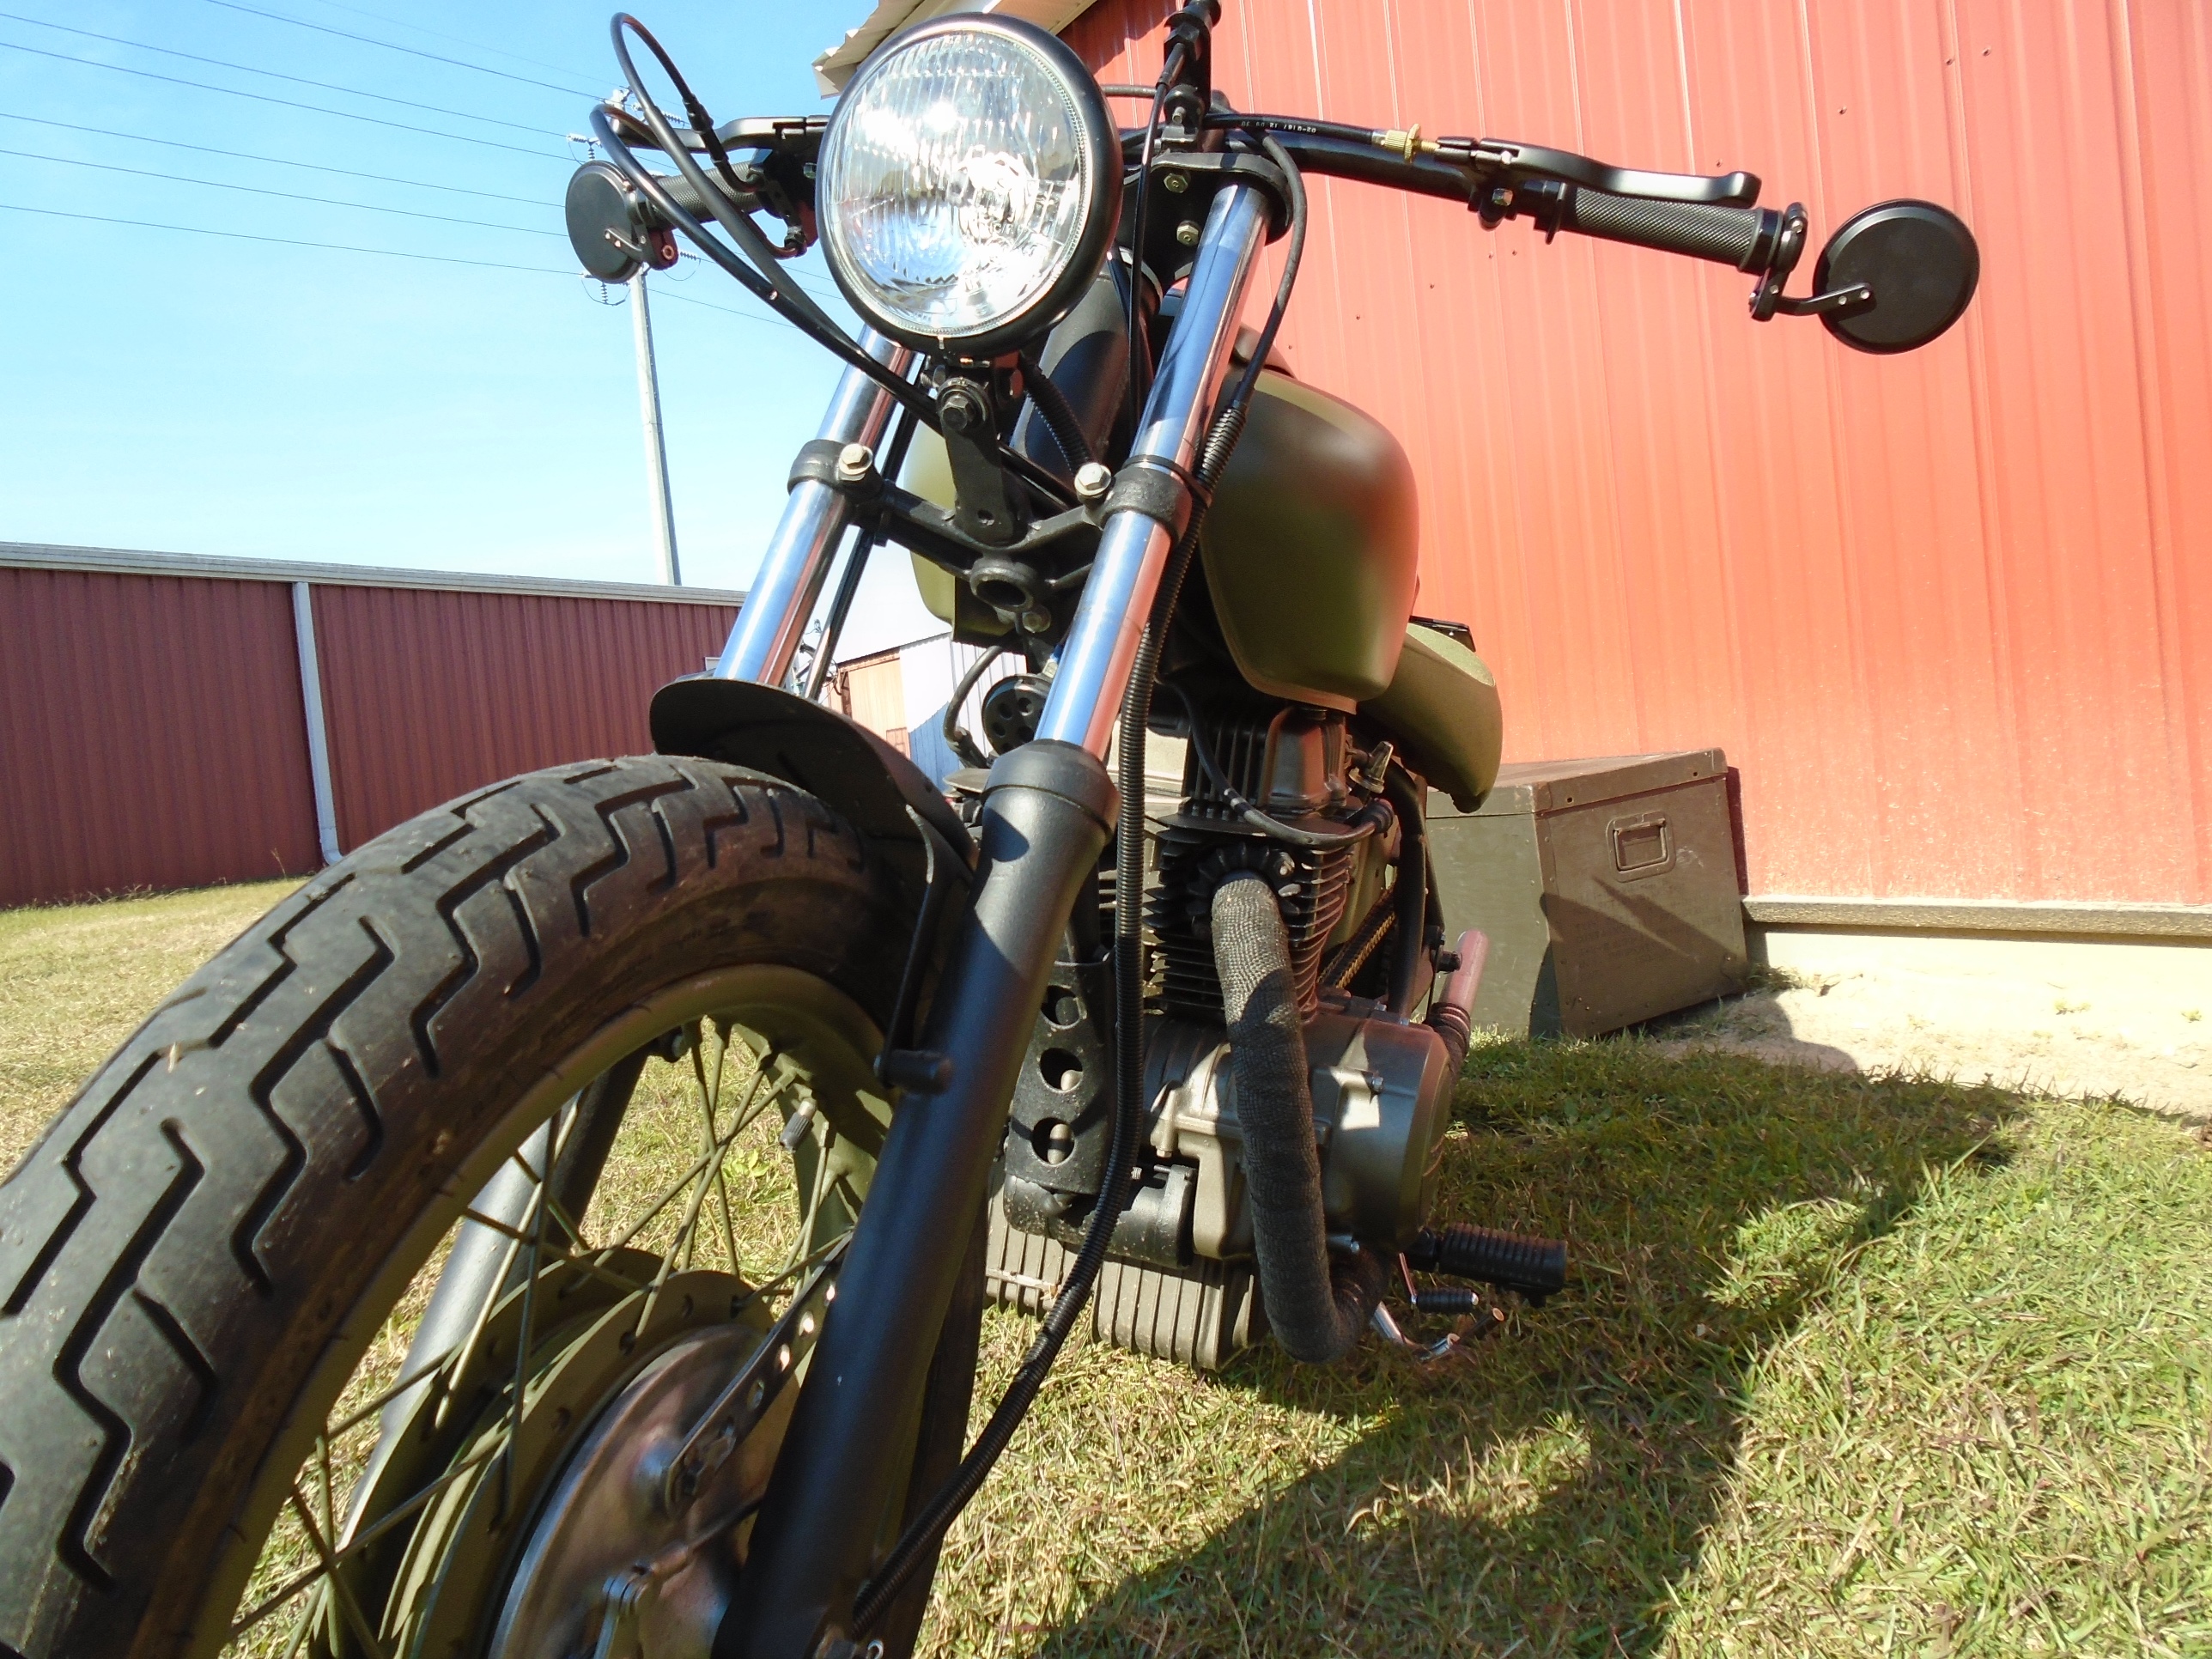
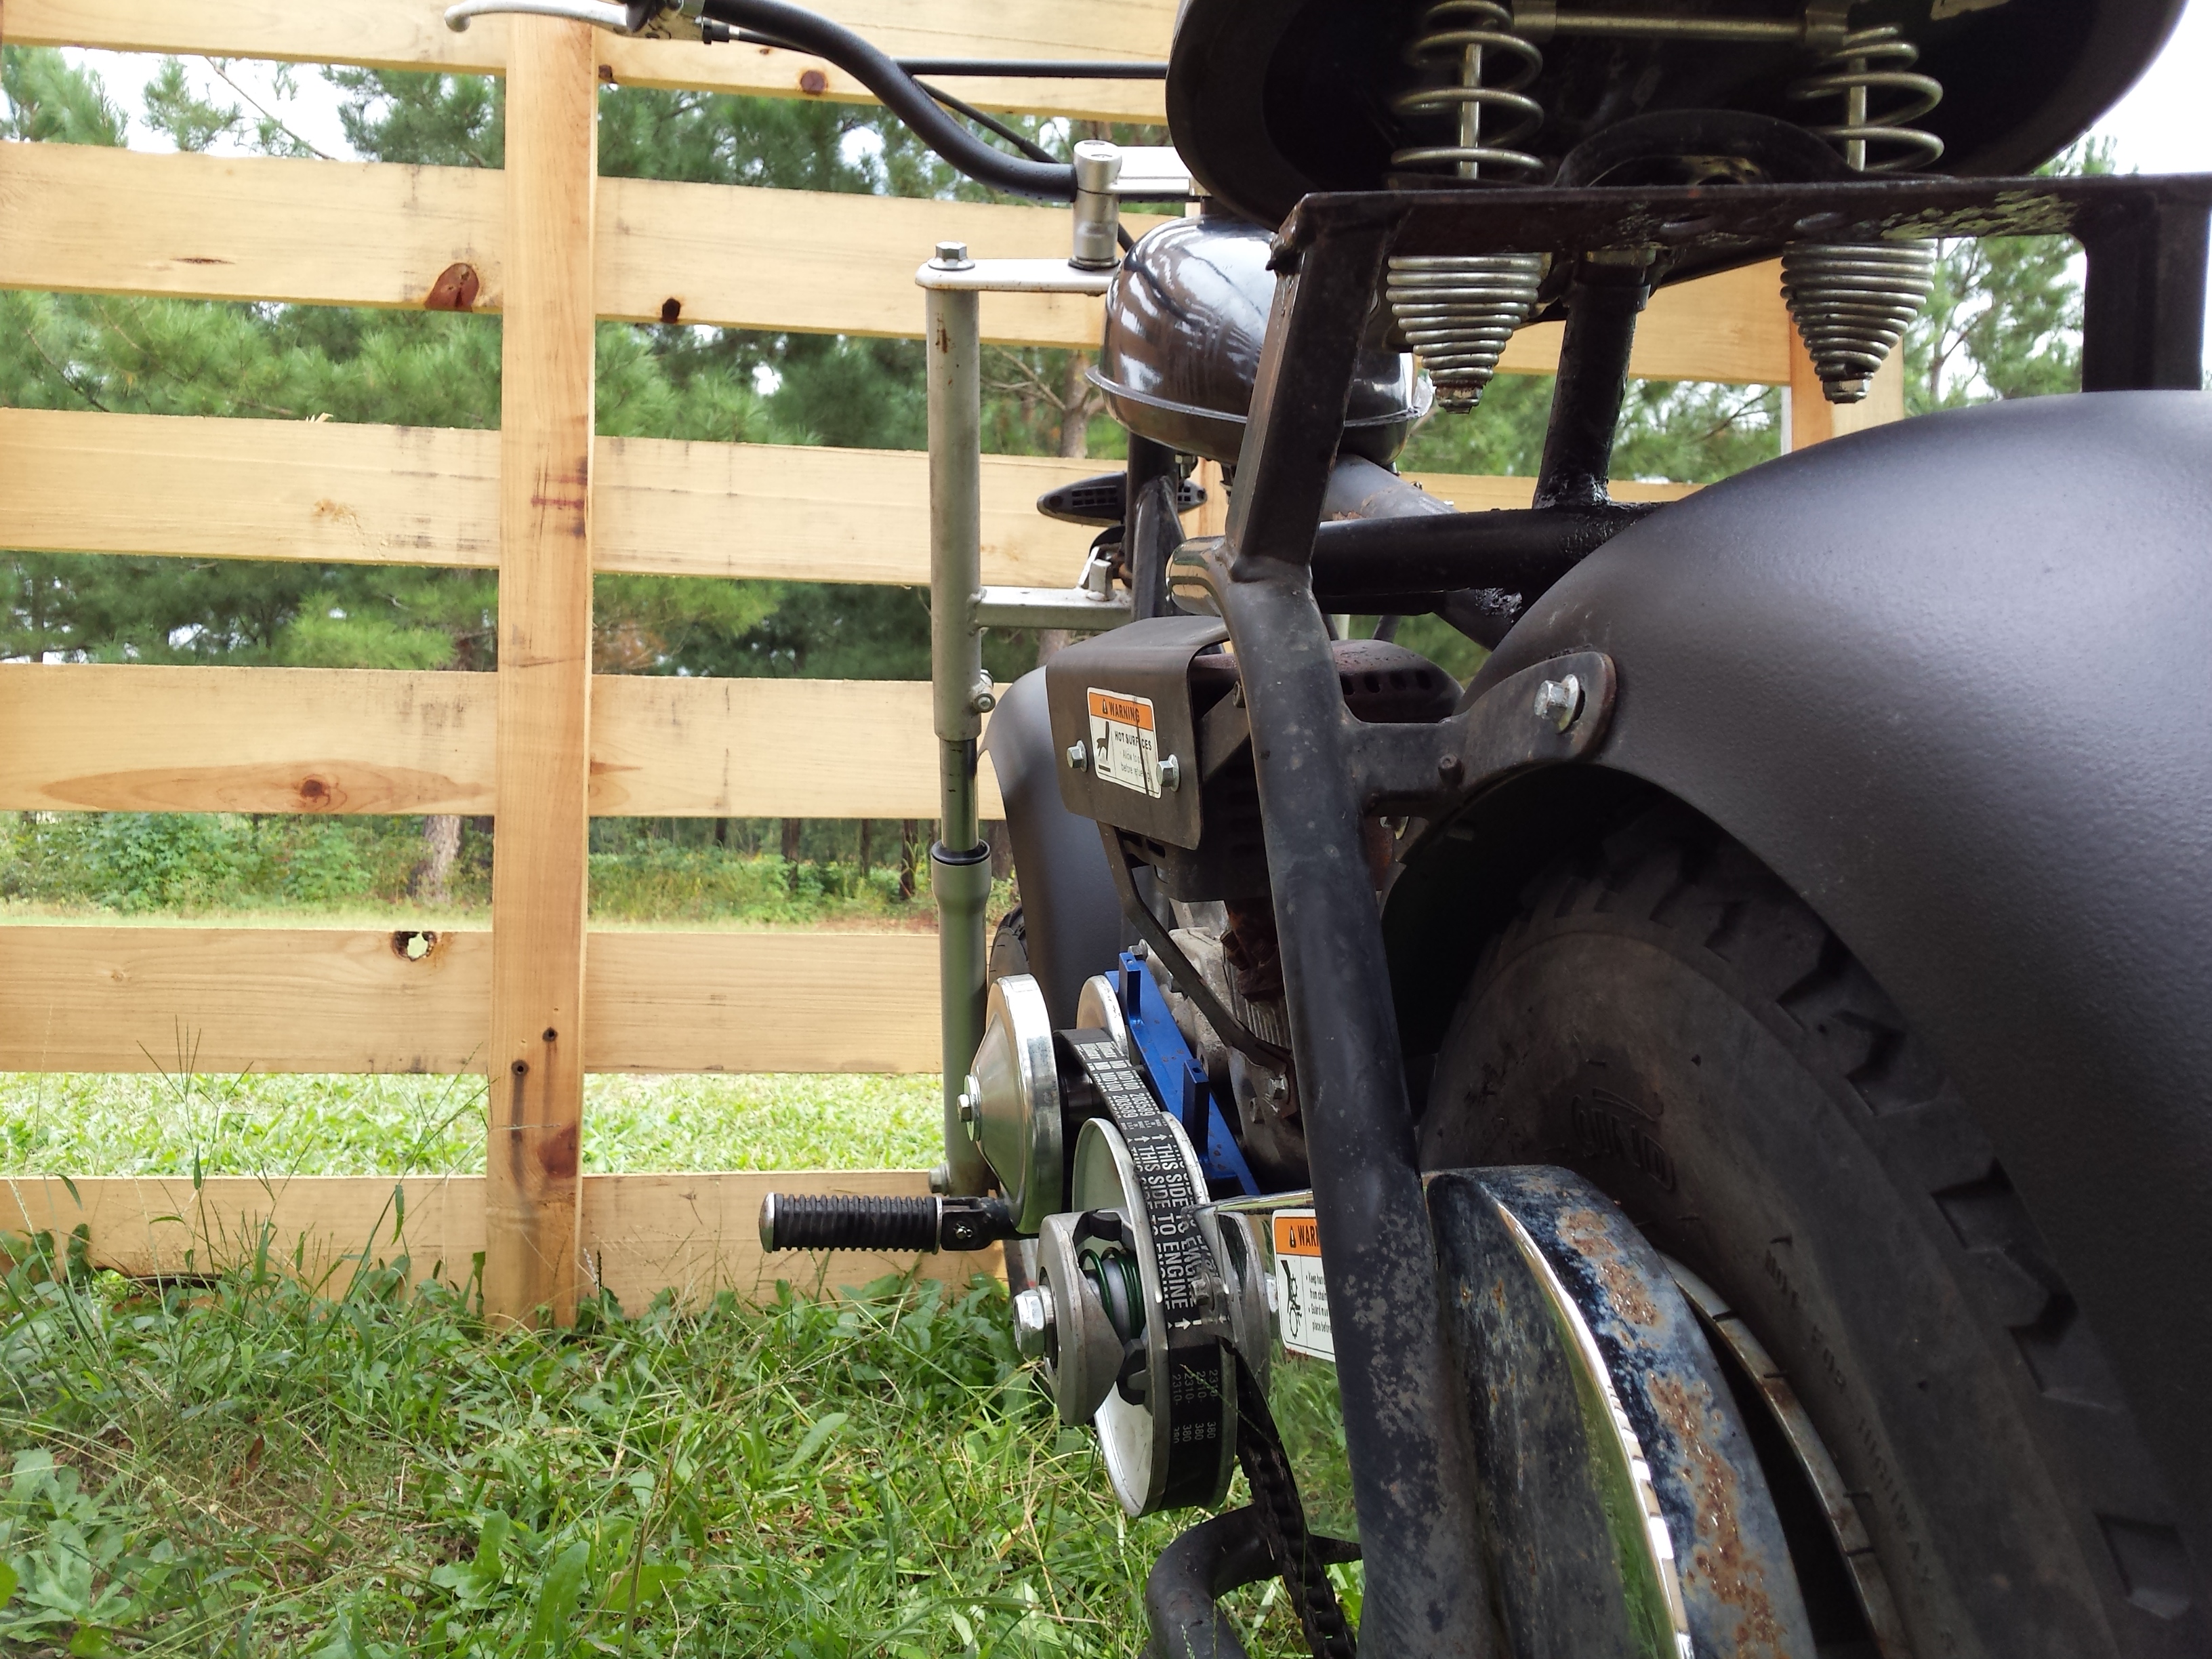
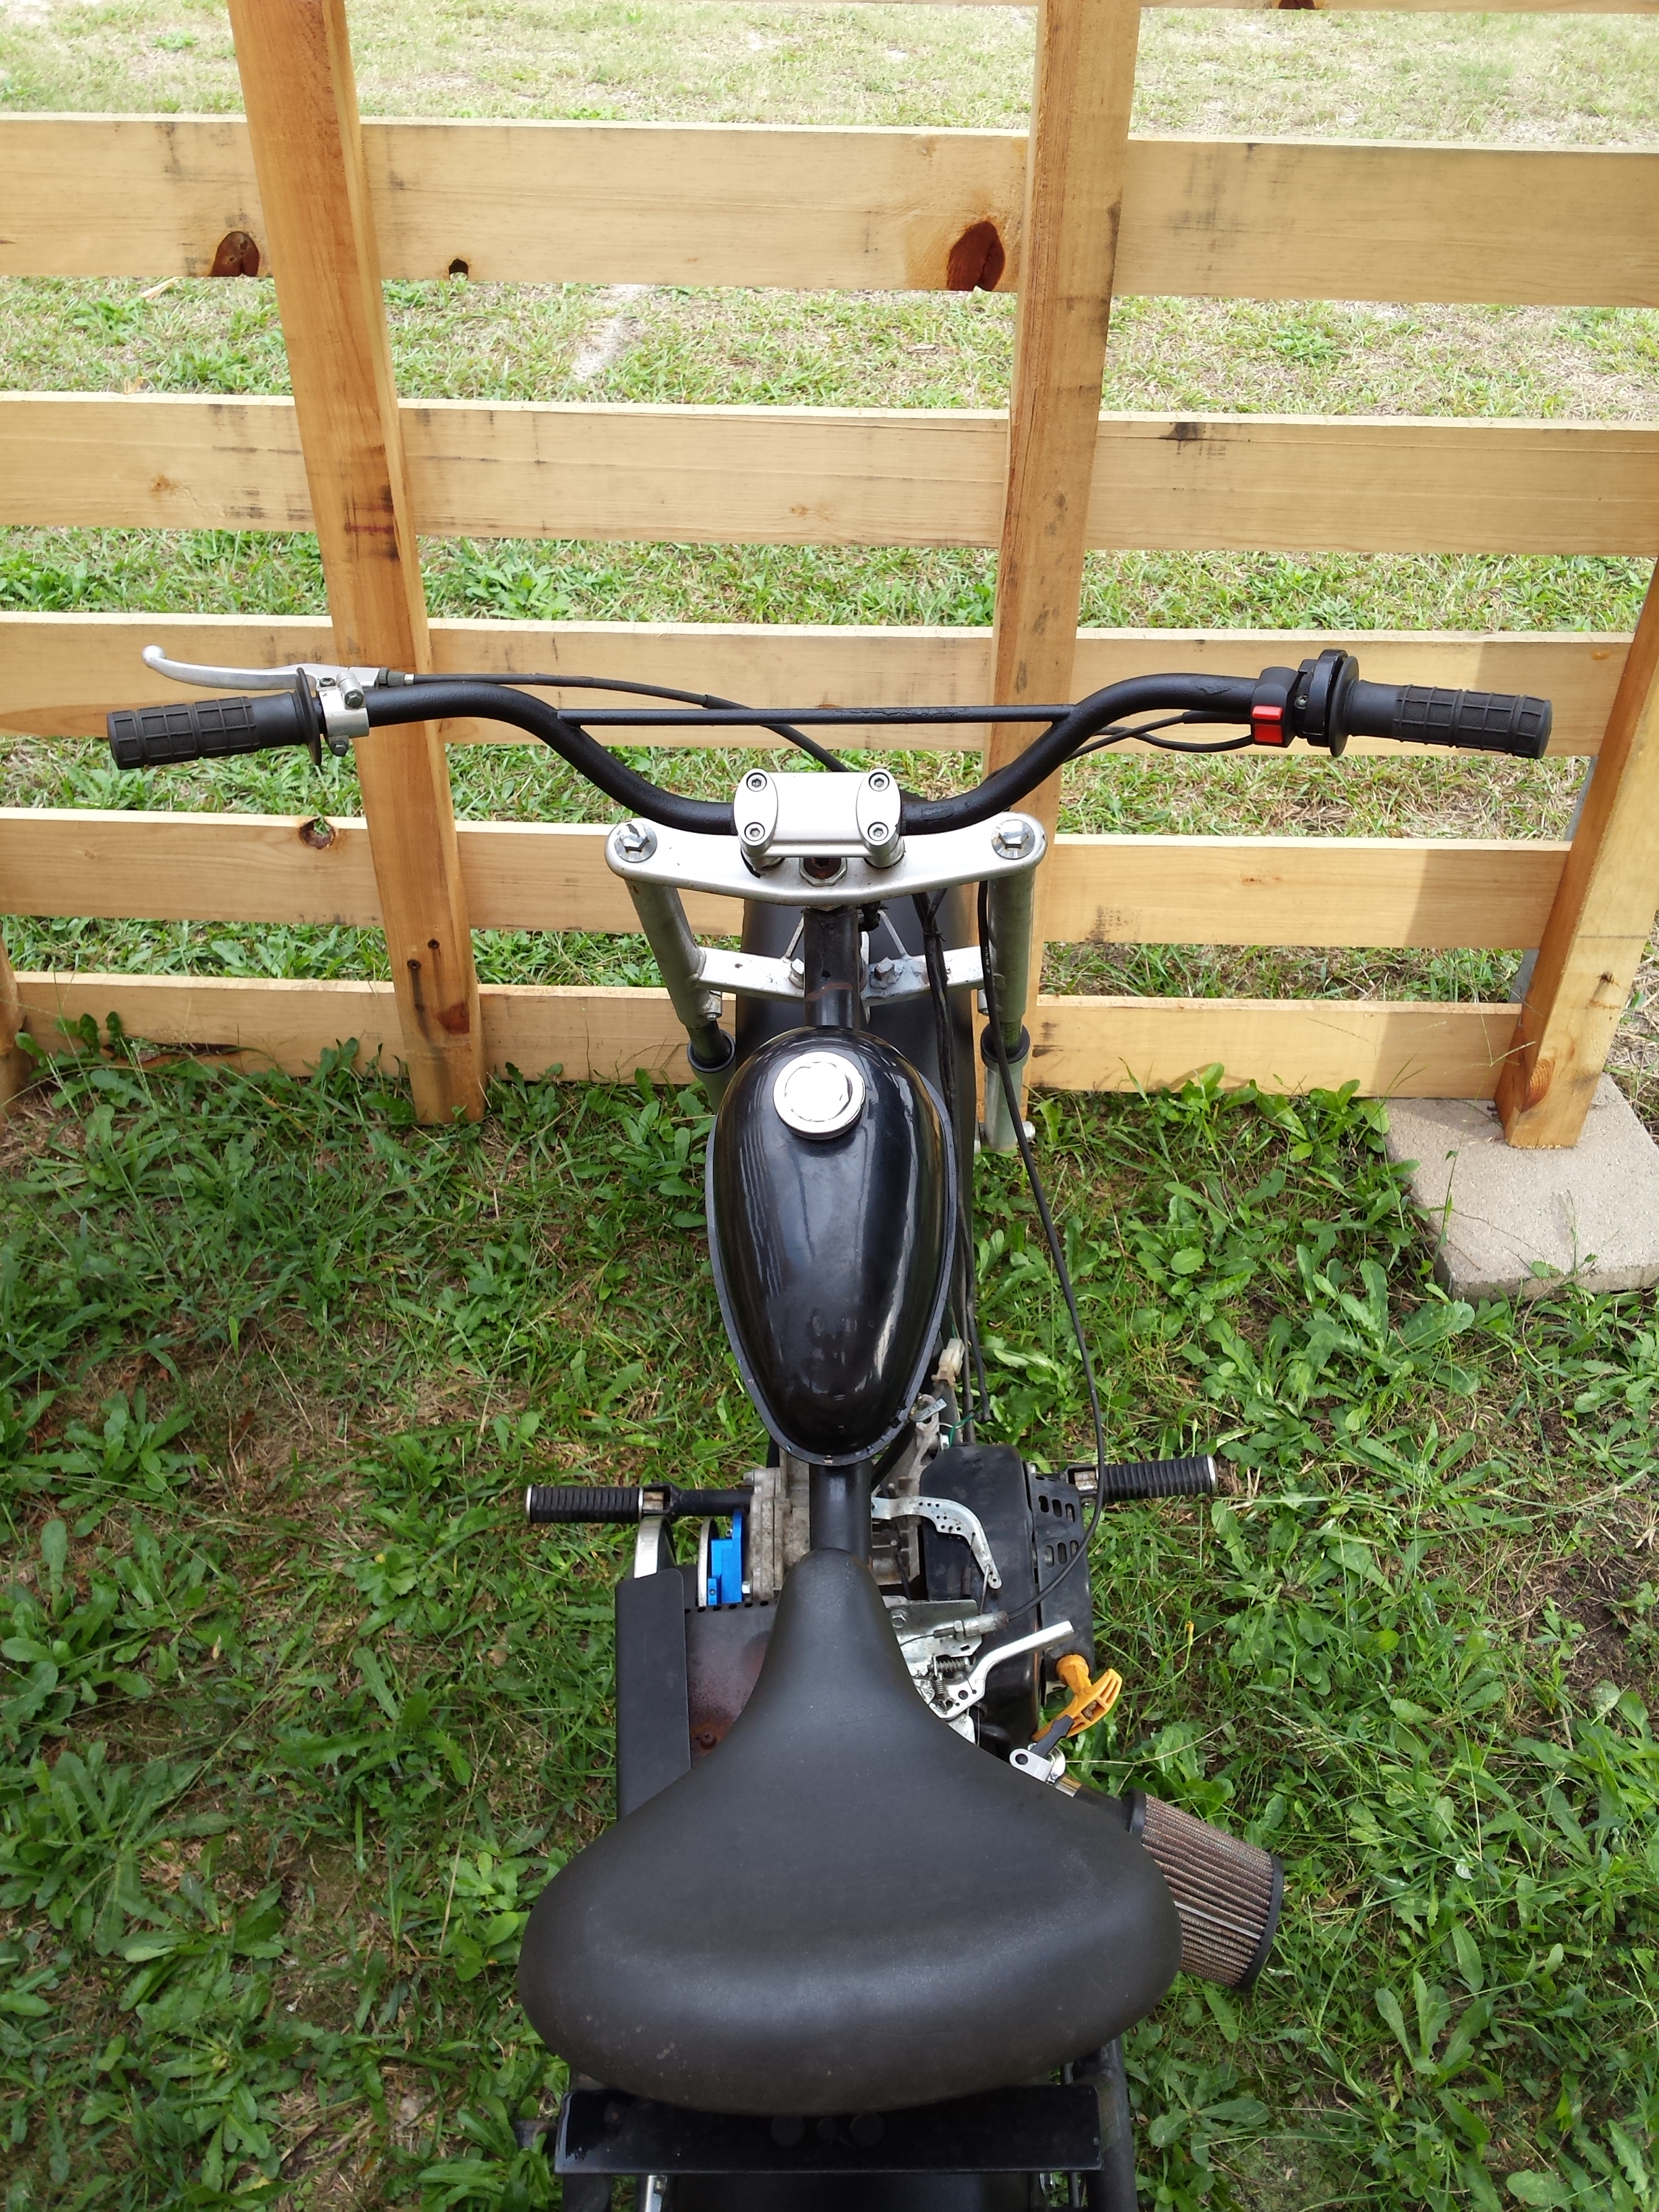
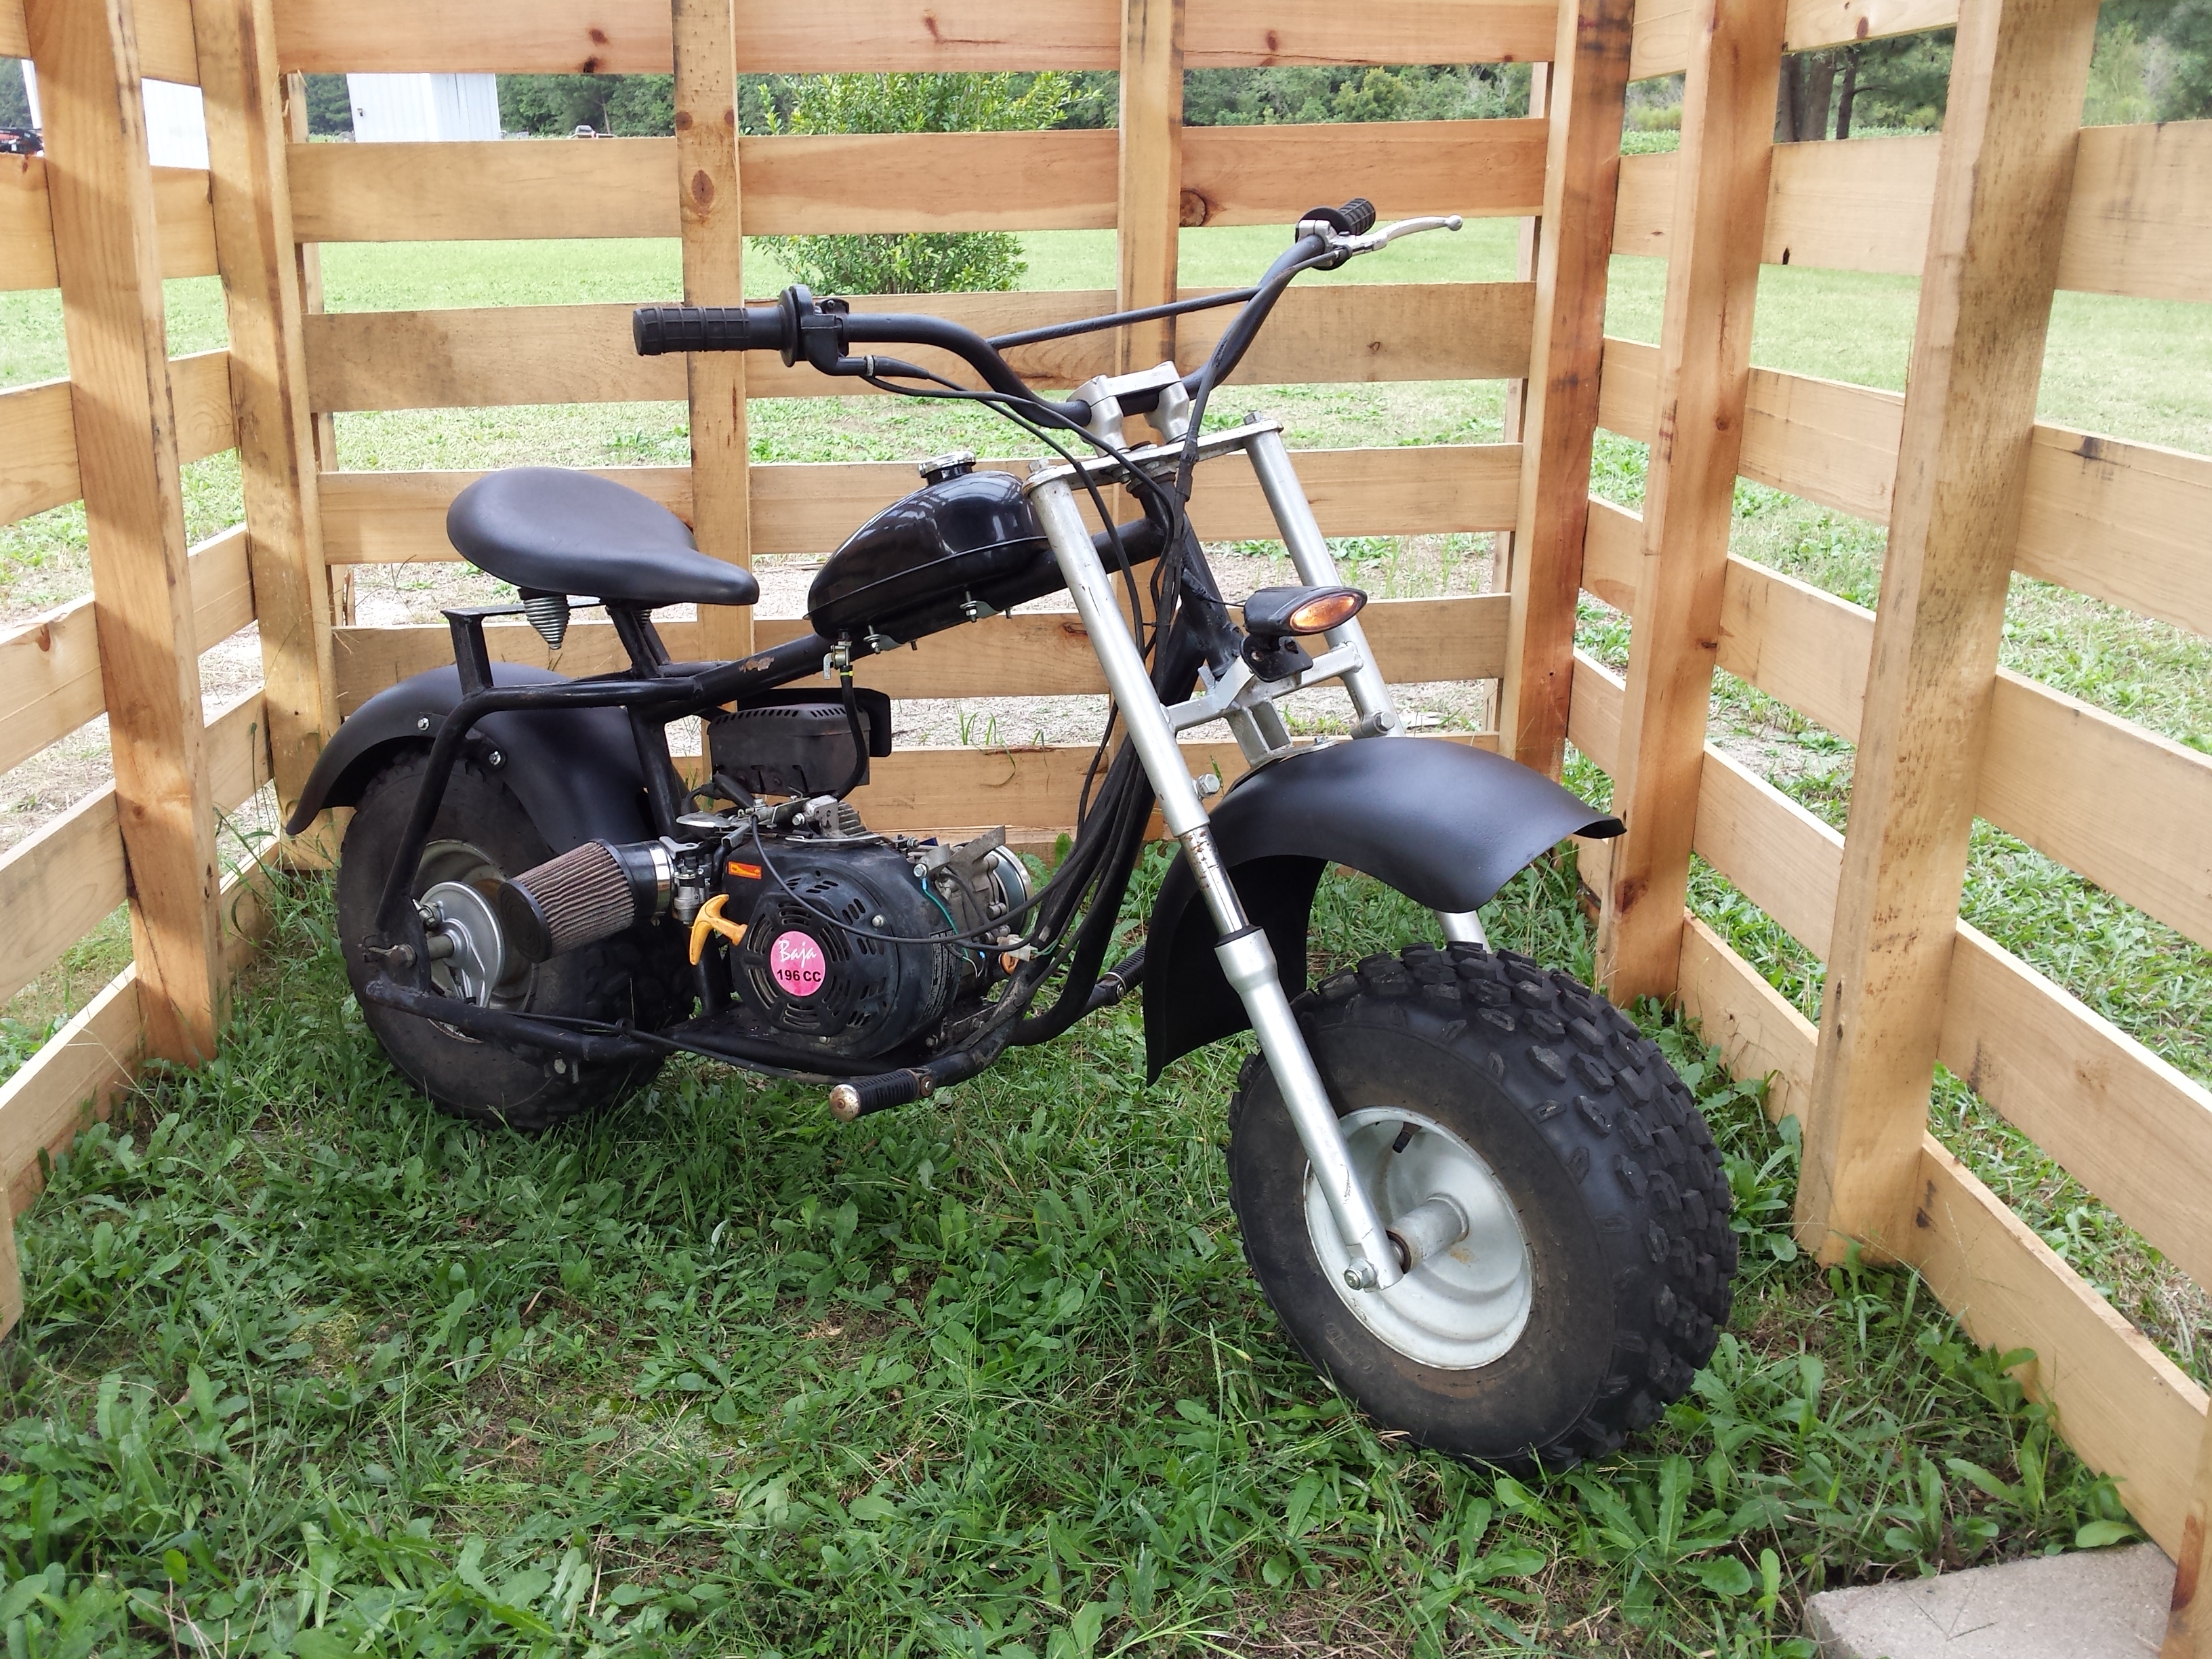
By the time the above picture was taken fate had intervened in two distinctive ways. First we’ve had one of the wettest, nastiest, stormiest, summers on record. The dirt road that I use to get from my hole down in the swamp out to civilization, has been an almost constant quagmire because we have not been without rain long enough for it to dry completely up. This is not an environment conducive to the cafe racer style of motorcycle as your only bike. The second factor was the sale of the Minimum Ninja, I really wasn’t crazy about selling it, but the gentlemen who bought it from me was like a kid going, “please Santa, I’ll take great care of it I promise,” so I finally gave in & let him have it. To his credit he does keep it much cleaner than I ever did. But now I had to get something rolling & fast, preferably something with two up capacity that would roll down a dirt or gravel road just as good as a paved one. Decide to do a flat green rat bike that require minimum cleaning.

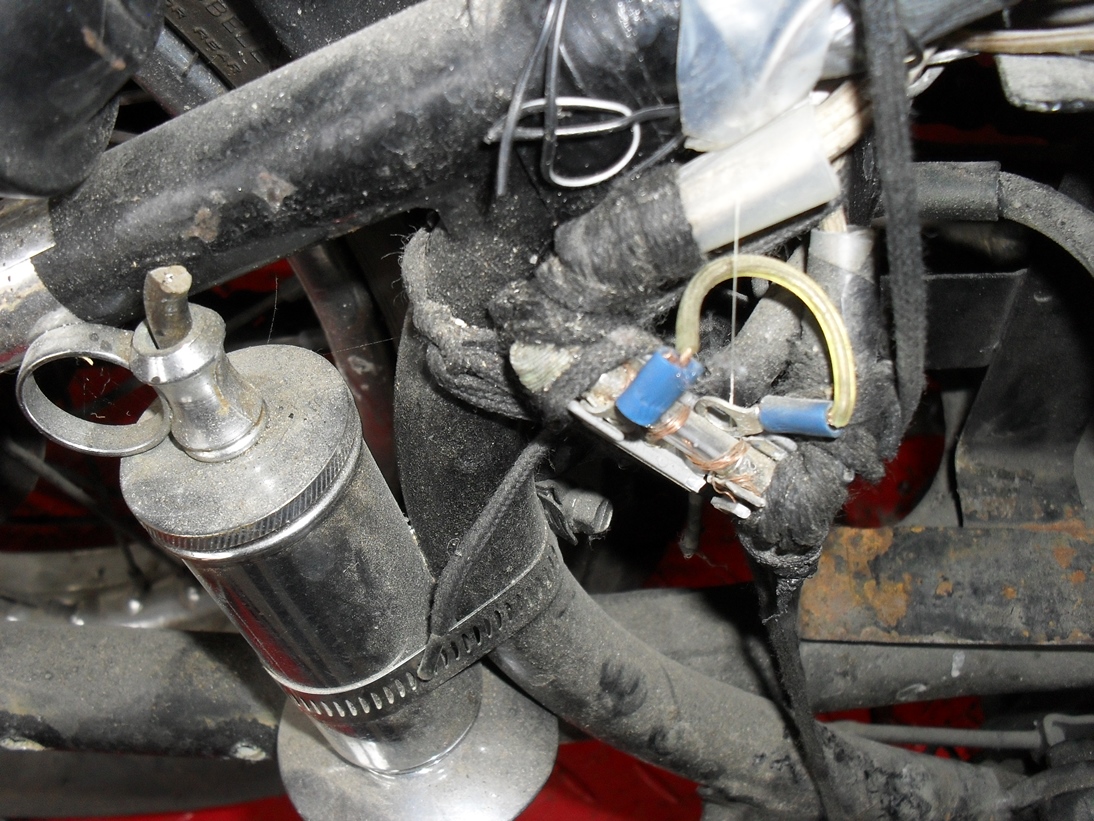
I had already made a new rear tank mount at this time by bending the CB750 mount down & brazing in a sheet metal angle the the proper size hole in it.

cb750 to cb650 rear tank mount clamped

cb750 to cb650 rear tank mount clamped

<cb750 to 650 tank brazed>

My ugly brazing

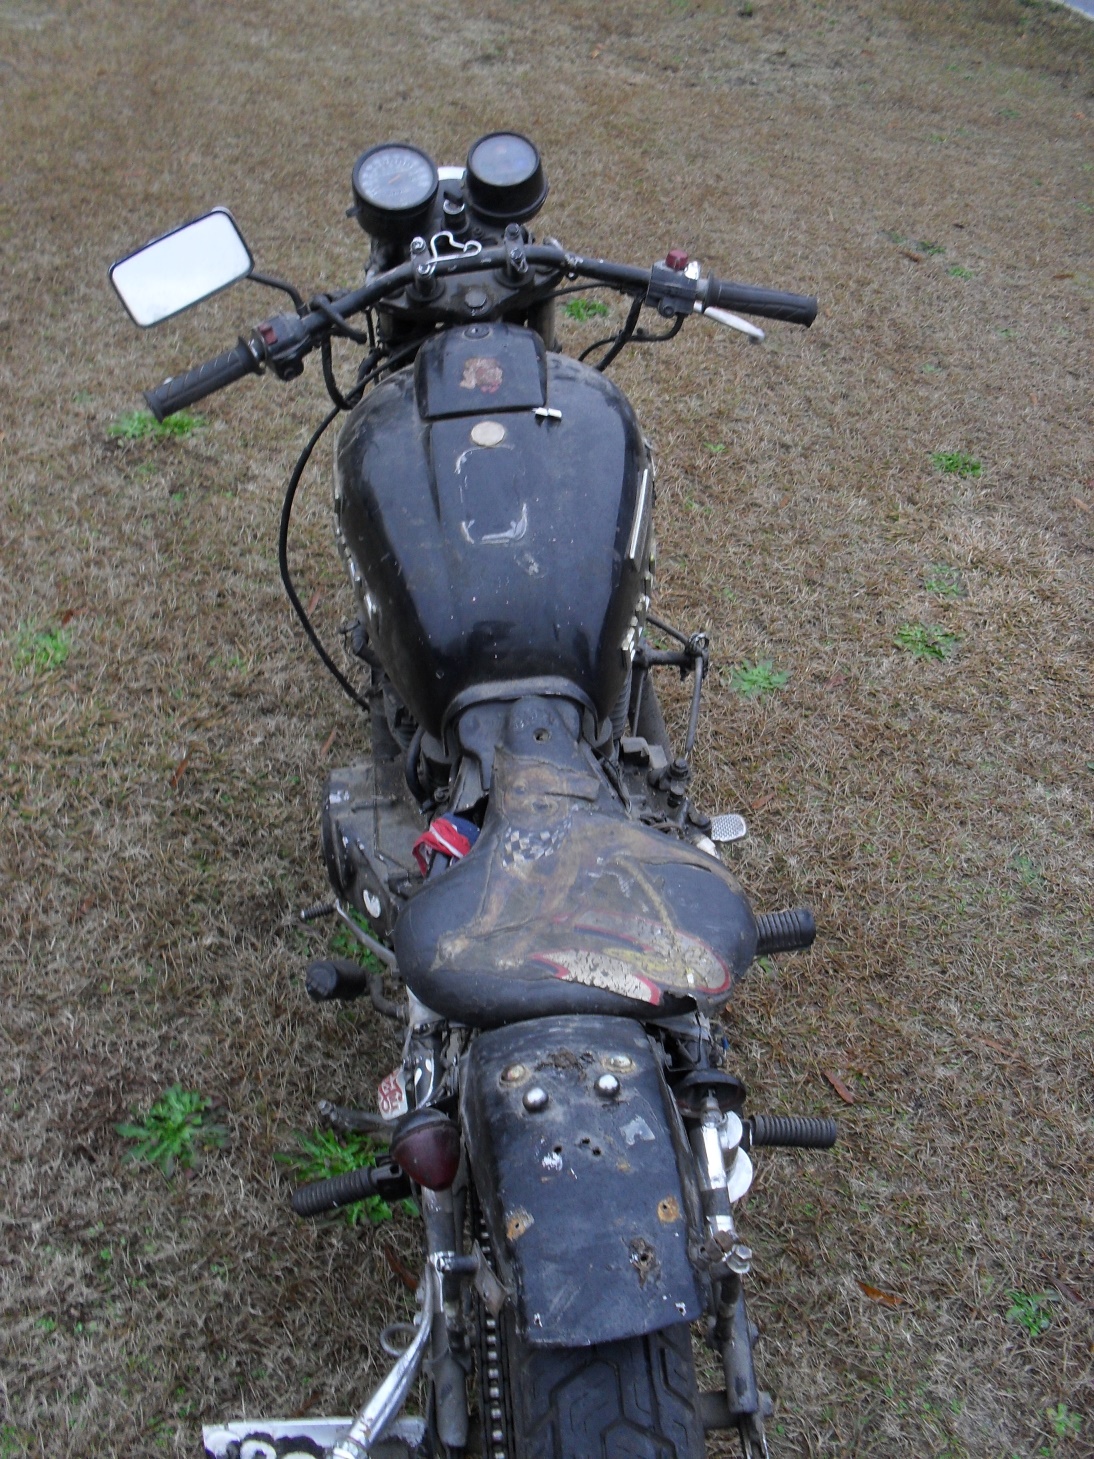
The problem was that at the time I paid no attention the the seat to tank relation, something that would come back to haunt me later. After I changed my mind about the direction of this project but before really fitting everything together I decided to go ahead & change the color, but since I was doing a “rat bike” style build not to fix any dents or chips & just spray can paint it.

<tank number 1 taped up>

tank number 1 taped up

So I taped off the graphics & cap being careful to trim the tape around the nicks and chips hoping that it would look like the new color was original & spray bombed it with what I thought was a flat dark olive color

<tank after painting>

much lighter than I was expecting:(

About this time, I purchased a “skull pile” stencil from Airsick Stencils & decided to play around with it some, so I popped the tank off & taped it up following the instructions on the Airsick website for using these reversed stencils they sell, & sprayed my main color Createx Wicked Gold.

<airbrushing a gas tank>

This color required a lot more thinner than the other Createx colors I’ve used in the past

After spraying the color I then put the stencil back in place and turned my air pressure down a little bit and sprayed in some opaque black to create the details.

airsick airbrush skullies

laying in the skulls

Here’s what it looks like when you take the stencil off.

<an airbrushed skull pile>

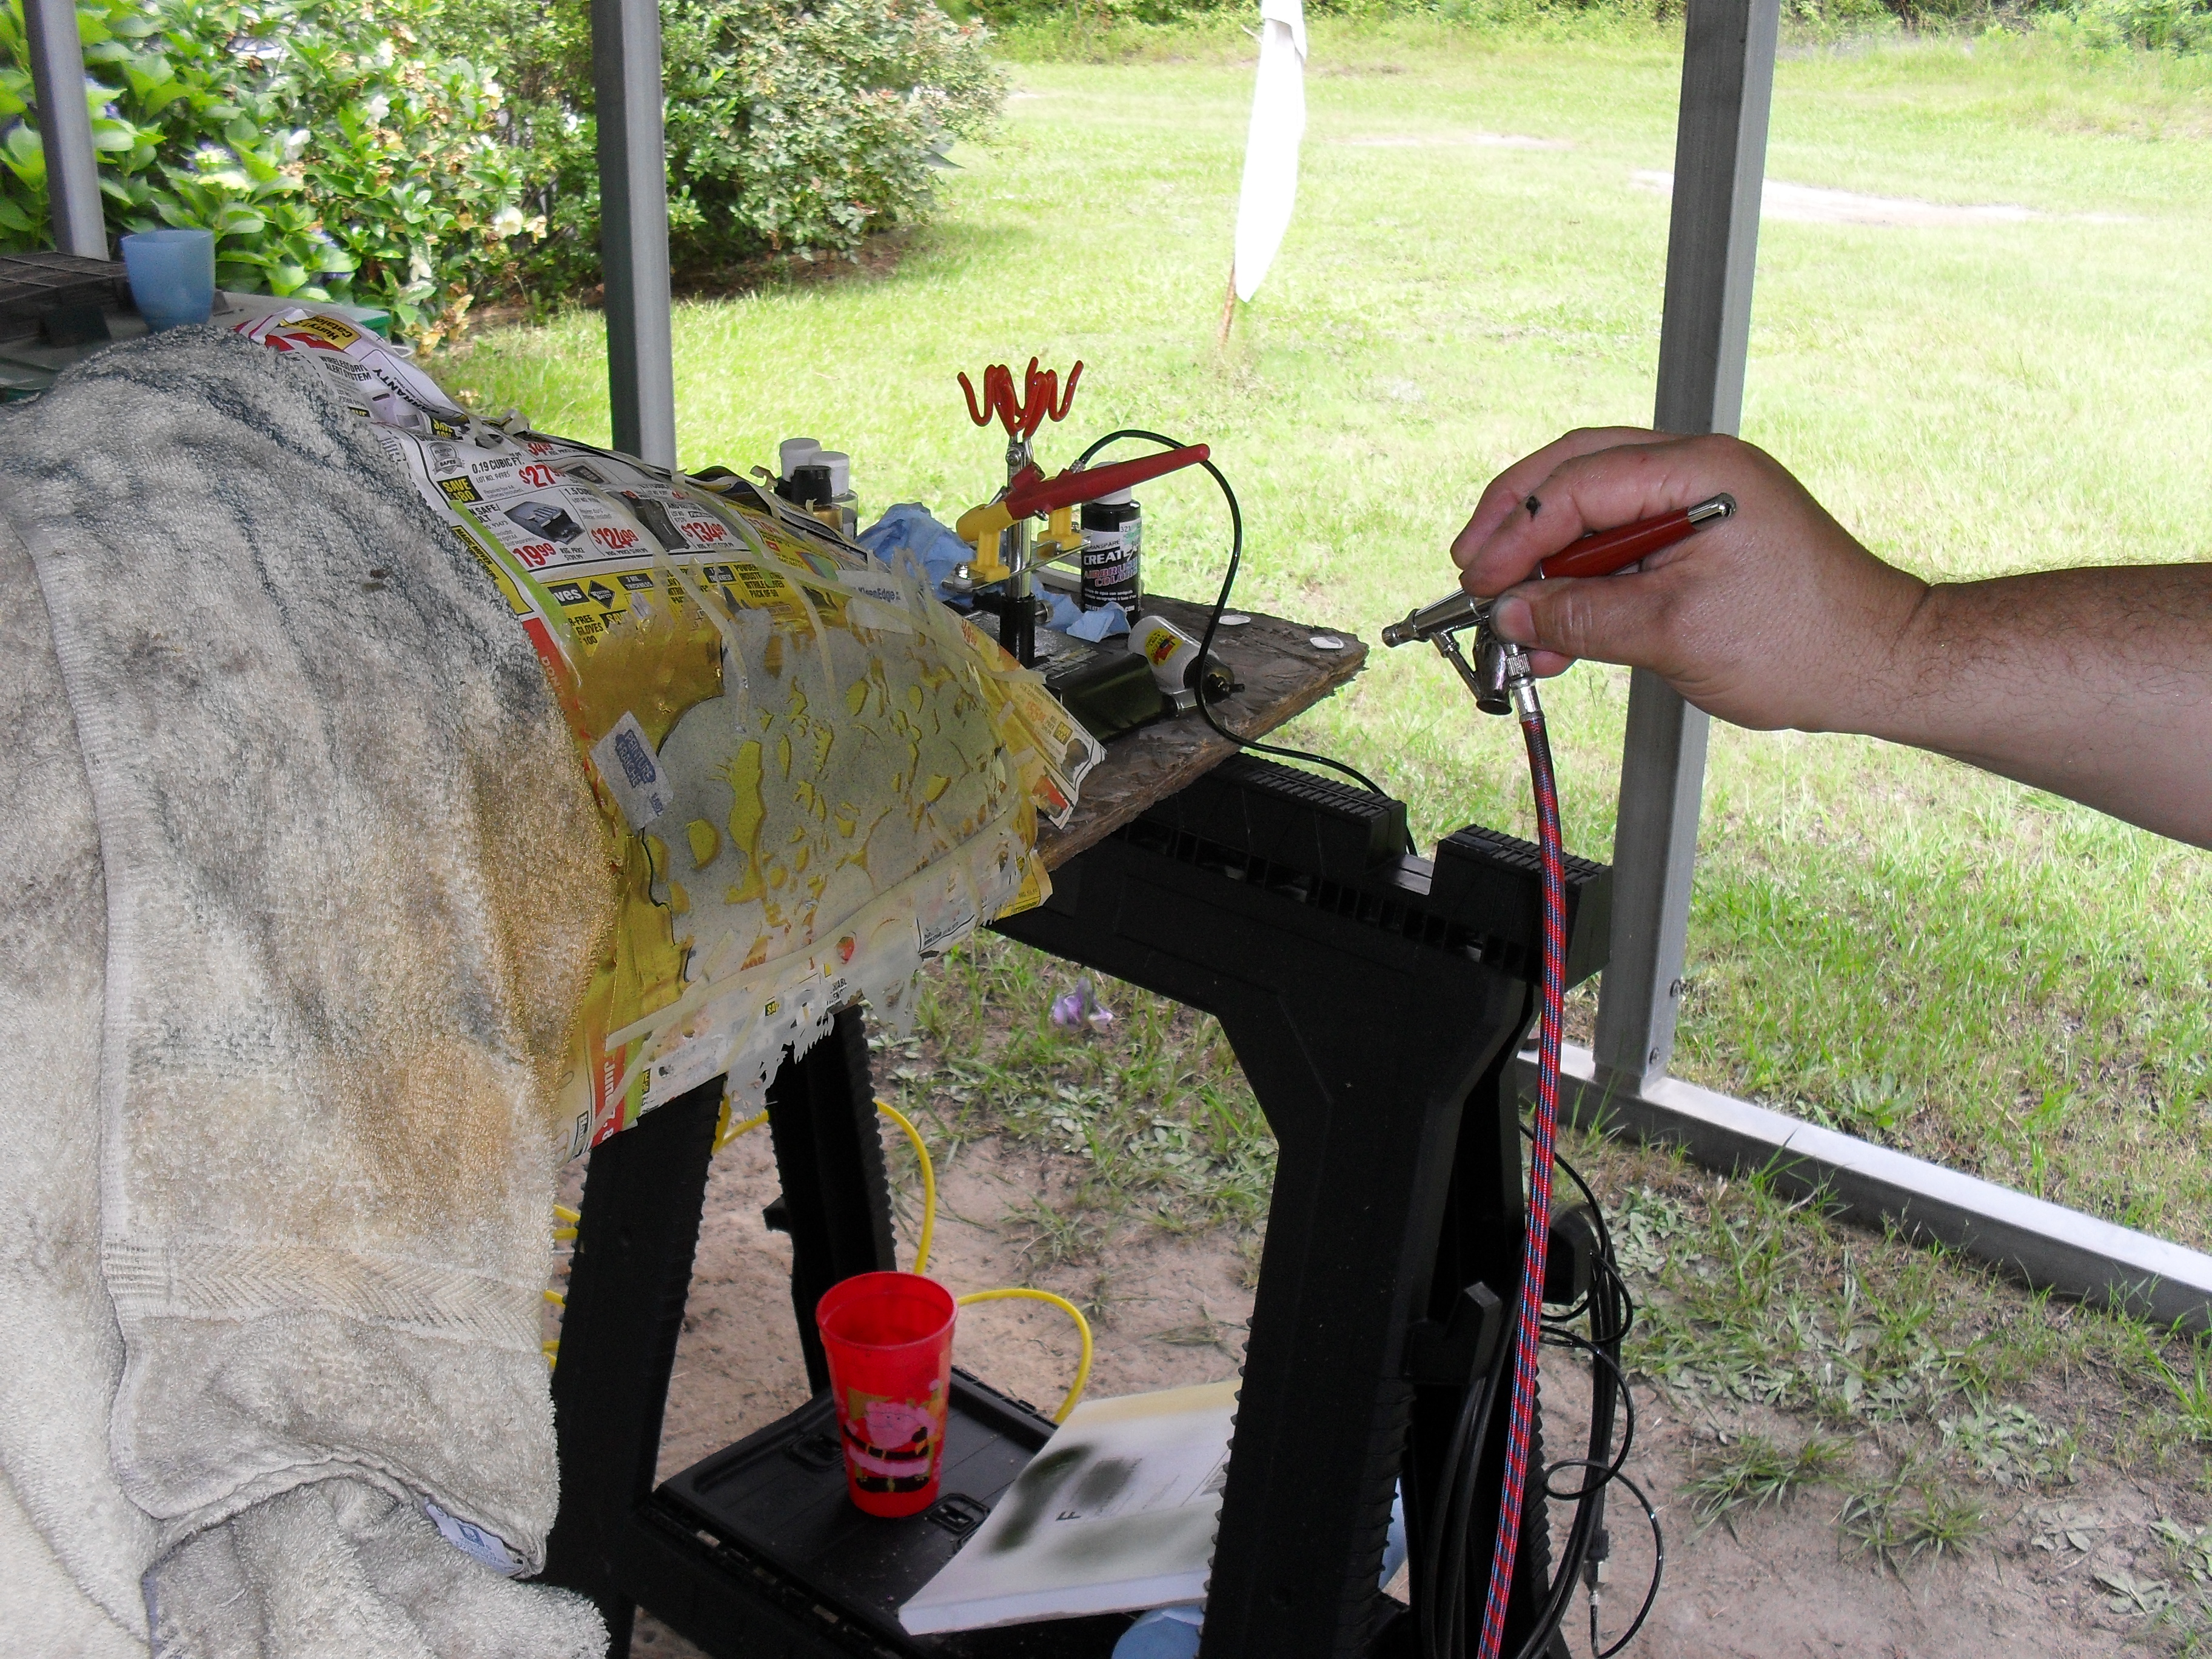
Just In case you were wanting to know the airbrush is a Paasche VL & yes I am very happy with it.

<my Paasche VL airbrush>

After finishing up and giving the paint a few minutes to set up I peeled the tape off.

<peeling back the mask>

peeling back the mask

If you try this at home just remember that most commercially available airbrush paints are designed for fabric use & require heat to set them and make them permanent, so go over the surface with a hair dryer or hot air gun & get it good and warm if you don’t want your paint washing off later.

Most people go back over these skull piles & fill in little details with the airbrush & some freehand stencils. Me I cheated a little bit by doing my detail work with a black extra fine point Sharpie, before spraying on the clear coat.

<closeup of airbrushed skulls>

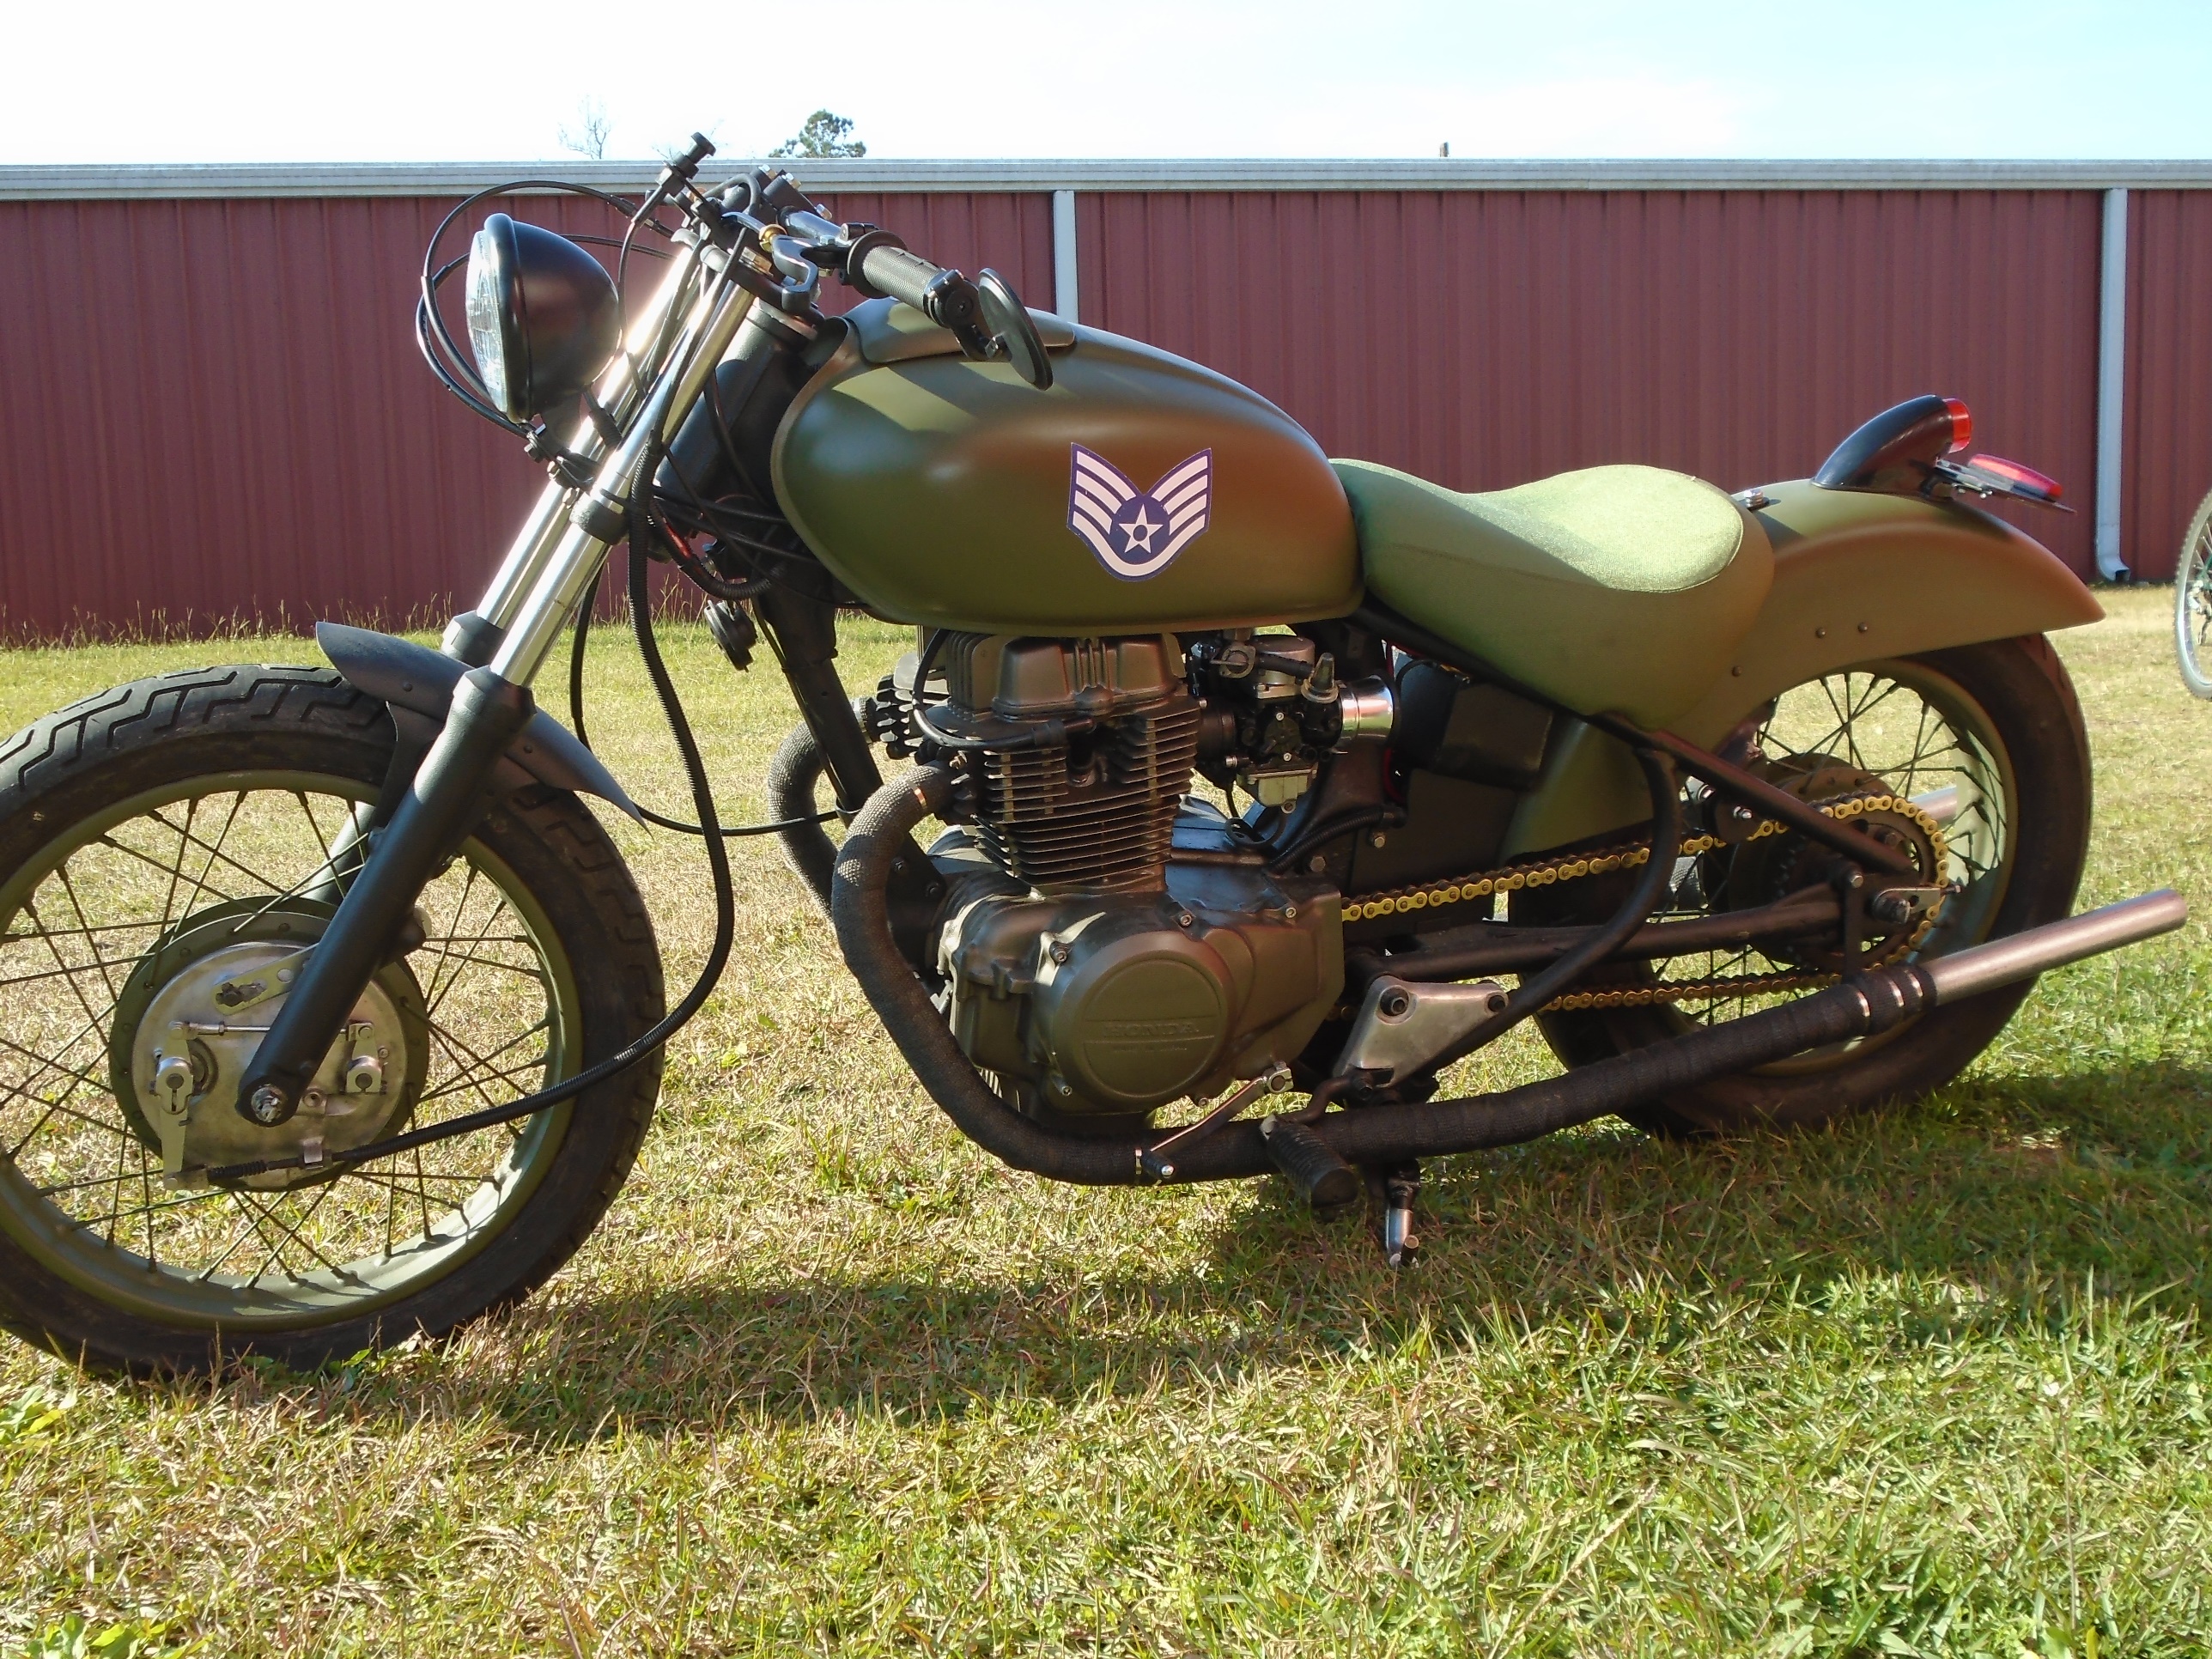
It looked decent enough for a rat bike I thought

<airbrushed tank on cb650 scrambler>

airbrushed tank on cb650 scrambler

It’s kind of a shame that I destroyed this tank while  attempting to correct the big gap between the bottom of the tank & the top of the seat. Oh well if you’re gonna cook an omelet you gotta break a few eggs. I’ll come back in a day or three and tell you the rest of the story.