Honda C70 Passport Restoration The Beginning
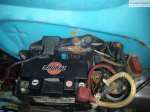
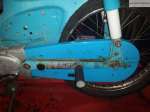
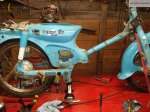
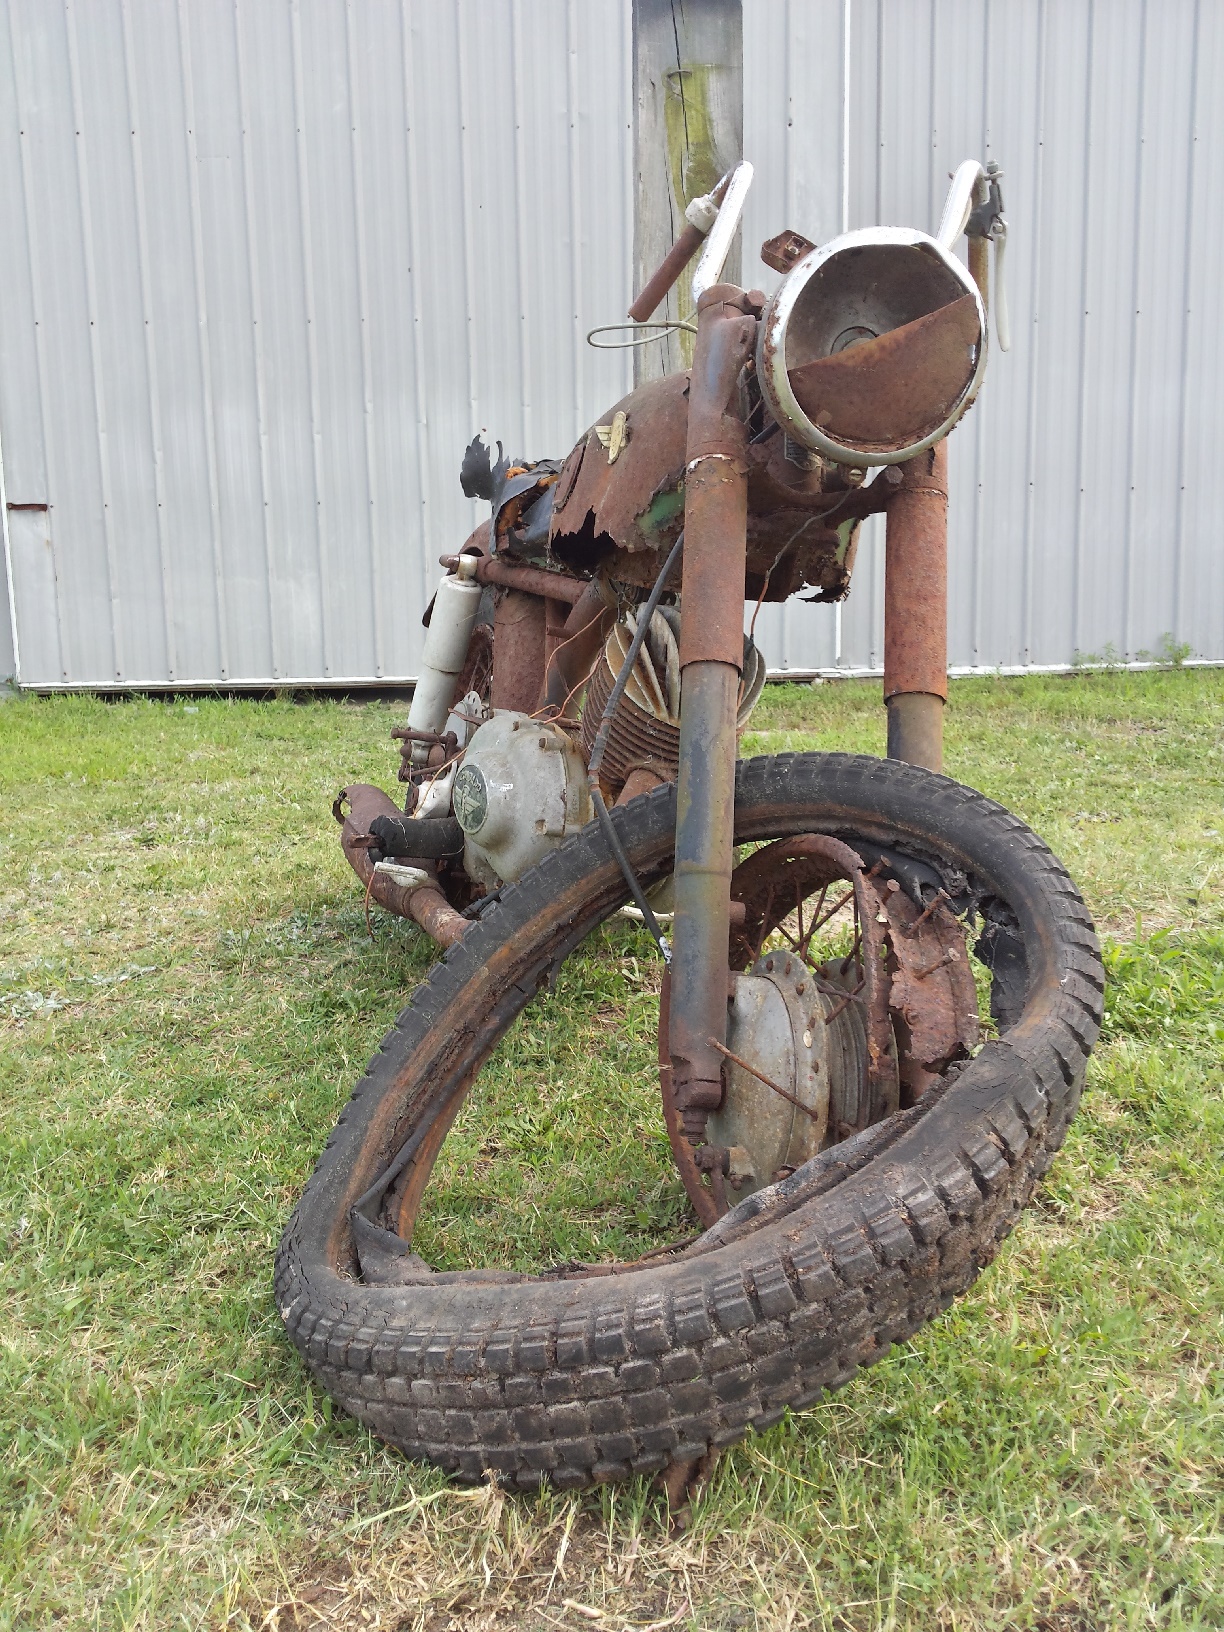
It all started out innocently enough with me picking up this little diamond in the rough. It obviously hadn’t run in a while and was very weather beaten. Initially I had no plans to do a complete Honda C70 Passport Restoration but you know how these things tend to snowball.

With a little help from my beautiful assistant it was soon running like a top.

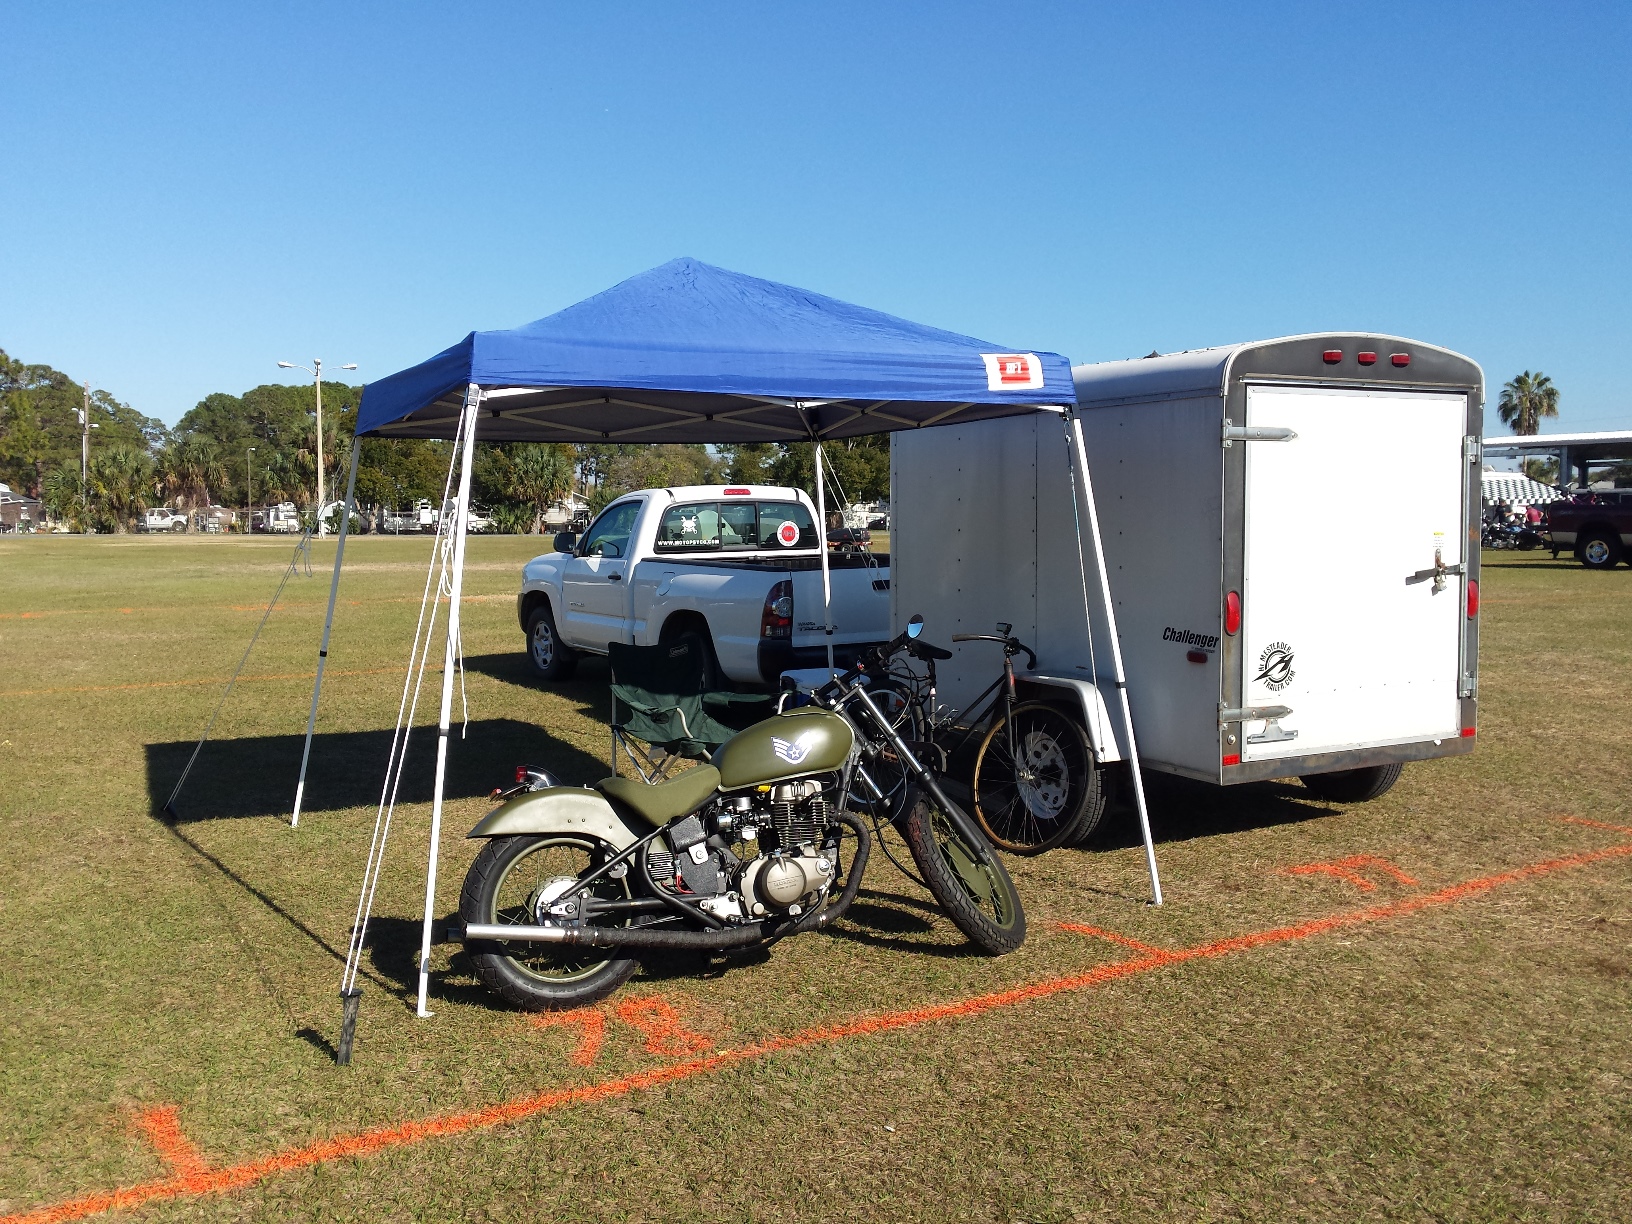
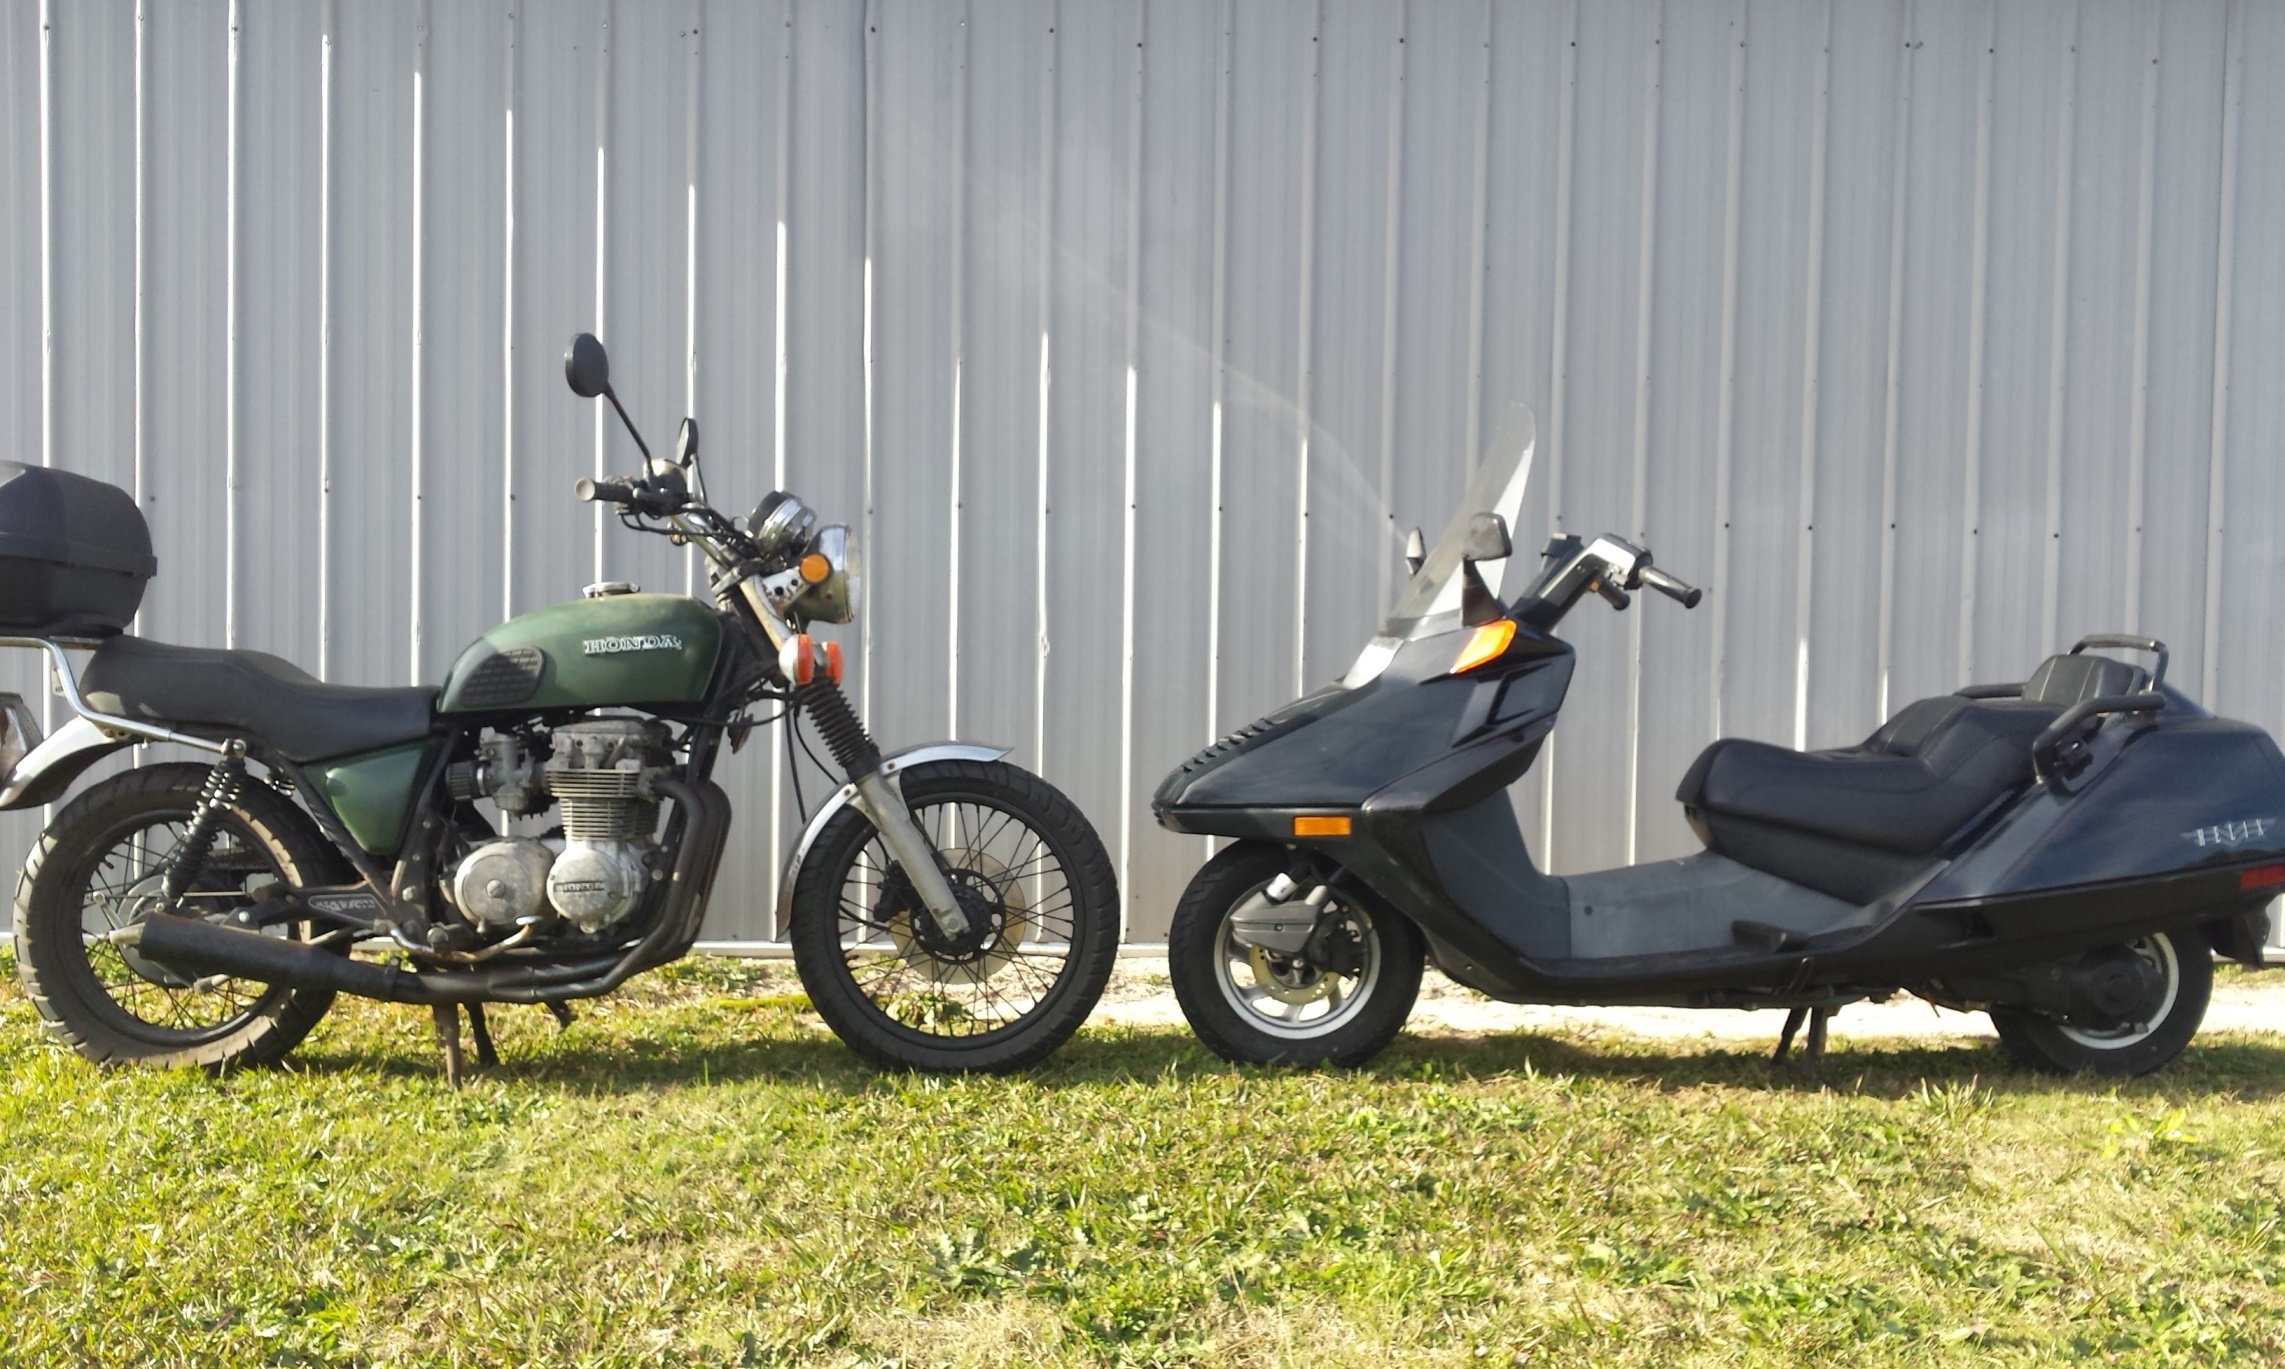
Initially I had no plans to do a complete Honda C70 Passport Restoration but you know how these things tend to snowball. Let me go ahead and be perfectly clear from the start, this is not intended to be a 100 point purely stock restoration. The goal here is to produce a very nice looking scooter to use for transportation at larger events like the Barber Vintage Motorsports Festival or the Destination Eustis Motorcycle show & swap meet.
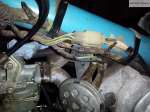
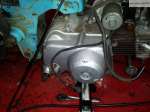
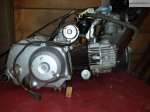
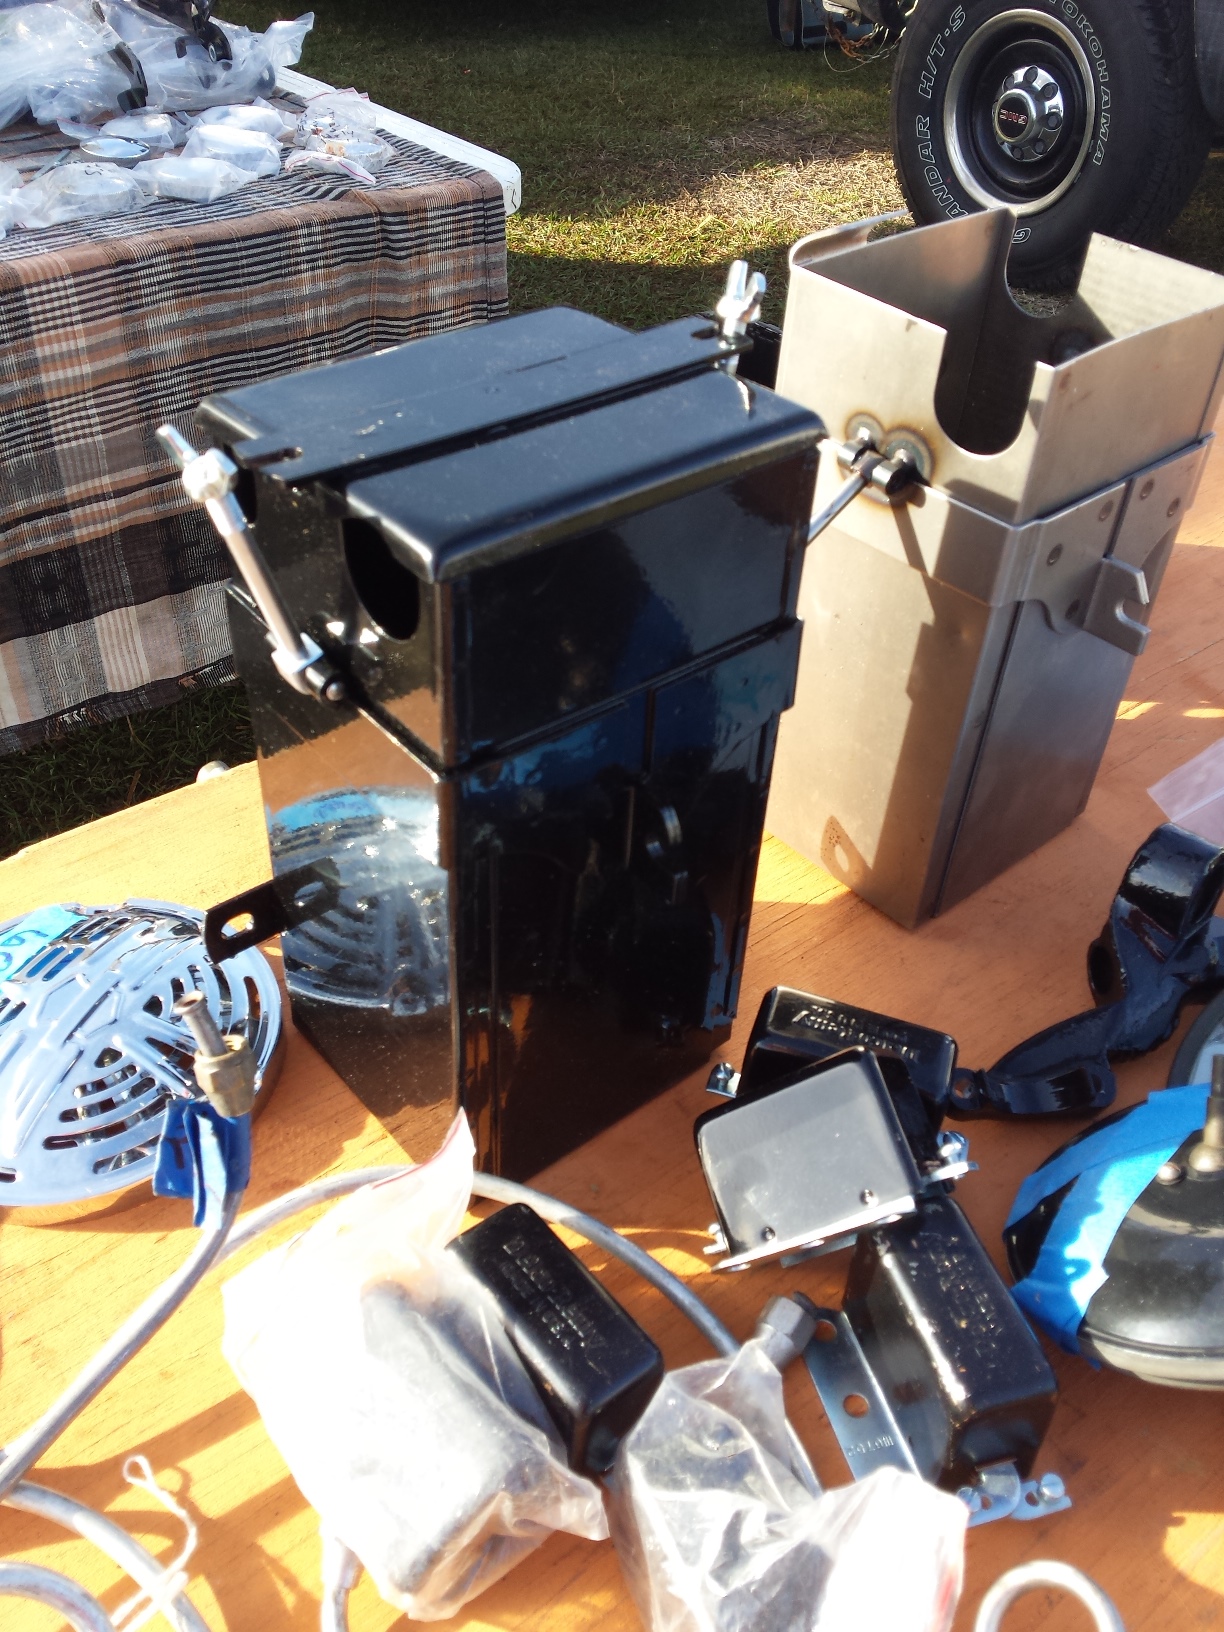
After cleaning the carbs, adjusting the valves, changing the oil etc. I took the little thing out for few a test runs and am very pleased with how it runs & drives despite the fact that it had dry rotted and mismatched tires on it. So I started ordering the pieces it was missing such as the chain cases. Where the original equipment stuff is available for a reasonable price I’ll use that, when not there are plenty of reproduction parts available on the internet from Thailand and other countries. The quality of the reproduction parts is all over the map, so be prepared to ship some things back or tweak them to get everything working and looking good.

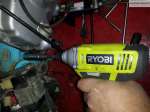
Then one evening a few days ago I lit a fire in the heater and started pulling it apart.

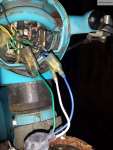
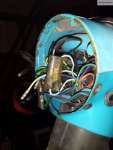
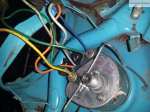
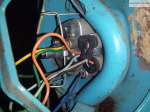
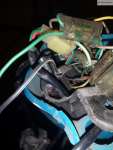
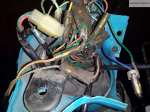
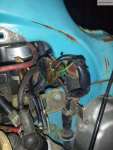
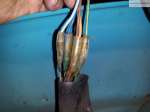
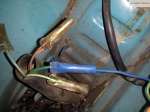
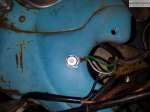
One of my favorite things to do as I am pulling a bike apart is to take lots of pictures. Thanks to digital photography it is now easily affordable to document every nut & bolt that you remove if you want to. On older bikes like this that use a lot of bullet connectors it is a great idea record every single wiring connection. Sometimes there are different colored wires that attach to each other that you may not remember otherwise. There are also incorrect wiring diagrams in some service manuals for some machines so every bit of extra information helps. Plus when you put it all back together & it works right the first time, your friends will think you’re a genius!
Yes I really do use Shorai batteries for damn near everything, They’re especially great for motorcycle collectors who often let their bikes sit without running and there’s no acid to boil over and ruin your shiny new paint job. Last year I wrote an article for the Vintage Japanese Motorcycle Magazine detailing the pros & cons of using lithium batteries in motorcycles, that article will probably show up here on the blog in the near future.

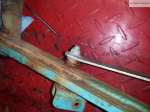
Since there was quite a but of surface rust & some light pitting the frame & forks were taken down to bare metal by sandblasting. Since I did not remove the fork from the frame I very carefully sealed off the bearing cup areas to keep the sand out.

After it was completely stripped, it received a few coats of zinc phosphate primer for maximum rust protection.

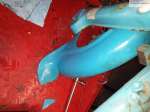
Since this is to be a parts runner and not a show bike instead of buying an expensive urethane paint in the original Honda Angel Blue I opted for 3 cans of Duplicolor ceramic engine paint in Ford blue. These paints are very durable & hold up quite well to gas and oil spillage.
Honda C70 Passport Restoration Starting the Assembly

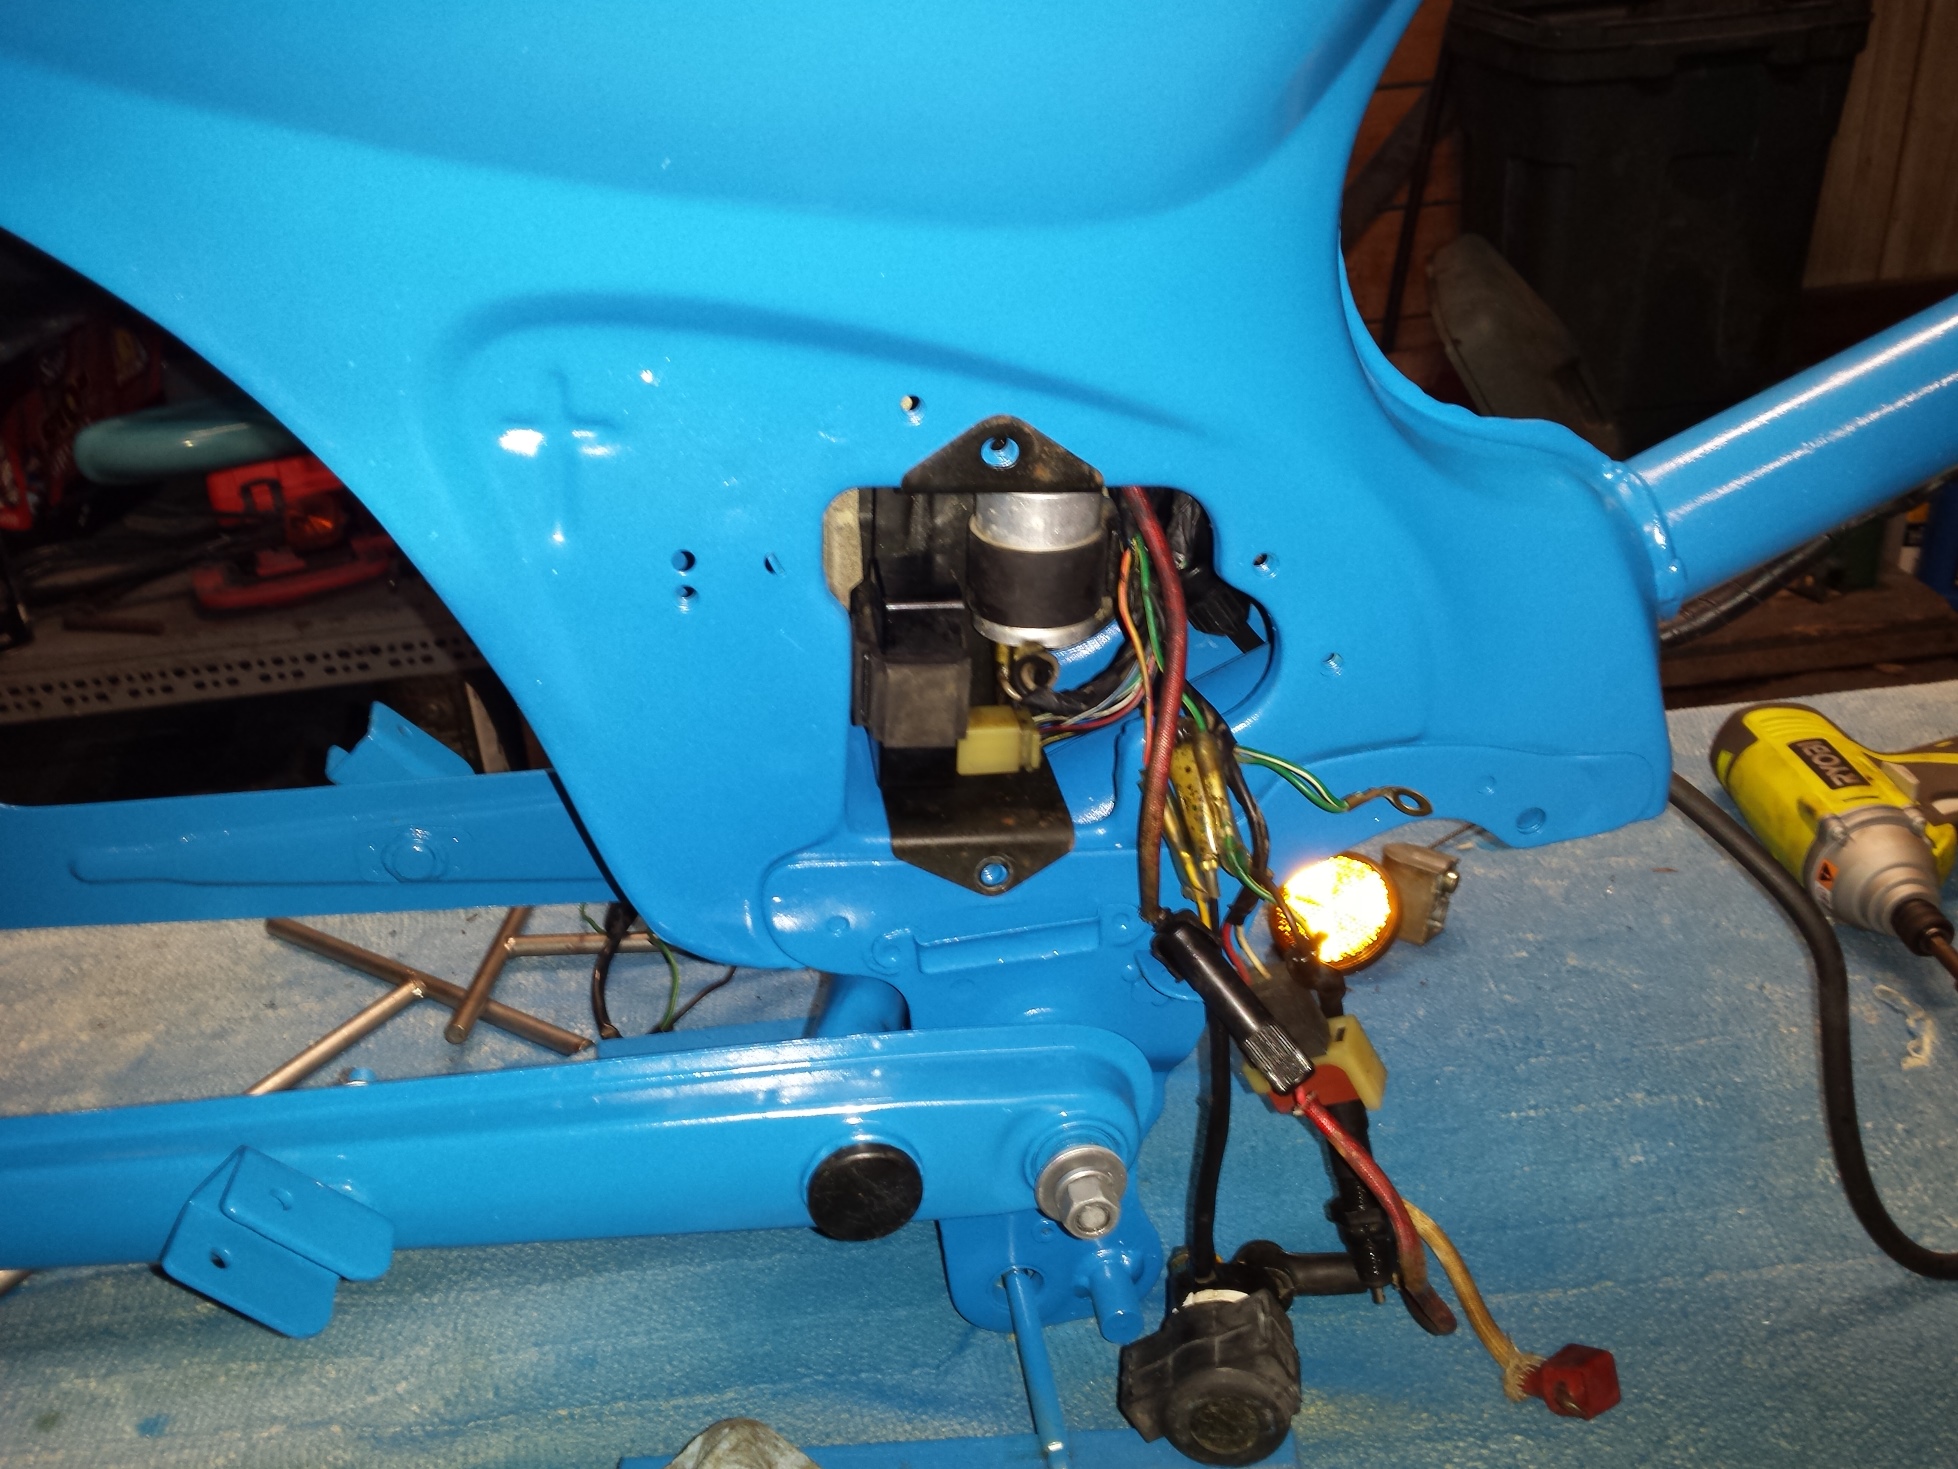
After getting all of the little bits painted it was time to move on to reassembly.

All of those pictures I’ve taken are really coming in handy to reroute the wiring harness.

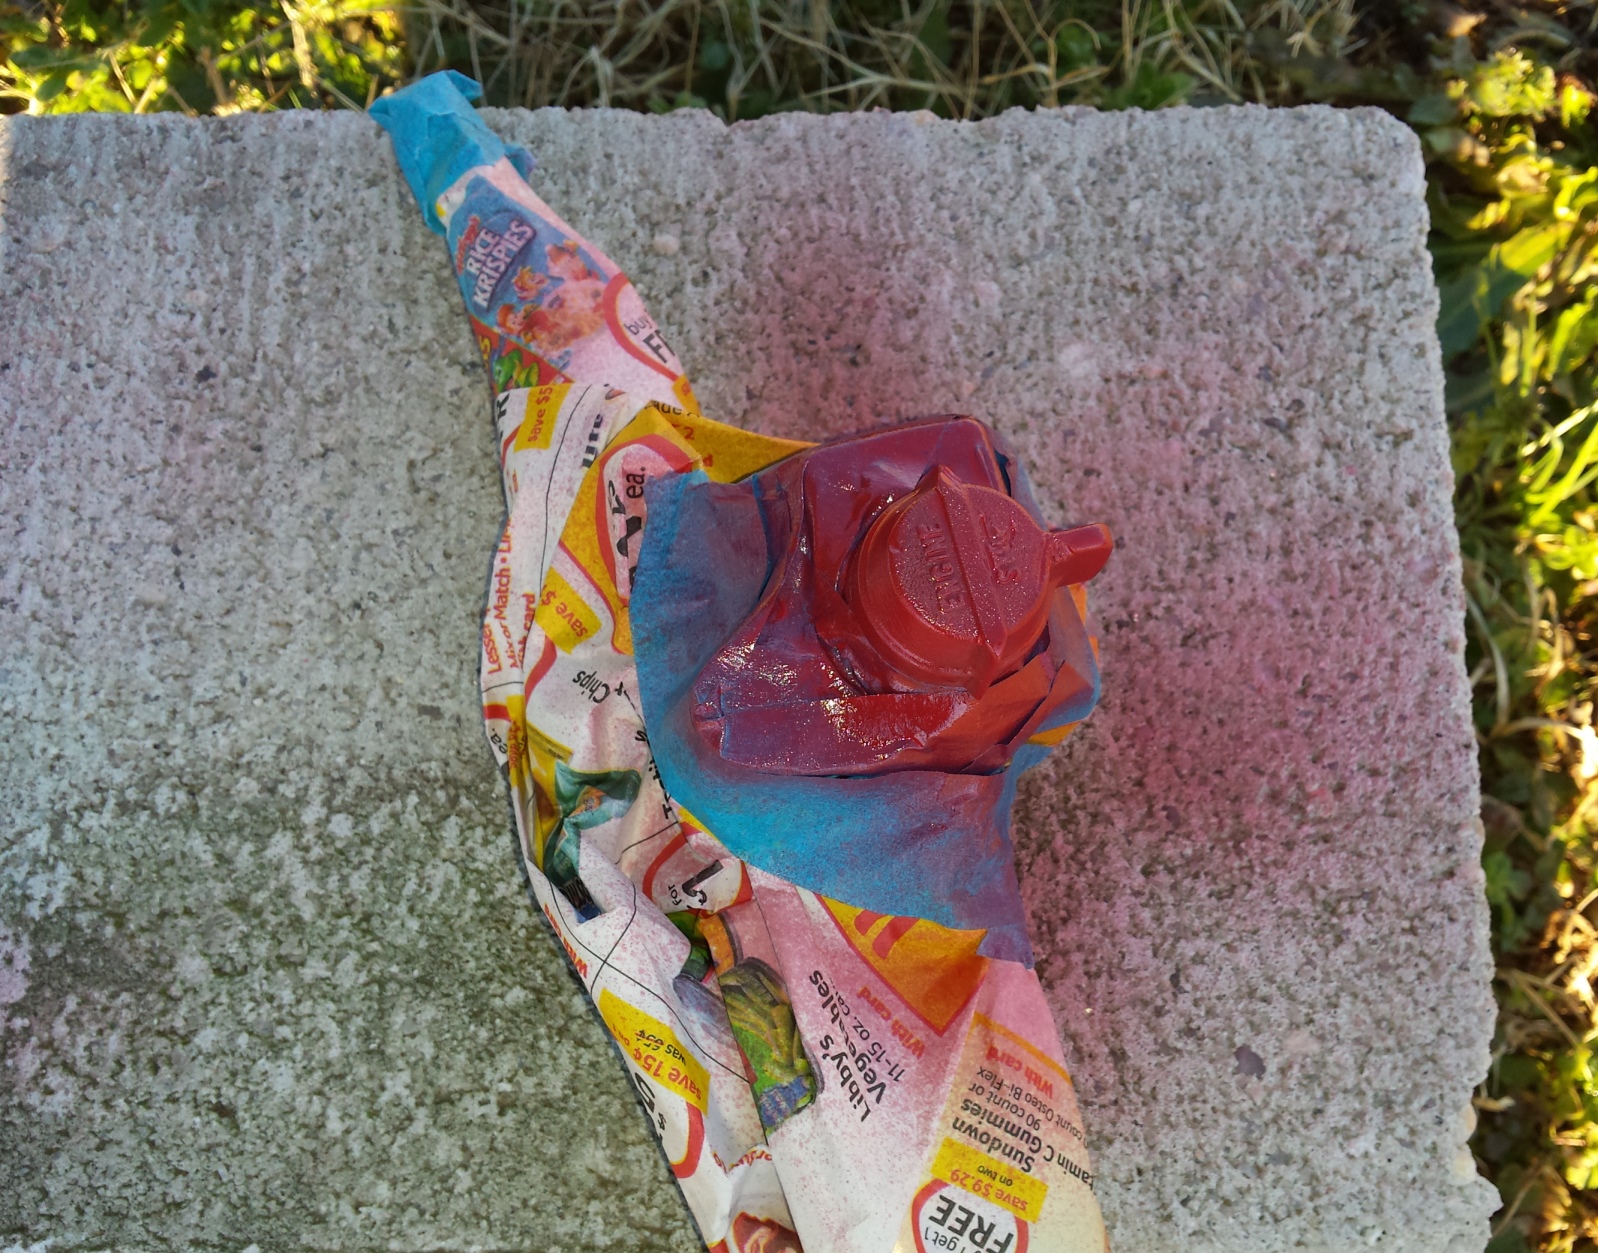
Figured out how to create a reasonable looking fake cadmium plate using spray paint, will do a step by step post at a later date.

The switch gear was scrubbed clean and the taped off so the kill switch and starter button could be painted red again. All of the black buttons & switches still looked good so those were left alone.

I had stopped at this point to do some much needed body repairs to my truck and should be getting back to it next week, so be sure to subscribe below to receive regular updates.