Is A Lithium Motorcycle Battery For You

Lithium Motorcycle Battery Pros & Cons

If you have not heard the buzz about lithium batteries for motorcycles then you have probably been hiding under a rock somewhere. There are many different brands available, and although prices have dropped some you may have noticed that they command a premium price. The question for most people is lithium motorcycle battery worth it? Most of the time yes, but sometimes the answer is no.

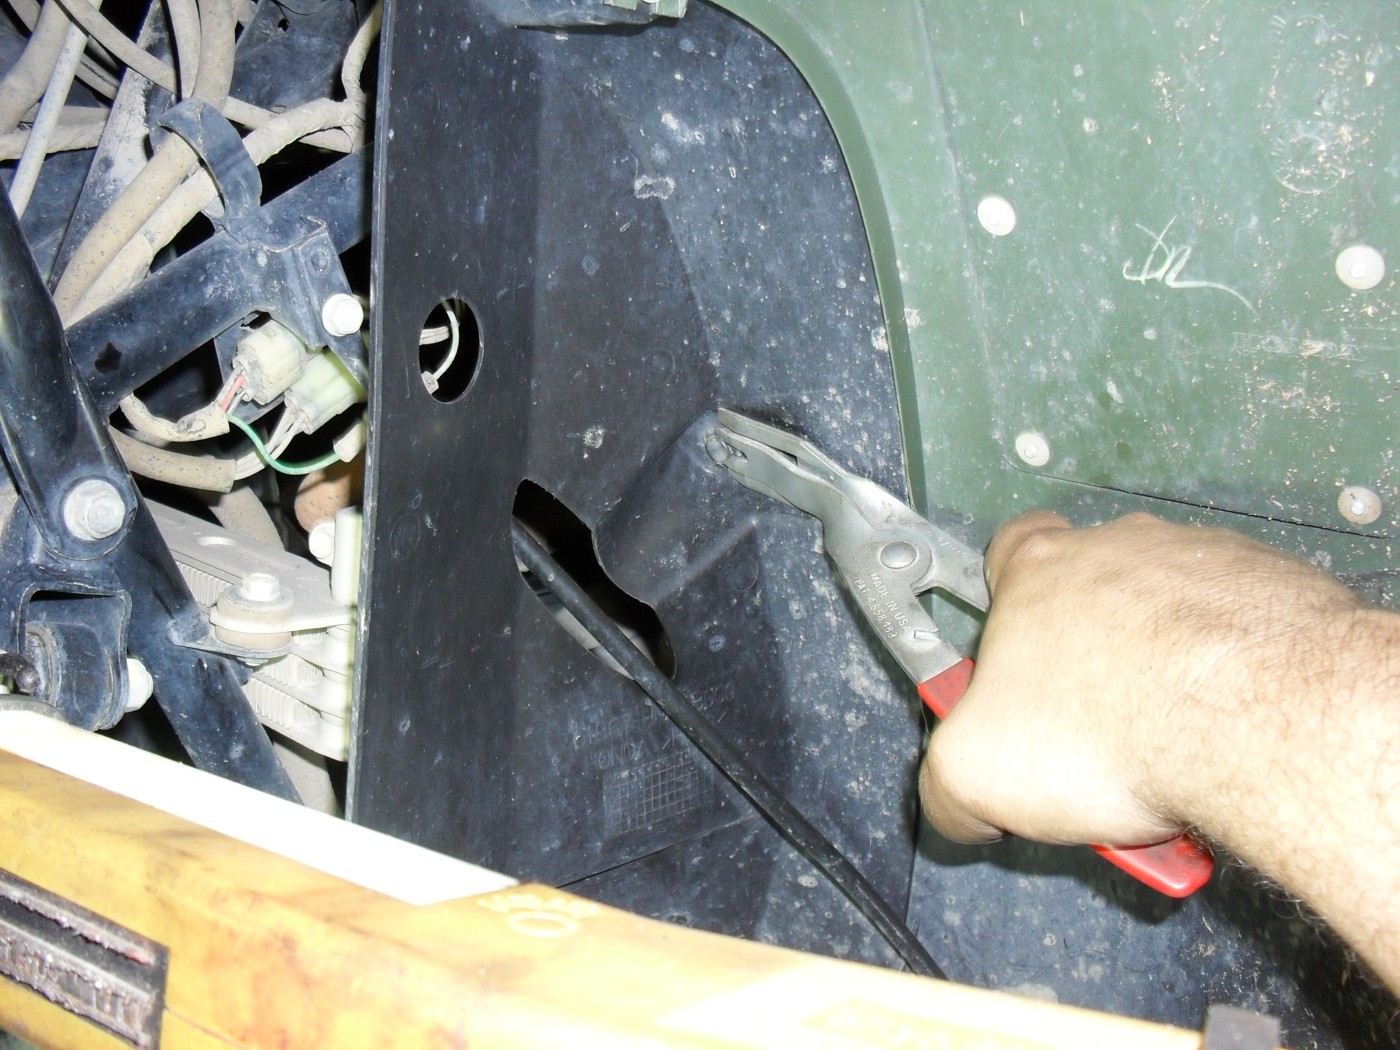
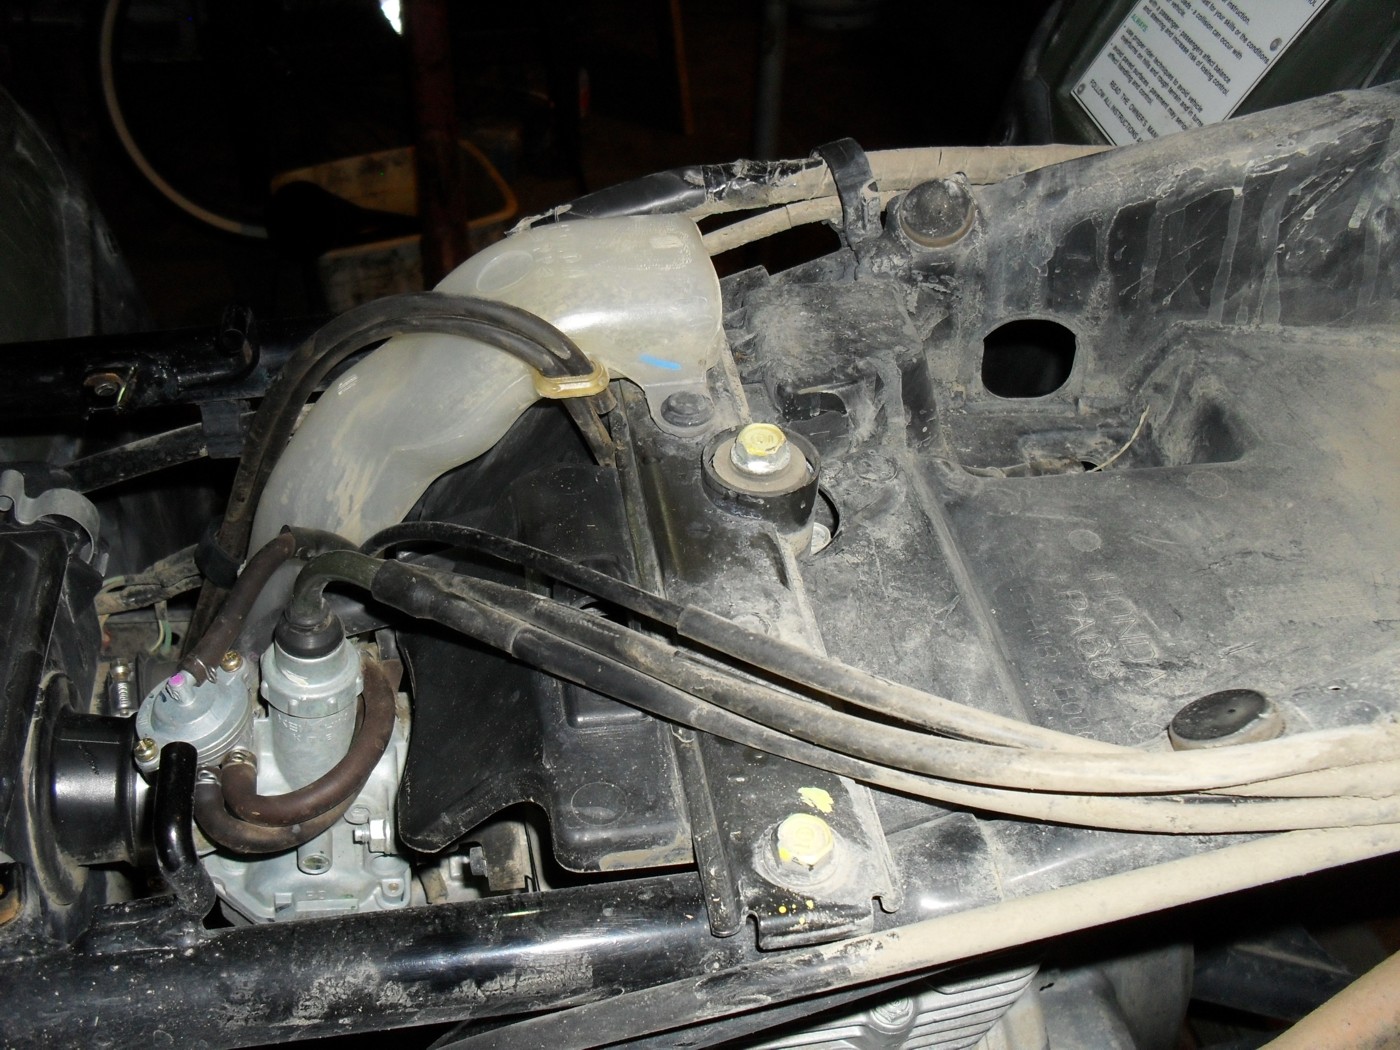
Of course there are a number of advantages and some disadvantages of lithium batteries in general. The single biggest advantage they have for the motorcycle restorer or customizer is that they contain no acid. There’s nothing worse than to have your battery burp a little acid out through the overflow tube and dribble it all over you freshly restored paint & chrome. Even if you carefully route the vent tube the acid still seems to corrode the battery box, frame etc.

Figure 1 Battery acid damage to a Gold Wing

<lithium motorcycle battery>

For the collector & show bike enthusiast who does not ride their motorcycles very often, a lithium battery has a very slow self-discharge rate. Especially on older motorcycles that have zero current draw when the key is switched off a fully charged lithium ion battery will usually maintain enough current to start the motorcycle for up to a year. Please note that it is recommended by all manufacturers that you disconnect and remove the battery for storage. If your motorcycle has any current drawing accessories such as a clock or an alarm system the battery must be checked & charged on a regular basis if you plan to leave it connected to your motorcycle.

In racing or other high performance applications lithium ion batteries have the advantage of weighing much less any other currently available battery configuration with equivalent specifications. I cannot recommend them for total loss ignition systems on race machines unless you are willing to be extremely diligent about checking and recharging them, and you accept the fact that this is basically a non-warrantied experimental use in the eyes of the manufacturers. If your racer has a charging system that meets the minimum charging requirements of your battery then you should not continue to handicap yourself by running a heavy lead acid battery.

Customizers love these batteries because they can be installed in any position even upside down. There are a few different from factors, most appear similar to a standard battery, but there are a few oddly shaped batteries available. Li-ion batteries are much smaller & lighter making them much easier to hide in café racer bum stops or under seat trays.

Figure 2 Conventional and Shorai Lithium Gold Wing batteries for comparison

<lithium motorcycle battery>

Warranties are usually better on these batteries running on average 3 years from most suppliers if they are installed in a factory recommended vehicle with a good functional charging system.

This leads to the biggest caveat of them all. Your motorcycle or other powersports vehicle must have a charging system capable of maintaining a steady charging rate of 13.6-14.4 volts during operation. If you have an older motorcycle that has a marginal charging system that is not capable of maintaining this charging rate and you want to run this type of battery some charging system upgrades will be needed. If yours is a fully functional mint condition classic motorcycle with all original parts, I personally would not change it just to run a li-ion battery. For one that is a frequent driver, or just needs a new charging system, look at some of the aftermarket upgrades available, it might be worth your while upgrade your charging system even if you don’t choose a Li-ion battery.

With proper precautions (see the manufacturer’s instructions) these batteries can handle some water spray or a very brief dunking, if you frequently run long deep water crossings on your dirt bike or take your atv and drive it around in the water with nothing but the snorkel sticking up above the water then these batteries are not for you.

Another factor to consider for some is that if something goes wrong & your battery goes dead away from home it can’t be jump started. Once discharged below a certain point these batteries have to be charged back up with the manufacture’s recommended charger, or you risk damaging the battery. So if you’re the life of the party & plan to use the stereo system in your Gold Wing to provide music for the whole campground until late at night & then get your buddy to give you jump start the following morning so you can get home then you shouldn’t even consider a lithium battery.

Since this was published in the Vintage Japanese Motorcycle magazine I must note that if you need a six volt battery, at this time the only manufacturer offering a six volt lithium motorcycle battery is Shorai.

Cold weather operation is a little different & takes some getting used to. When the temperature drops below freezing a li-ion has very different operational characteristics. They actually require a bit of a warming up period to deliver full voltage. For my own personal driver, a 1980 Honda CB650, when the temperatures are at or below freezing I will switch the key on and make sure the headlight is on high beam for about 30 seconds before hitting the starter button. If the engine turns too slowly to start I let go of the button and wait a few more seconds at which point the battery is fully warmed up and will spin the starter normally.  It’s just a little thing & I realize most people are not masochist enough to ride a motorcycle in the freezing cold if they have a car, but it is a difference in the behavior of lithium & lead acid batteries that you should be aware of.

To me the advantages of the lithium motorcycle battery outweigh the disadvantages and I hope that this gives you enough information to help you make an informed decision about whether or not you want to purchase one.

This article originally appeared in the Vintage Japanese Motorcycle Magazine in 2015. To learn how to join the club and receive this fine publication 6 times a year visit http://www.vjmc.org

Disclaimer; Motopsyco is an authorized Shorai battery dealer and will be more than happy to help you with selection of your new battery, so if you can’t figure out which one you need from this battery finder link, feel free to contact me by email at motopsyco@motopsyco.com.


Custom ABS Plastic Battery Box

When I last posted the last picture was of sheet of plastic with my cardboard pattern lying on it. After tracing around it with a marker I used my bandsaw and a Dremel to cut it out to shape. Be certain when cutting plastic with any high speed rotary tool the you use either a saw blade or the router attachment. Do not under any circumstances try to use a metal cutoff wheel for plastic and of course always wear eye protection.

<custom abs plastic battery box>

This next step involves extremely high heat, possible hot metal & molten plastic. It is your responsibility to take all reasonable precautions to see that you don’t get hurt.

The first piece to get bent is the lower brace. It will get reshaped even more later but for now let’s just bend it to a nice 90 degree angle. First you clamp it into a vise sandwiched between a couple of metal angles and start heating it.

<heat forming abs plastic>

When it gets warm it will bend very easily. To get a really good square corner take a slab of wood or another piece of metal and press down on the corner and hold it for a minute as it cools.

<heat forming abs plastic>

<heat forming abs plastic>

<square corner abs plastic sheet>

After this I bent the tabs in for the sides. These tabs my not really be necessary but I like the security of having large bonding surfaces to hold parts like this together, especially in a high vibration environment like a motorcycle.

<build custom motorcycle battery box>

Bending the sides up to form the box takes a little more thought. If you have enough equipment and desire absolute perfection you should carefully clamp each corner to be folded and follow the procedures shown above. In the interest of time and since this motorcycle is going to be another deliberate neo-rat, I simply heated the plastic along the bend lines until it was bendable and then used two blocks of wood to form it to shape. Hey it works for me.

<custom chopper battery box>

<custom Honda chopper battery box>

Before moving on to the next step you will need to test the fit and make sure that your battery fits properly. At this point you can reheat the plastic and adjust things somewhat, once you glue everything together it’s not so easy

<custom chopper Shorai battery box>

When you glue it together be sure to use plenty of ABS cement. Do not use any other type of cement with ABS plastic.

<custom chopper plastic battery box>

One of the nicer things about working with ABS is that the cement is very thick and you can use it as a gap filler to seal off cracks and imperfections and then sand it down after it all dries.

<custom bobber plastic battery box>

<custom motorcycle plastic battery box>

Here is a quick shot of it in the frame with the bottom brace glued into place. At this point the battery box is pretty well done except for sanding and painting.

<custom rigid frame chopper,bobber,motorcycle abs battery box>

The next steps for Project Wammo is going to be a complete teardown to the bare frame to finish removing all the unwanted tabs & finish up the welding. Then it’ll go back together as a roller with new bearings, fork seals, brakes, tires, etc. Then it will be time to freshen up the engine & paint the sucker. Stick around & enjoy the fun.


Installing an Arrow Metal utility building

Yep I went and moved into town, to make matters worse the town was 2 and a half hours away from home. Couldn’t help it, it had to be done, opportunity was knocking too loudly for me to ignore, sometimes you just gotta go for it etc. ad nauseum….
The problem was leaving behind one of the better equipped workshops on the planet, and moving to a rented house without so much as a storage shed in the yard. So I did a little research into my choices and after weighing all the social, political, and economic consequences went to my local Lowes store to pick up a 10′ x 14′ Arrow brand metal storage building, of the model designated Lindale.
Interestingly enough this model had very mixed reviews, but having put a similar building up before it is my opinion that most of the bad reviews were due to excessively high expectations. This is one of the least expensive buildings you can get in this size so you should be realistic. The steel panels are thin and can be damaged easily, but this is not the result of poor quality, it is the result of engineering it to a price point that can be sold readily.
I already had an existing concrete slab in the yard that was left behind by a previous resident so my site prep was nil. You really need a reasonably level spot to install these buildings. But that’s beyond the scope of this article.
You need to get the building a day ahead of time before you plan to start it. Take the model number and go to the Arrow Sheds website and download and print the instructions for your shed. Yes I know there should be a set in the box already but a. you should not open the box until ready to begin, and b. the instructions for mine had a page missing so I’m really glad that I did. After you print the instructions spend a couple of hours studying them. Then check your weather forecast. You will need 2 full days (8-10 hours each) of light or no wind to install construct this building. If all of these conditions are met charge up all of your electric screwdrivers and plan to get up early on the first day. Be sure you have a good helper and a ladder also. This is not a job for one person.
Get up early in the morning and open up your box, and lay out all of the parts, grouping them together by part number and checking to make sure you have everything you need to build it. I am not going to repeat the instructions, just some observations. Remember when using power tools to install this use a very light touch as the screw holes in the thin sheet metal will strip very easily. Do not use a full powered electric drill. I recommend a battery screwdriver, or a battery drill with a slip clutch set to the lowest possible setting that will drive the screws in. You should at least be able to get the walls up the first day.
Arrow Lindale 10 x 14 walls up
Here you can see the sheet metal roof trusses better.
Arrow Lindale 10 x 14 roof supports
Now you can eat supper and recharge your battery powered tools and get some rest because you and your helper are going to put the roof on in the morning. Be prepared to lean on walls or to gently push and pull on the building as needed to get the screw holes to line up properly at times, and don’t worry if you ding a panel or to just pop it back out after you finish attaching it. Just remember this building is not capable of supporting your weight so do not try to climb on top of it. If you do, be prepared to be nominated for the Darwin Awards
If everything is done just right you should be able to install the last roof panel without much trouble.

Arrow Lindale final roof panel

We'll know in a minute if this building is square :0


After this it’s just a matter of installing the doors and trim work.

The final verdict is that I have a decent shed for my bikes and tools that does not leak and keeps things out of sight. Even when locked it is not high security storage but with the little bit of cheap stuff I keep in it it does not have to be. This is a good value for the $550 price (November 2011) but if you expect super fast, easy construction, or stout lockable security you should be prepared to spend at least 4 times that amount. Like I said at the beginning if your expectations are realistic this is the most bang you can get for your buck.

Honda Recon 250 pg.2

The next order of business is to dis-connect the negative cable from the battery as shown here.

Remember any time you are working with any vehicle with a negative ground system (which is practically everything) always dis-connect the negative battery cable first and re-connect it last when you are working on the electrics.
The next 2 pics will show how I use the door panel tool to remove the plastic retainers from the bodywork. First you wedge up the sliding pin in the center enough to get the forks of the tool started under it.

Afterwards you can slide the tool into place as shown and pull the clip right out.
Of course you can just use a couple of screwdrivers or a pair of wire cutters to remove the clips. Don’t forget to look for clips or screws in hidden places like this.

To get the fuel tank out you first need to remove the handle for the fuel switch.

Once you have the tank out be sure to note the position of the various vent hoses and take note of the routing. If you pinch them closed during re-assembly your four wheeler may not run correctly, or may stall going up hill.

Once all the plastic is off it’s time to get down to the nitty-gritty. Now remove the foot pegs. This will save you lots of needless foul language and bleeding. Plus on some models you can’t get the engine out with them in the way.

Remove the foot brake and shifter after you get the pegs off and then drain the oil so it won’t be sloshing out all over the place when you lift the engine. It’ll take some weight off too.

Do take a little time now to put some penetrating oil on all of the exhaust system nuts and bolt that you can reach and let them soak a few minutes.

Then remove the plastic covers from the sides of the engine and the muffler & header as well. While I was doing this the head of one of the screws stripped out so I got out my extractor set to remove it. Normally I am a fan of inexpensive tools especially for the hobbyist but there are 2 things that I recommend that you buy the absolute best in the world even if you have to save up for it. The first is a good set of screw extractors and the other is a Phillips screwdriver set.

85% of the time I don’t even have to use the extractor because the left handed drill bit will walk the broken screw right out.
Back to our engine now it’s time to remove the carburetor and then unhook all of the other cables going into the engine. Leave the throttle and choke cables attached to the carburetor unless you plan to remove it to work on it also,

Be sure to loosen the clamps over the drive shaft boot!
The last item to get to is the reverse lock out cable located at the bottom rear of the engine under this little metal cover.

Now unbolt the 2 motor mounts on either side, carefully remove the spacers and slide the engine forward and tilt it as need to make the frame look like this.

Finally here’s a shot of the engine sitting on the workbench waiting to be completely disassembled… starting tomorrow.
Peace Y’all