The next order of business is to dis-connect the negative cable from the battery as shown here.

Remember any time you are working with any vehicle with a negative ground system (which is practically everything) always dis-connect the negative battery cable first and re-connect it last when you are working on the electrics.
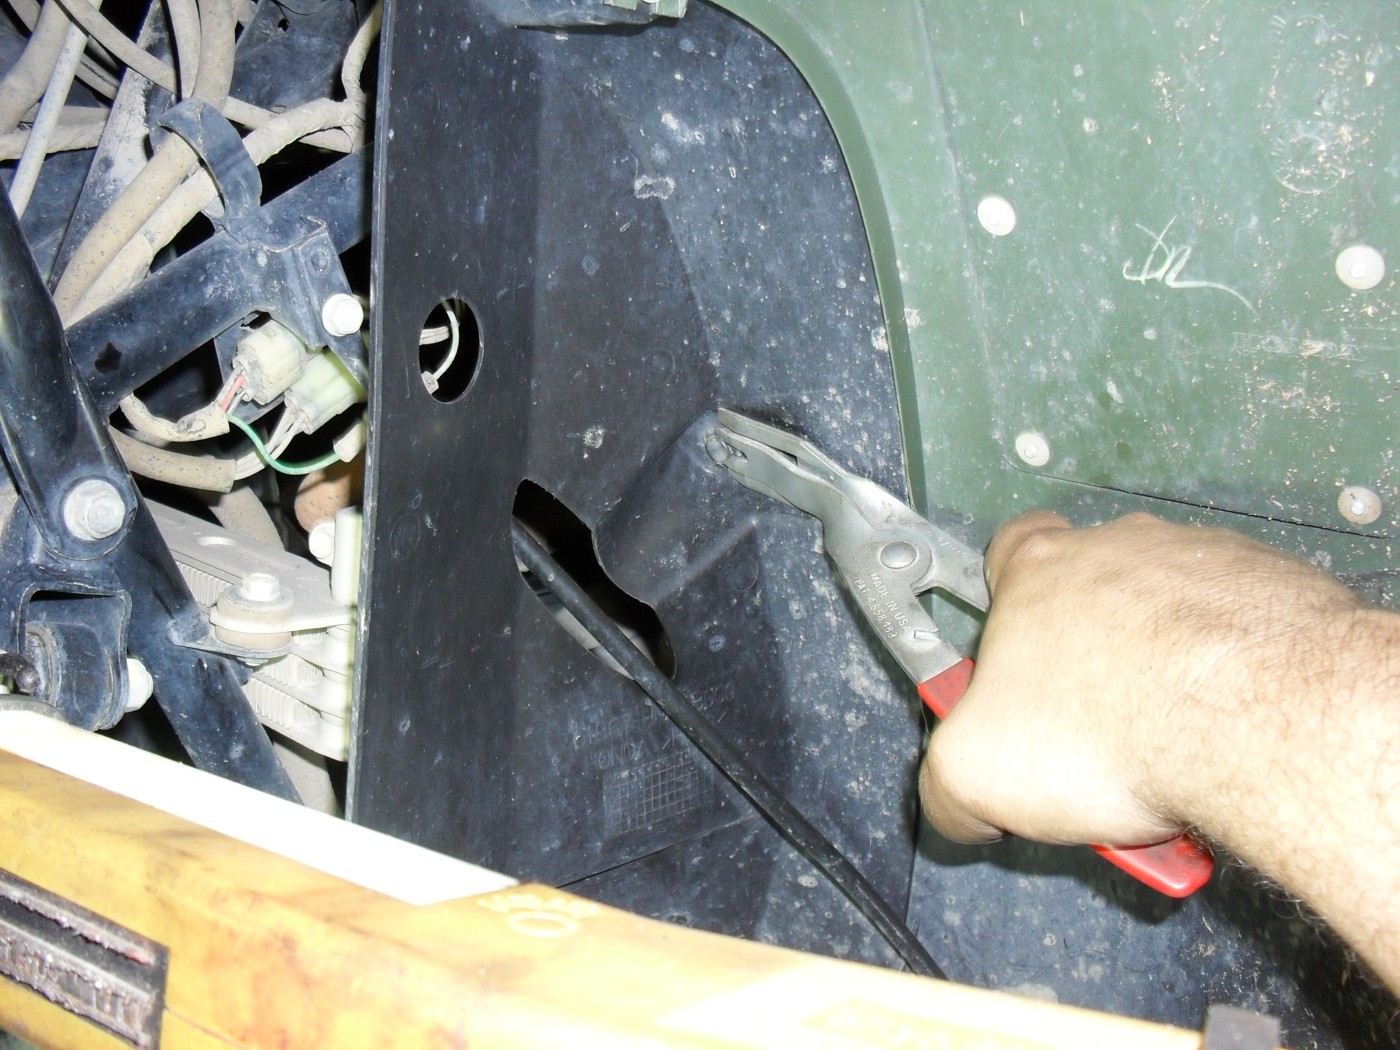
The next 2 pics will show how I use the door panel tool to remove the plastic retainers from the bodywork. First you wedge up the sliding pin in the center enough to get the forks of the tool started under it.

Afterwards you can slide the tool into place as shown and pull the clip right out.
Of course you can just use a couple of screwdrivers or a pair of wire cutters to remove the clips. Don’t forget to look for clips or screws in hidden places like this.
To get the fuel tank out you first need to remove the handle for the fuel switch.

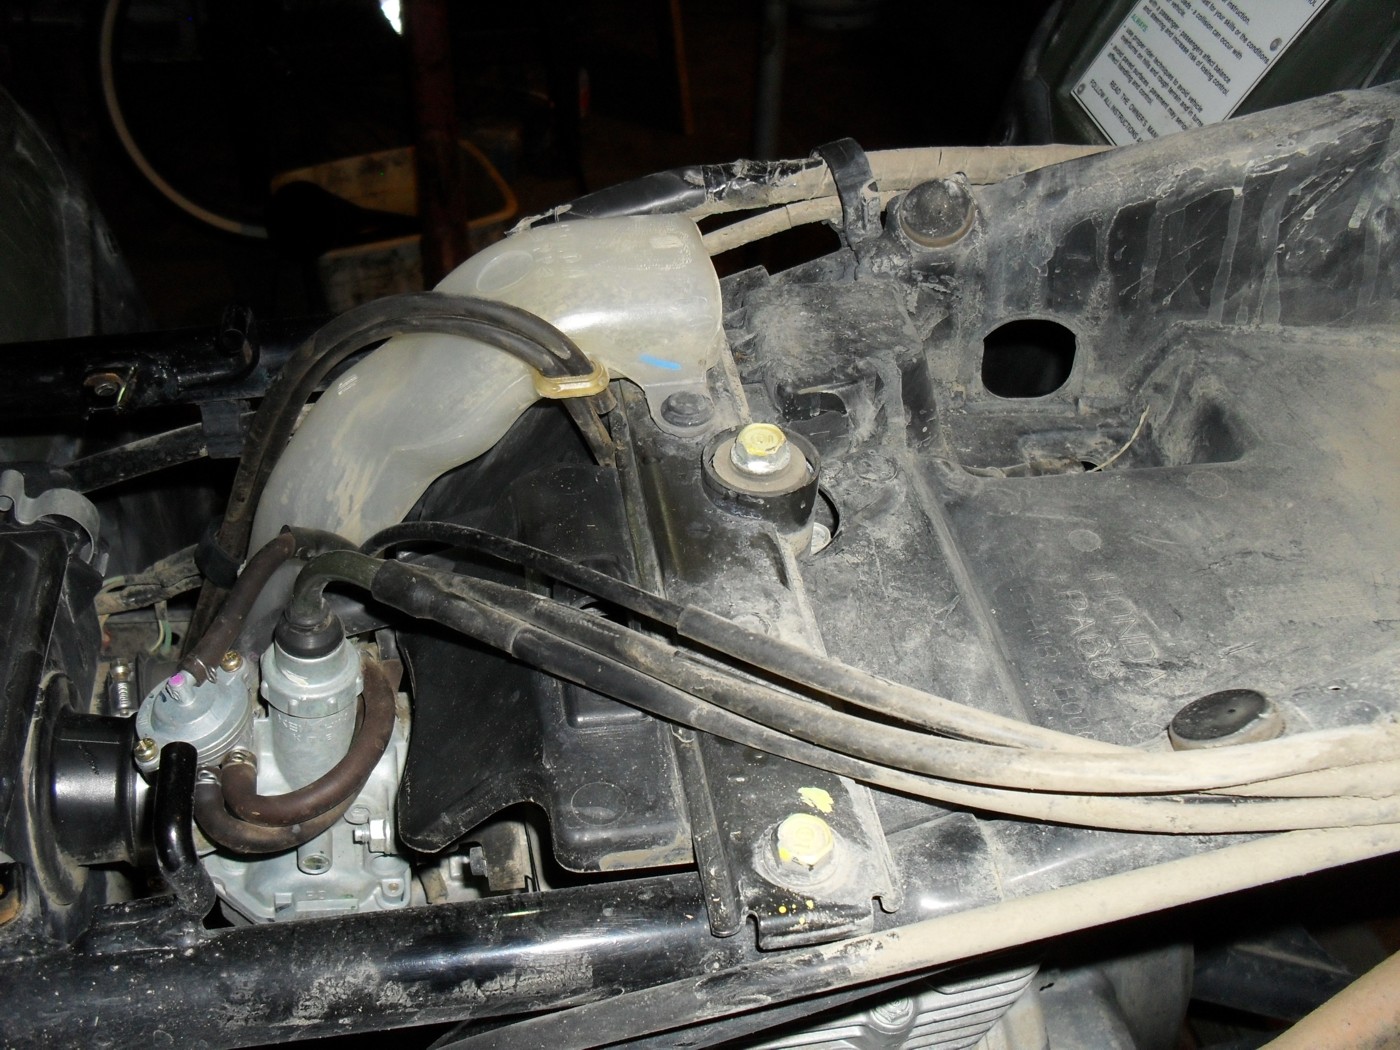
Once you have the tank out be sure to note the position of the various vent hoses and take note of the routing. If you pinch them closed during re-assembly your four wheeler may not run correctly, or may stall going up hill.
Once all the plastic is off it’s time to get down to the nitty-gritty. Now remove the foot pegs. This will save you lots of needless foul language and bleeding. Plus on some models you can’t get the engine out with them in the way.

Remove the foot brake and shifter after you get the pegs off and then drain the oil so it won’t be sloshing out all over the place when you lift the engine. It’ll take some weight off too.

Do take a little time now to put some penetrating oil on all of the exhaust system nuts and bolt that you can reach and let them soak a few minutes.

Then remove the plastic covers from the sides of the engine and the muffler & header as well. While I was doing this the head of one of the screws stripped out so I got out my extractor set to remove it. Normally I am a fan of inexpensive tools especially for the hobbyist but there are 2 things that I recommend that you buy the absolute best in the world even if you have to save up for it. The first is a good set of screw extractors and the other is a Phillips screwdriver set.

85% of the time I don’t even have to use the extractor because the left handed drill bit will walk the broken screw right out.
Back to our engine now it’s time to remove the carburetor and then unhook all of the other cables going into the engine. Leave the throttle and choke cables attached to the carburetor unless you plan to remove it to work on it also,


Be sure to loosen the clamps over the drive shaft boot!
The last item to get to is the reverse lock out cable located at the bottom rear of the engine under this little metal cover.

Now unbolt the 2 motor mounts on either side, carefully remove the spacers and slide the engine forward and tilt it as need to make the frame look like this.
![]()
Finally here’s a shot of the engine sitting on the workbench waiting to be completely disassembled… starting tomorrow.
Peace Y’all


