February Website of the Month: motorcycleshows.com

Yes, I realize the whole Progressive International Motorcycle Show series is a giant money making commercial venture designed to sell products while entertaining the masses. That is cool with me as long as I have a good time while I am there. Most of the events for this season have already concluded, but there are a couple left to go. Plus the website is really cool and packed with lots of information about the various motorcycle line that the manufacturers will have on display including specs and msrp. I am planning to check out the Charlotte N.C. show and will take some pictures to share with you when I get back.

motorcycleshows.com


Harbor Freight Motorcycle Lift Table Update

As longtime readers will remember last August I purchased and reviewed the motorcycle lift table sold by Harbor Freight Tools.  Several months later I am still happy with my purchase. But since 90% of the time I just use my table for general maintenance and cleaning (plus I removed the centerstand from my motorcycle), I decided to modify it slightly by adding a different wheel chock and placing 2 eye bolts closer to the front tire end of the table to use as tie downs. Here are some pics for you.

Harbor Freight motorcycle table mod

from front end

side view Harbor Freight Motorcycle lif table modification

side view Harbor Freight Motorcycle lif table modification


This was mainly done for conveince as I can just roll a motorcycle right up into the chock and strap it in for minor work. It is ironic however that for my first serious job (a GL1200 Gold Wing) right after installing  this I may have to remove it so that I am  able to work on the front forks & brakes.

Peace Y’all

Cool Project Fuel Injectected 1200 Gold Wing

GL1200 GOLDWING SEI FRONT

GL1200 GOLDWING SEI FRONT

Had a long time client stop by today with a very interesting “bring it back from the dead” project. A mid 80’s Honda Gold Wing. And not just any old ‘Wing but the rare SEI model with computer controlled fuel injection. This should be interesting, hopefully it will be fun too, but it will definitely be interesting.

Gold Wing CFI cover

an old skool fuelie

It doesn’t look that bad but it hasn’t even been started for at least two years.

some neat old graphics

some neat old graphics

The owner also wants the seat height reduced a bit. Since the seat is trashed once I get it running the first thing to try is a custom seat. Then if he needs it lowered further it’ll be time to alter the suspension.

Gold Wing GL1200 SEI side

Gold Wing GL1200 SEI side

This one will take a while, stay tuned!

January 2013 Website of the Month: Hell for Leather Magazine.


Some websites are informative, some are entertaining, others are edgy & controversial. This month I am sharing with you one of my favorite motorcycle blogs Hell for Leather Magazine. This crew is definitely entertaining. You will be educated, entertained, sometimes pissed off, and sometime made to LOL, but you wont get bored digging through the stuff they present. I read it almost every day!

HANG IN THERE, SPRING IS COMING!

Ninja EX250

lunchtime Jan. 16, 2013


This is for all of my friends in colder places. It is my lunch break, it is 73 degrees farenheit in January, and this is my motorcycle parked outside of my office. I’m not trying to rub it in, just wanted to share a little joy with you today!

Peace Y’all

Junkyard Dawgs Honda XL500S

Junky Honda Dirt Bike

Okay when I found it the engine was still in the frame.

Yeah Baby this is what I like! A big ole thumper with stump pulling torque & enough grunt to get the front wheel off the ground without using the the clutch at all. To bad it had a shattered piston in the cases with the transmission and had been sitting under a tree for several years.

Fortunately this junkyard dog story had a happy ending as I wound up stripping it down to a bare frame and a set of engine cases and then rebuilt it wit a Wiseco 520cc piston kit. Yeehaa!

I also built several bespoke parts for it just because I could, the muffler, rear rack, hand guards & gas cap were all products of my own handiwork.

Restomodded XL500S

after I restored it

xl500s gas cap

Temporary tattoos can be great decals for a couple of years.

I rode the snot out of it for 10 years afterward and it was a little bit raggedy around the edges and starting to get weak again when I sold it to a very happy man who was planning to restore it again and ride it some more!

Sometimes I wish I had kept it but at the time I was fresh out of a wheelchair and was not sure if I’d ever ride again.

Peace Y’all

Why I love bicycles so much now!

Yes this is mainly but not exclusively a motorcycle related blog some of you may wonder why I seem so enamored with bicycles. The contents of  this post were originally written as a reply to the thread “What triggered your bicycle revival” over at Rat Rod Bikes. After re-reading it I decided to share it with you.

I was a really small little geeky nerdy kid. As a child I learned to ride a bike and rode around a lot, didn’t think much of it. I had go-karts & mini-bikes to play on. The bicycle wound up just being around the neighborhood transport. I was too small, too slow, and perhaps too lazy to really care about even trying to race anybody or jump anything so even though I grew up through the infancy of BMX & mountain biking I honestly did not care. Being a twerpy deaf guy with thick glasses athletic endeavors were something I strenuously avoided.  At the age of 12 I got my first motorcycle, and my last bicycle. Both were green, a Kawasaki KD100 and a 26″ Western Flyer cruiser. Once I mastered the operation of the motorcycle the bicycle never moved unless I was either out of gas, or prohibited from riding the Kawi for some reason. At 15 I got a license and a junkyard Mustang. The bicycle was never seen again, and was probably abandoned in the garage when we moved. Many years, cars, motorcycles, jobs, & a family later it finally happened, I had that gnarly bone grinding crash that every motorcyclist dreads. My left knee was repaired by a partial knee replacement and I spent some time in a wheelchair until the broken ribs I also incurred healed enough to walk on crutches. When the leg healed enough for me to begin walking on it again it was a flabby atrophied shadow of its former self. I had a really bad limp and would occasionally fall flat on my face just because it was not strong enough to hold me up. In order to build up strength in it I purchased and began using an exercise bike, but riding and not going anywhere got b-o-r-i-n-g. At the flea market I grabbed an old $20 mountain bike, and took up light trail riding.

But I really liked styling and profiling on a mean looking ride so when a friend of mine gave me this even though it actually rode great I instantly jumped on the internet looking for ideas to customize besides the “Lowrider” style and that is when I found this site and this community

Vintage Huffy bike

The start of my custom bicycle fetish!

Today I have a great hobby, have met and befriended many interesting people, built an interesting collection of bicycles, and plan to continue indefinitely. Oh yeah as I nice bonus I no longer walk with a cane, rarely fall down any more. 😯  Plus my wife loves trail riding with me and doesn’t mind going to the bike show either. Wins all around as far as I am concerned.

Peace Y’all

amtique Murray bicycle

Yes this is my home office/studio.

<custom Western Flyer with truss rods>

One of my favorite customs that I have done.

20" Ross Polo Bike Jr

My show winning 20″ Ross custom.

Changing the oill in your forks. (yes you should occasionally)

I’m going to cheat a little bit and just link to an excellent article over at Eric Peters Autos. In addition to doing automotive reviews and how to he has a great selection of motorcycle articles as well. This particular article that I am pointing out to you today is,        “Fork Oil Change How-To (and Why-To)” It’s informative and a good general guide for anyone who has never performed this often neglected prevenative maintenace on their own cycle. Enjoy!


2012 in review Thanks to all of my readers!

2012 was a very good year for motopsyco.com, I hope to entertain and inform you even more in the years ahead! Thhank you all, come back often and bring friends.

Peace Y’all


The WordPress.com stats helper monkeys prepared a 2012 annual report for this blog.

Here’s an excerpt:

600 people reached the top of Mt. Everest in 2012. This blog got about 12,000 views in 2012. If every person who reached the top of Mt. Everest viewed this blog, it would have taken 20 years to get that many views.

Click here to see the complete report.

EX 250 Ninja Basic Spark Plug & Oil Filter Change

Hello again everyone!

Welcome to another fun filled post on basic motorcycle maintenance. Today I am going to show you how I change the spark plugs and oil in my own personal motorcycle, a 1993 Kawasaki EX250 Ninja. While not exactly the same the procedure should be similar for other Kawasaki models such as the EX500 etc. To change the plugs requires removal of the seat & fuel tank at least. If your Ninja has the factory exhaust you can change the oil & filter without removing the exhaust system. Certain aftermarket pipes that run directly under the center of the engine will require you to remove the body work & the exhaust system just to change the oil. If you need a guide to removing the fairings & gas tank, please look here.

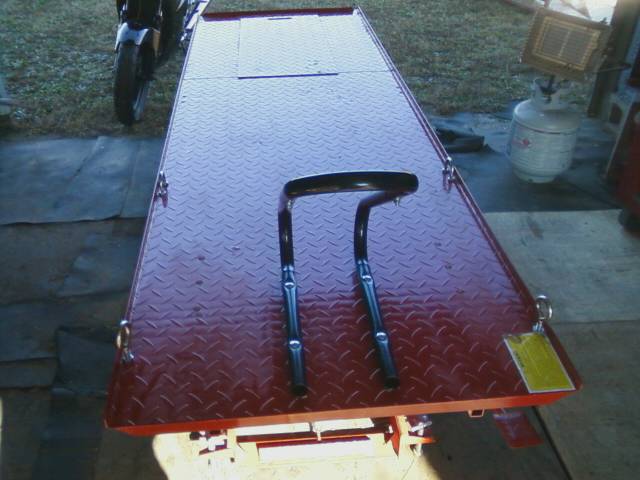
Before we get too far, let me go ahead and throw out a useful tech tip out for you. Most modern street bikes have the spark plugs buried down in deep holes in the center of the head(s). Combine this with compact frame design that often obstructs access to many parts of the engine and you can understand the need for long extensions to reach these parts with a socket & ratchet. The problem with this is that sometime the socket slips off of the end of the extension and remains trapped in the hole for you to fish out. Most of the time this is not a problem except with spark plug sockets that have the rubber grommet inside to hold the plug and the socket together. Those can be a royal pain in the ass if it gets stuck to the plug 6 to 8 inches deep in the head, when you pull the wrench away. Just to save some headaches any time I am working with a deeply recessed spark plug I use a locking extension such as the one shown in the picture below so that when I get ready to pull the socket out it doesn’t get left behind.

Snap On Socket on Locking Extension

spark plug socket on locking extension

Consult your manual for your particular motorcycle and pick up a fresh set of the proper plugs for your motorcycle. Please be aware that some manufacturers will list plugs as interchangeable for motorcycles and these plugs will screw right in, but are of absolutely the wrong heat range to work properly. The result of this is a very short plug life with possible engine damage. For the Japanese, British, & most European brands I try to stick with NGK & Nippondenso brands, but have also used Autolite successfully as well also. The important thing is to get both the correct size & heat range for your engine.

fresh new NGK spark plugs

fresh new NGK spark plugs

Once you get all of the body work off, pull the plug wires loose and either vacuum or blow out the holes with compressed air. Then using a long extension put the spark plug socket into the hole(s) and unscrew the plugs. If you are using a spark plug socket they should come out with the socket. If using a regular socket you may have to use a magnet to remove the plugs from the holes. Looking at the next couple of picture should show you why I am a fan of locking extensions for this job.

how a spark plug wrench fits a Ninja 250

how a spark plug wrench fits a Ninja 250

Next take your new plugs and inspect the gap between the electrodes. Spark plugs today come pre-gapped and protectively packaged but it is till a good idea to at least check the new plugs for damage such as electrodes pushed together, or cracks in the insulation. Place a plug securely into the socket so that it wont fall out and insert it into the plug hole taking care not to hit the end of  the plug on anything and close up the gap (this will keep it from working). You should be able to start the threads and screw the plugs 80% of the way into the heads by hand with no problems, and then finish them up with the ratchet.  Most of these heads are aluminum, so take great care not to cross thread them or strip the holes out, because the repairs for that are expensive & difficult. I never use more than one hand to tighten them and even then I don’t use full force. Now for the disclaimer part; You should always follow the manufacturers recommended torque settings. Unless you are an experienced wrench turner you should buy a torque wrench and use it. Even if you are an experienced wrench but are prone to screwing up every now & then you should use a torque wrench too. There is absolutely no way for me to teach you how tight is just tight enough. Not even if you were standing here next to me.

long extensions make life better

using a long extension to reach down into the plug recess

After you get the plugs in put the wires back on securely, put any parts back that you had to remove to get to them, then re-install the tank and seat. Start the engine and if everything sounds okay take it for a test ride. If you have any problems that you didn’t have before retrace your steps until you find what went wrong. If you were having a problem before changing the plugs and you have the same problem afterward something else is probably wrong.

Test Ride Time

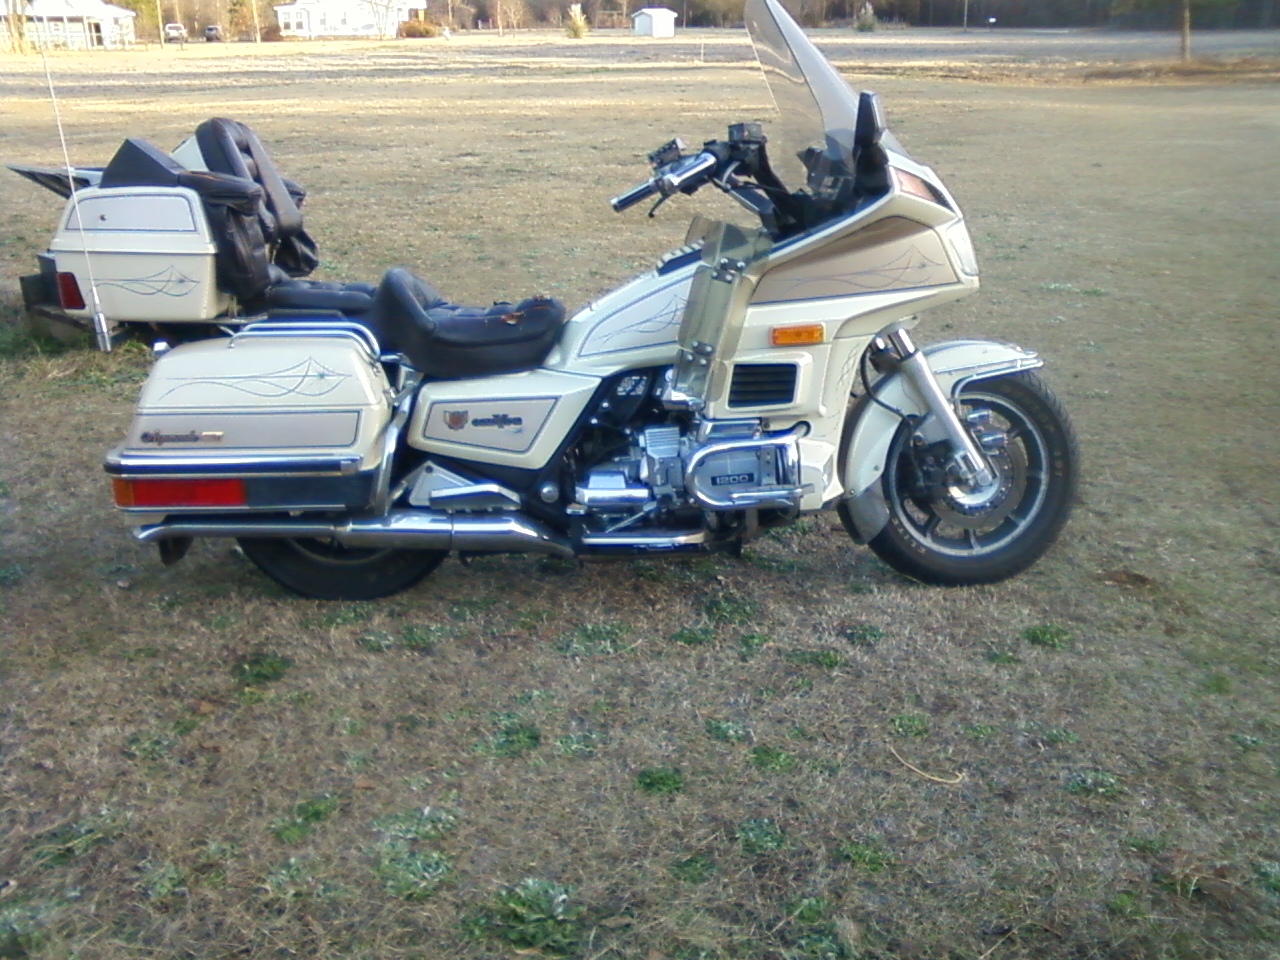
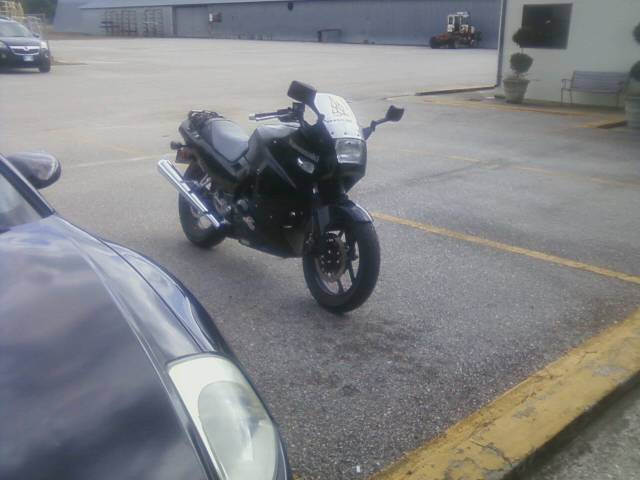
go for a test ride before putting all the bodywork back on

Since I already had all of the bodywork off of this one I took it for a test drive just like this.

Time to change the oil

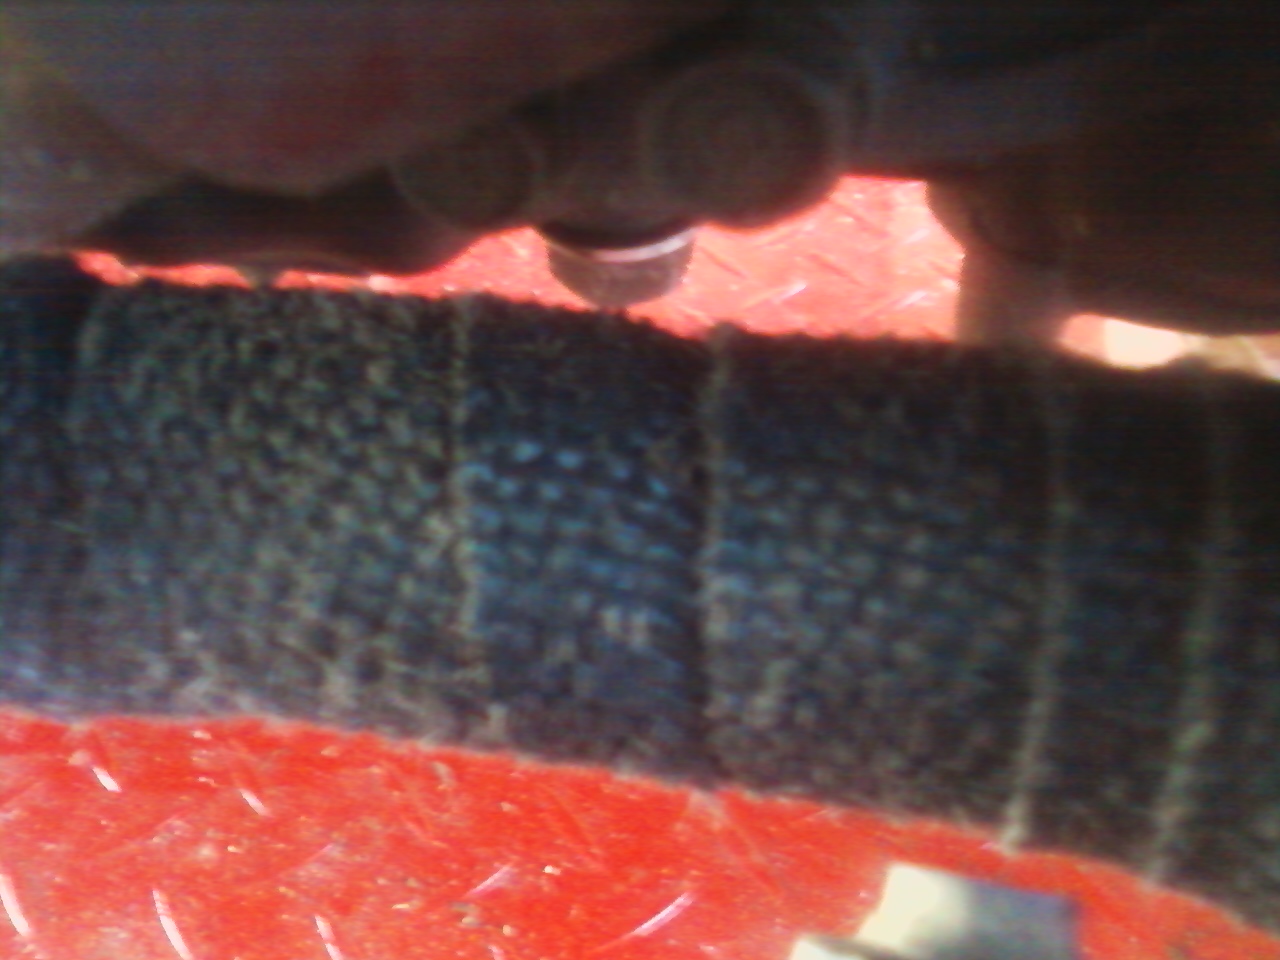
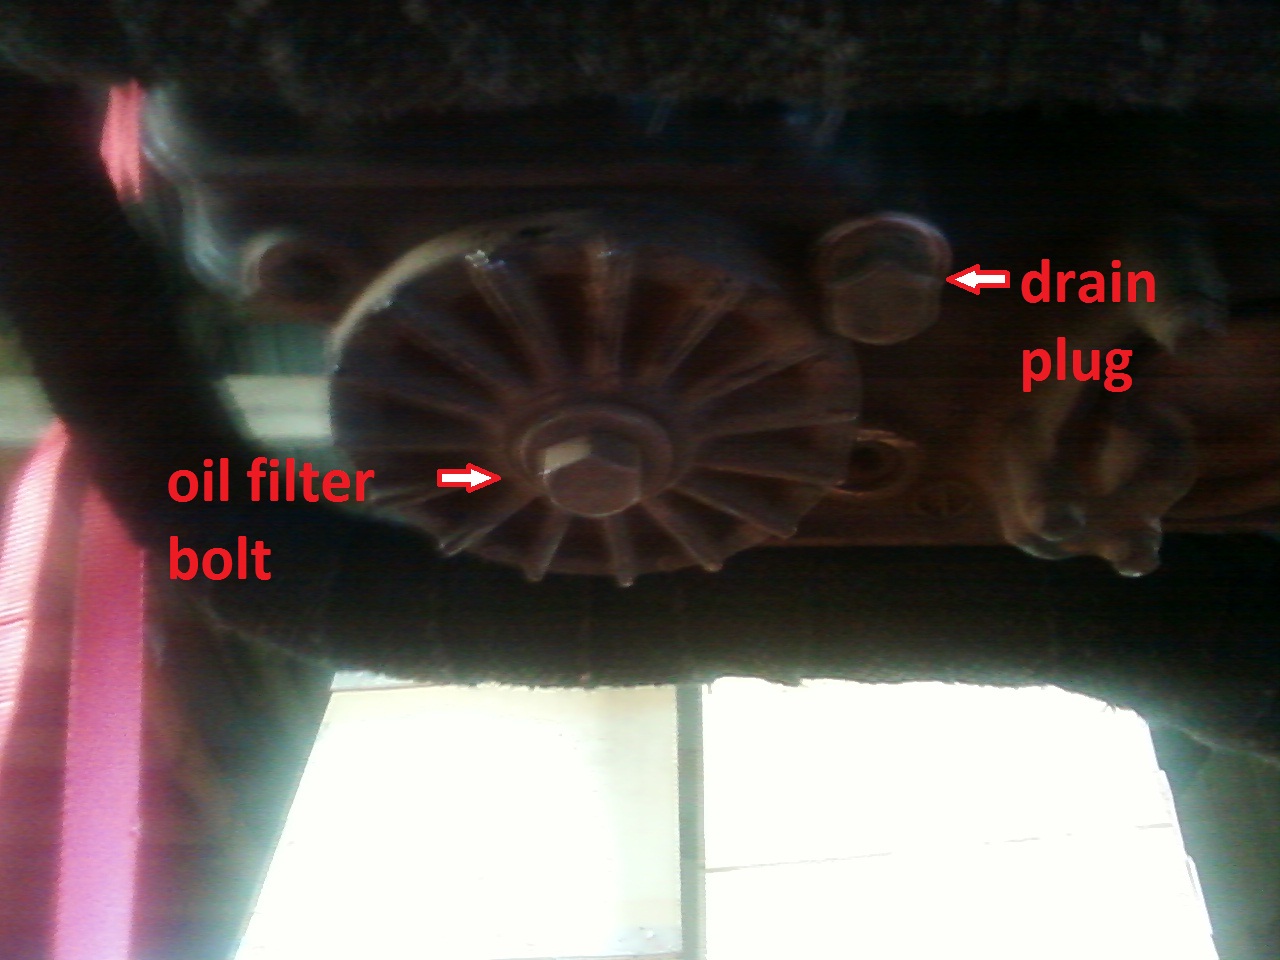
Locate the oil drain plug

ninja 250 drain plug location

ninja 250 drain plug location seen from above

Here’s a better shot of the oil drain plug & filter bolt. The 250 Ninja, like a lot of older motorcycles uses an internal cartridge oil filter instead of a spin on filter.

ninja oil filter & drain plug location

ninja oil filter & drain plug location

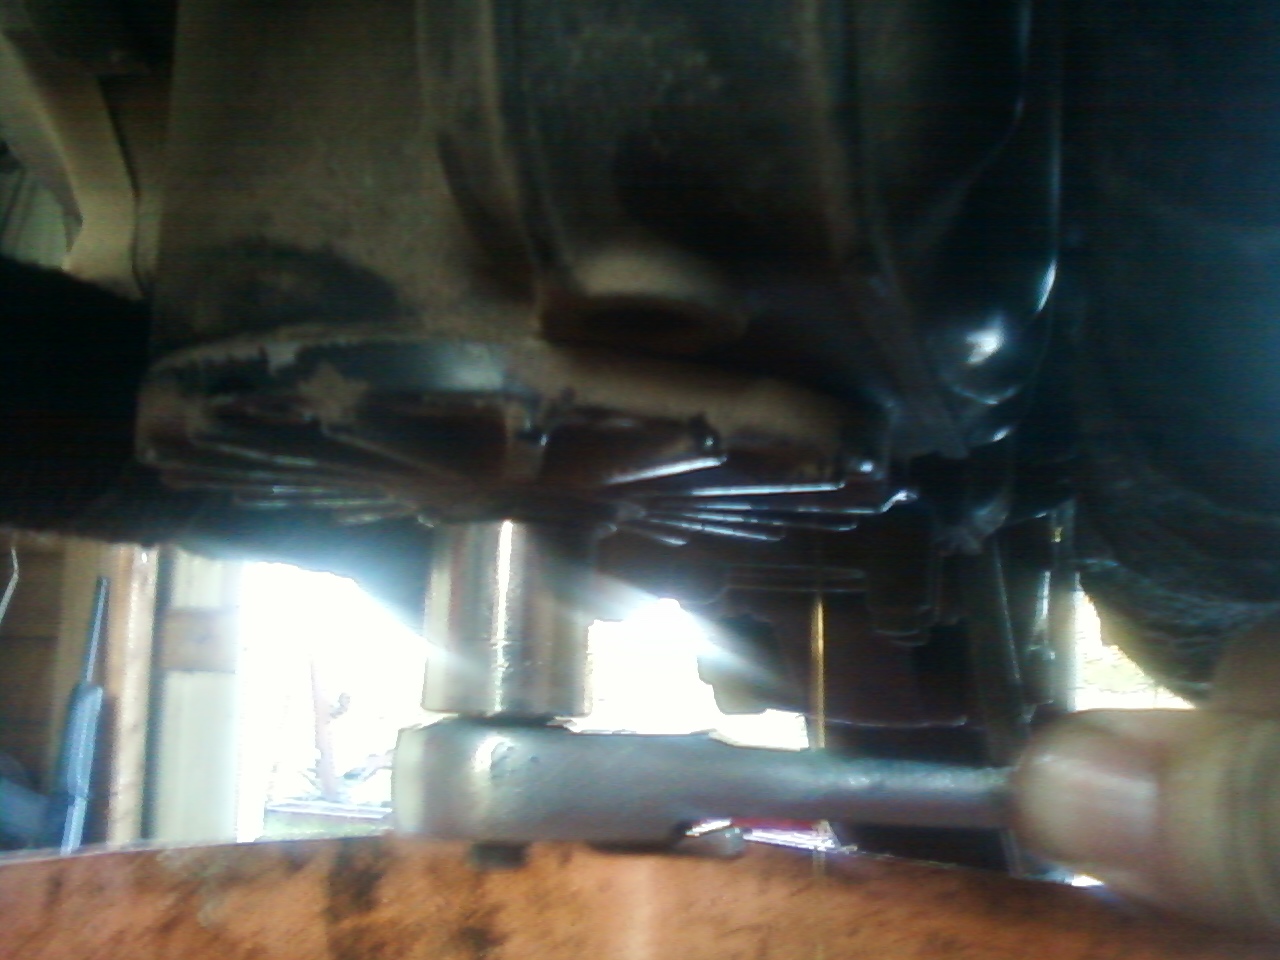
Place a container under the drain plug an remove it to let the oil drain out.

wrench on ninja oil filter bolt

wrench on ninja oil filter bolt

Then put your wrench on the oil filter bolt and unscrew it. When you get it loose a lot of oil may come out around it so stop a few seconds & let it finish draining and then completely remove it from the bike.

dirty oil filter ex250 ninja

Here’s how the filter looks when it comes out.

Pull the assembly apart taking note of how all of the parts fit together discard the old oil filter in an ecologically responsible fashion and thoroughly clean & inspect all of the other parts. If your new oil filter came with new o-rings then use the new ones. If it did not (& some brands don’t) carefully inspect your old ones & if there is any doubt about their condition get new ones before going any further. After all nothing will ruin your day as fast as a nice slippery rear tire coated with motor oil.

exploded view 250 Ninja oil filter assembly

exploded view of 250 Ninja oil filter assembly

Put all of the parts of the oil filter back together & re install it into the engine. Next check the aluminum sealing washer on the drain plug & replace it if needed, before re-installing the drain plug.

93 Ninja oil level sight glass

93 Ninja 250 oil level sight glass

Locate the sight glass on the lower right hand side of the engine.

the oil filler cap

the oil filler cap

Then remove the filler cap, place a clean funnel in the hole and with the motorcycle  straight up either on the center-stand or workbench or held up by a friend pour oil slowly into the engine until the oil reaches the top of the sight glass. Replace the filler cap.

always use a clean funnel

always use a clean funnel

Then start the engine for a few seconds, watch for leaks as you do and then shut it off. Now with the motorcycle still perpendicular to the ground check the oil again. You will probably not be able to see any oil in the sight glass at this point so remove the filler cap and add oil until it is at least halfway up the sight glass but not over the top of it. After doing this replace the filler cap & start the engine again and let it run a few minutes while you check for oil leaks.

proper oil level in motorcycle sight glass

proper oil level in Ninja 250 sight glass

After you stop the engine again check the oil level one more time just to be safe. After all a an EX250 only holds a couple of quarts so you really don’t want to be a half a quart low. Now get to riding!

Peace Y’all