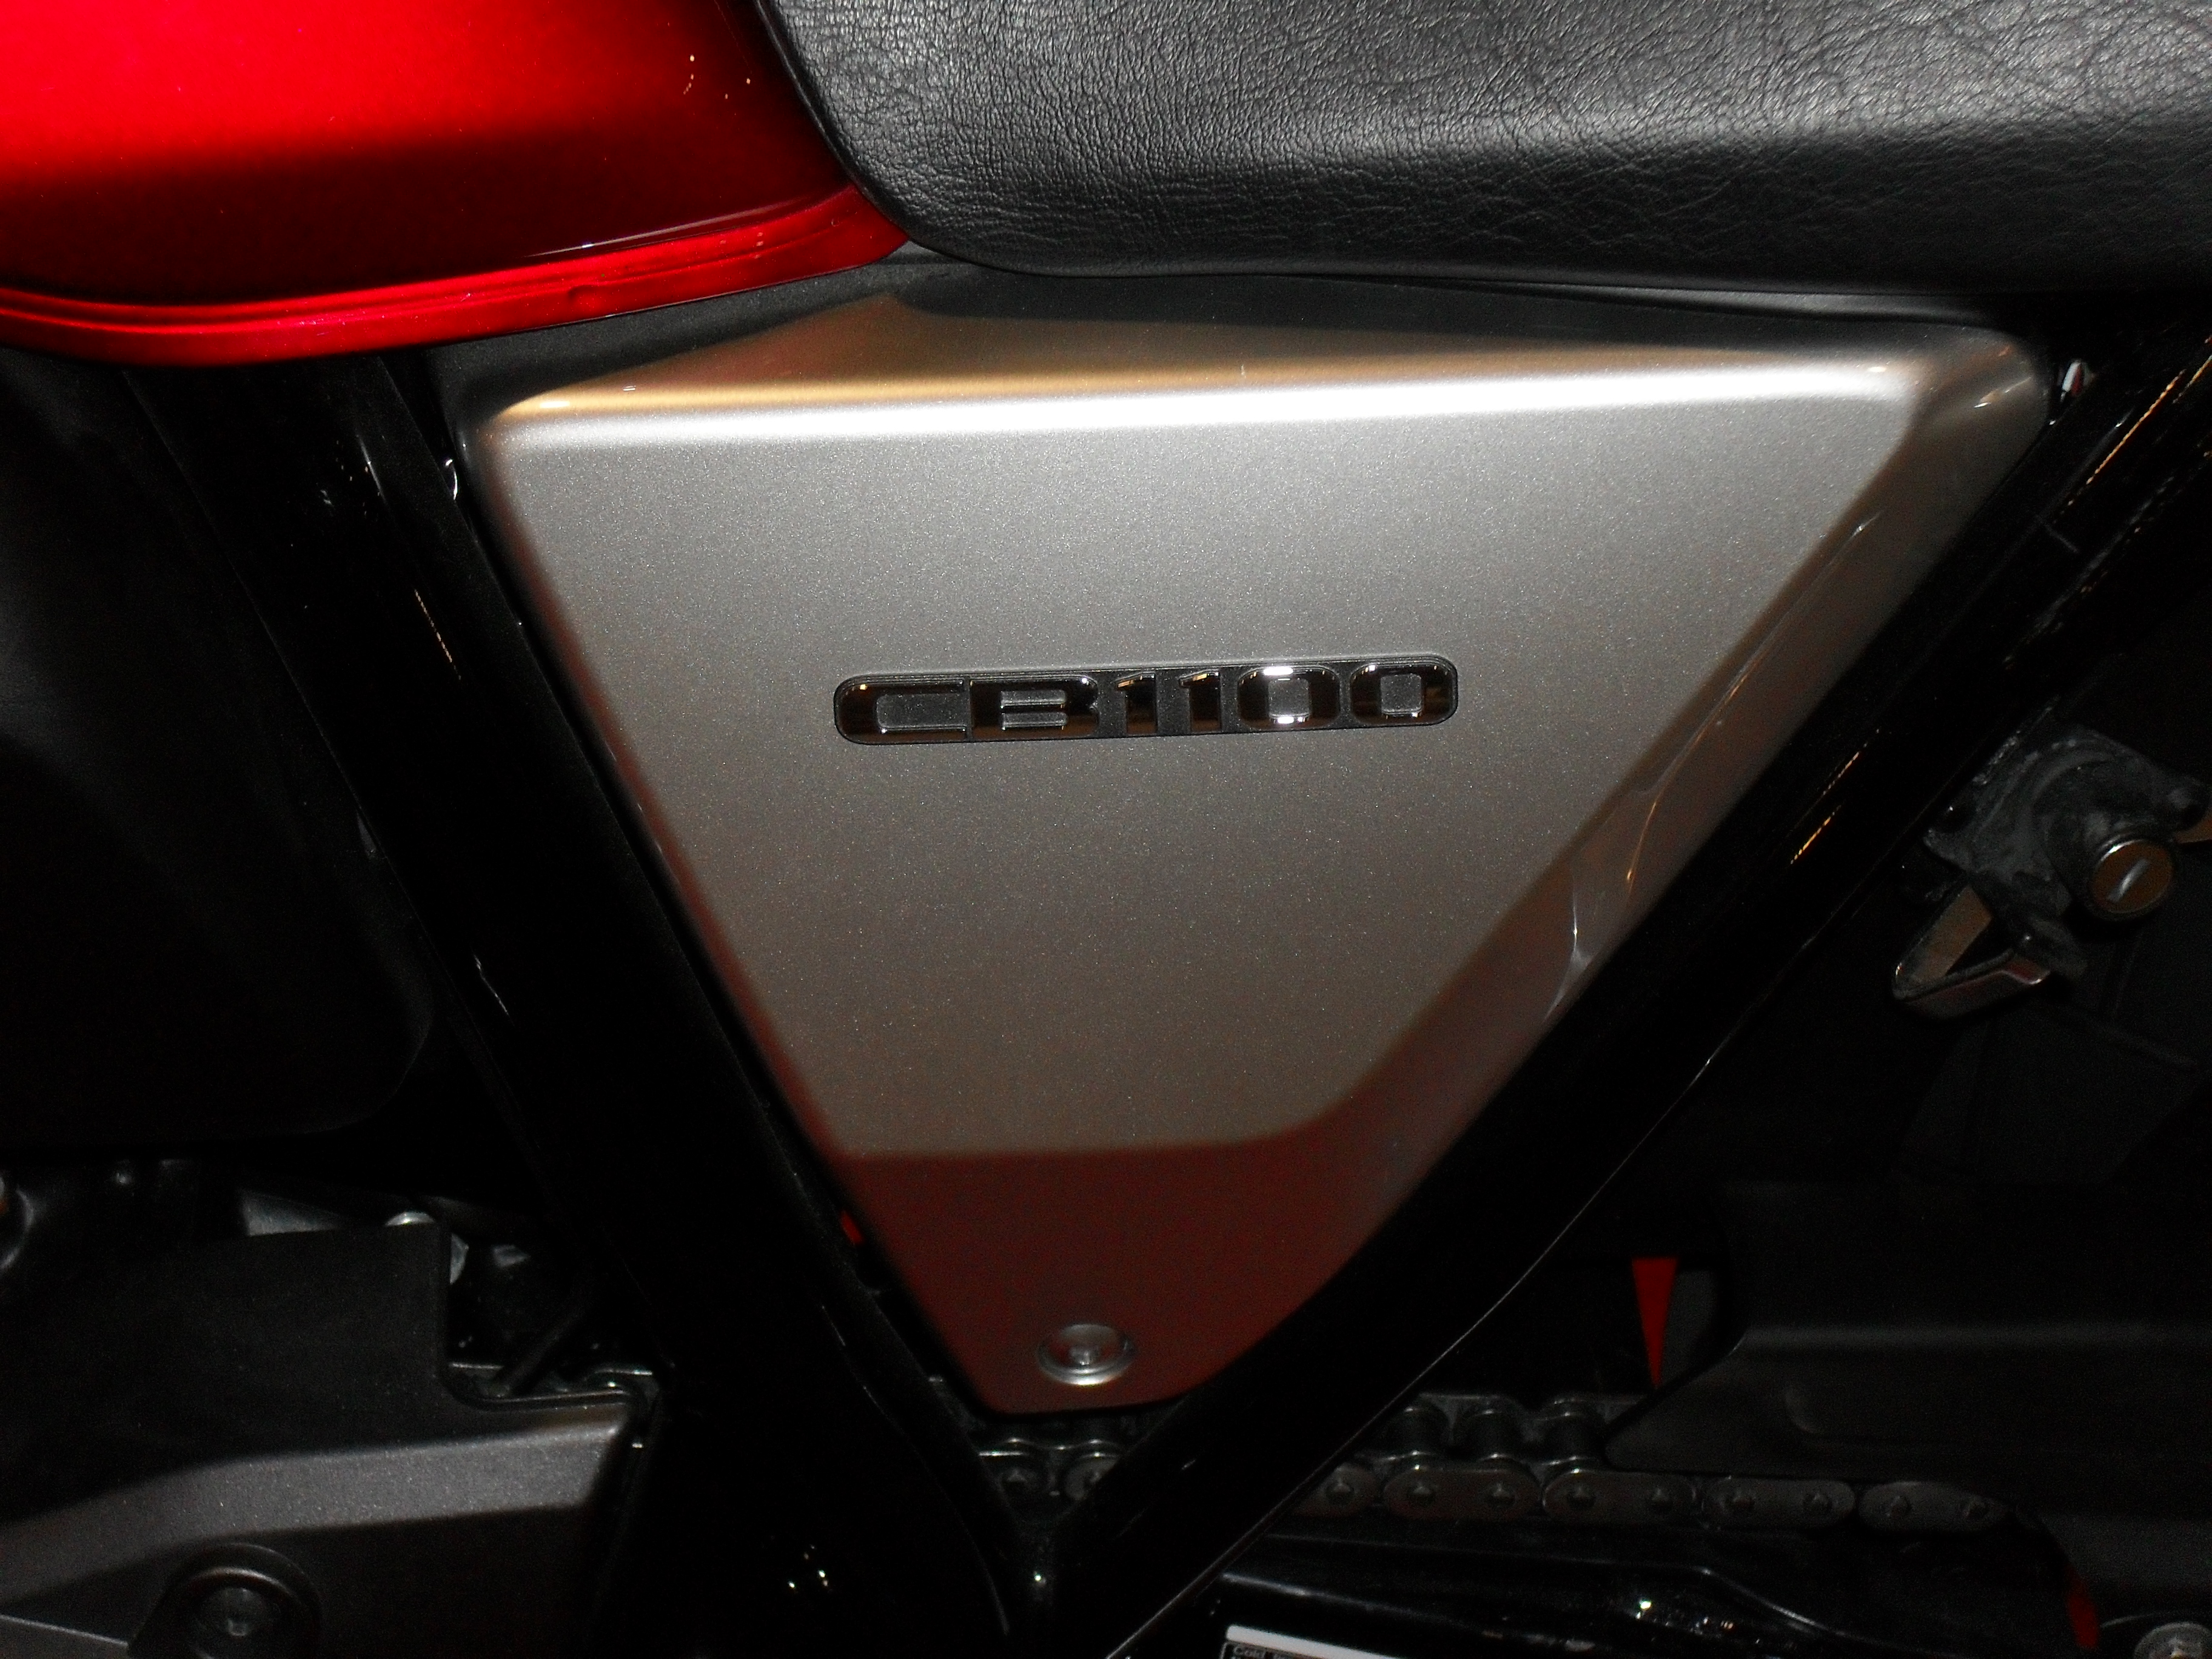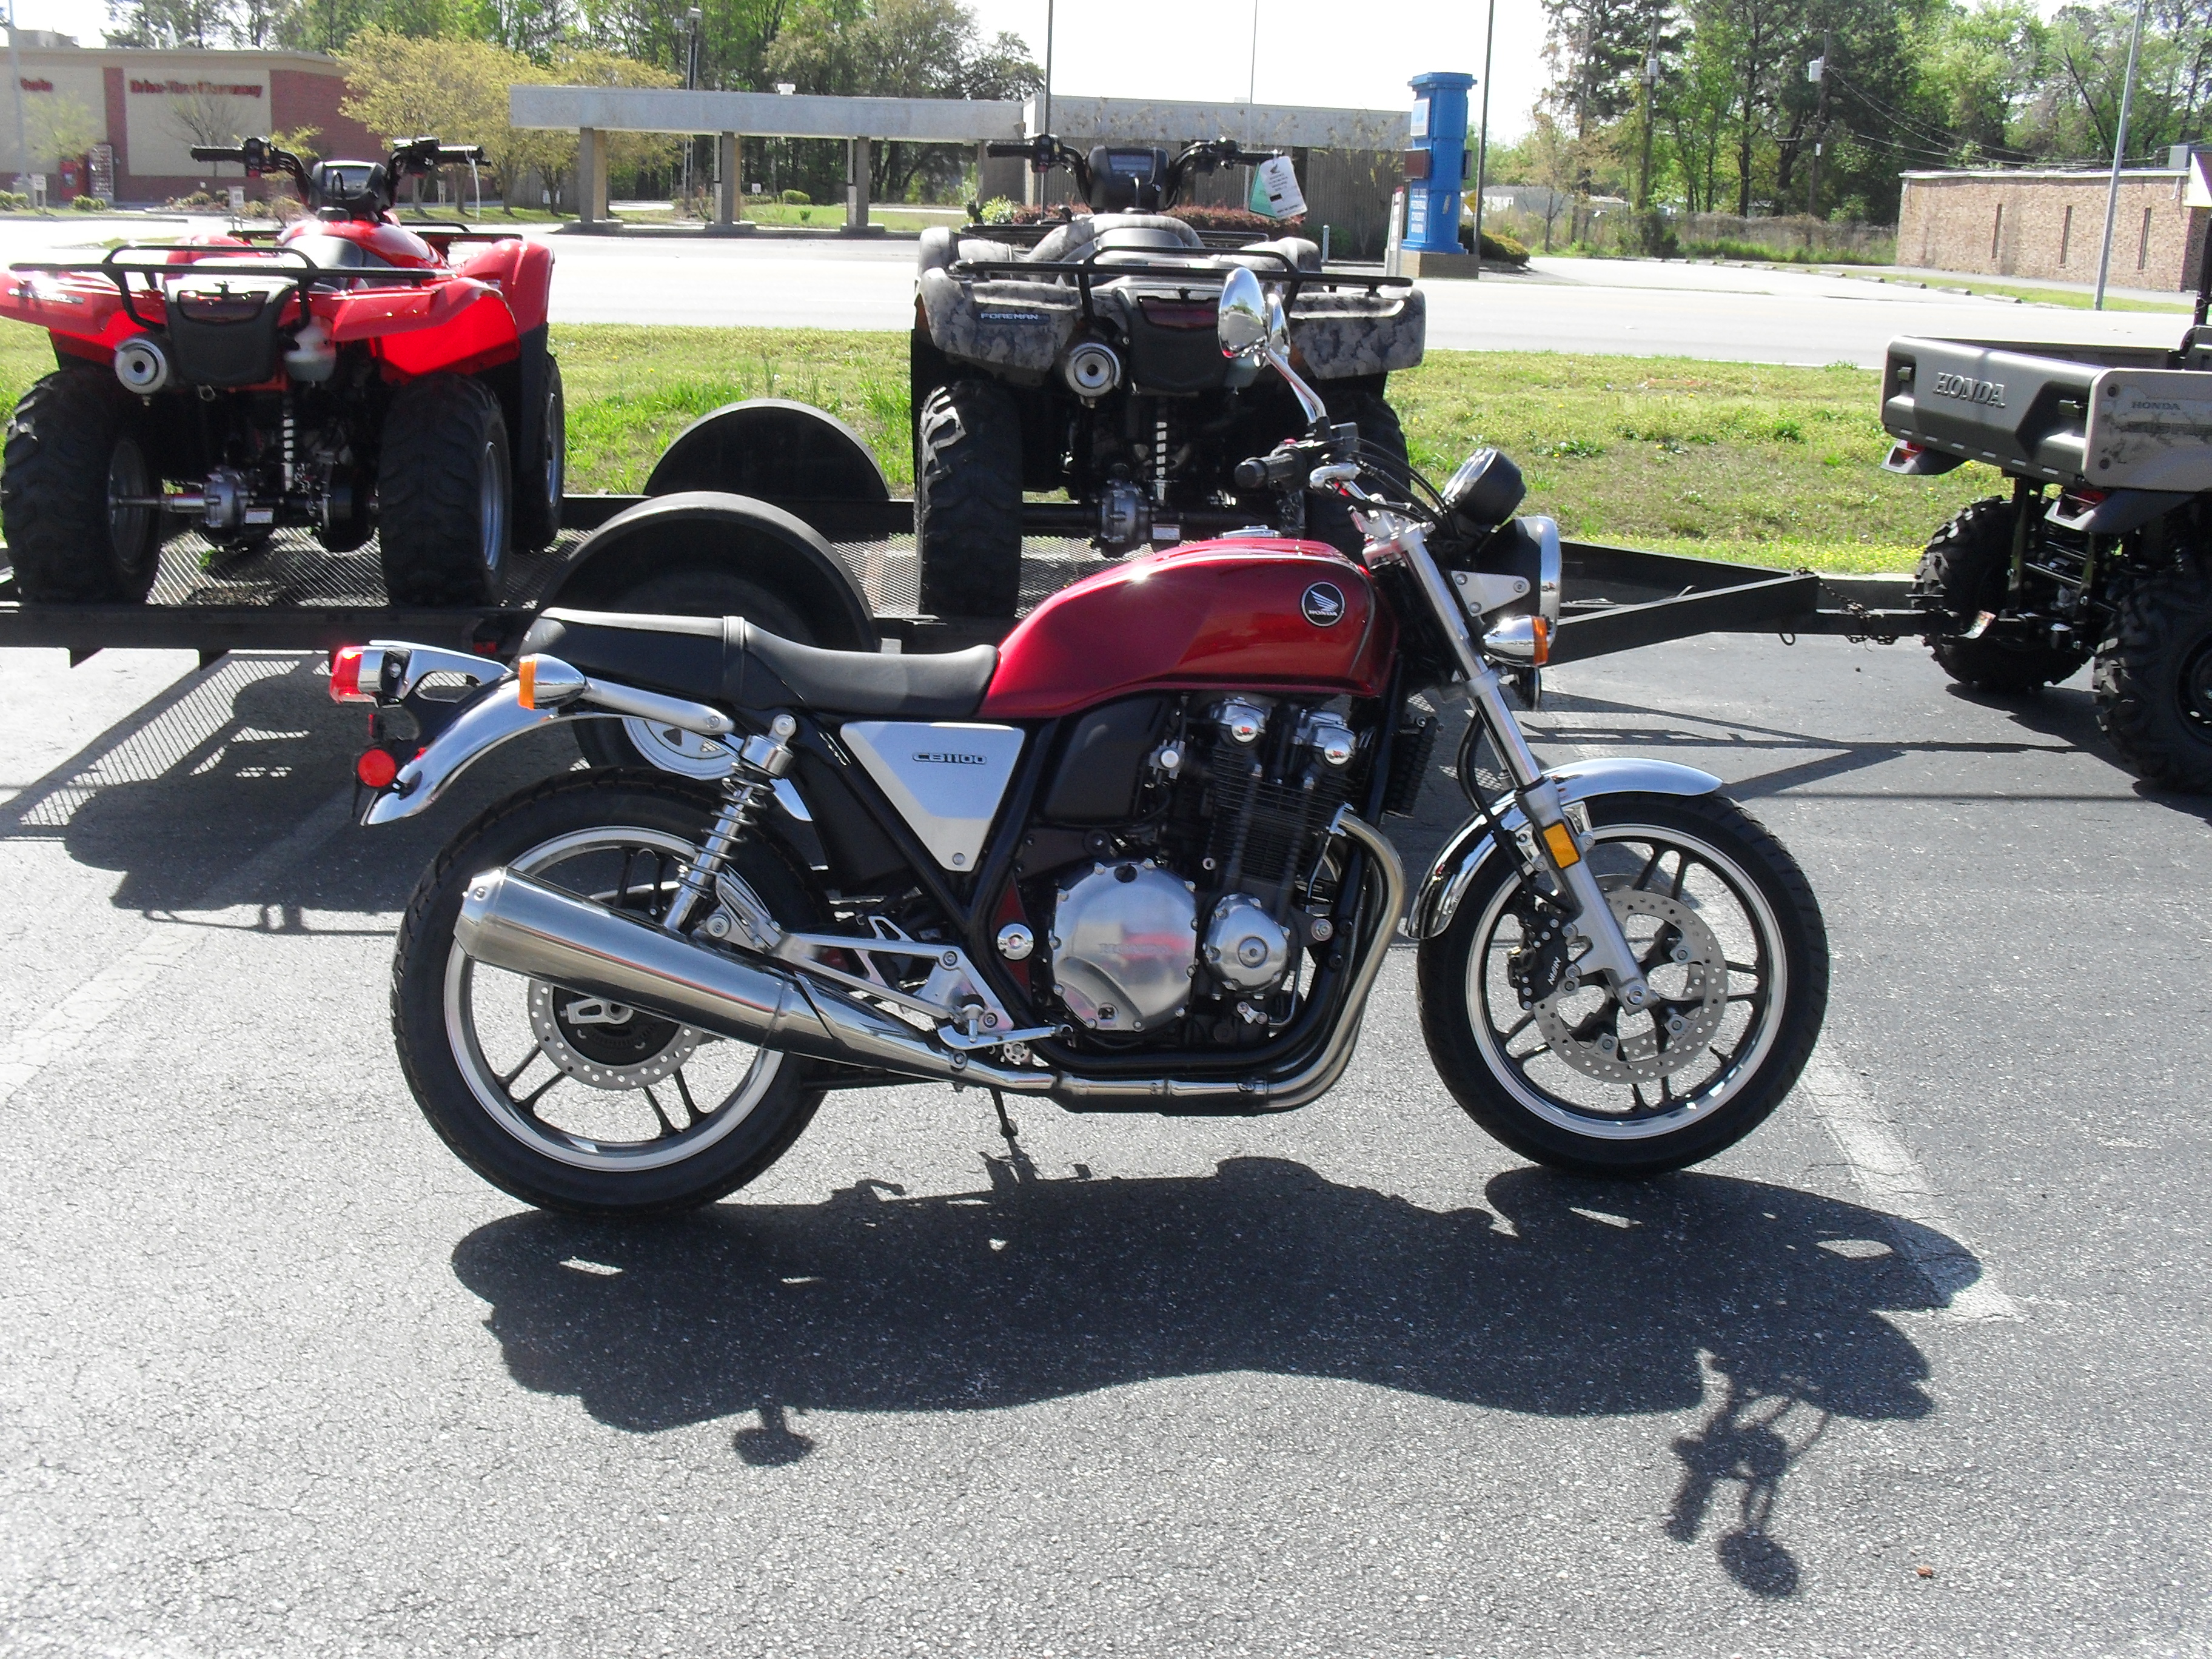
2013 Honda CB1100
Today, I went for a fantastic ride on a great motorcycle! The motorcycling press has waxed semi-poetic (some get it & some don’t) about the new 2013 Honda CB1100, and when I finally saw one live & in the flesh at the Charlotte International Motorcycle Show, I captioned the picture, “finally the retro bike we’ve all been waiting for.” Well after riding it I can definitely say it is the retro looking bike that I was waiting for.

In the Florence Honda showroom.
Yes, I have lusted over so many motorcycles over the years, but no matter what I have logged more miles on Hondas than any other brand. I have actually owned, a CL125, XL500S, a 99 750 Nighthawk, and personally put over 100,000 miles on a 1980 CB750F. I sold the 750F after buying the Nighthawk which is the only new motorcycle I have ever owned. Oh yeah, I just remembered a few weeks ago I bought an 80 CB650 project bike that I’ll get back to work on soon.
Let me go ahead and give you my little disclaimer, this motorcycle was loaned to me for review by my former employer Rusty Davis at Florence Honda in Florence S.C. We parted company on good terms when I was ready to get out of working on motorcycles for a living, and I still consider him to be a friend and will tell anyone if you want a good deal on a Honda motorcycle, atv, or generator Florence Honda is the place to go.

Enough nostalgic fluff let’s get down to my impressions of the CB1100. First of all it is not a modernized version of the original SOHC Honda CB750, The engine bears a remarkable resemblance to the DOHC CB750/900/1100 fours of the early eighties. But it is much smoother with almost no perceptible vibration even if you touch the engine directly while it is running. The power delivery is turbine like and smooth. Yes my old 750 had a 10 & ½ grand redline instead of 8500 rpm but I didn’t miss the extra revs one bit today.
To me the styling is more like the mighty CBX especially the shape of the tank, side covers and that broad comfortable seat. Homage to the Hondas of the 60s shows up in the tank badges which would not look out of place on a CA160 Honda Benly. The four into one exhaust pipes look like the typical aftermarket headers most of us installed on the old Hondas back in the day. I wish they could have mimicked the sexy pipes found on the old CB400F. Of course the fit & finish of all components was typical Honda, that is flawless.

Two big analog gauges flank a small digital display that handles all of the idiot light functions. Now I love technology & tend to be an early adopter whenever possible but give me a good old analog tachometer that is easy to read day and night, when I’m flogging a motorcycle.

CB1100 Speedometer & Tachometer
The best part about it is that it is not some super-sized pig of a bike. The seat height is actually lower than my old 750F was, and though this bike weighs in at over 500 pounds it felt very light & nimble at parking lot speeds. The fuel injected engine is responsive and ready to go time you hit the button.
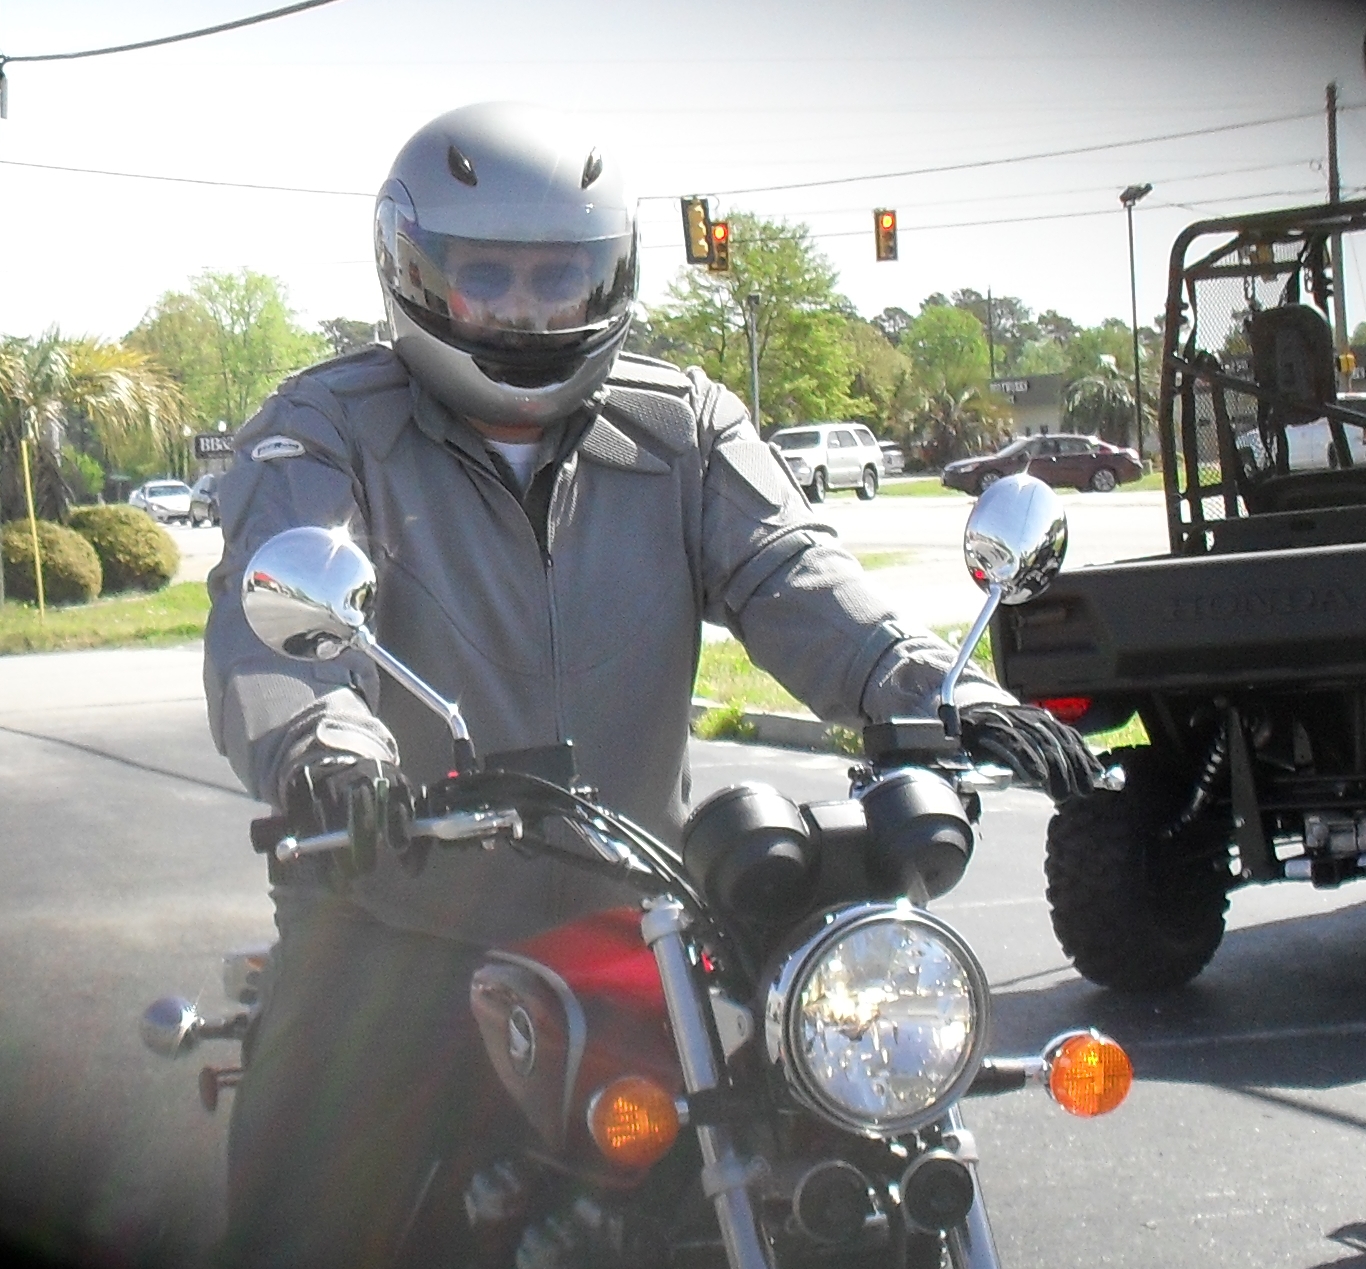

Motopsyco on the 2013 CB1100
The chassis is a basic steel frame with a 41mm fork & pair of chrome shocks on the rear. Nice looking 18 inch wheels on both ends with conservative but competent steering geometry serve up decent handling when you want to dance a little back roads boogie. You can’t follow the latest liter bike repli-racers around a road course but for just plain fun riding at a surprisingly swift pace the big CB works very well.
After circling the parking lot a few times to get used to the surprising light steering and easy to modulate brakes, I rolled into the traffic on Palmetto Street in Florence and headed west a mile or two and turned onto Meadors Road. This two lane road has a few nice long sweeping curves at the end closest to Palmetto, but once you get past the golf course & it’s accompanying housing development it is an arrow straight 2 lane for the next few miles. The big wide bars, and the big wide easy to use mirrors made flicking through the traffic easy even when some bitch in a beater Yaris turned right across two lanes of traffic just to get in front of me. Not a problem, bleed a little speed with the predictable brakes, check my six in the mirrors, checked the right lane to make sure there was room, got back on the gas and just zoomed around her. You can’t slow a fast man down! I didn’t get to a really tight & technical twisty road with it but I can tell you with utmost confidence just from the few fast sweepers I rode that the handling is there and the ground clearance is superb.

Motopsyco on the 2013 CB1100 playing in traffic
The experience was rather sublime, sitting in a comfortable up right position, with the engine’s torque smoothly available at all times, and it just felt so right. I really hated to give this one back at the end of the ride.

In the world of retro bikes there is a bit of a paradox, the tendency is to try to replicate, or in the case of some companies maintain the character (read design flaws) of an earlier time. Even Honda got into this with the old Shadow ACE deliberately unbalancing the engine so that it would shake & vibrate to mimic the archaic engine design of the other Brand H. People have forgotten that Honda more than any other company put America on two wheels and they did it with smooth reliable motorcycles that didn’t vibrate, require excessive maintenance, and were fast and powerful. People bought the original CB’s & Gold Wings because they were so smooth, perfectly functional and superior to everything else in the world at that time. This means that to make a truly retro Honda it had to be as close to perfect as possible, with no “character flaws” allowed.

Back from the ride!
For the most part however I feel that this bikes biggest competition will not be from the other brand new retro bikes but from the earlier versions of itself. The old CB Hondas are still so good that even in the 21st. century, it’s hard for their devotees to imagine anything better. Trust me on this one folks; you need to ride the new CB1100, it’s that good. A good original 83 CB1100F can fetch over five thousand dollars if you can find one at all, that makes this new CB1100 seem like a fair deal at $9999 ($10,500 w/ ABS). It has all of the things you loved about the old Hondas wrapped up into good looking thoroughly modern fuel injected package that runs even smoother than legendary Hondas of yesteryear.
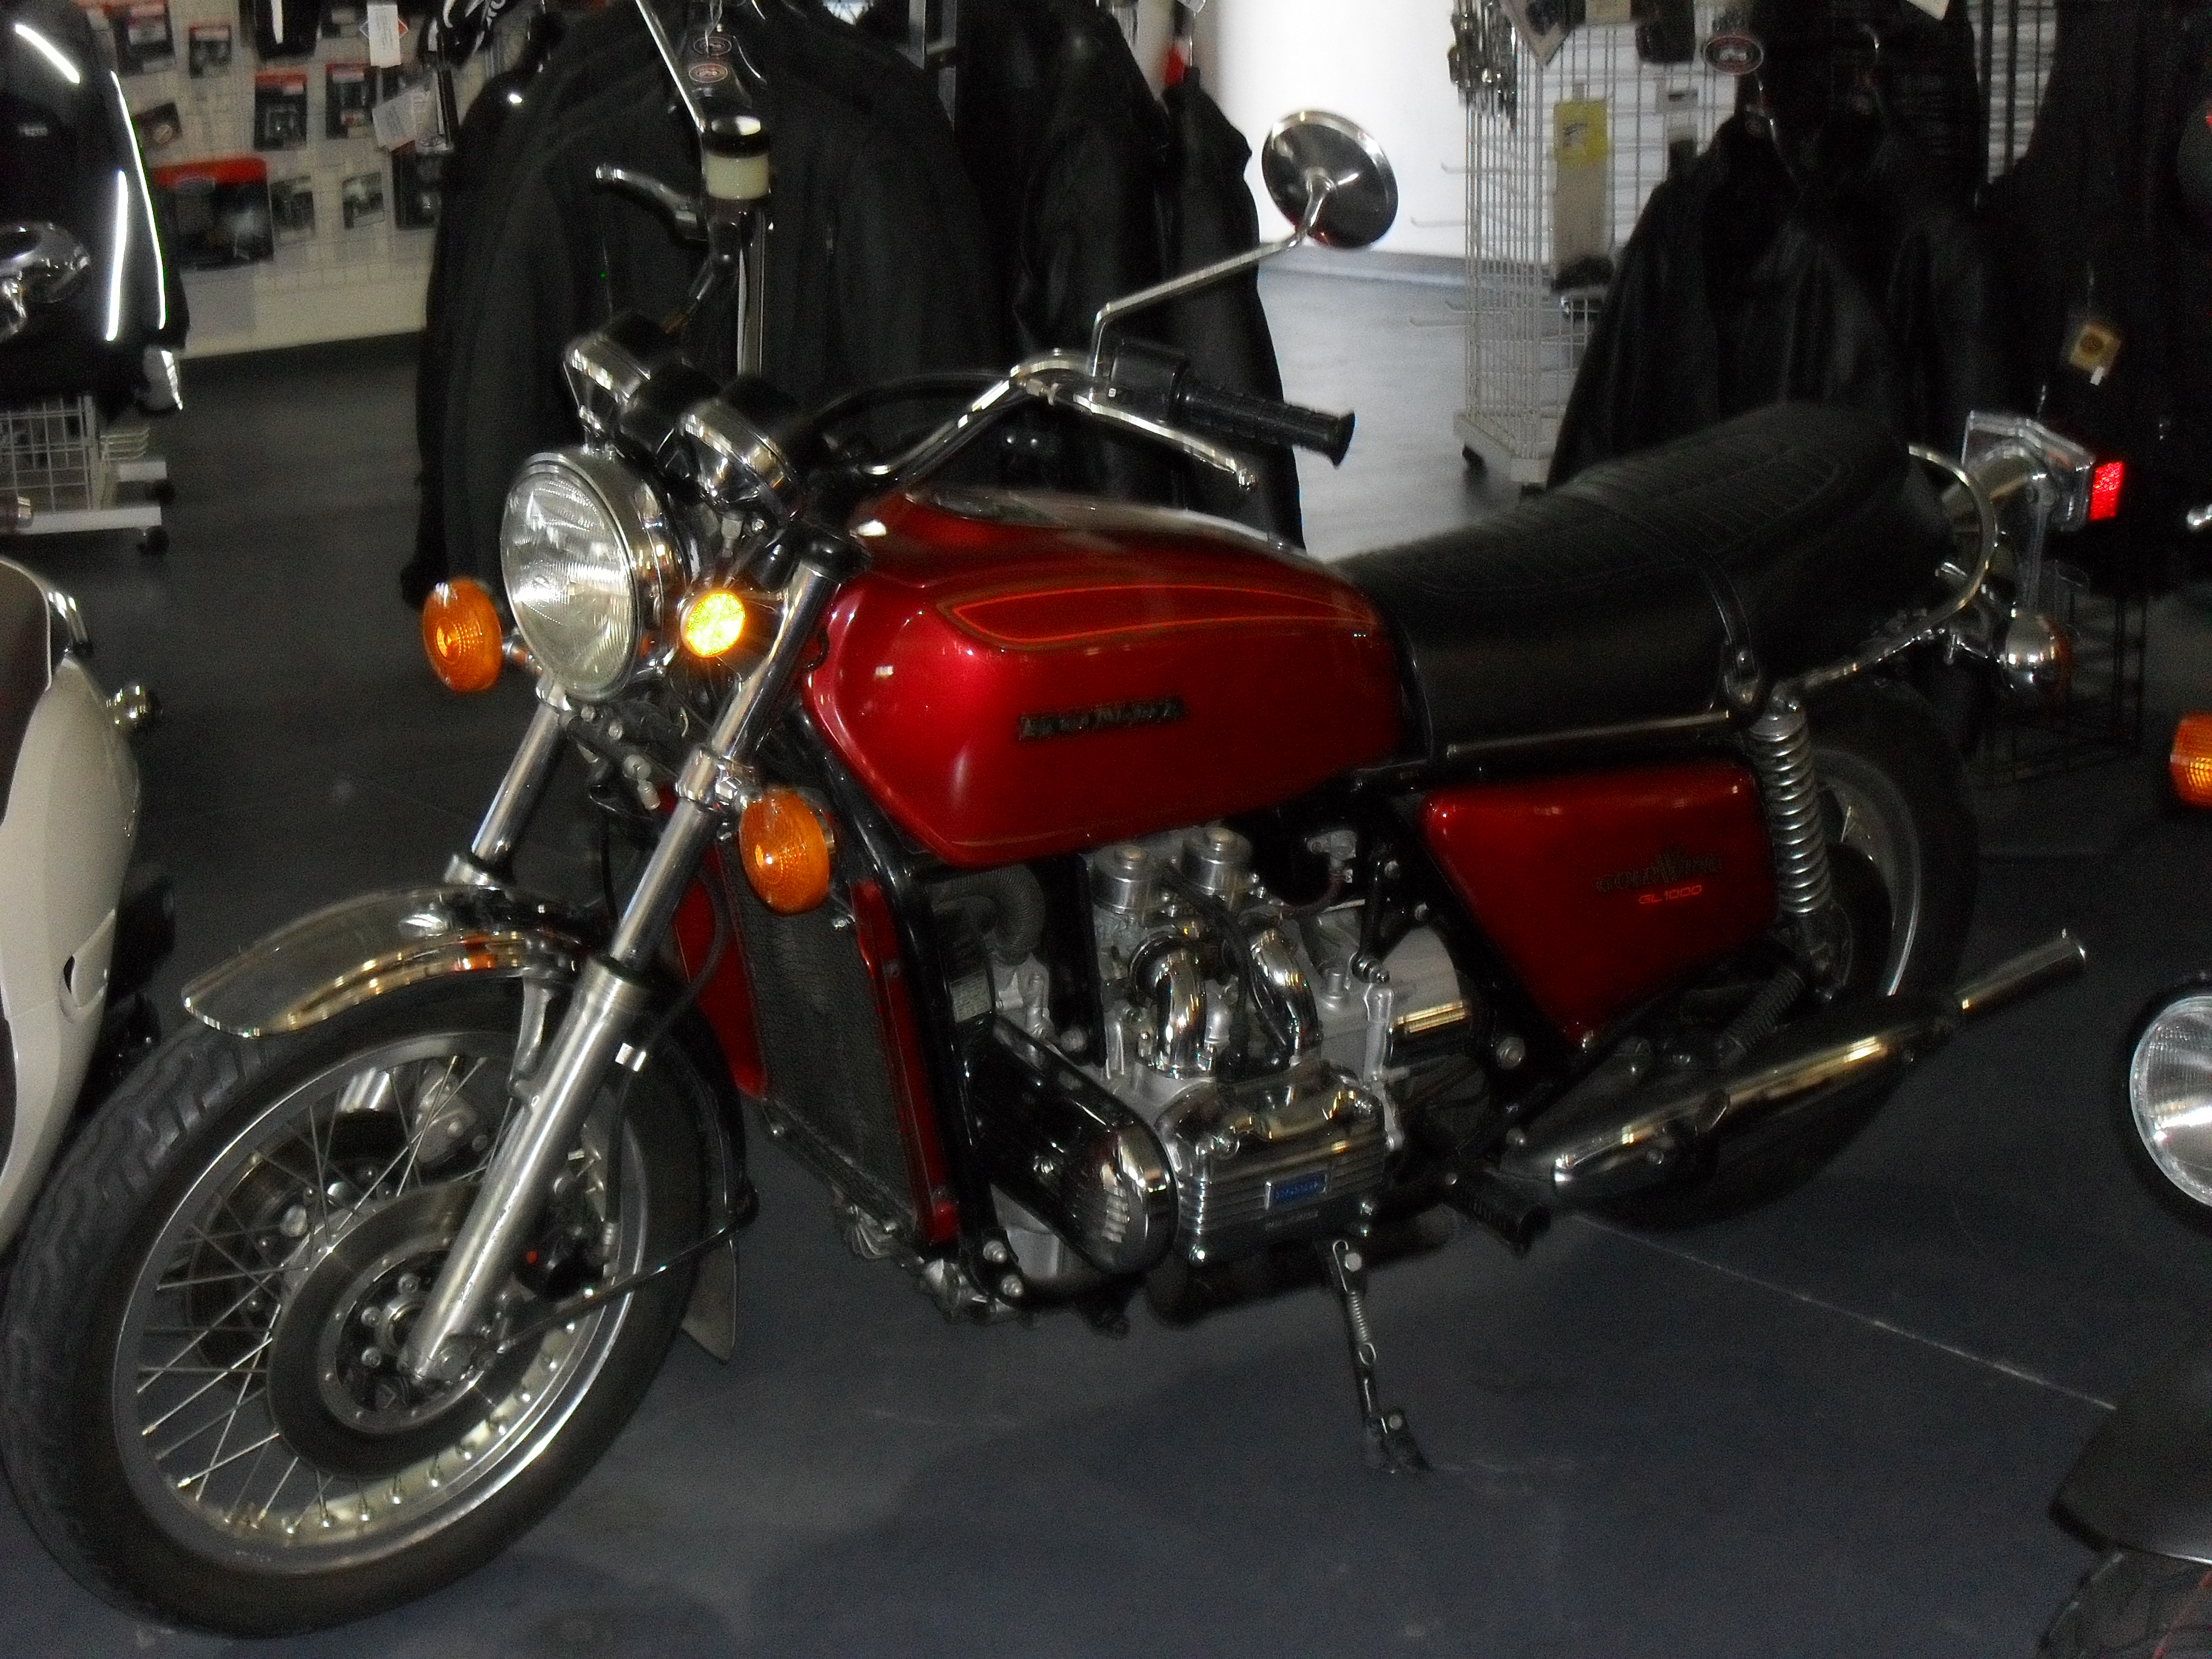
This is Rusty’s all original UN-RESTORED 1976 Gold Wing
I would like to thank Rusty & the crew at Florence Honda for letting me borrow this motorcycle for testing & would like to mention that Rusty is ready to retire and that Florence Honda is up for sale. If you have the scratch and are interested in purchasing a fully operational motorcycle dealership, give him a call at (843) 669 7056.

Until next time
Peace Y’all
Psyco