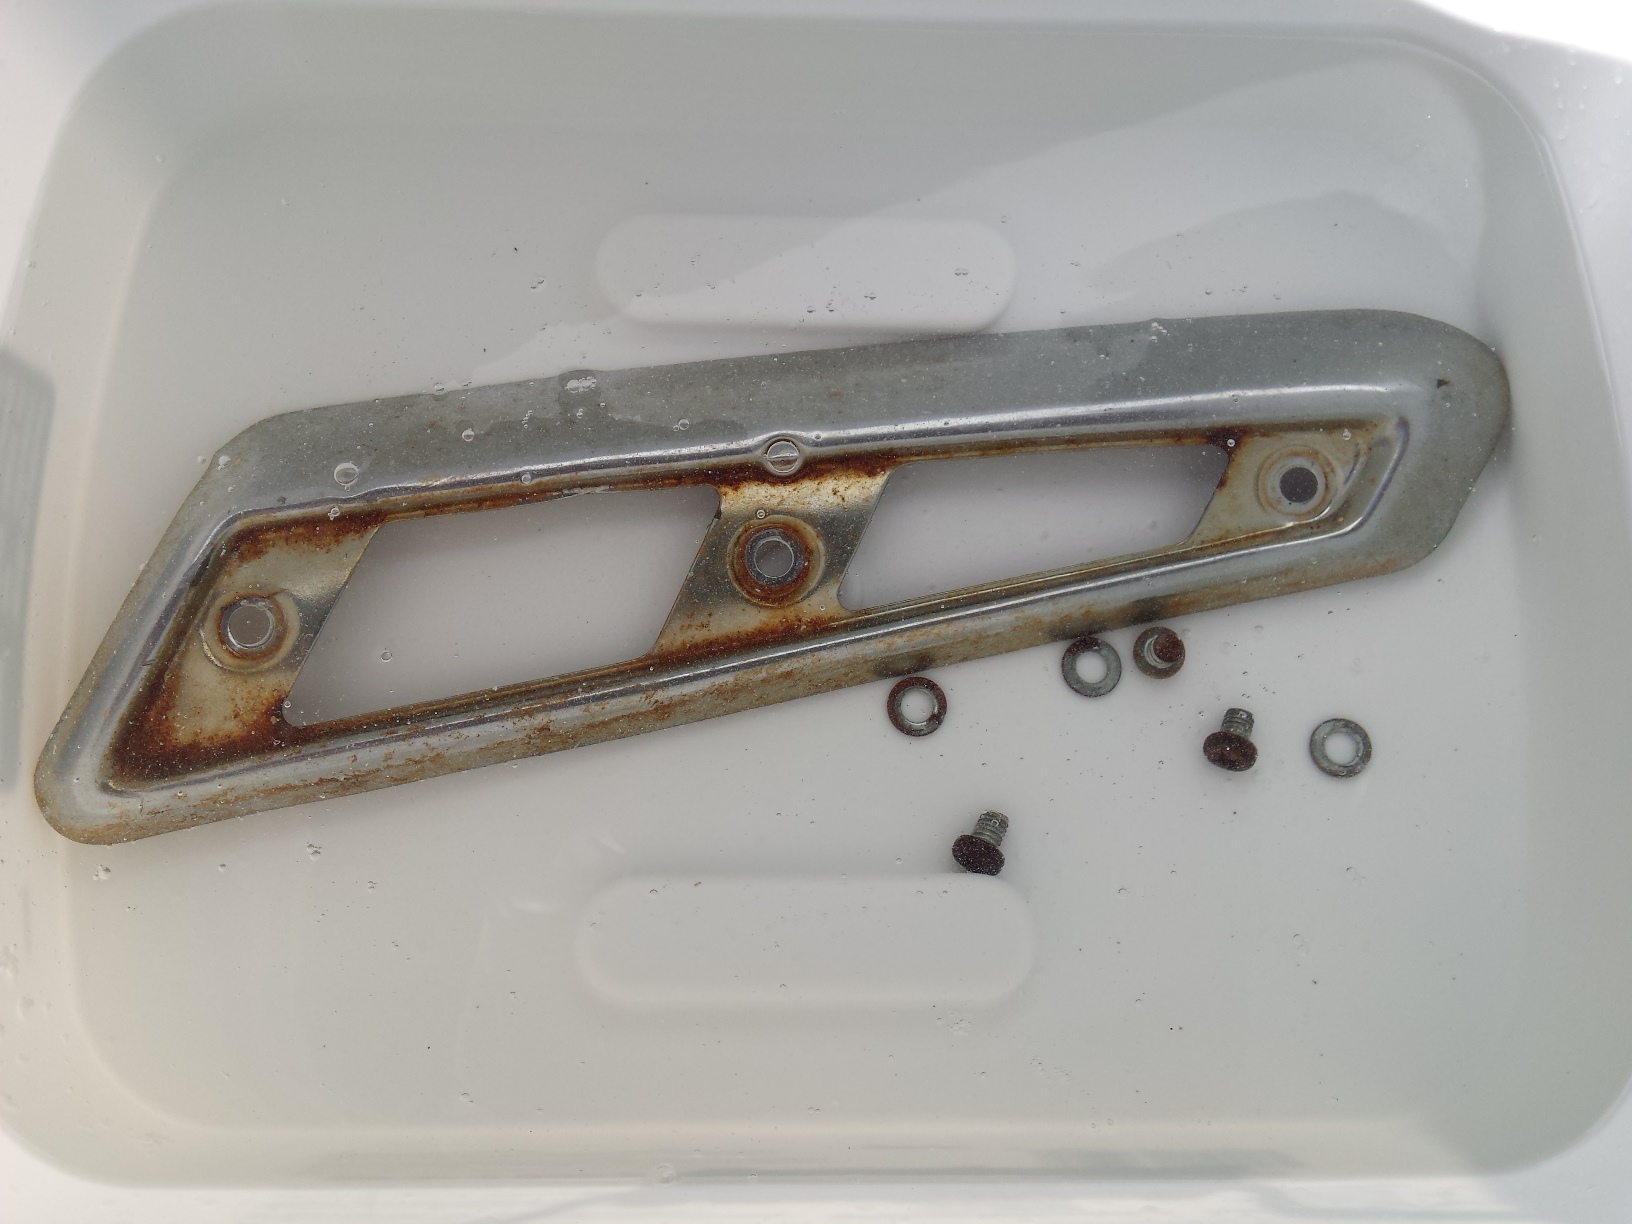
All of us who work with metal have a common enemy, rust insidious and seemingly unstoppable it creeps into all the places we don’t want it to be, destroying our hard work, valuable treasures & expensive raw materials. About a month ago I did a review of Metal Rescue rust remover from Workshop Hero. The product worked very well & I have been pleased with it.
One thing we all know by now is that once you get the rust off of a piece of steel is that afterwards you have to keep it off. If you have ever removed rust from steel using any chemical method you may be familiar with a phenomena known as flash rusting. This occurs when you remove your rust free part from the solution (or the electrolysis bath), rinse it off and then leave it to air dry, only to find out that in a very short period of time, often well less than a day, the entire surface is covered in rust again. While there are a few finishes that actually require a flash rust coating to work such as POR-15 semi gloss black chassis paint & some gun finishing techniques
, most of the time this is not desirable. Freshly machined parts are prone to flash rusting as well. In the past I have always just tried to coat all such surfaces with oil or grease to preserve them, and while this works it is messy, expensive & makes handling a pain. So when the fine people at Workshop Hero offered me a sample to test and to write about in this Dry Coat rust preventative review I jumped at the chance.
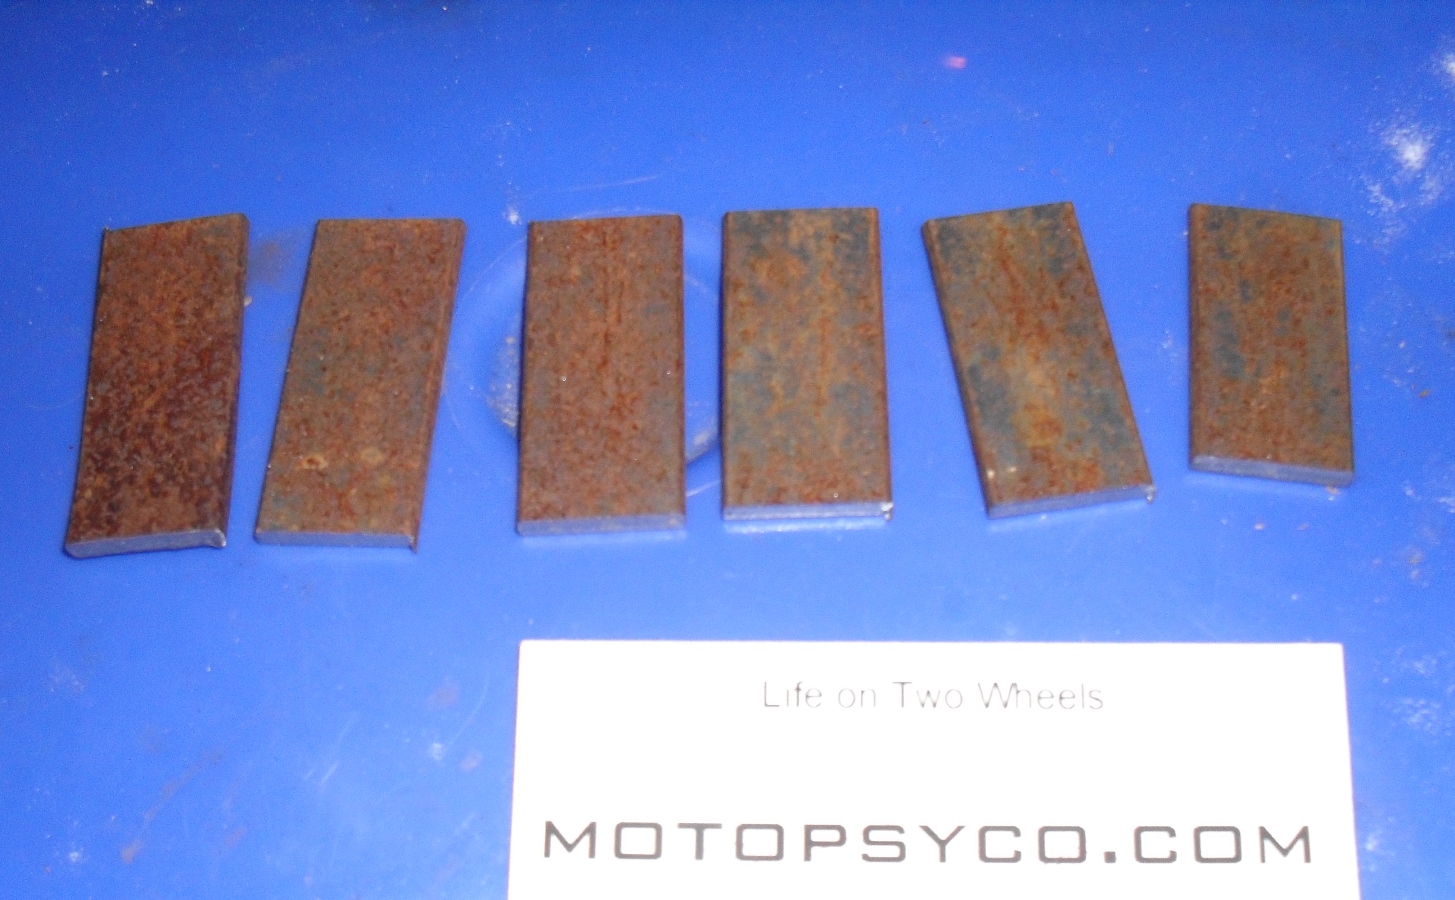
Just to keep thing honest & interesting let’s start by going out to the scrap pile and grab a rusty strip of 1/8″ thick x 1″ wide and cut six strips from it approximately 2 inches long. And then throw the strips into our bucket of Metal Rescue for an overnight soak. Yes this is the same solution that I used for the previous review, it has not been changed but it sure has removed a good bit of rust from various motorcycle parts.

Compare this to the before picture the rust is gone, I rinsed the parts with water and patted them dry with a paper towel

The plan for this little experiment is very simple to coat 3 of the strips with Dry Coat and allow to dry according to the instructions. Then I placed one coated test strip and one un-coated control strip paired together in 3 different locations around my property. This was on March 14th, 2015.

According to the company website it should give up to 2 years of protection from rust for steel parts stored indoors. The first two steel strips I left here in my office, literally indoors. The next two strips I placed on a ledge in the uninsulated, drafty humidity plagued old horse barn that I have converted into my workshop. Now this is definitely indoors out of the sun and the rain, but temperature swings cause enormous condensation problems that leave all of my bare steel tubing, rods, flat bar etc. coated in surface rust if they are not fabricated into useful items & painted quickly. If it can work here it should work at any other indoor location.
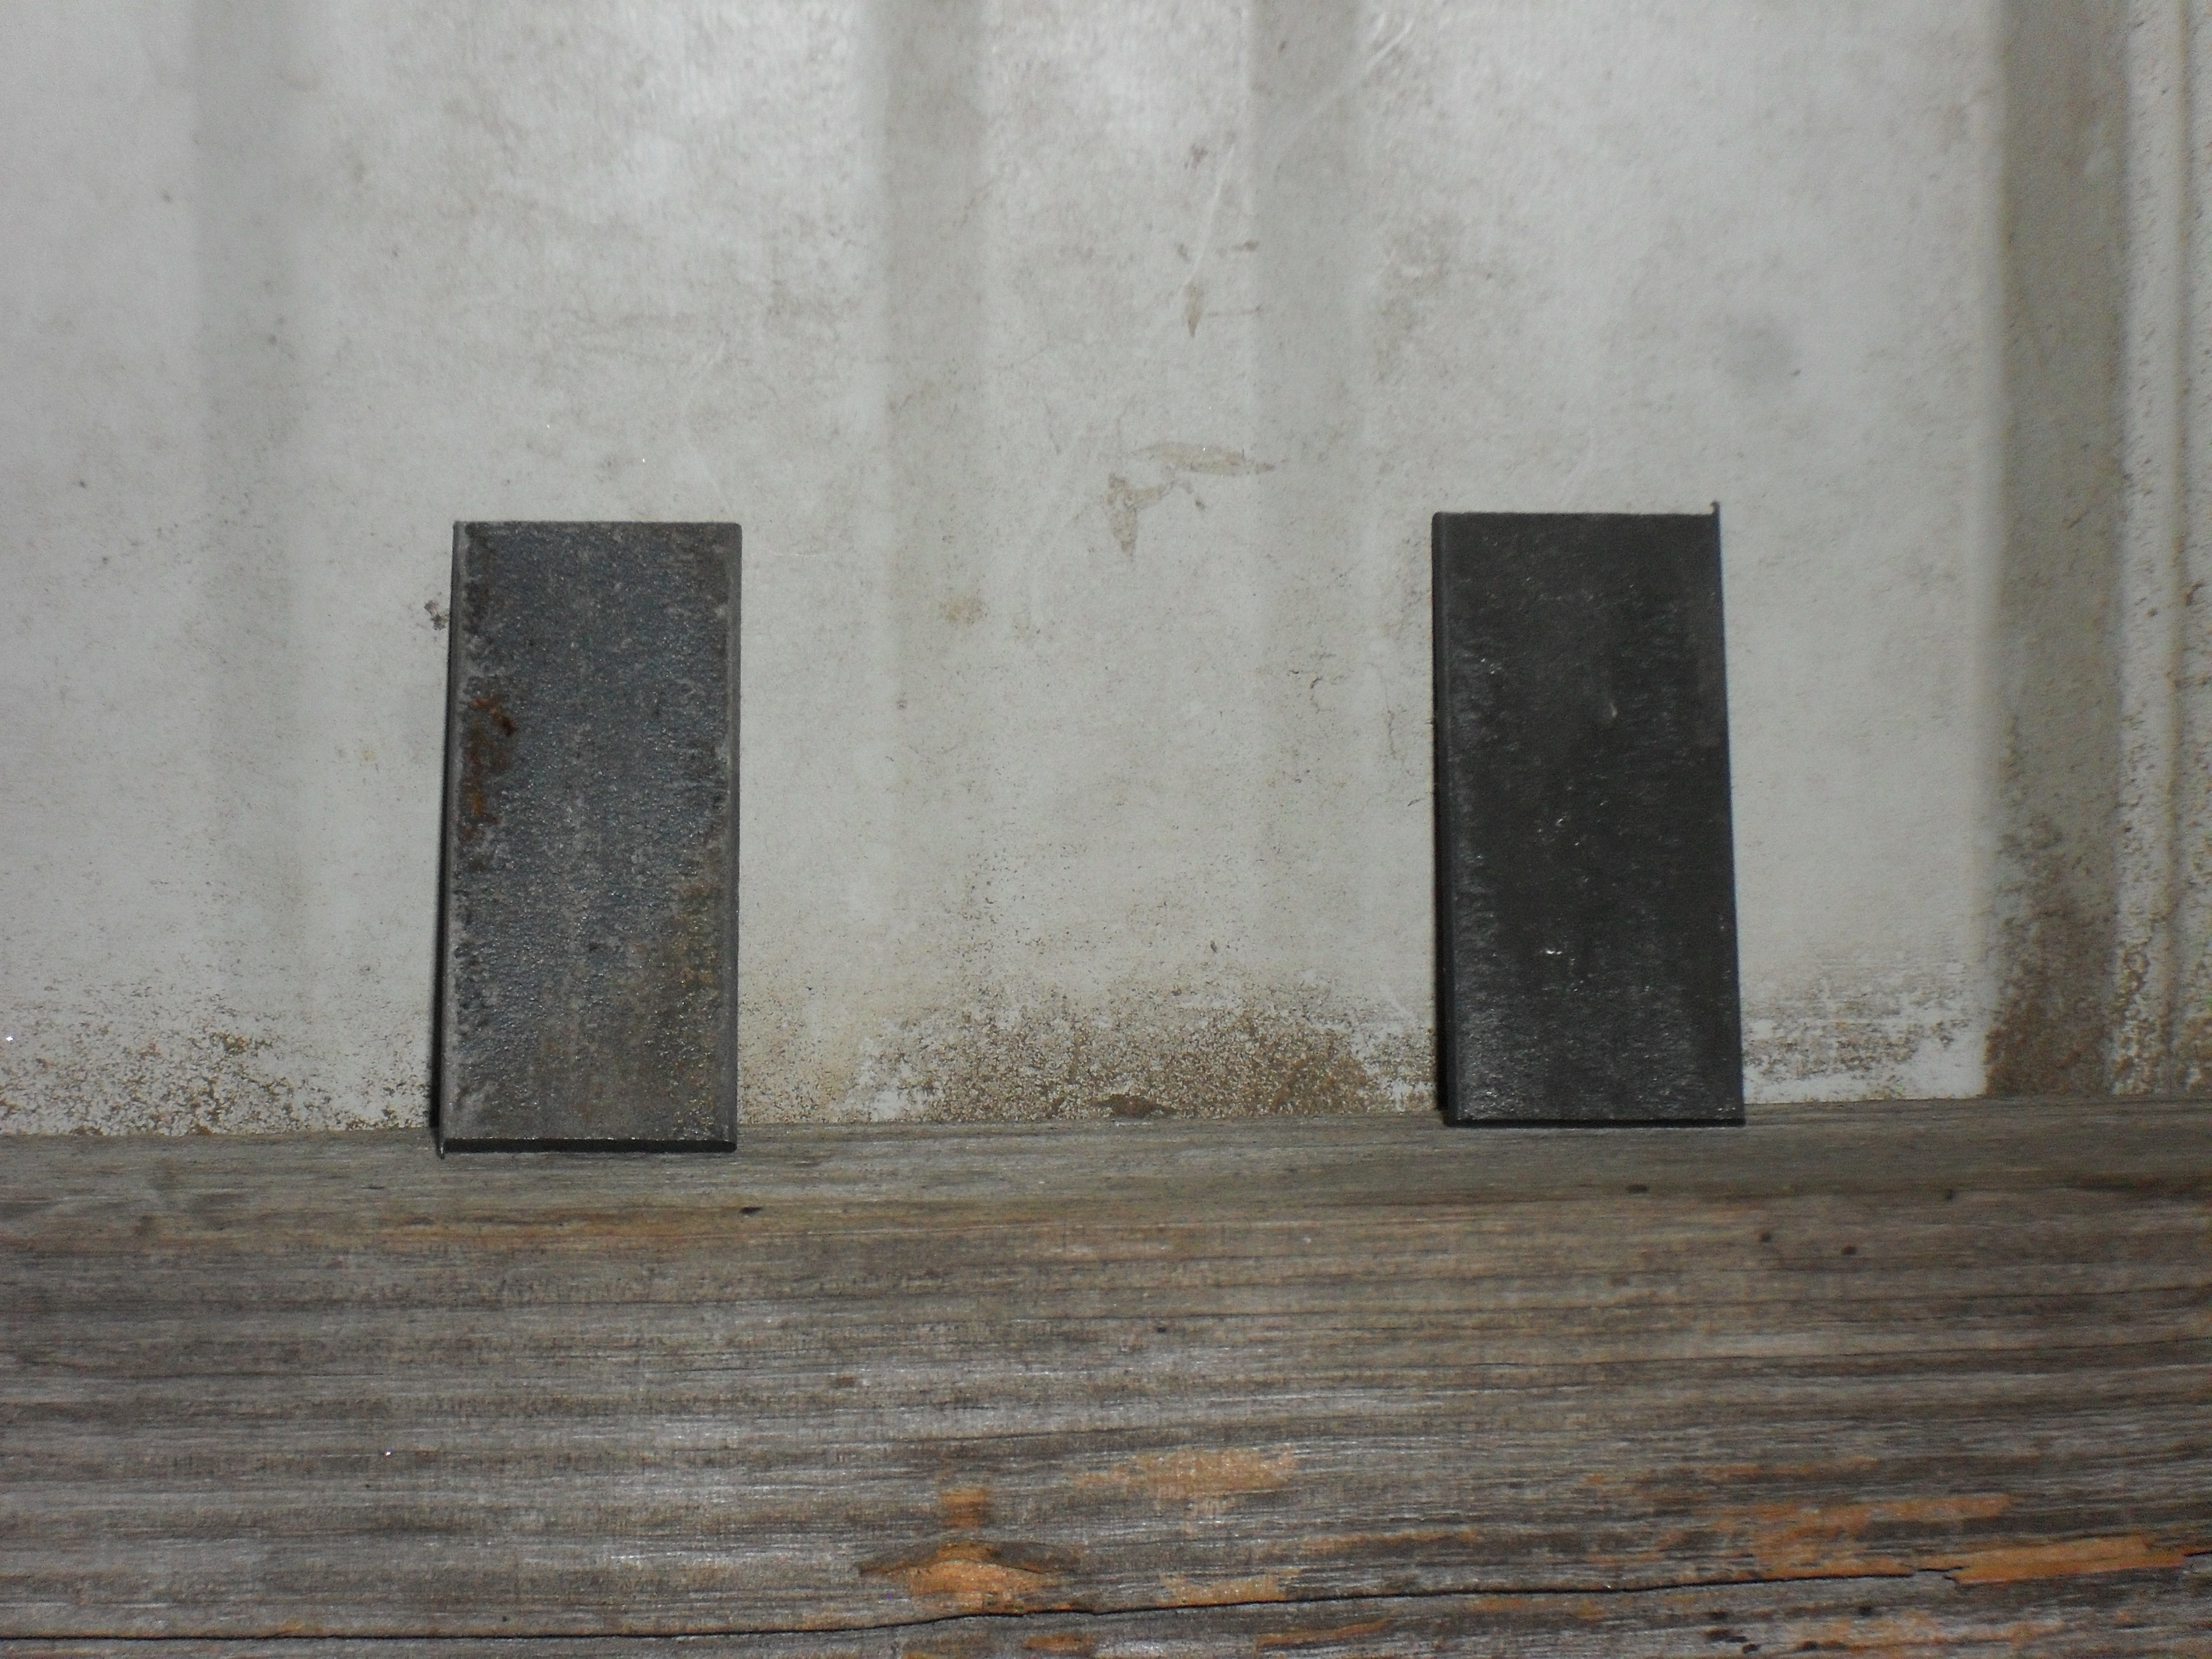
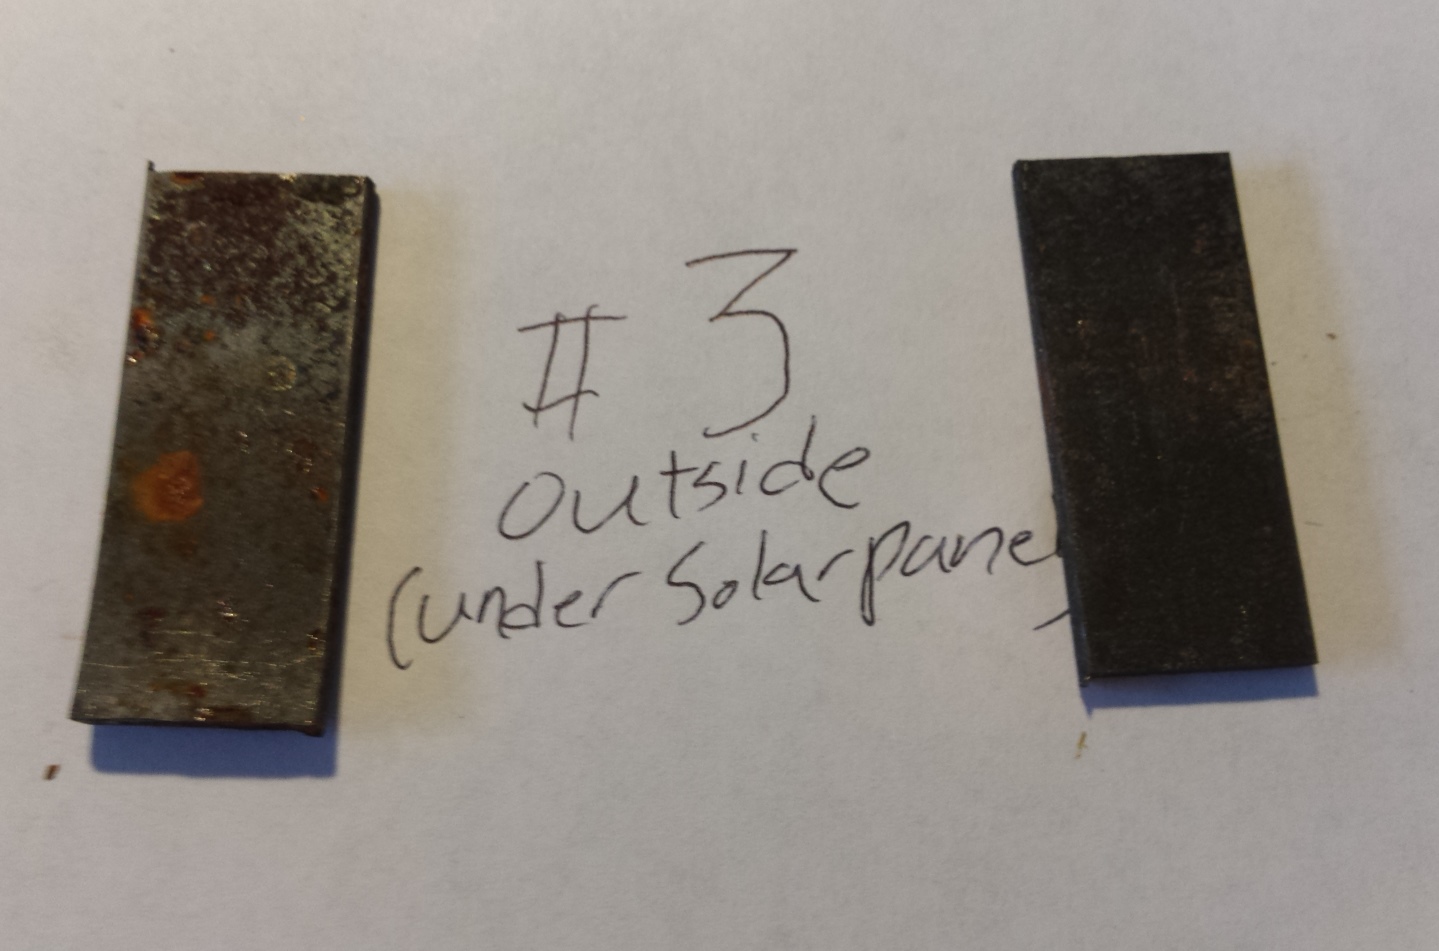
The final two pieces I stuck in a semi-exposed outdoors location. Let me be perfectly clear about one thing, this product is rated for indoor use by the manufacturer, if the coated strip rusts this is not a failure of the product, it’s just that an extremely curious cat wanted to push the limits. When I say semi-exposed, the two strips in the picture below are lying on the control enclosure of the solar panels that provide the lighting for my workshop. The solar panels are about 18 inches above them but they are exposed to the weather from 3 sides.

Just over 4 weeks later on April the 6th, 2015, I gathered all of the test strips together & photographed them. The parts that were coated with Dry Coat are on the right.

I decided to flip the pieces over so you could see both sides.

Now lets look at some close up pictures. Here’s the samples that I left in my office. The part on the left is well on its’ way back to the original rusty appearance, but the part on the right is not. You can clearly see the pitting from the original rust before treatment, but not any new iron oxide formation.

This next sample is the one that I really wanted to check after a month in the old barn with a typical South Carolina late winter/early spring weather pattern. It is not unusual at this time of the year to have temperatures swing from 15-20 degrees Fahrenheit up to nearly 80 and then back down again in the space of a day or two. Of course when the frost melts in the morning it will sometimes look like rain inside of an uninsulated metal building. You can see the difference that this made when looking at the untreated part on the left, it’s a lot rustier than the control strip that was left in the house. Once again you can see that the coated strip is still rust free, even in the pits left behind by the previous rust that was removed at the beginning of this test.

The outdoor test strips are next, the control strip on the left is quite rusty. The test strip on the right has developed a tiny bit of rust down in the existing pits in the metal. It still looks a lot better than the un-coated strip. Just remember Workshop Hero’s Dry coat is sold for indoor use and these last two test strips were just me satisfying my curiosity. The two pieces of steel shown here, have been rained on several times, and subjected to near daily freeze/thaw cycles. I am still pleased with the results and wouldn’t have problem recommending this product to anyone.
I did download a copy of the Material Safety Data Sheet for this product so that I could see if there was anything in it that required any special protective equipment beyond the usual safety glasses and gloves. It is non toxic, non-flammable, and does not require any special disposal precautions. I didn’t see anything about welding two pieces of coated steel together so I contacted the manufacturer’s representative, and was told that they suggest washing any parts that are to be welded with soap and water first. The coating is 3 microns thick and probably wouldn’t interfere with most welding or cutting processes, but it would be wise to follow their guidelines.
So who needs this stuff? Obviously those of us who restore or repair old motorcycles, atvs, tractors & automobiles. Also machine shops, especially those of you who are storing & shipping items like re-bored steel cylinders, crankshafts, and other bare steel parts. Steel fabrication shops & o.e.m. manufactures of steel plant equipment, platforms, vehicle parts, or anyone else who stores bare steel either as a raw material or a finished product and needs an inexpensive solution for temporary prevention of rust, without having to deal with a hazardous material.
Both Metal Rescue and Dry Coat are available in a wide variety of sizes ranging from small bottles, 5 gallon buckets, 55 gallon drums and even 330 gallon totes for industrial users. As I said this is not permanent rust protection but it beats using expensive, messy, and hard to remove paints, oils and greases just to keep rust off of steel for a short period of time until you can use it.
Product recommended. I am going to place all of the test strips back in the places where I had them and will check on them over time. If anything changes I’ll be sure to let you know.