Another Project wAmmo CM400 Update

It’s time for another Project wAmmo CM400 update. Let’s start with my confession that I lost interest in the project for a little while and was really short on time for it. Had some issues with getting the frame sandblasted so I wound up bringing it back home and hit the frame with some paint remover and went over it with my little hand held sandblaster before coating it with spray on truck bed liner. Did the same thing for the tank before brazing up a couple of damaged spots on it and sealing it with Caswell Epoxy Gas Tank Sealer. I also wound up replacing the fork because I was unable to identify the one that was on it to get the proper repair parts so I replaced it, and installed a set of tapered roller steering head bearings for good measure.

<project wammo cm400 bobber>

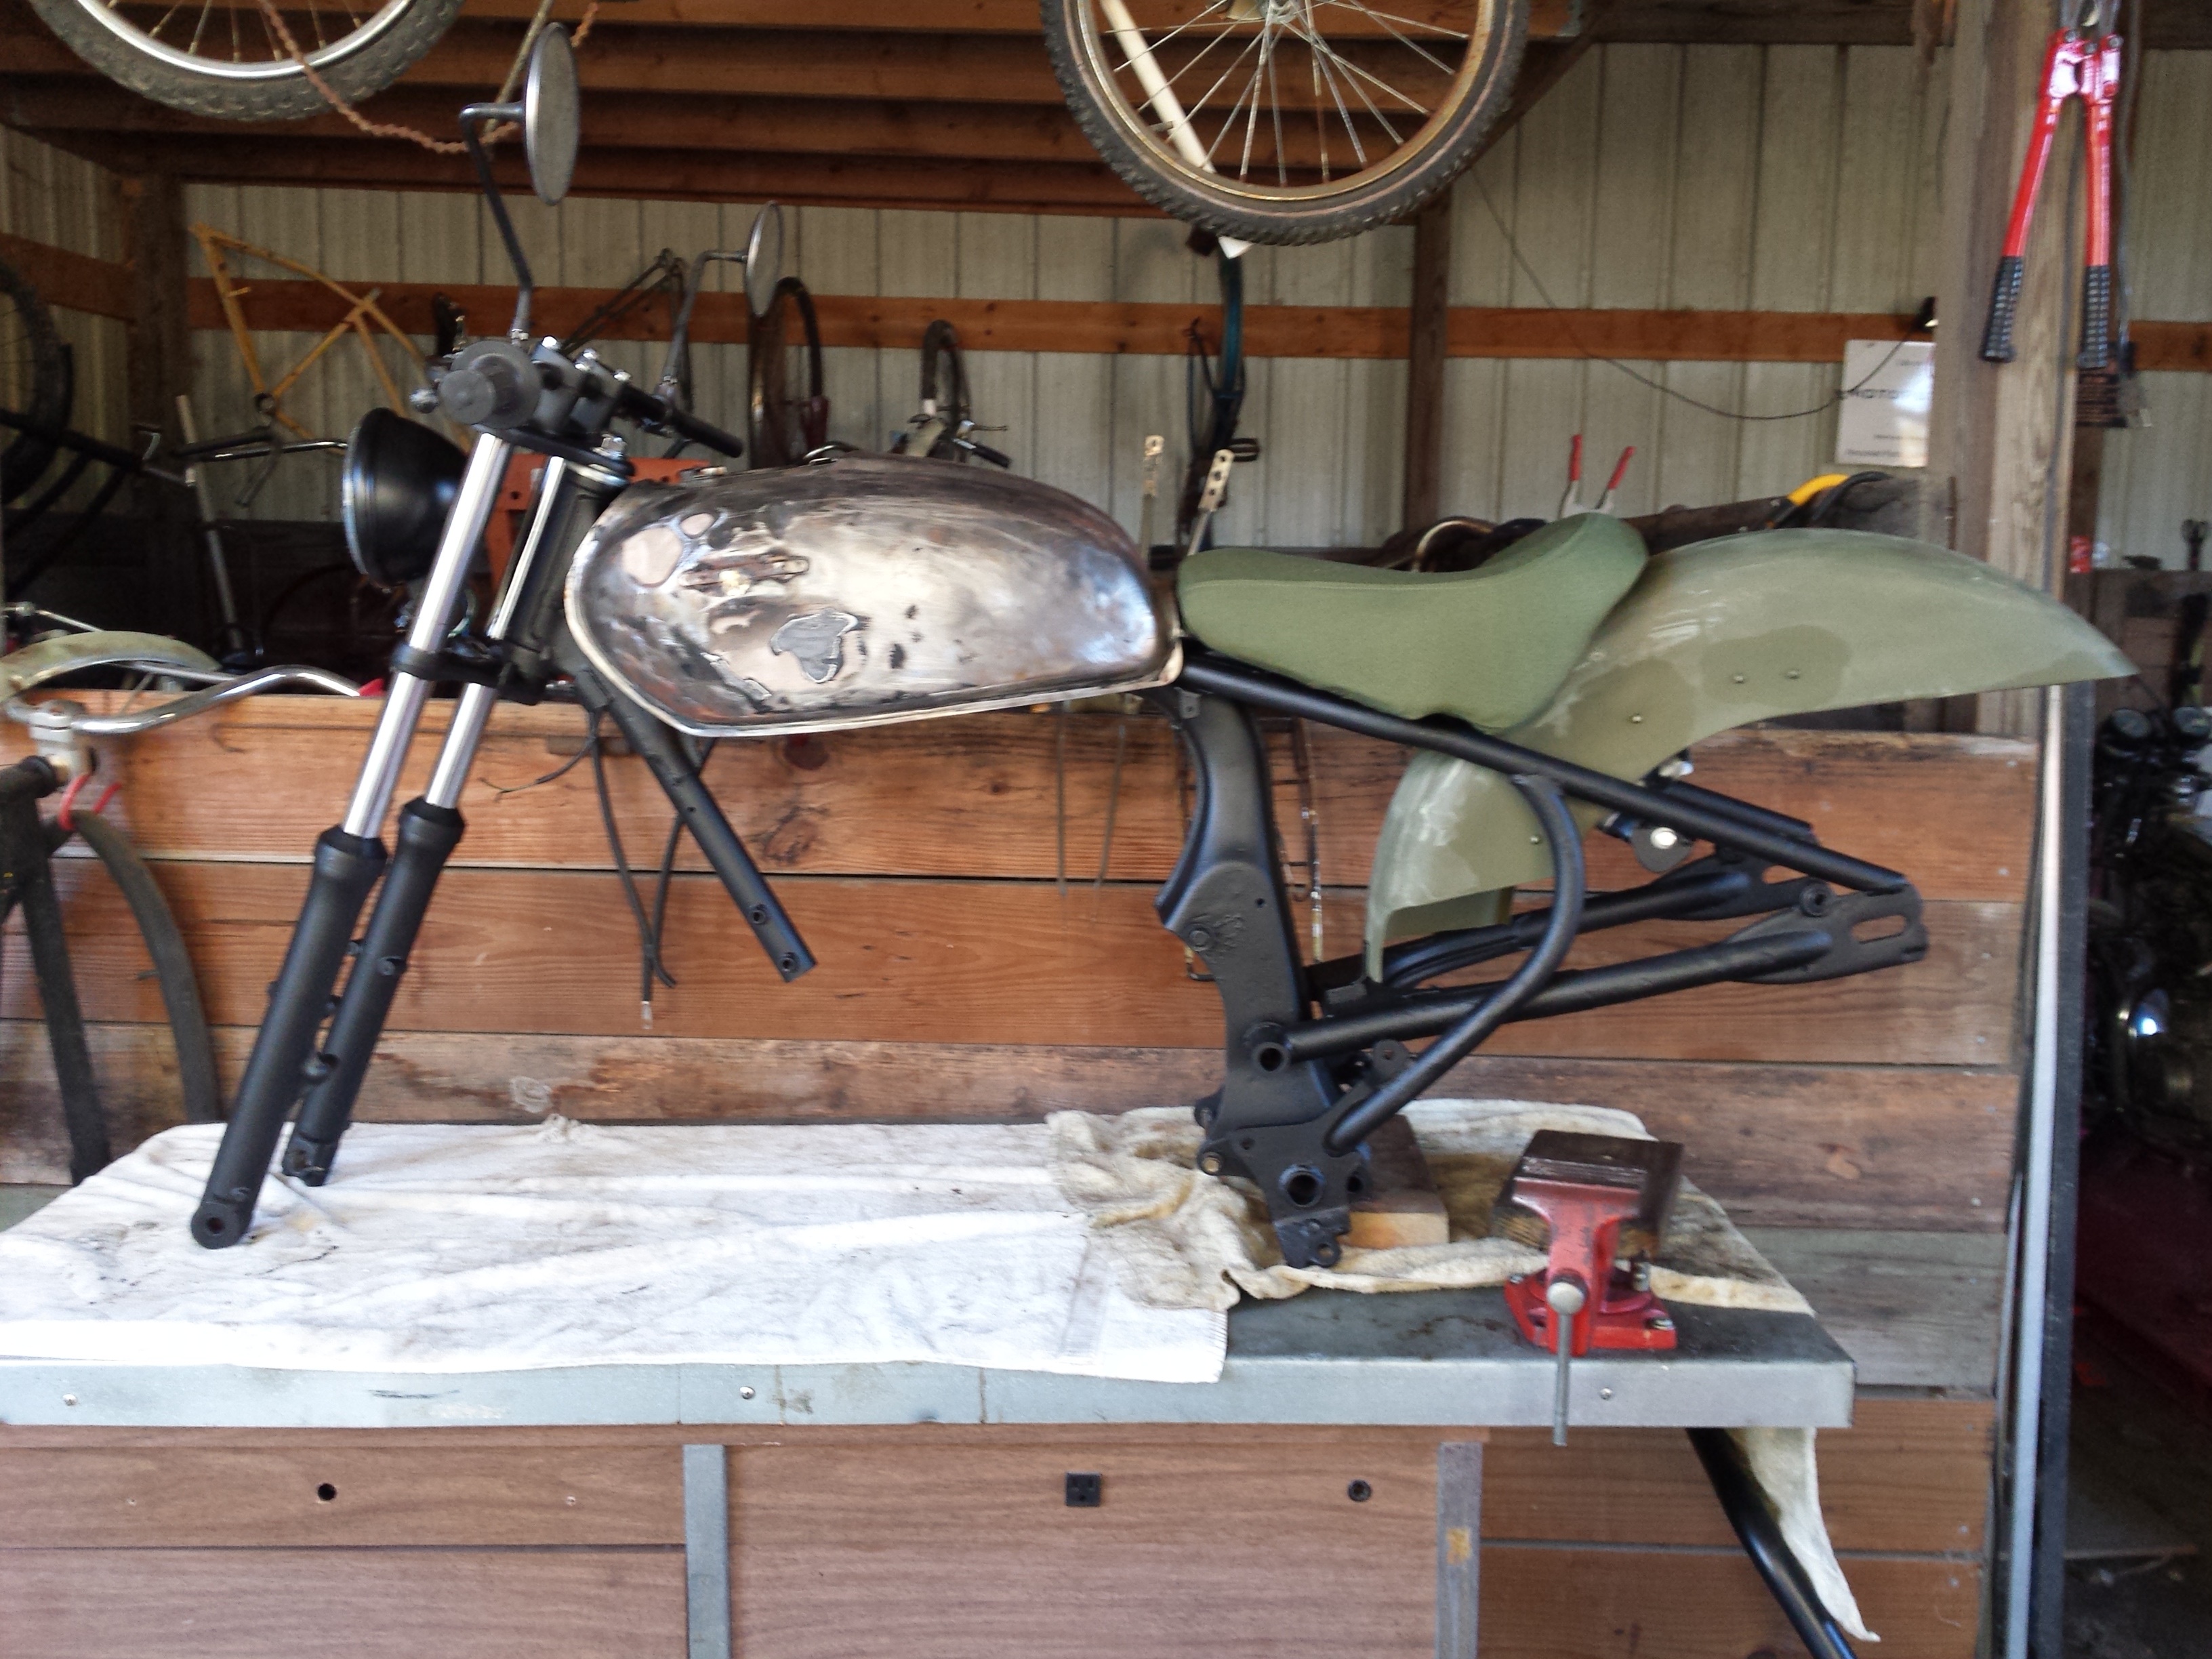
I got the modified Harley solo seat covered in olive drab Cordura fabric to match the overall theme planned for the bike.

<olive drab solo seat>

Even though the engine would start and run okay, compression on the right cylinder was consistently 50 psi less than the left cylinder. Even after adjusting the valves (click here for the proper procedure) which didn’t help, and putting some oil in the cylinder to see if it would come back up temporarily indicating worn rings, the right side was still 50 psi lower than the left side so I went ahead and pulled the engine apart for a top end overhaul.

<CM400 Engine top end>

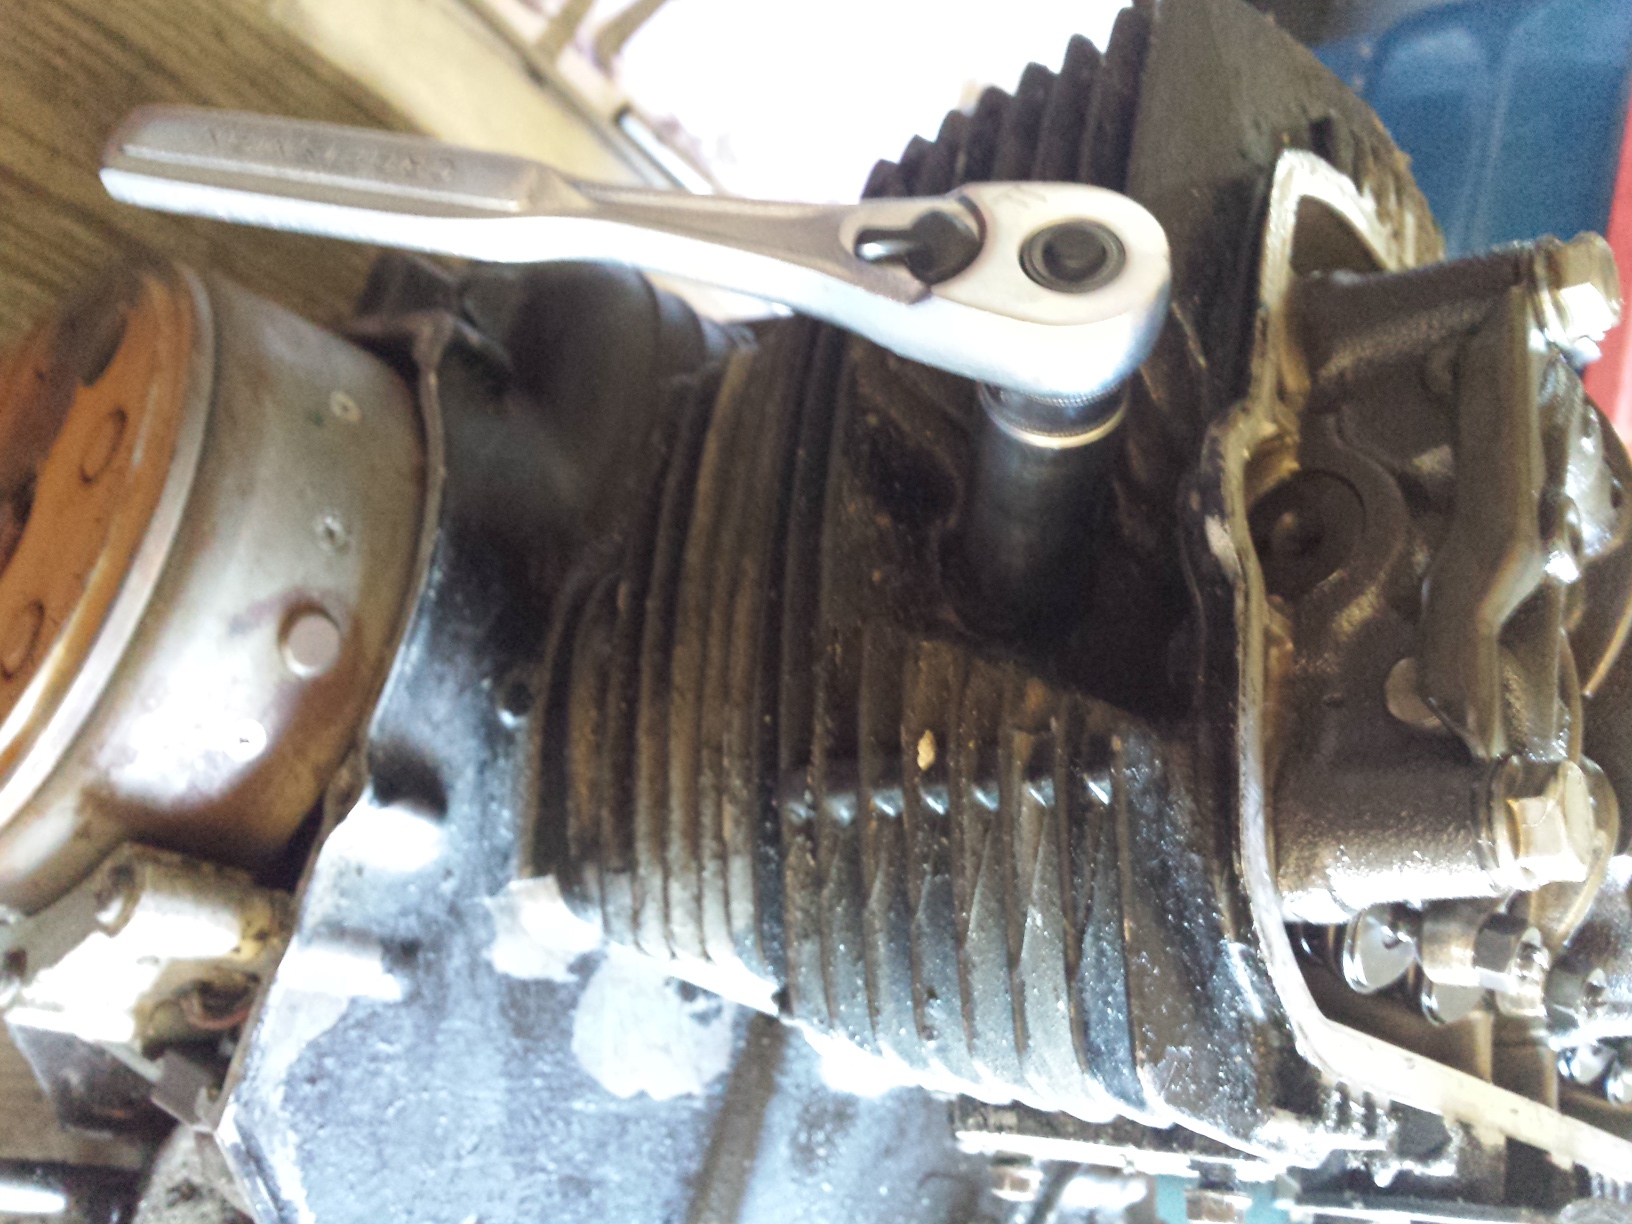
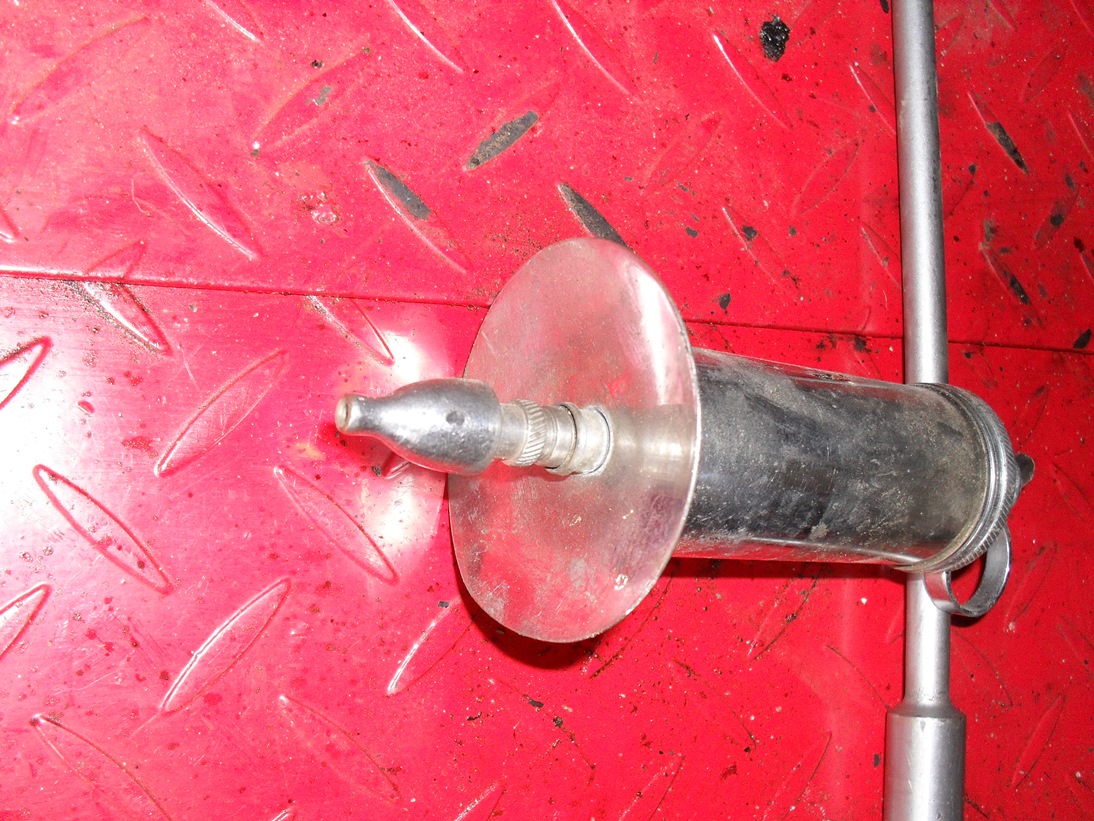
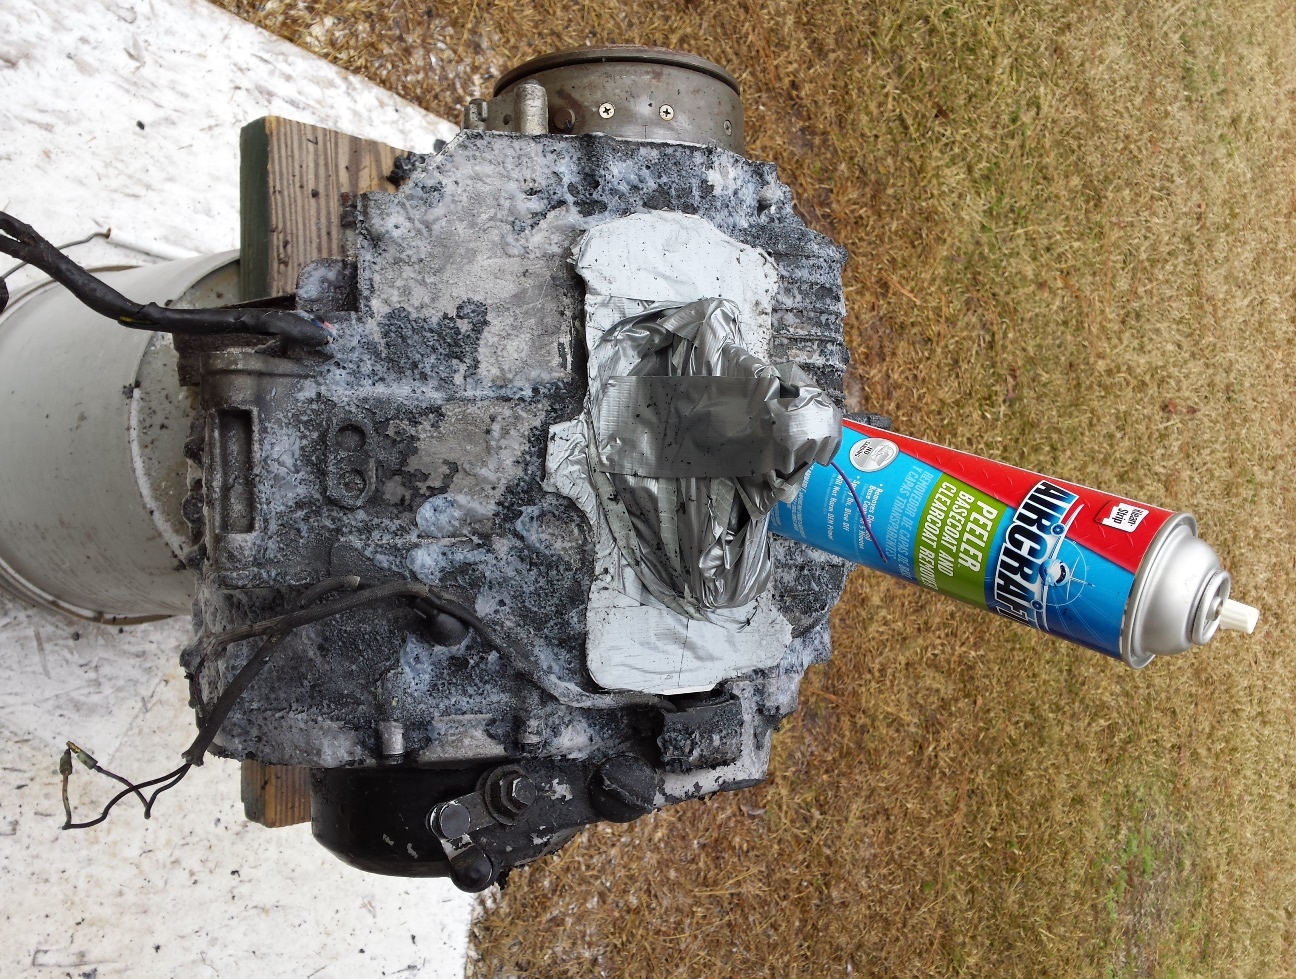
The problem turned out to be that the oil rings were frozen to the piston and the gaps were aligned on the top 2 rings preventing them from sealing. The downside to this bike originally being such an artistically created “natural” ratbike is that it was incredibly nasty. Here I am soda blasting the cylinder to clean it. Yes that is the cheap hand held sandblaster
and it works just fine with blasting soda, so if you’re on a budget & just need to clean a few small parts without damaging them the way sandblasting can try this. Just do not hit any gasket mating surfaces with the soda.

<soda blast motorcycle cylinder>

Once everything was cleaned & honed I taped off the mating surfaces so that I could spray on some Duplicolor cast iron gray engine paint.

<paint prep motorcycle cylinder>

<Honda CM400 clutch cover>

The original clutch cover will be replaced with this good used one and since I was not splitting the cases for a full overhaul I sealed up the bottom half of the engine with duct tape so that I could degrease it and remove the existing paint.

<aircraft peeler really works>

Since the head needed a good clean up, it became the subject of a head service tutorial that you can read by clicking here. The next picture is of the original pistons with new rings ready for the cylinder to be re-installed. The blocks of wood  held the pistons up and level while beautiful assistant slid the cylinder slowly into place while I compressed the rings.

<Honda CM400 pistons>

<freshly honed Honda cylinder>

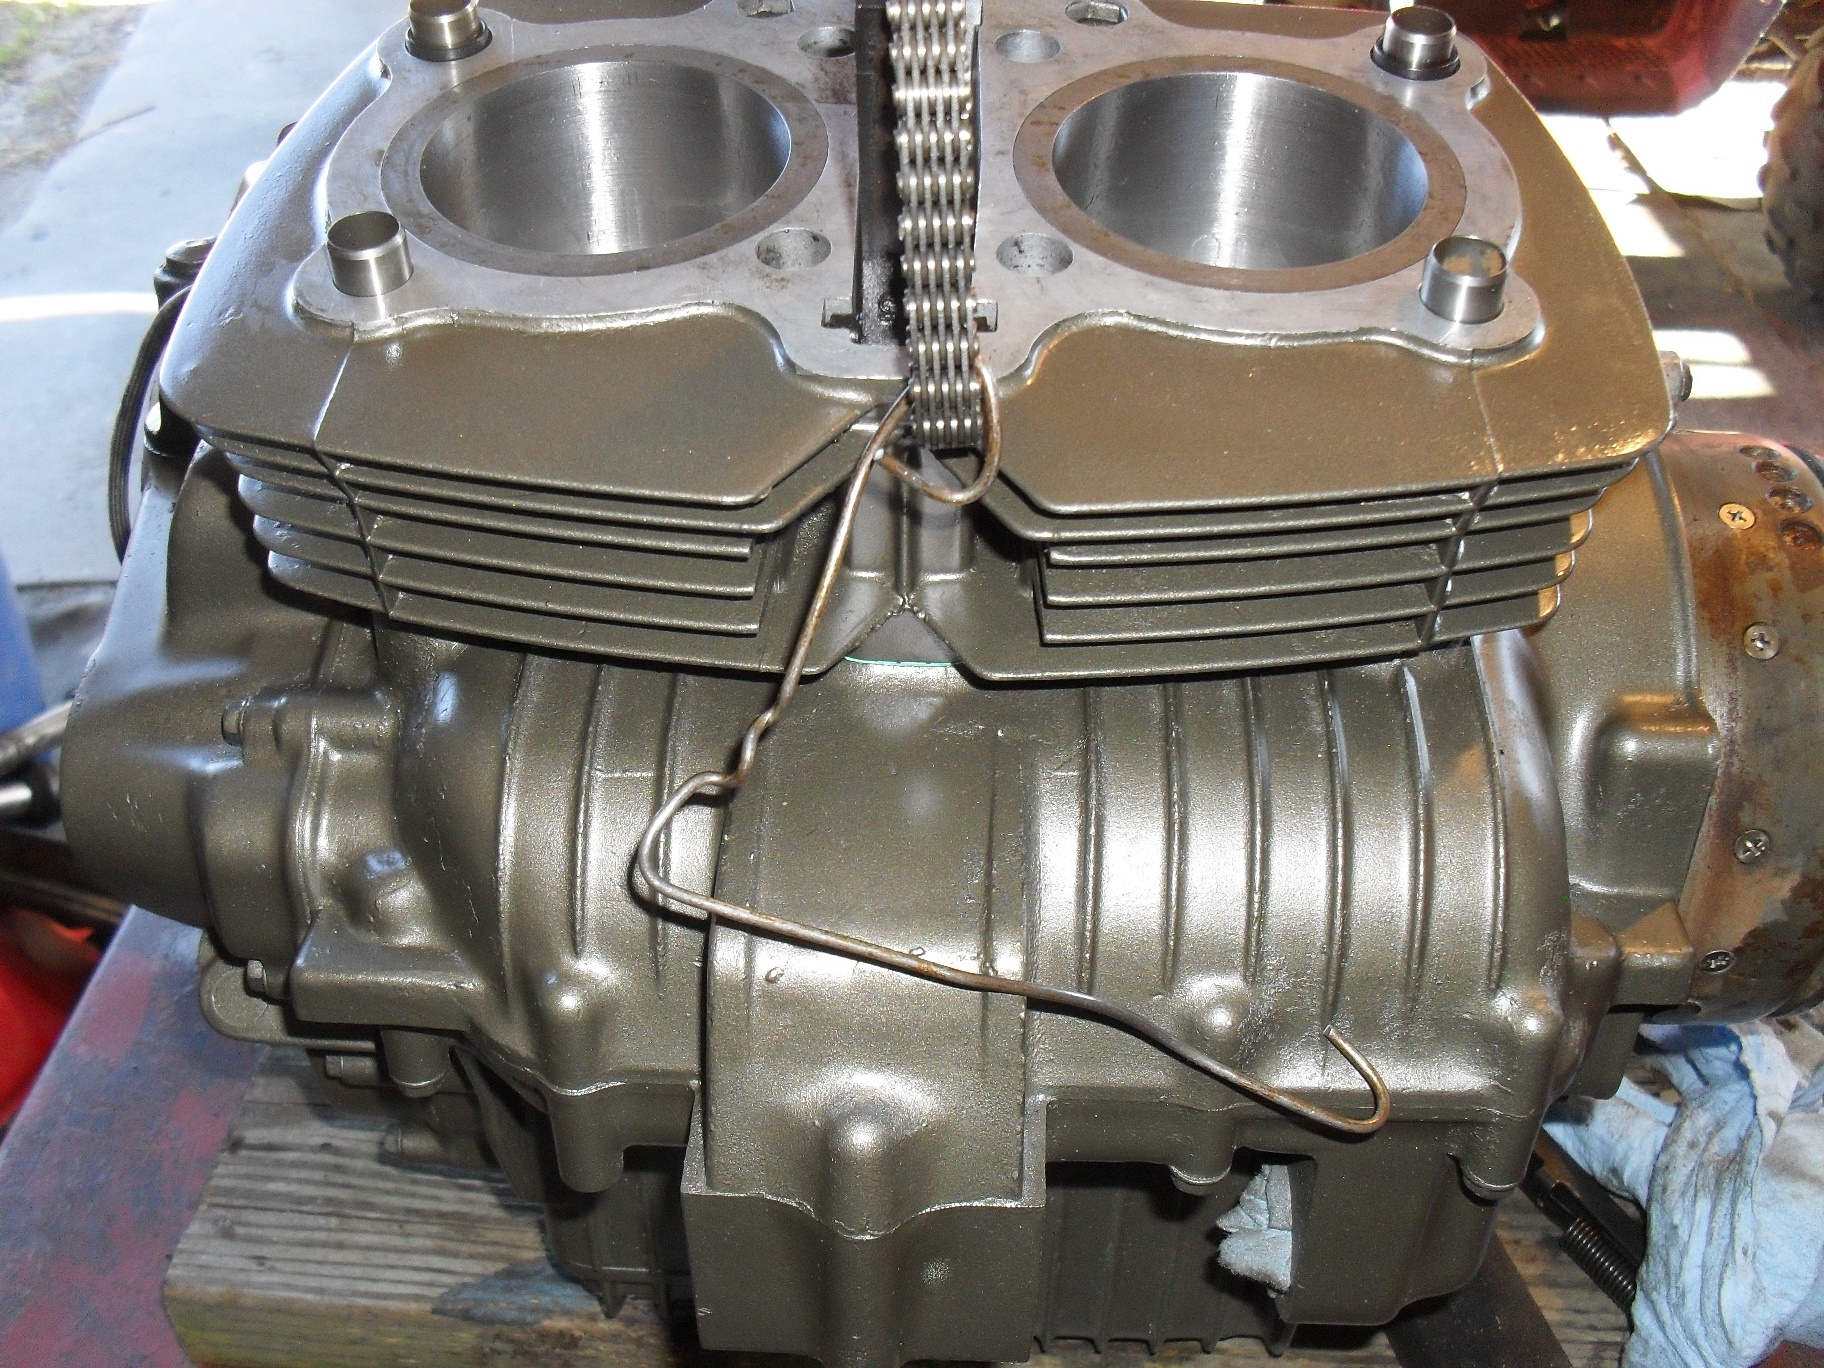
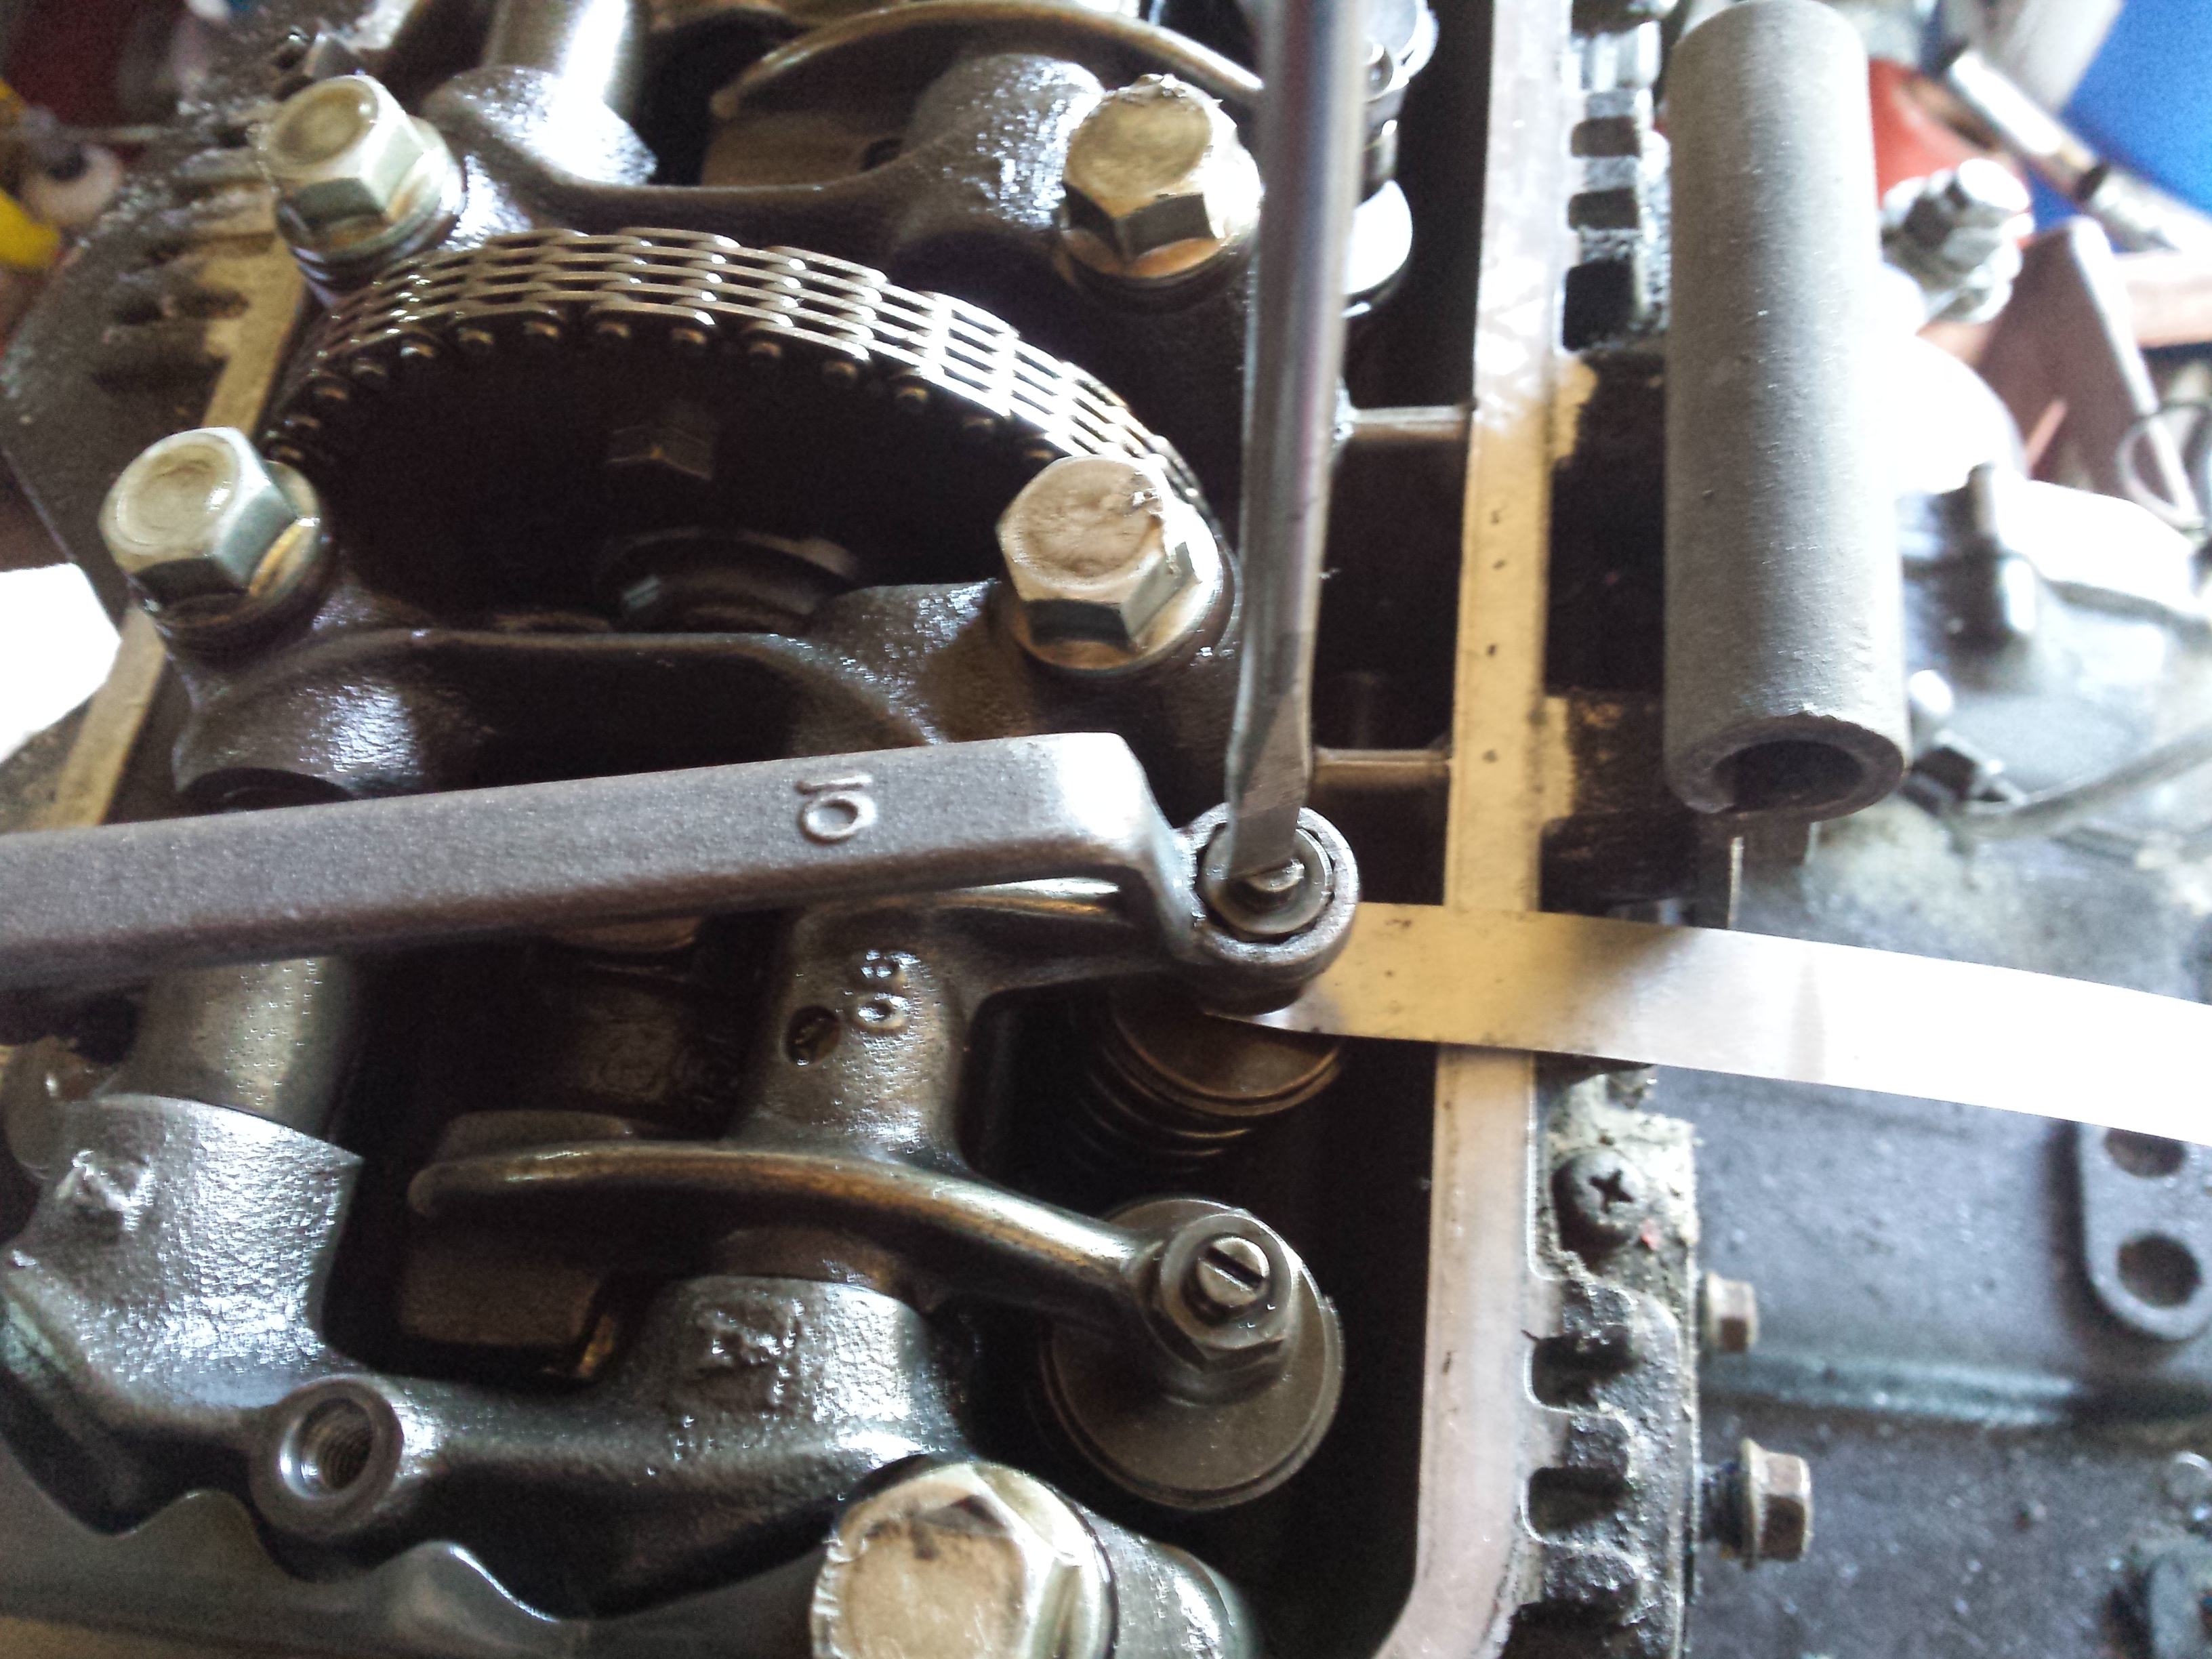
This looks a lot better than the before picture doesn’t it? Once I got the head back on it was time to line up the timing marks for the crankshaft & camshaft as shown below and put the camshaft back in.

<Honda 400 timing marks>

<Honda 400 twin camshaft timing>

Afterwards it was just a matter of putting the rest of the parts back on and torquing everything down properly. Don’t forget to fill the oil pockets under the cam lobes with oil before putting the rocker box cover back on.

<cm400 bobber engine>

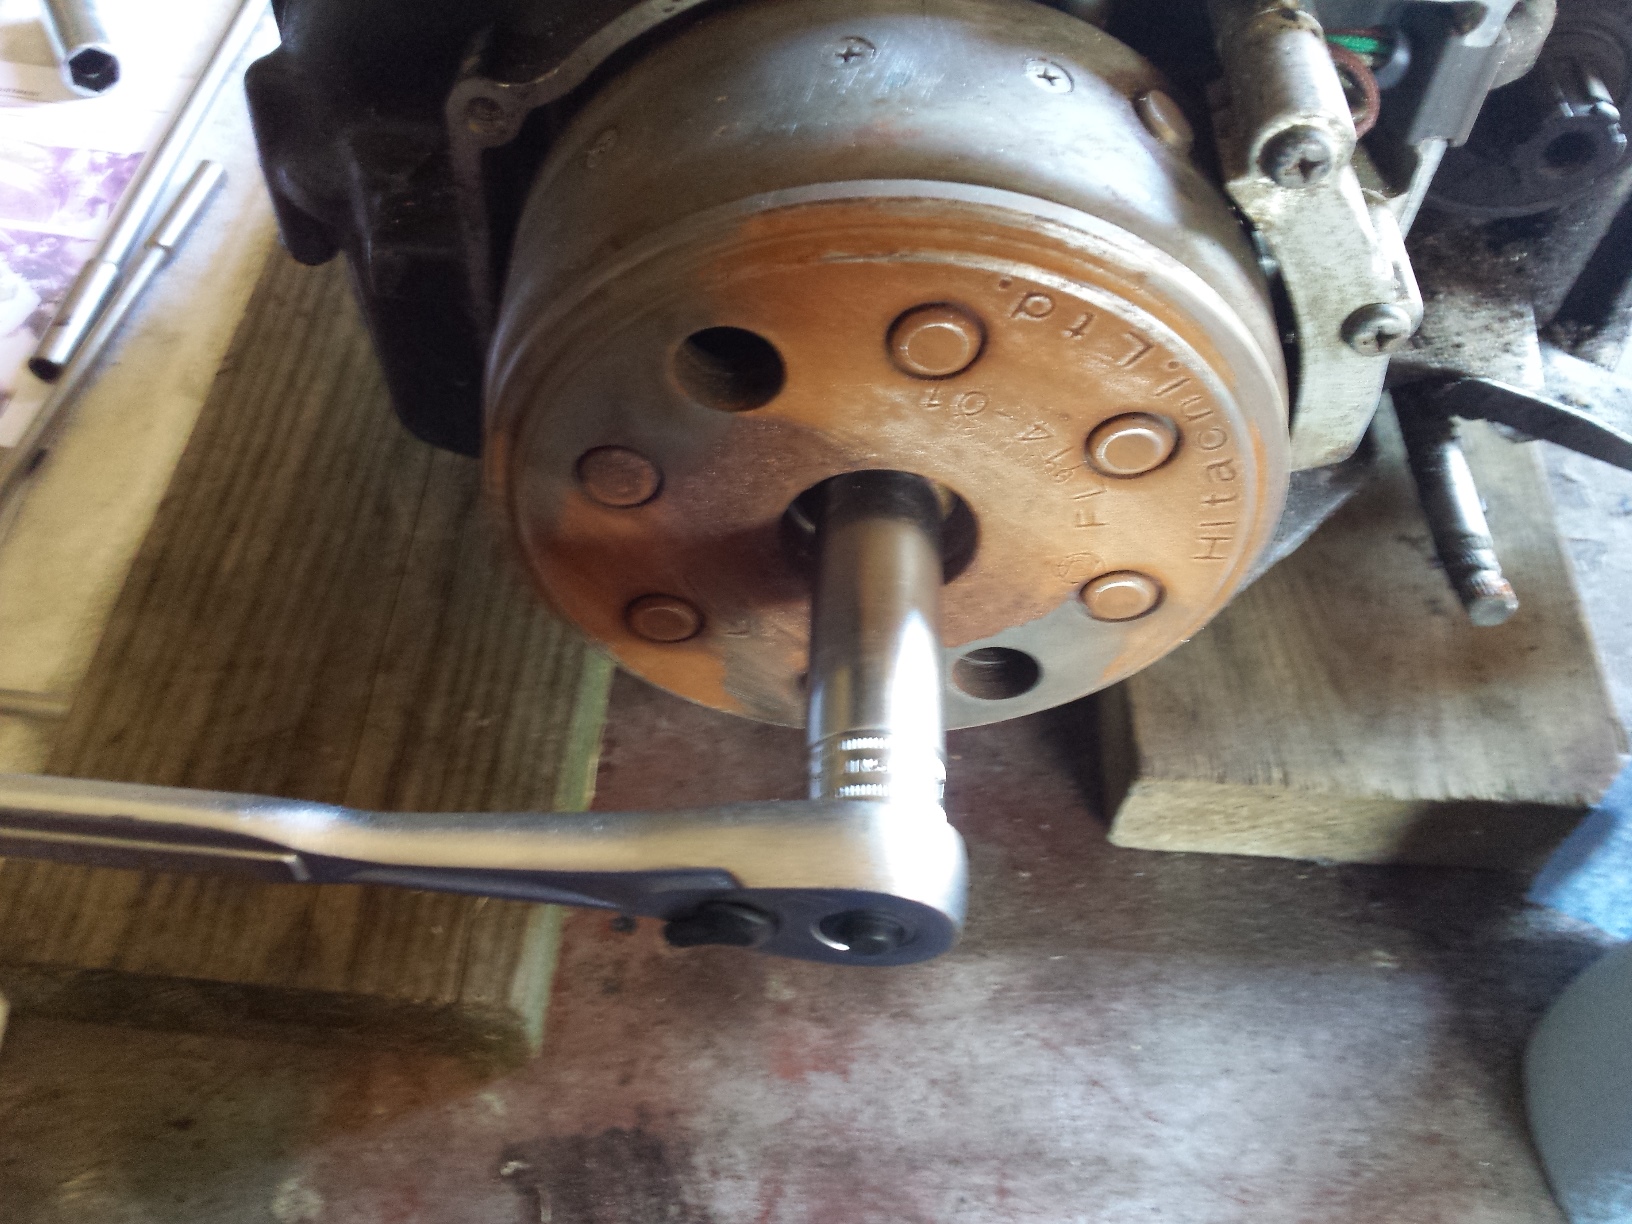
The engine is now ready to reinstall, I am going to leave the rotor cover off until later, ditto for the new clutch cover.

<wammo engine in frame>

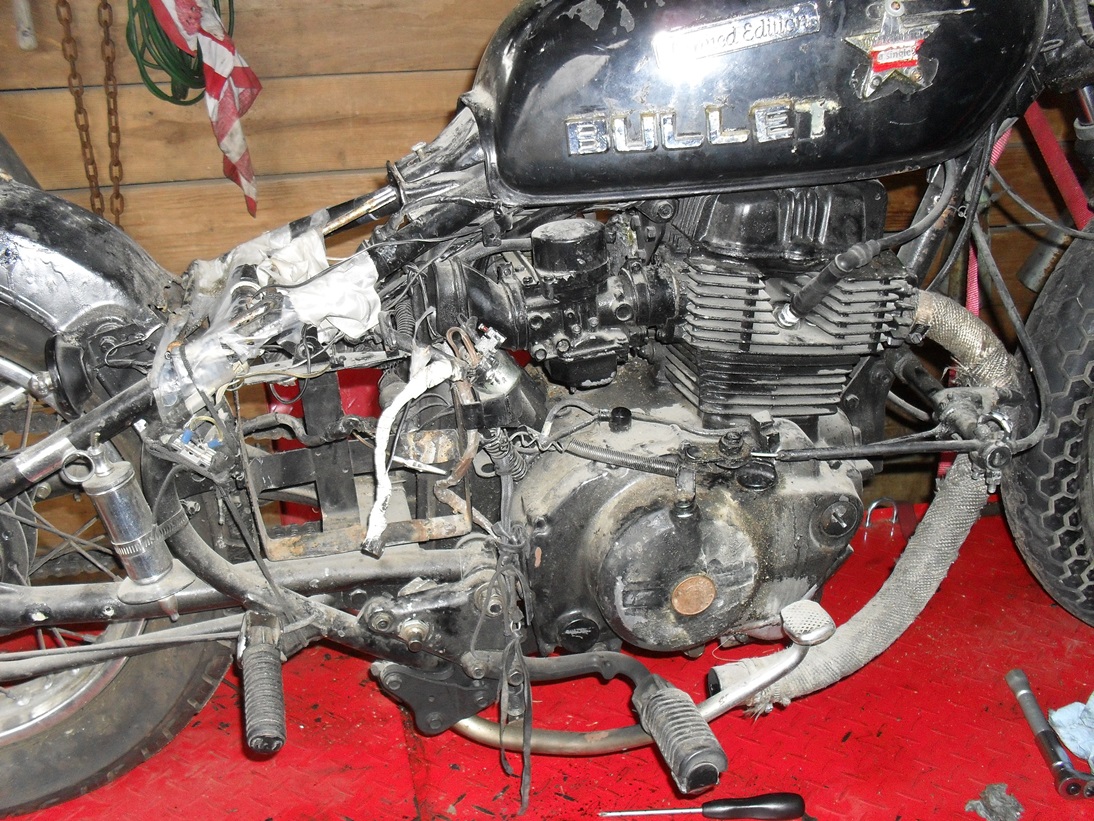
Now the engine is sitting back in the frame. The intake spigots are new replacements for the damaged originals.
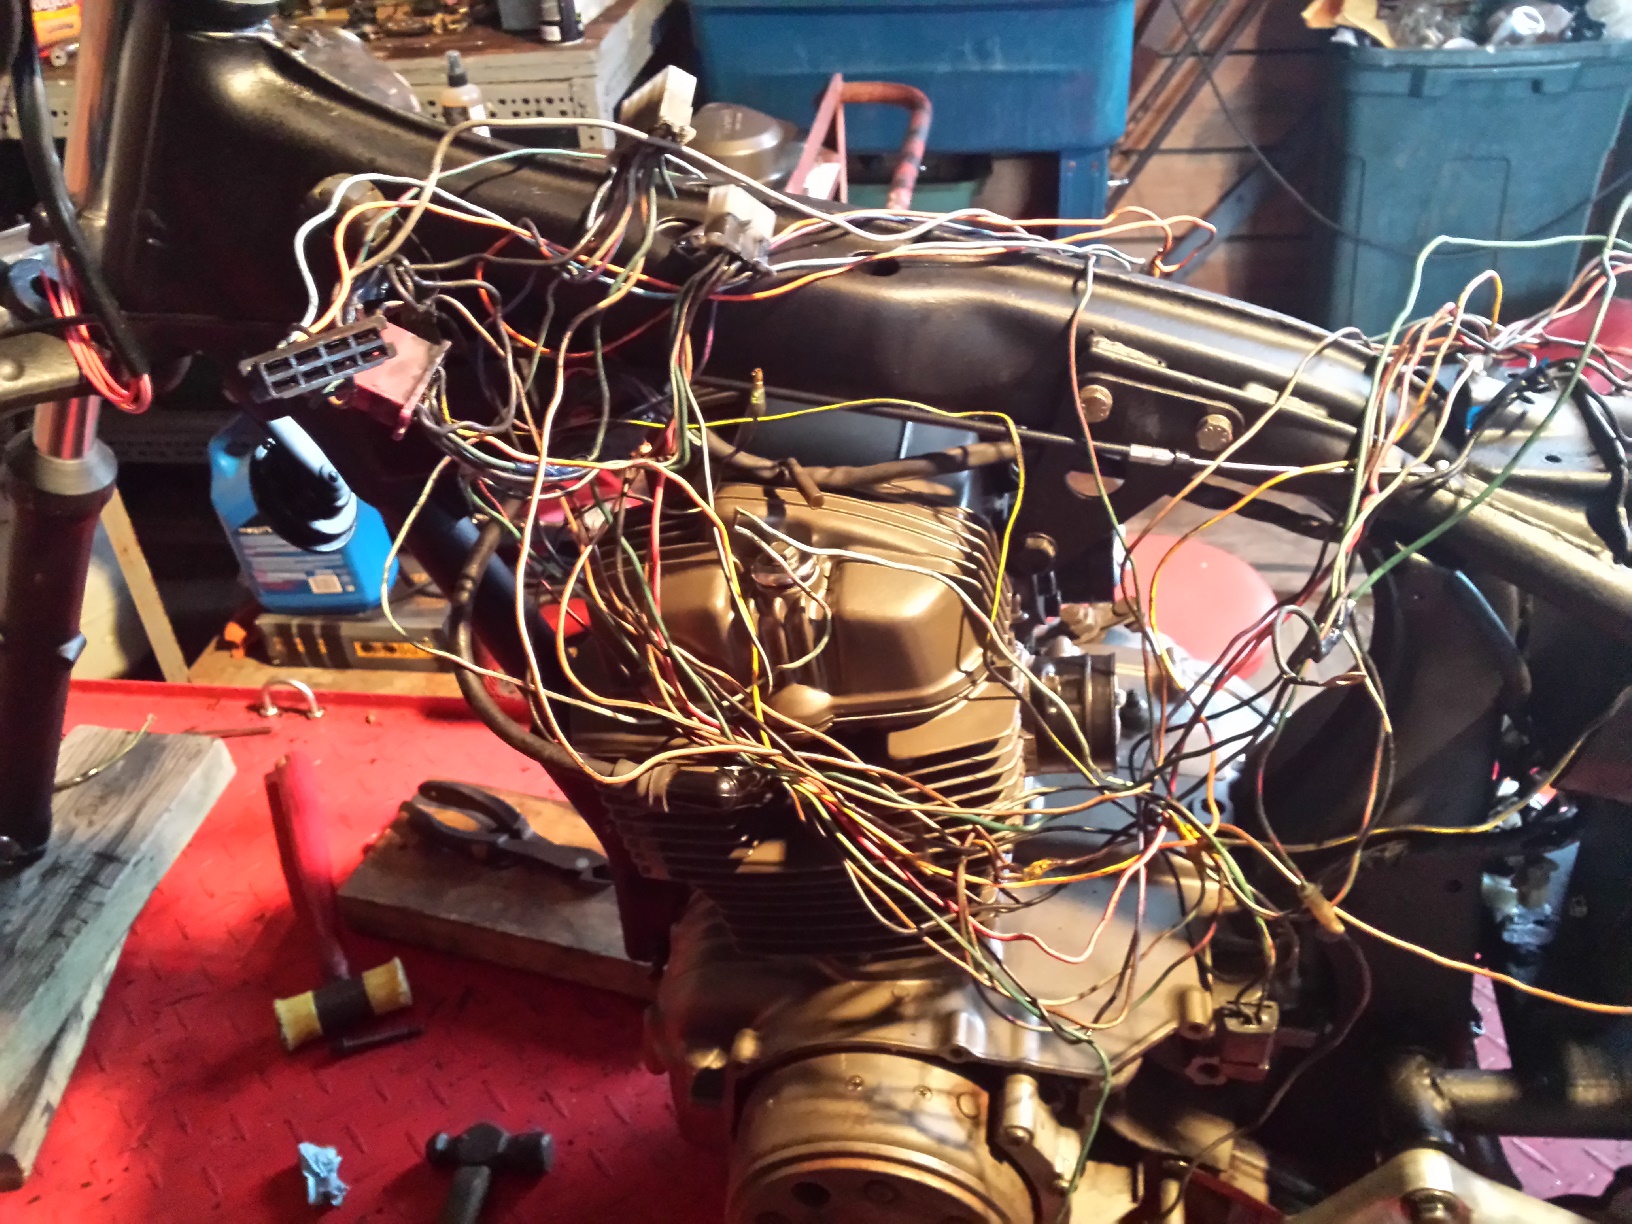
<I like puzzles>

I like puzzles

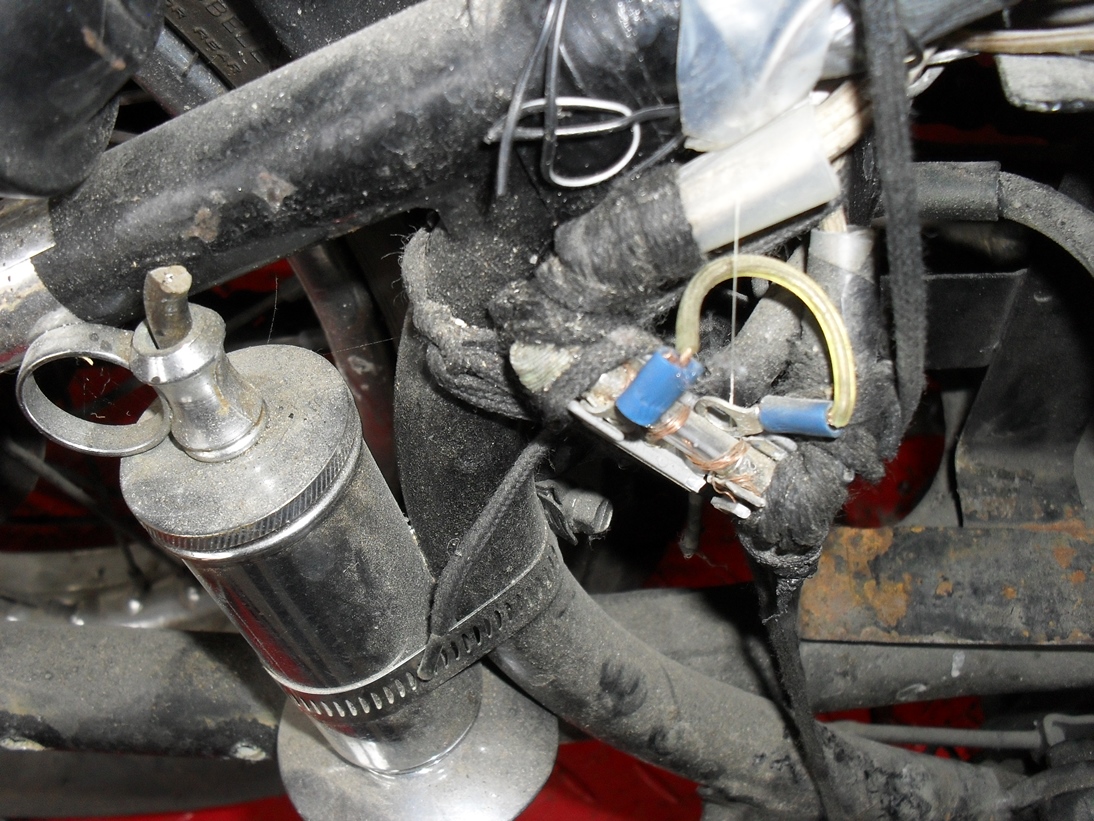
Now its time to sort out the wiring harness. Sometimes it is easier to start from scratch but for right now I am going to attempt to reuse at least some portions of the factory harness.

<honda twin regulator rectifier>

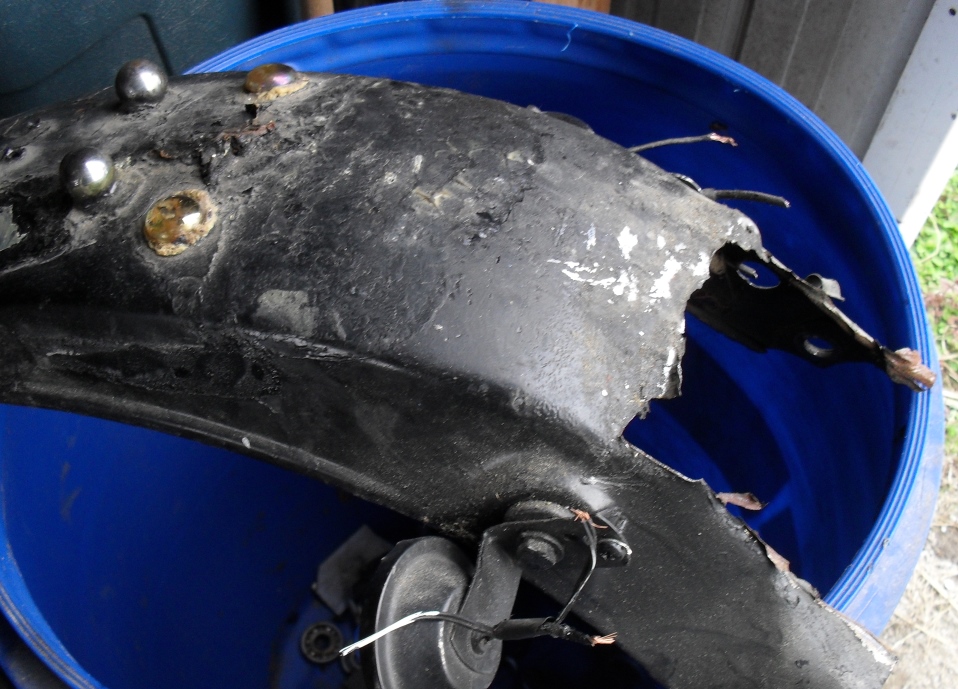
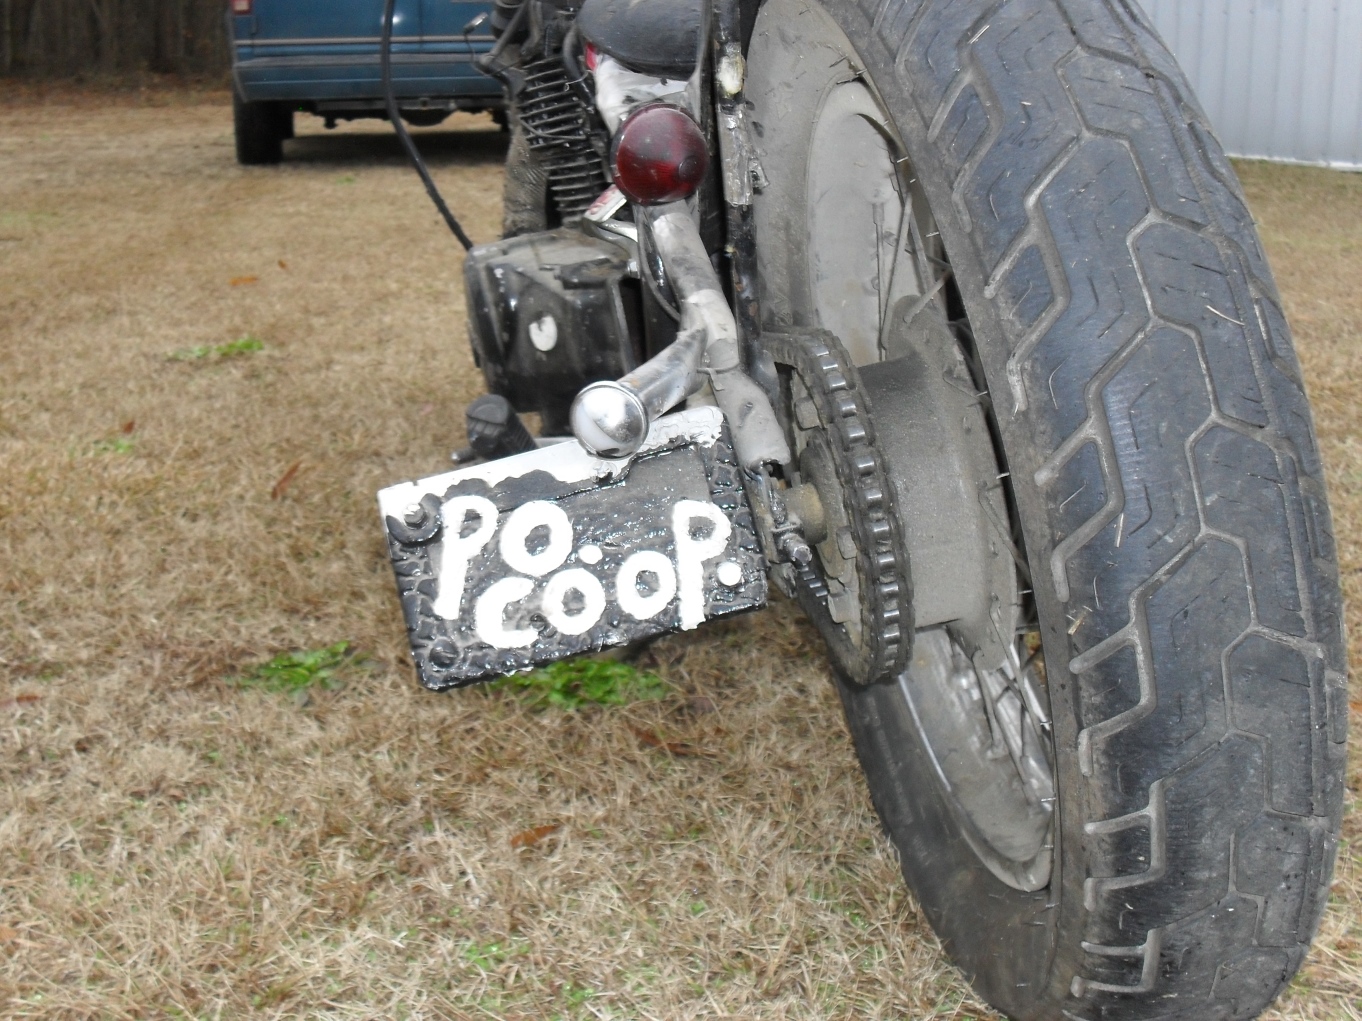
Normally on a custom motorcycle one would attempt to hide such parts as the regulator rectifier but since I am going for a post apocalyptic paramilitary look on this machine it is bolted to the side of the rear fender out in plain sight.

<Honda CV carbs>

Once I get the wiring sorted out and get the wheels back on it’ll be time top restore this set of CV carbs. I will probably do an in depth post on that process when the time comes.

Peace Y’all

Honda CM400 Valve Adjustment

Today I’m going to show you how to perform a Honda CM400 valve adjustment. This basic procedure covers 1978-81 CM & CB400T Honda twins. This engine is from a 1980 CM400. Please refer to a proper CB/CM400 service manual to verify the exact procedures & specifications for your motorcycle. I will give the valve lash & misc. other tune up specs at the bottom of the page.

<cm400 valve adjustment tools>

Gather up the tools you will need along with a copy of the appropriate service manual. Please note that it is not necessary to remove the engine from the motorcycle to perform this procedure, I already have this engine out so that I could do some some fabrication work & painting to the frame. This is the long delayed Project wAmmo bobber that I should have finished months ago, but now I am back on it with a vengeance. You will need to remove the fuel tank, gear shifter, and whatever other parts are necessary so that you can remove the valve cover & the left side crankcase cover. Once all of that is done then remove both sparkplugs.

<cm400 spark plug removal>

After you remove the spark plugs, switch sockets & turn the engine in the direction indicated by the arrow on the alternator rotor. The big rusty flywheel looking thingy you see in these pictures for those of you who have never seen one before. This one had to have some of the rust sanded off so that I could see the markings on it.

<honda cm400 alternator rotor>

Turn the engine and watch for the intake valve rocker arm on the side you are adjusting to move down and then back up. These little Honda twins have a 3 valve per cylinder layout with 2 intake valves & 1 exhaust valve per cylinder.

<cb400 rocker arms illustrated>

Once the intake rocker arm returns to the top continue to turn the engine slowly and line up the next “T” mark on the flywheel with the pointer on the engine case, as it comes around. If the exhaust rocker arm starts to move you have gone to far & must circle the engine all the way back around & start over. Do not turn the engine backwards to get to the timing mark if you miss it.


<Honda cb400 timing marks>

Then verify that the piston is indeed at top dead center. On this engine it is fairly easy to do just by looking into the spark plug hole.

<Honda cb400 piston tdc>

With the piston at top dead center for the cylinder you are adjusting both the intake & exhaust valves should a little bit of play in them unless the engine has severe wear or improper maintenance that has caused valve recession which will close up the gap. Too much lash is also detrimental to your engines performance and will cause your engine to tap very loudly. Too little lash will eventually lead to a burned valve if it doesn’t close completely.

Loosen up the lock nut for whichever adjuster you choose to start with, here I am starting on the exhaust side.

<cm400 exhaust valve locknut>

Then insert the proper size feeler gauge, loosening the adjuster with a flat screwdriver if needed.

<Honda cb400 exhaust valve lash>

Then carefully tighten the adjuster screw & lock nut until the feeler gauge is able to be removed & re-inserted with just a little bit of drag, but the next size larger feeler gauge should not fit. It will be necessary to hold the adjuster screw with the screwdriver as shown below while you are tightening the lock nut. Be sure to recheck your lash after you tighten down the lock nut for good, sometimes you may have to readjust to compensate for the adjustment screw moving when you torque the lock nuts.

<Honda cb400 intake valve lash>

Once you have all of the valves adjusted properly replace the engine covers being sure to inspect & replace all gaskets & seals as needed.

Valve lash and some miscellaneous tune up specs are below:

Intake valve clearance 0.10mm +/- 0.02mm    0.004″ +/- 0.0008″

Exhaust valve clearance 0.14mm +/- 0.02mm    0.006″ +/- 0.0008″

Idle speed 1200 rpm +/- 100 rpm

Spark plug   NGK-D8EA  or ND-X24ES-U

Spark plug gap  0.6~0.7mm    0.024~0.028″

Oil capacity  3 liters    3.2 U.S. qt.s

Hopefully this has helped someone out.

Happy Wrenching!

Project wAMMO pg. 2

Just thought I’d post a quick update on this project. Parts are starting to trickle in, and I’m beginning the fabrication. The new owner does need to let me know if he likes the long straight tail pipes My plan is to get the basic fab work done, then take care of the engine work needed, & then totally disassemble it for finishing.

<honda cm400 chopper>

Once that is done it will be reassembled with all new bearings, seals, brakes & tires! Should be fun.

Introducing Project wAMMO!

Perhaps I should just write all of this down and wait til I finish to start posting. Nothing like laying everything bare for the public eye to put the pressure on a man, but that’s okay it’s under control and everything’s gonna be alright. Before I started the teardown I just had to hear it run one more time, click here to have a listen for yourself. At the end it started to act like a runaway but settled back down a second or so after I let off the throttle, definitely a sign that it is running a bit lean. All the necessary bits to fix that are already en-route to my secret workshop as we speak.

CM400 chopper

Let’s get started

The seat just hit the scrap pile, notice that in a pinch you can substitute bandage tape & scotch tape for electrical tape, zip ties, & proper brackets.

<1981 CM400E>

I’m digging the old rhinestones glued to the rear fender aren’t you?

Here was the ingenious repair repair to the broken carb boot. McGyver would be proud. I must confess that if I were broke and/or stuck in the middle of nowhere I would do something like this to get home. New carb insulators inbound as I type this.

Honda CM400E Carb insulator

Hey it runs just like this.

And there were a large number of auxiliary fuses embedded all through the tape, of course all of them except for one had been bypassed….

<murdercycle kustomizing>

<kustom ratrod motorsickle>

<hellbilly special murdersickle>

This one has got me feeling more like a motor archeologist than a mechanic. Speaking of which if any of my readers can identify the object in the next two pictures would you please be so kind as to let me know. Thank you in advance for for being such fantastic and intelligent people.

<strange doohickey>

<if u no tel me>

if you know what it is please tell me

I was able to get the fender off without needing a tetanus shot.

<a real ratbike fender>

a real rat bike fender

Looking a little bit cleaner…

<backyard built rat chopper>

The original shock mounts were used for the fender struts and the side mount license plate holder.

<side mount plate holder>

Fortunately the frame modifications all appear to be well done by someone that had a clue about welding. Can’t say the same about the decades of accumulated stuff that got put on it afterwards.

<dangerous repair>

At least this is safer than no cotter pin at all.

I did a little more but will show you later as the UPS man just dropped off my new riding suit & I want to go try it on!

Peace Y’all

The Organic Rat! Honda CM400 Junkyard Dog!

This one has a kind of an interesting story to it. I had stopped at lunchtime a couple of weeks ago to fill the Suburban Assault Scrambler up up with ethanol free premium at my favorite gas station, when a local folk artist named Frank Cooper rolled up next to me in his mural covered Roadmaster. He comes over & tells me that he has an old Honda 400 in a storage unit that he might like to sell.

art car

super cool acrylic painted sled

I really didn’t think anything more of it for a week or two and then this morning  I gave him a call and met him at the rented storage unit where he stored this bike & apparently the rest of his worldly possessions also. After moving piles of junk (aka art supplies) this little bobber came into view. My immediate reaction was oh no I don’t want anything to do with that one. but after we got it outside he hooked up a battery & poured some gas in the tank and within a minute or so it fired right up and the engine sounded pretty good.

<ratty old cm400 motorcycle>

After negotiating a price I loaded it into my van & let it ride along to lunch with my beautiful wife & I. She didn’t even roll her eyes at me for buying it, I wish every man were as lucky as me. Here it is tucked into the back of my old Astro van. A normal sized motorcycle will not fit without removing the mirrors & maybe folding down the handlebars, but this one is so low it fits with plenty of headroom to spare.

<rat bobber chevy van>

loaded up and ready to haul

After getting it home I snapped a few pics of it to share with you. Lets start with the details first. I have no idea where this hardtail came from or what that silver thing is that is hose clamped to the frame.

<honda twinhard tail>

It kind of sketchy and dangerous looking….

The bottle opener is a nice touch.

<crazy dangerous motorcycle>

I might trade the bottle opener for one that says Guinness

I have no doubt this was the license plate he rode around with. 😉

<folk art license plate>

The seat is literally a junkyard dog.

<junkyard dog motorcycle seat>

woof woof!

How ’bout a top view?

<bobbed Honda CM400>

I hope any passengers don’t mind the comfy looking rear fender.

Come on you have to admit it has a mean looking stance!

<bobbed honda chopper 400>

“The Gunn”

The design and fabrication look as dangerous as a gunfight but all I plan to do to this one is to get it as functional & dependable as possible without changing anything about the way it looks or worrying about safety beyond making sure that it is not too likely to break in half if it hits a bump in the road. All motorcycles are dangerous, but some are more dangerous than others.

<wicked evil dangerous chopper motorcycle>

“The Bullet”

I am more than willing to entertain reasonable offers on this machine, as long as you understand that it is being sold as folk art with no warranty that you would ever be able to ride it at all and that it was fabricated by an unknown amateur of questionable talent & that I am not responsible for anything that happens to you as a result of attempting to ride this motorcycle. Of course the longer I keep it & the more I do to it, the better your offers must be.

Peace Y’all

Motopsyco.

QUICK UPDATE! A friend of mine saw this bike on Facebook & has purchased it from me. It is still parked in my shop because I have been commissioned to rebuild it to his specifications. Though I hate to see a real vintage rat disappear it will be a gritty down & dirty bobber, just right for him to tool around on down here in the dirty south! STAY TUNED!