a couple of interesting boxes….

More later, stay tuned!

This is the first time I have purchased a Mac exhaust system for one of my motorcycles. In the past I have purchased a few from Kerker, Vance & Hines, Yoshimura etc. Never really gave Mac products much thought as high performance was always the ultimate goal, and I, like so many young men thought they just made cheap replacement systems for oddball old Jap bikes. Fast forward a few years & now my favorite thing to do is customizing oddball old Jap bikes such as this CB650 here. Performance & sound are still important, just not nearly as important as they use to be. Bang for the buck & good availability mean a lot in this day and time & that is two main things that Mac has going for them. Lets get started installing a set shall we? For this ratty old scrambler conversion I picked out a plain black 4 into 1 system with a shorty muffler.
First thing to do is remove the old exhaust and set aside the parts that you may be re-using. One of my favorite things about this system is that it uses the o.e.m. finned exhaust flange that to me, are very important to the looks of an old air cooled engine.

original Honda CB650 exhaust flanges
I had actually pulled the stock pipes off a couple of weeks ago and just stuffed the ports with rags to keep the critters out.

the mud daubers around here, love to nest in motorcycle engines
Lets look at what comes with the new Mac exhaust system.

Mac exhaust hardware
As you can see in addition to the muffler this set came with new split collars, muffler clamp & bolts, and 2 different hanger bracket. not shown in this picture is the new center stand stop that comes with it.
The split collars were joined together by a small strip of metal that was left when they were sawed in two. Resist the urge to break them apart.

new Mac split collar
After you place the o.e.m. exhaust flanges on your new head pipes carefully spread the collars open just barely enough to go over the pipes and then squeeze them back together so that you only have one piece to hold in place while you position the flanges & start the nuts.

split collars on Honda exhaust
I always use plenty of anti-seize compound on exhaust studs and so should you.
Have some mercy on the next person to remove he exhaust system on your scoots …
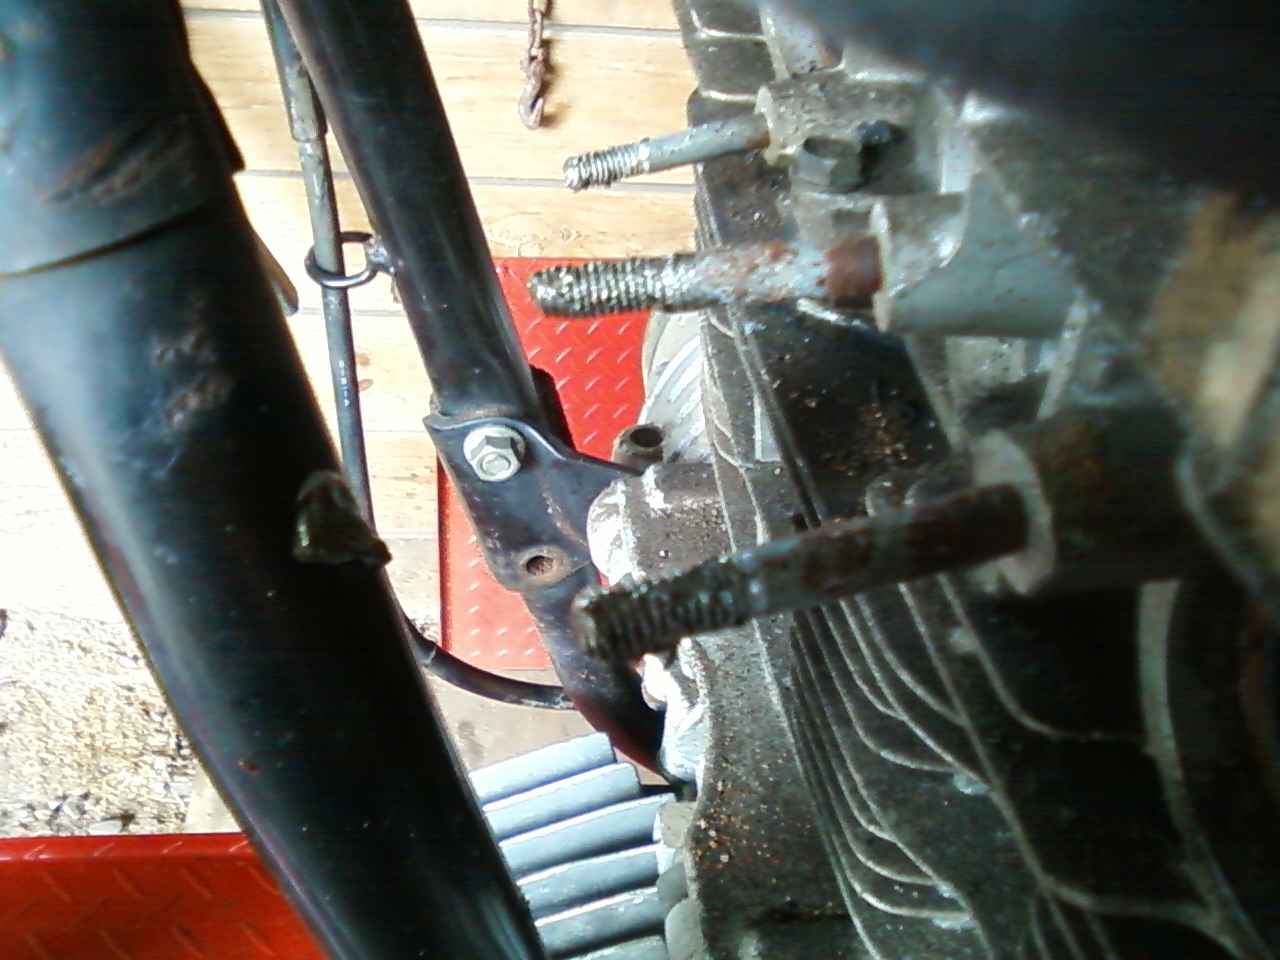
Here’s a shot of the pipes in place, I had to pull on the pipes a little to persuade them into place, nothing major just a little tugging & spreading. After you get the pipes in the ports and the flanges back on do not tighten the bolts all the way down until you get the entire system installed.

Mac shorty muffler
Put the clamp on the muffler and slide it into place and then get your hanger bracket and figure out which one you need to attach the muffler to the passenger foot peg bracket.
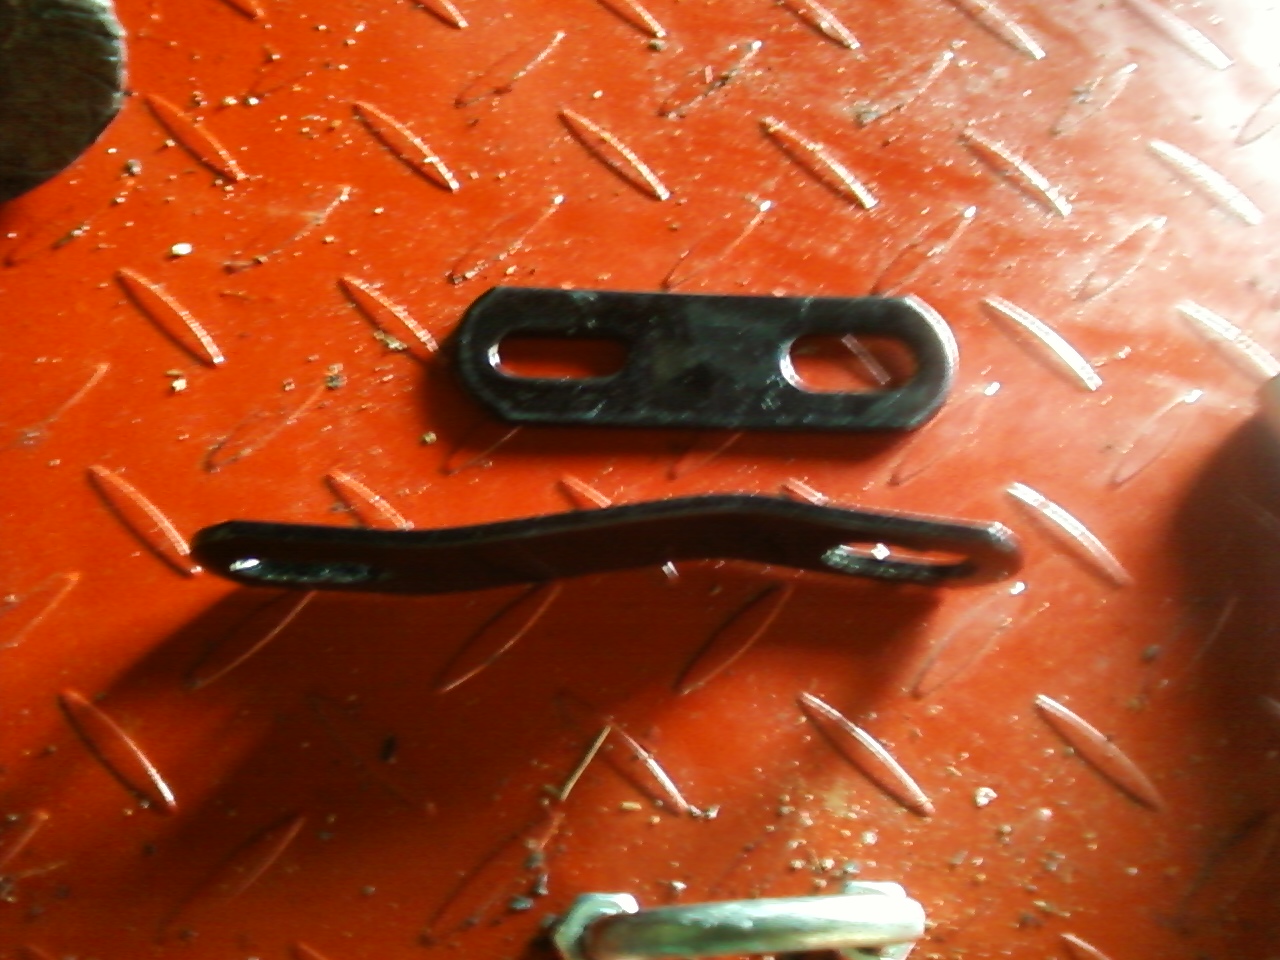
exhaust hanger brackets
The enclosed instructions said to use the short bracket for a CB650C (custom cruiser model) which is what this bike started off as, but in my case it did not fit. I don’t know why and it really does not matter that much to me. The longer bracket worked just fine, I bent the dog leg into it so that it would support the muffler at its natural resting point on the head pipe instead of pulling it in toward the bike. Now tighten all of the bolts attaching your new exhaust to the motorcycle to the correct final torque.
The process of tightening the clamp & muffler mount does bring me to my one major pet peeve with darn near every major motorcycle accessory manufacturer doing business in America. Here I am working my way through this install with the 3 wrenches that will disassemble 90% percent of motorcycles existing in the world today a 10mm, a 12mm & a 14mm, and I have to stop what I am doing and go get a 1/2″ wrench to install the last 2 bolts. I realize that when some of these products were first created back in the ’70s & early ’80s metric hardware was a little more “exotic” and not as cheap and easy to find as the “standard” stuff, but here in 2013 there is no excuse whatsoever to still have standard fasteners on accessories for European & Japanese motorcycles or for that matter modern Harleys & Triumphs too. It would only take a little effort & I for one will be eternally grateful.
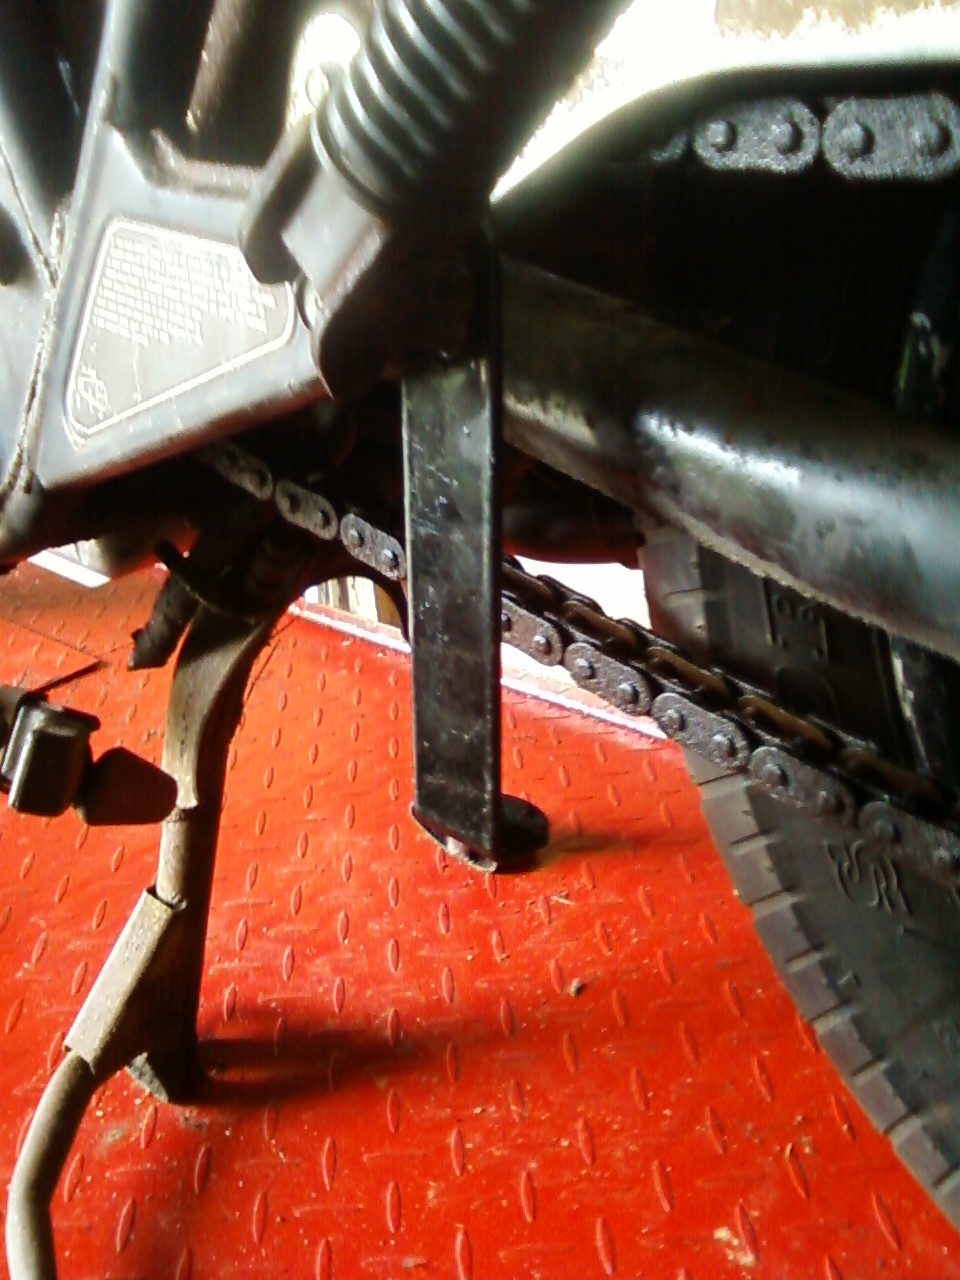
On the other side of the bike install the new center stand stop, unless of course you are planning to remove the stand.
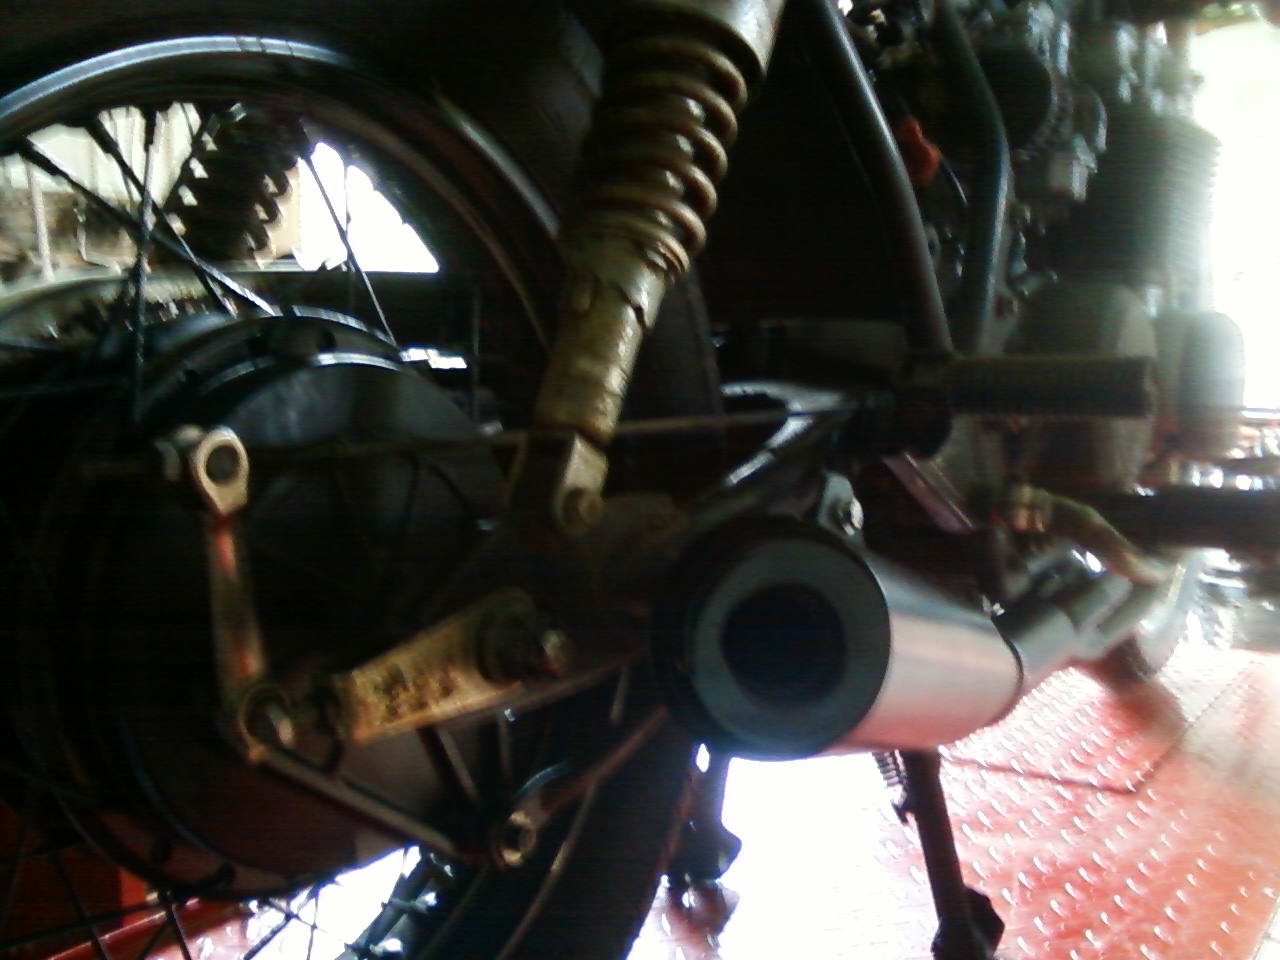
After I got it all on, it looks the part & sounds great too.

Mac 4 into 1 On Honda CB650
With this system I get to retain the center stand, have easy access to the oil filter & I have a little cash leftover too!
Did I mention that it has a mean sounding growl too! Click this link to have a listen.
Peace Y’all
9-1-113 Just a quick update on one minor problem that surfaced after 3-400 miles of road time. The rivet holding the baffle in became loose, allowing the baffle to rattle inside of the muffler until it got hot and expanded. My solution was to tack weld the baffle into place & repaint, but one could just drill out the rivet & replace it with a bolt & nut, if by some chance you have the same problem too.
Today, I rode the Minimum Ninja for the last time. A fine gentleman at work had fallen in love with it and asked me if I wanted to sell it, of course I told him no but that I would take XXXX dollars for it. Now it has a new home on a paved street in a nice 2 car garage. No more wading through the mud to get me home if it rains, or sharing a drafty old humid stable with a bunch of old decrepit motorcycles & bicycles. I did have to take one last ride to work and one last picture. So long old friend, enjoy your pampered new life!
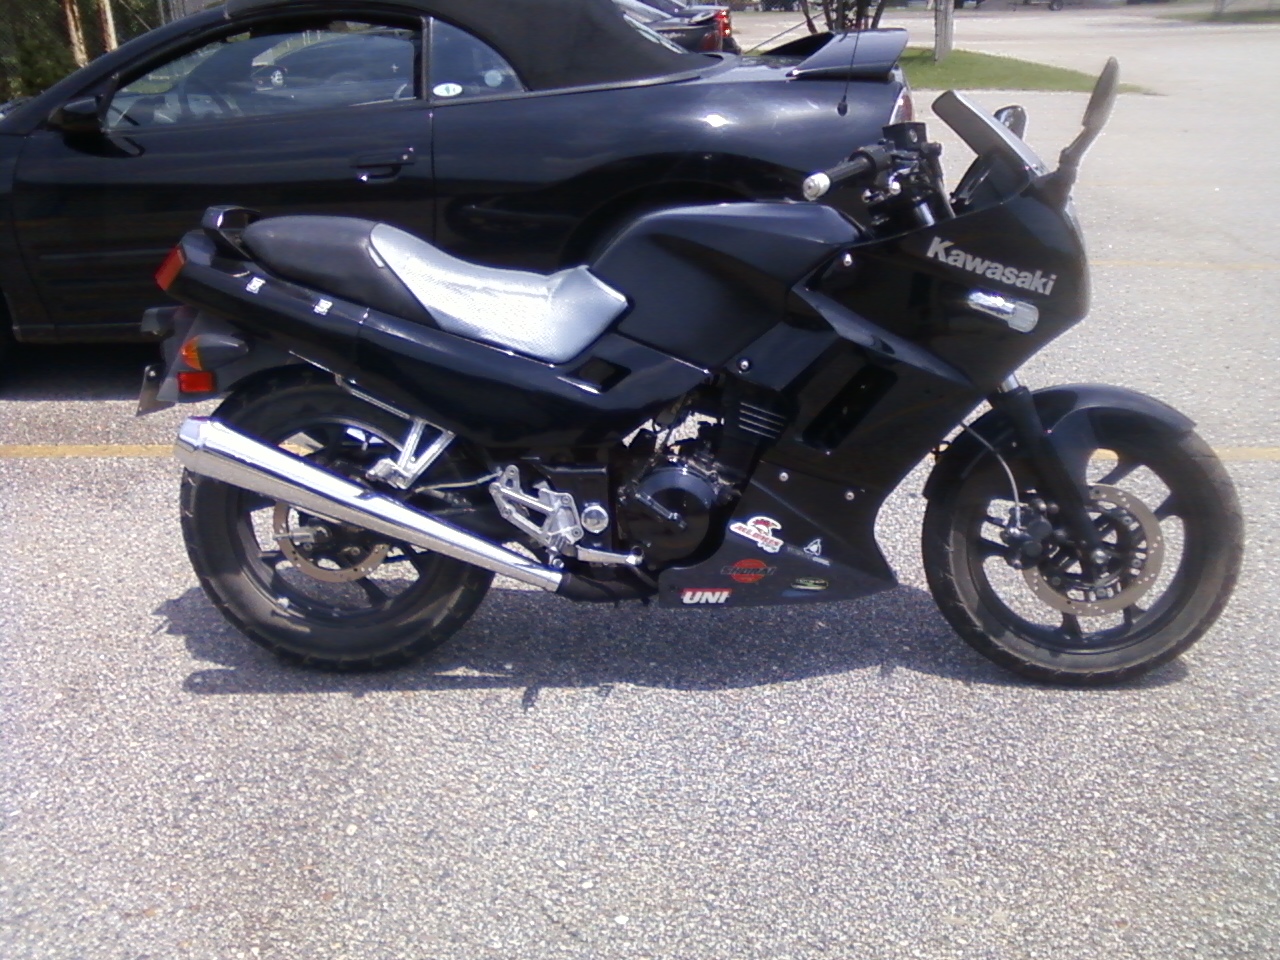
The Minimum Ninja basking in the summer sun.
Now I really gotta get to work on that damn old 650 Honda out in the barn!
Peace Y’all
Just thought I’d do a quick update on some of the things that I have done with my CB650 project. I have been working on it a little at the time between my normal day job, a few bikes & atv’s for other people, & some painting (airbrush practice & landscape oil painting). Since I’ve decided to go with the “rat suburban assault scrambler” look some of the things about this project have gotten easier, but other design ideas require just a little more ingenuity. Rather than sawing off the back half of the frame & welding in a new seat loop as required to get the proper cafe racer look I am opting for a modified stock seat with a 74 CB750 tank, but I still wanted to eliminate the stock side panels. My plan now is to replace the side covers with 2 pieces cut from some rusty old expanded metal sheet I have lying around. To do that I still needed to modify the mounts for the electrics, and since I will be using a Shorai lithium battery that is much smaller than stock, a custom battery tray was in order also. Since this is a rat I decided to do this with nothing but materials I already had on hand. After sitting down & staring at it a while with my note book, pencil & ruler in my hand I came up with a basic design that tucks everything up high, bolts into the stock mounts, & allows me to reuse the inner fender to protect the electronics. Here’s how it goes…
First I removed the stock battery tray, along with the airbox & some other now useless items. Then I drilled out all of the spot welds holding the mounts, & various brackets to it.
butchering a Honda CB650 battery box
In the spirit of my deep back country roots I decided to make do with the stuff I had on hand & not buy any new stuff to make this from, so this left over shelf divider that was destined for the scrap bin will get to live on as a motorcycle part. Here it is with all of the brackets & mounts salvaged from the original battery box.

a custom battery & electronics tray in kit form 😉
Then using my band saw I cut the tray to shape & bent it in a vise.

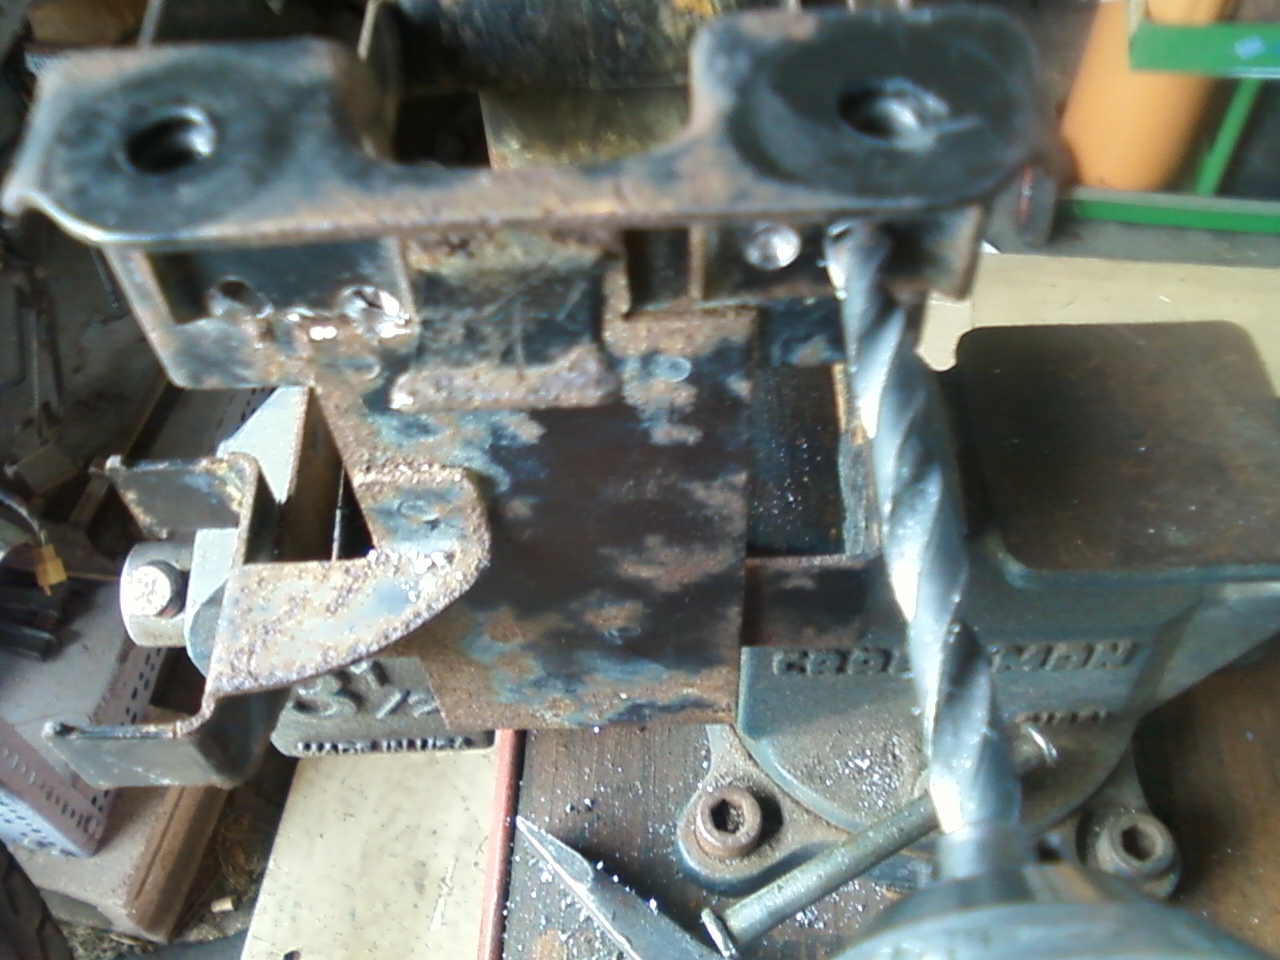
Then I bolted the stock mounts back into place using the original hardware & clamped the tray in between them. Since I do not have a tig box for my welder (YET) I simply use a 1/16″ 6013 rod to tack the pieces together without burning through the sheet metal too much.

tack welding battery box
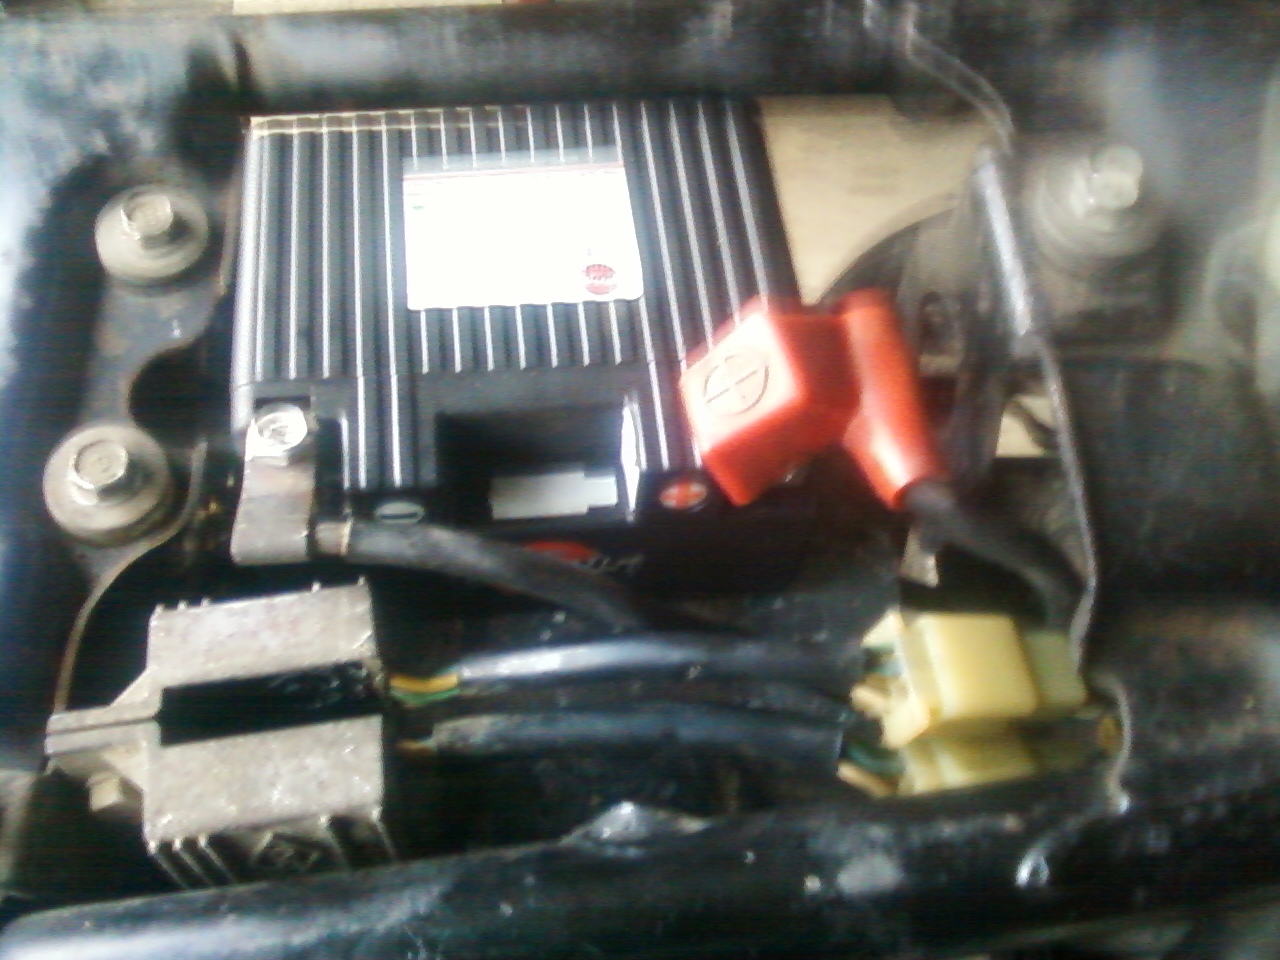
After I got it tacked together with the stick welder I took it out and flipped it over & then brazed it securely together with the oxy-acetelyne torch. Then I laid out the various components such as the rectifier, turn signal flasher & etc & then brazed those mounts to the bottom of the plate.

custom rat motorcycle electronics mount
I know it looks awful, but I might just leave it that way, this is a rat after all. I will have to sort & secure all the wiring though, because neatly sorted wiring is easier to trouble shoot in the future & is less likely to develop problems that need trouble shooting.
Here’s a view from the top side showing the Shorai battery lying on it’s side. I still need to make a plastic box to keep the battery from sliding around. Since my day job is doing design work using Solidworks, I may just draw one up & have it printed out using a 3d printer. If not I’ll form one out of ABS sheet.
fits just right!
I can’t say enough good things about these batteries, they’re light, powerful & durable. I’ve installed them in a couple of customer bikes, this one, and even have one in my lawn mower! Sure the cost a little more than the lead acid batteries, but are in my opinion a threefold improvement in all areas. I do sell these & would be happy to quote you one if you contact me.
Here a couple of other items that have been added, first an Ebay find of a 74 Honda CB750 fuel tank. This fit with modified rubbers & a custom rear mount. I’ll show you some more details later after I have it all worked out with the seat fitment. but I think it looks really good on here!

Honda CB650 with CB750 tank
Another Ebay purchase is this 1970 Honda CL450 Scrambler. I bought the whole bike just to get the handlebars!
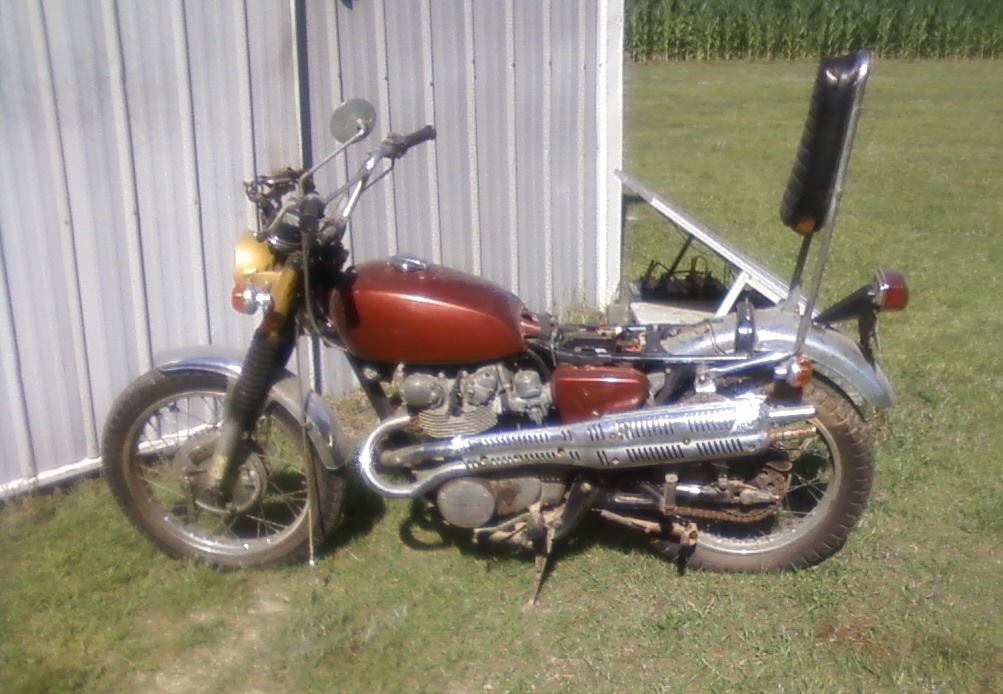
1970 Honda CL450
It’s pretty much seized up and there’s no paper work but the handlebars gave me exactly the look I wanted for my project. Good solid bars with just enough crust to blend in. No need to treat a new set of bars to a faux patina.

1970 CL450 handlebar on 80 CB650
The CL450 will be parted, I plan to keep the frame, engine, carbs, gauges, charging system, fork & wheels. All of the sheetmetal and the exhaust are up for grabs to my fellow hobbyists who want them. The fuel tank is rusty bondoed junk but everything else is decent. Contact me using the form below.
I had a few other adventures including dealing with a stuck oil filter bolt that I’ll go over with you soon including how far I had to go to get it out.
Peace Y’all
Alright! You’ve got your latest barn/field/junkyard find home, it still had good compression, so after cleaning the carbs, topping off the oil and putting in fresh gas it actually fired up and ran okay. Yeehaa! now comes the hard part, do not immediately go running in the house to scour the internet looking for the thousands of dollars worth of parts & accessories you need to restore or customize your new to you machine, there is one more thing you must do to be sure that you don’t need to tear the engine down to bare cases, or perhaps just throw the whole damn thing in the trash. Most vintage Japanese & British machines have an oil sump (oil pan to some of you) strainer, that has probably never even been looked at since the machine left the factory. For this lesson we are going to remove the oil sump (pan) from my personal 1980 Honda CB650 and see what we find inside. After a few minutes running time & a valve adjustment this old thing has less the 8 p.s.i. difference in compression from the lowest to highest cylinder, I can live with that, if there is nothing wrong in the bottom end. Lets have a look shall we. First if you have a lift put it up on the lift securely.

Let the serious work begin!
The mufflers are off of mine because I am planning on binning them anyway, it is not necessary to remove them for this job on this motorcycle. On some bikes it may be required, refer to your service manual for details.
Locate the oil drain plug,

the location of the drain plug & oil pan bolts
and remove it with the appropriate wrench and drain the oil into a catch pan.

be sure to catch the aluminum sealing washer.
Since this involves changing the oil you might as well go ahead & change the filter too. On these old air cooled Hondas the filter is a cartridge in this housing on the front of the engine.

Oh no! this bolt has pliers marks on it. Not cool.
Remove the filter and housing, be sure to move the catch pan so that it catches the oil from the housing.

removing the oil filter bolt
Now move to the bottom of the machine and begin loosening the bolts on the sump. The CB650 has 10 bolts that are all the same size & length, so all I have to do is don’t lose any. If you motorcycle has different size or length bolts holding the sump on be sure to note which bolts go into which holes.

the motopsyco hard at work
Before you completely remove the last bolt and thus the sump be sure you slide the drain pan back into place beneath the engine.
Before you rush to dump the oil pan set it on the bench and have a good look at the goo stuck in the bottom of it. This will tell you a lot about the health of your engine. Believe it or not the crappy looking mess in the picture below is actually what you hope to find.

inside the CB650 oil pan
This one has a thick coat of clutch dust & what ever dirt that got into the engine & settled out of the oil, what I don’t see are any pieces of gear teeth or metal shavings that indicate an serious problem with the engine or transmission. Now take a magnet & swish it around in the muck to see if it picks up anything. Mine came back clean this time. This is no 100% guarantee that all is well with the transmission etc. but it does make me feel better about buying the parts needed to get it ride-able.

Now it is time to inspect & clean the strainer screen.
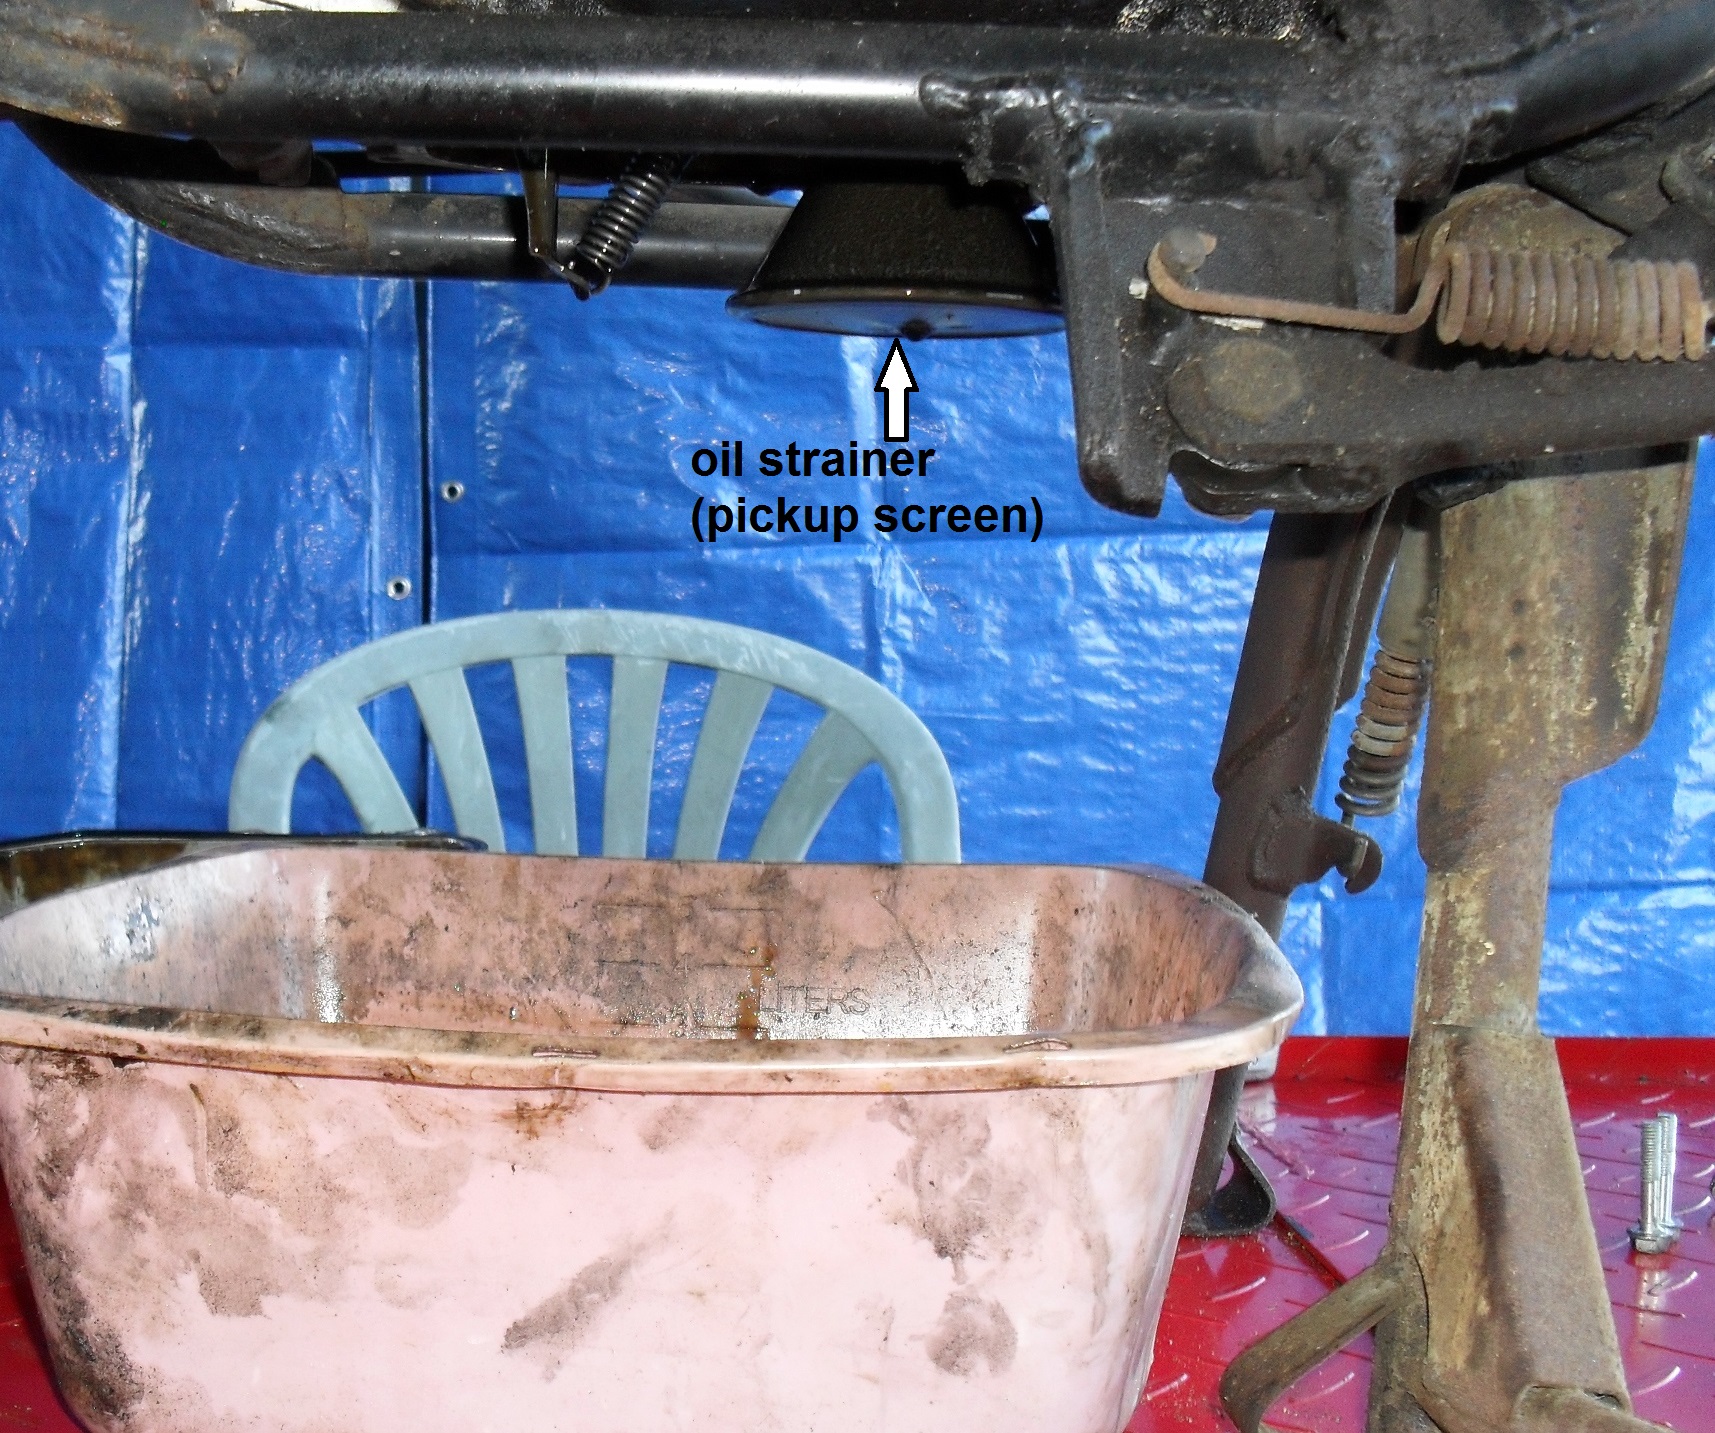
location of oil strainer Honda CB650
While you are down ther3 have a peek up into the engine to see how everything looks.
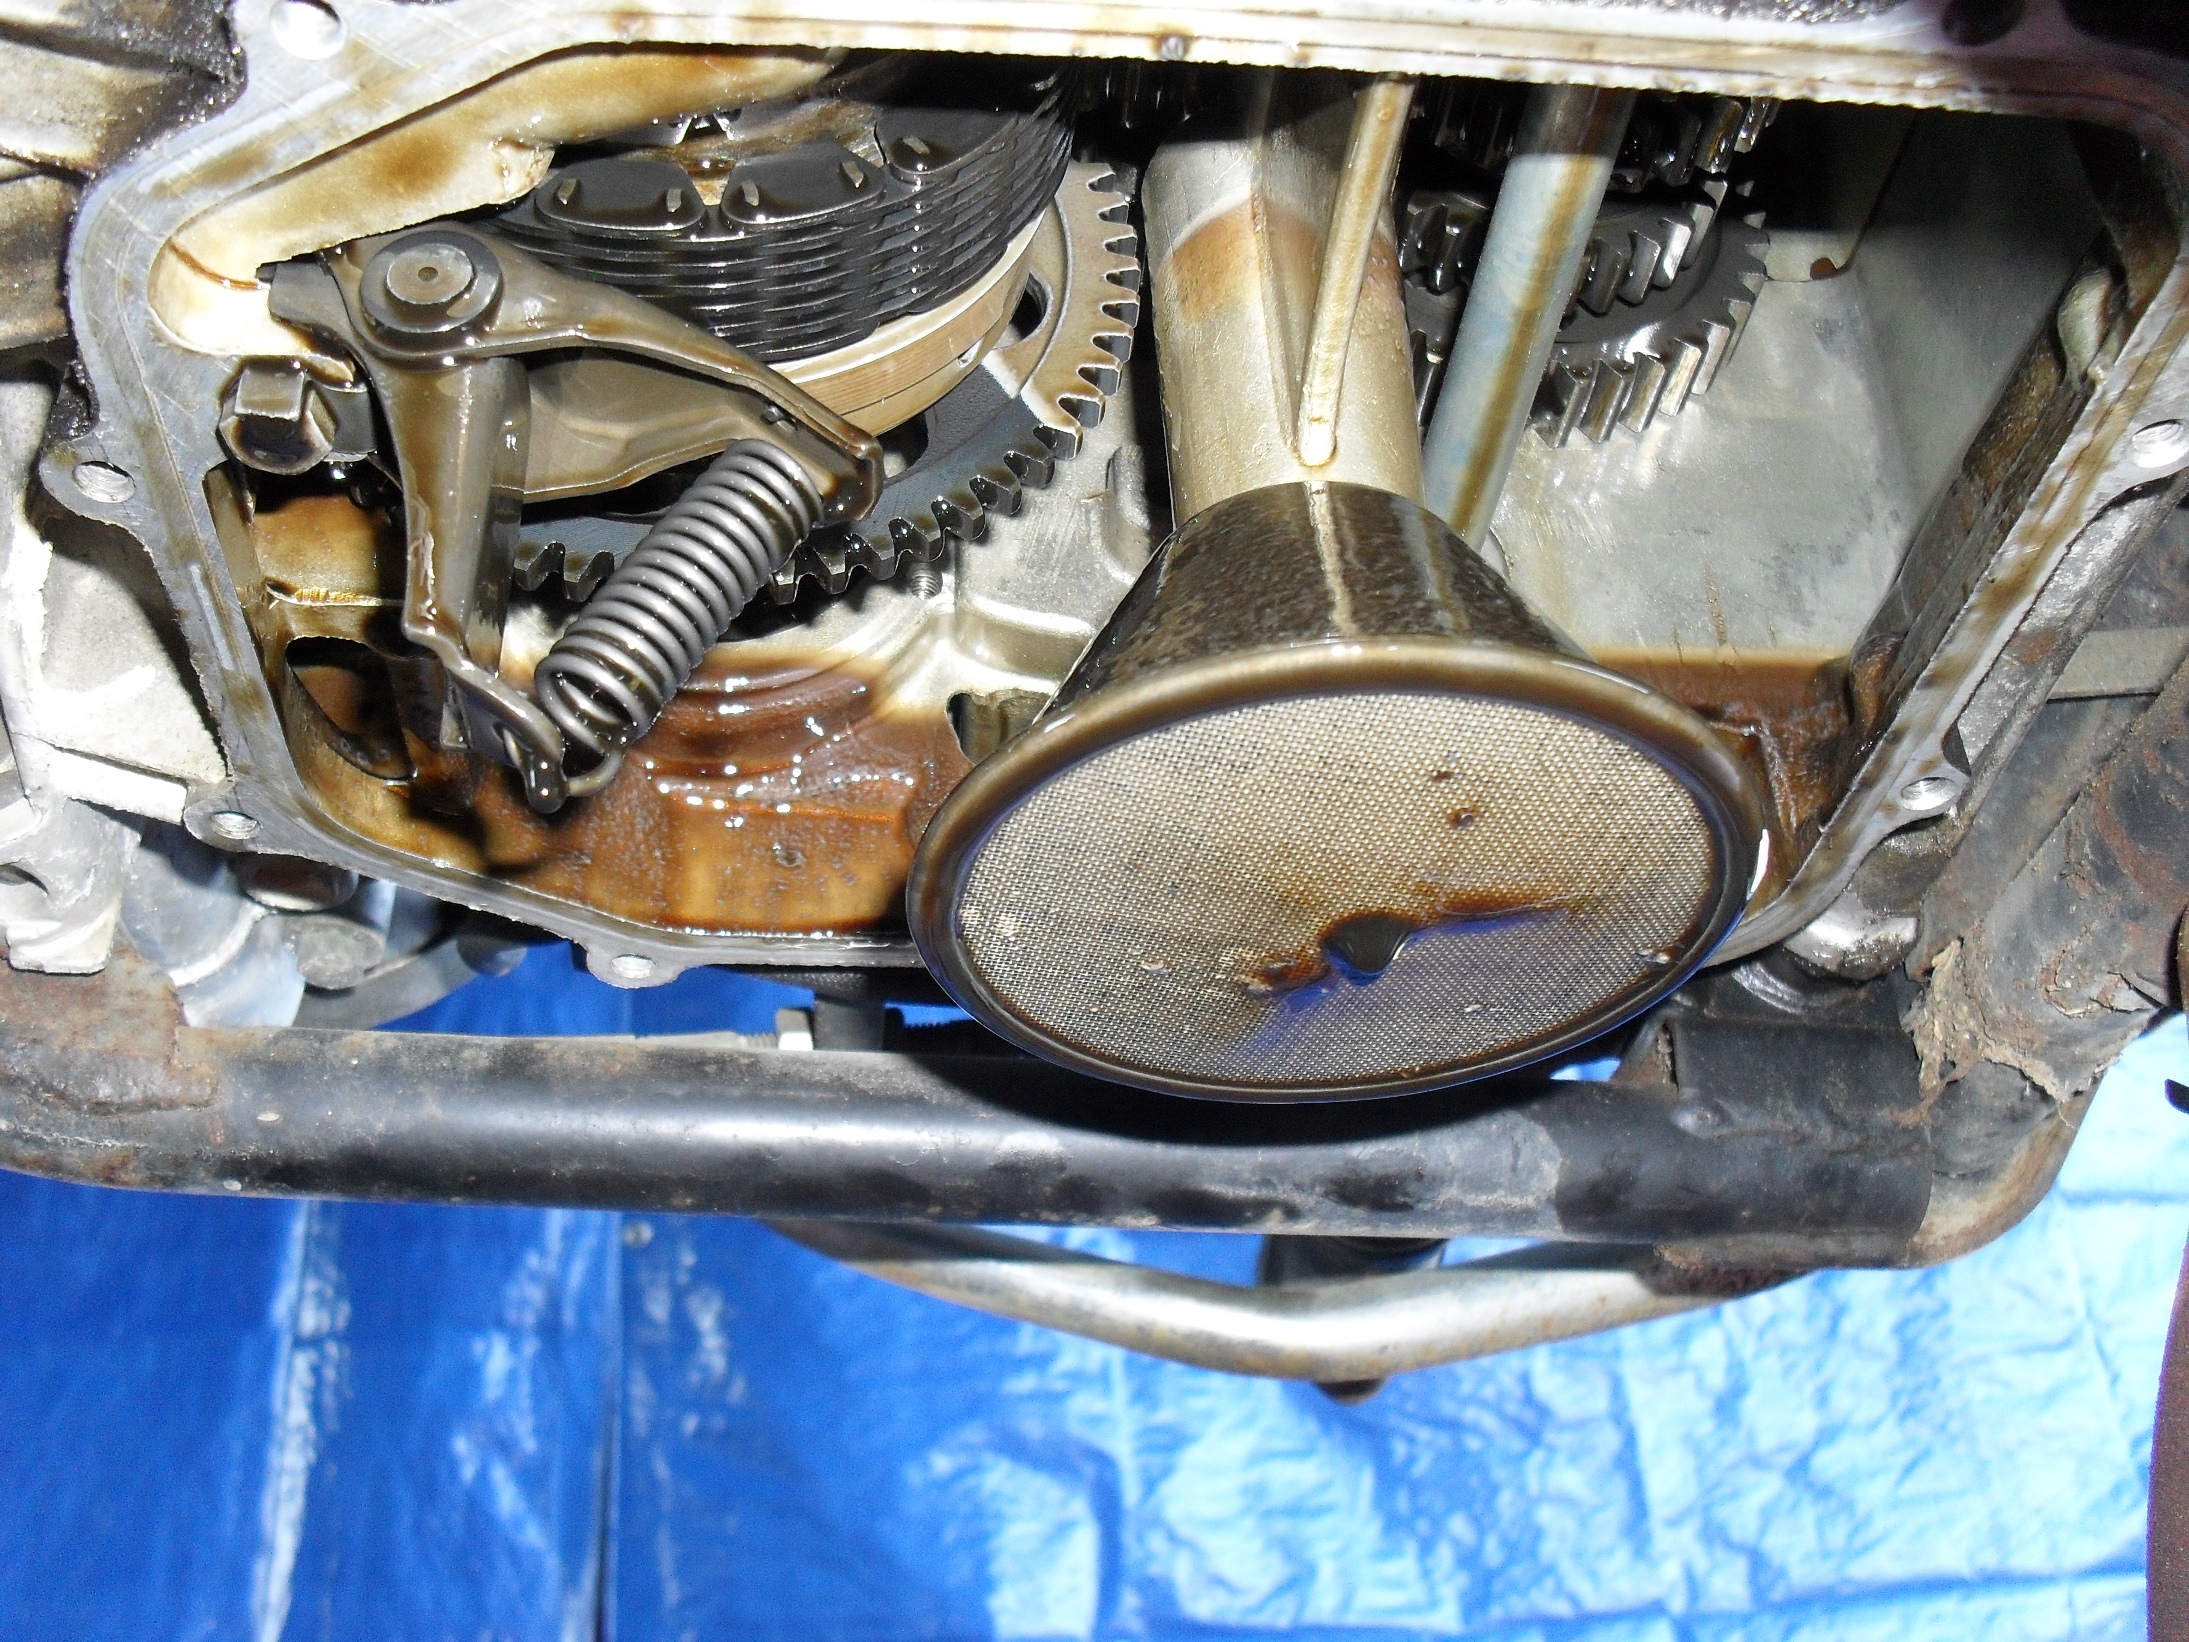
this all looks good in here
On a CB650 slide the drain pan back under the engine & pull down on the strainer, it should slide out.
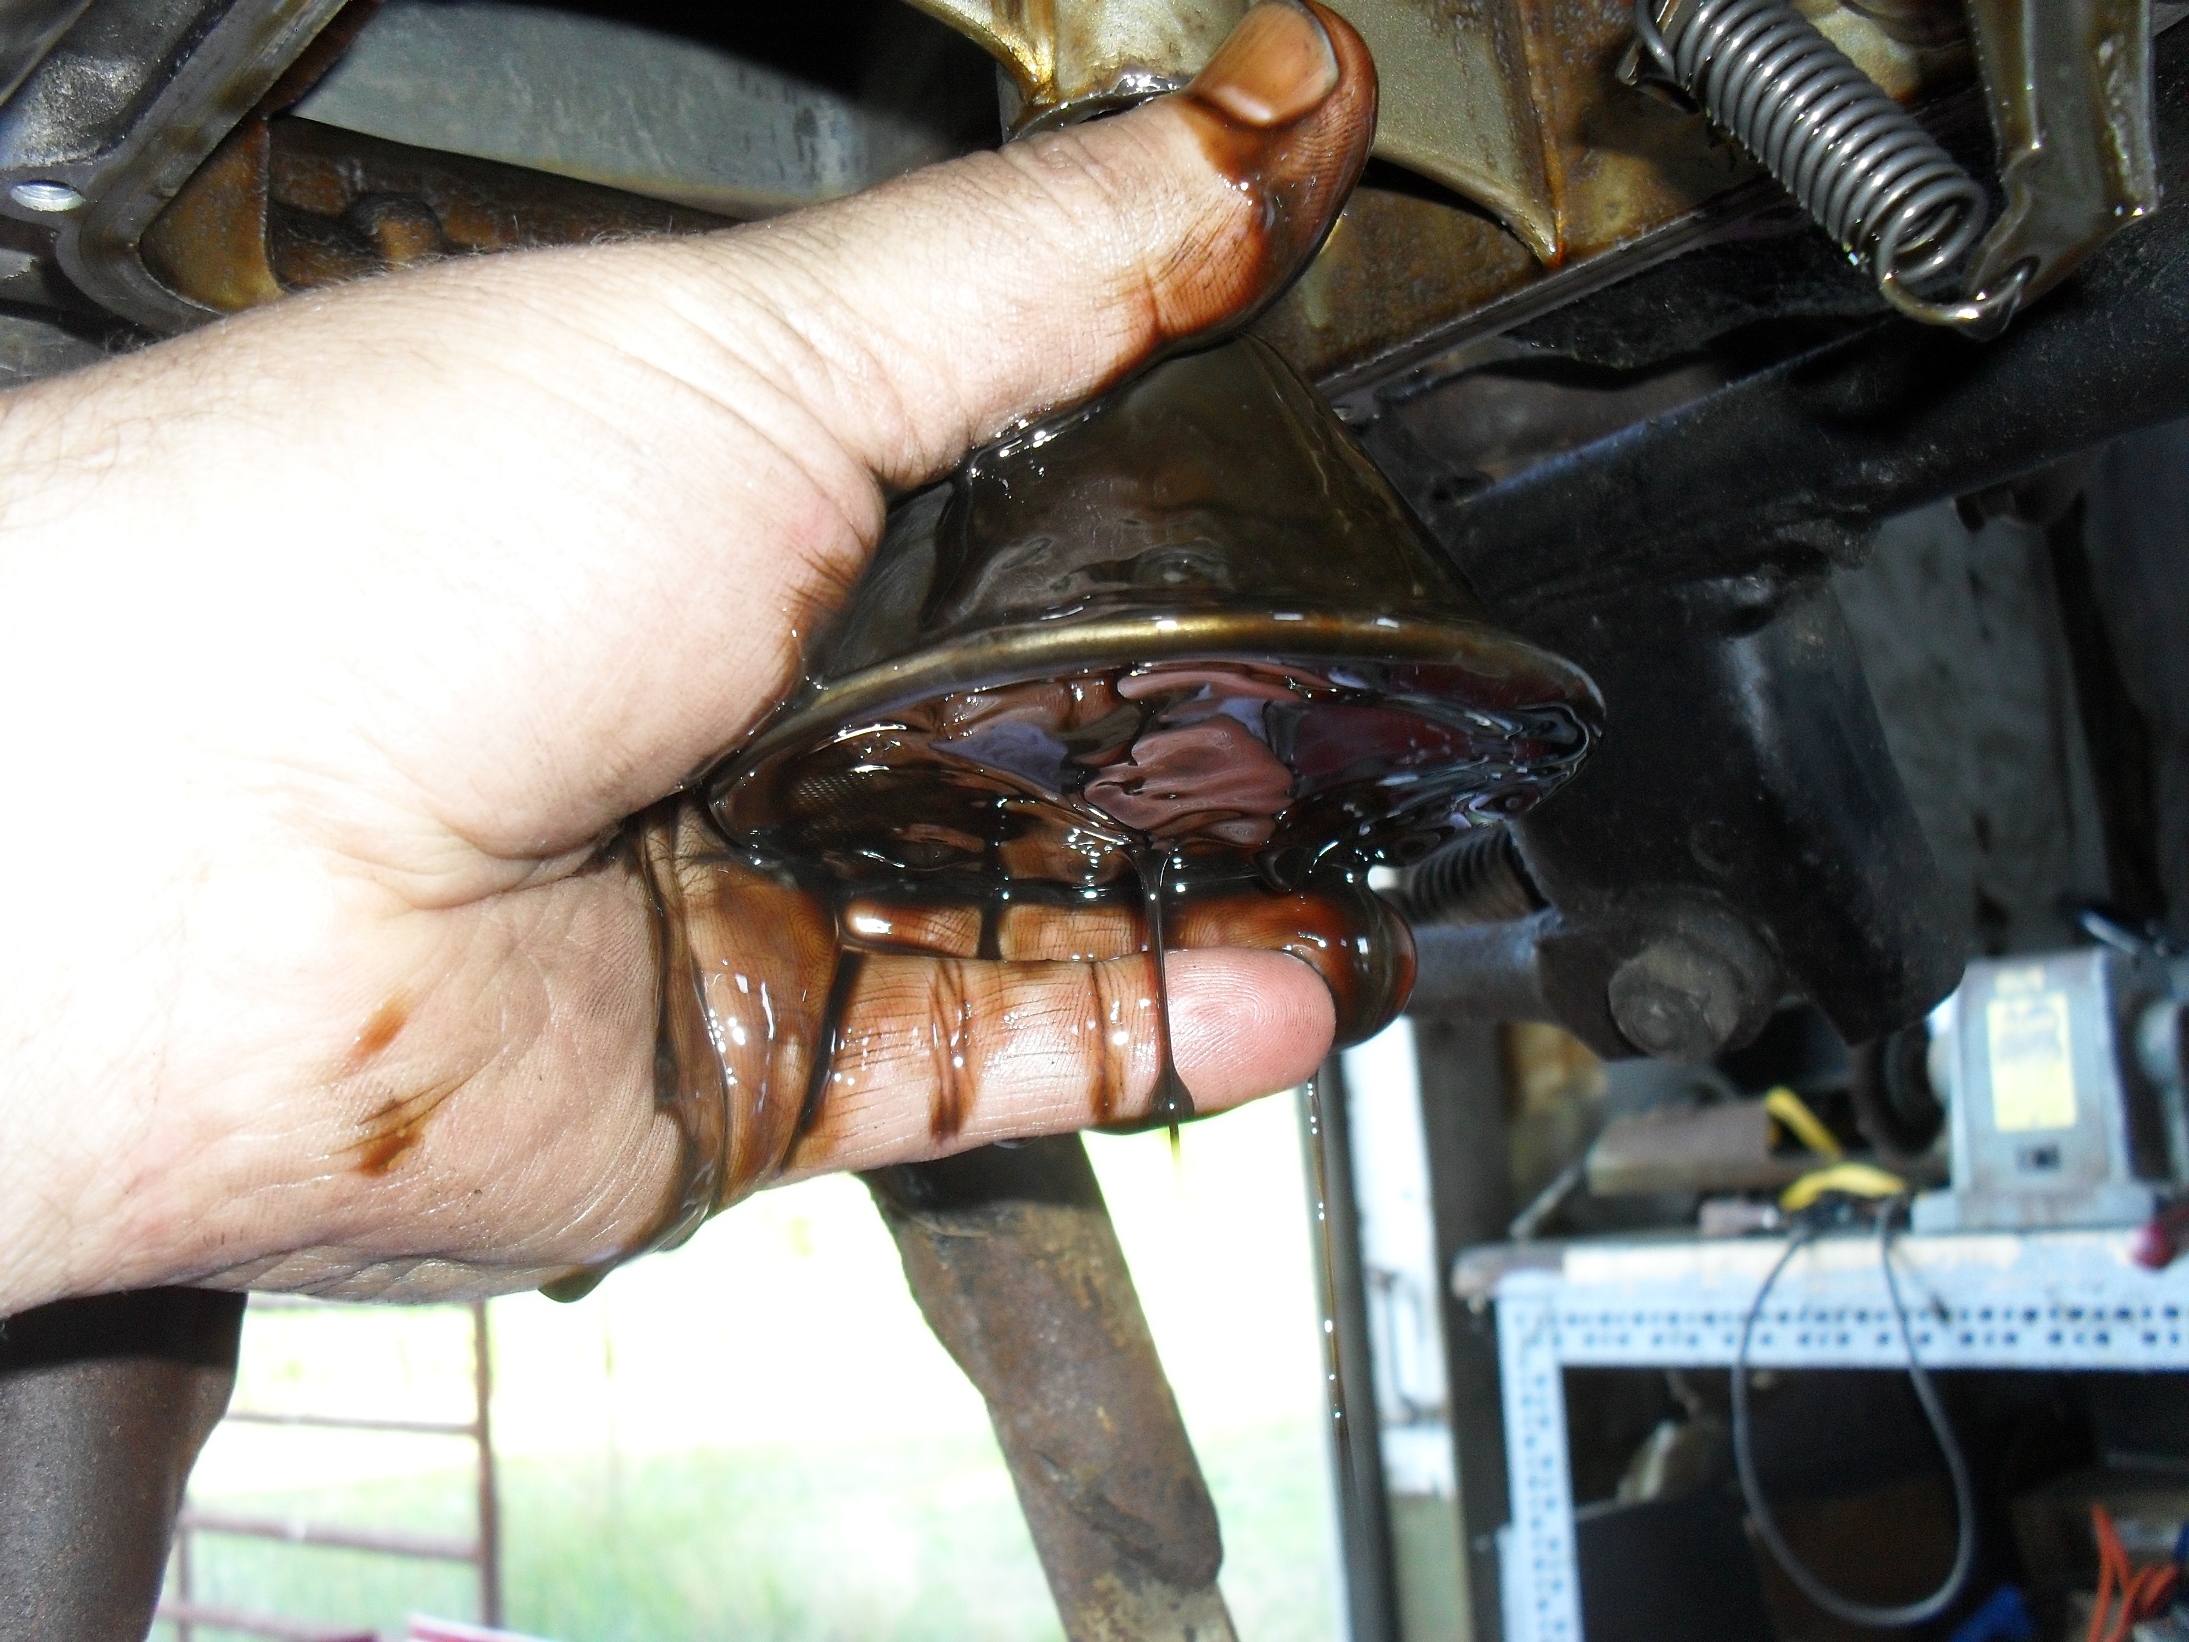
just pull it straight down.
Once you get it out carefully inspect the screen and if it is damaged or loose replace it. If it looks good wash it out in the parts washer.
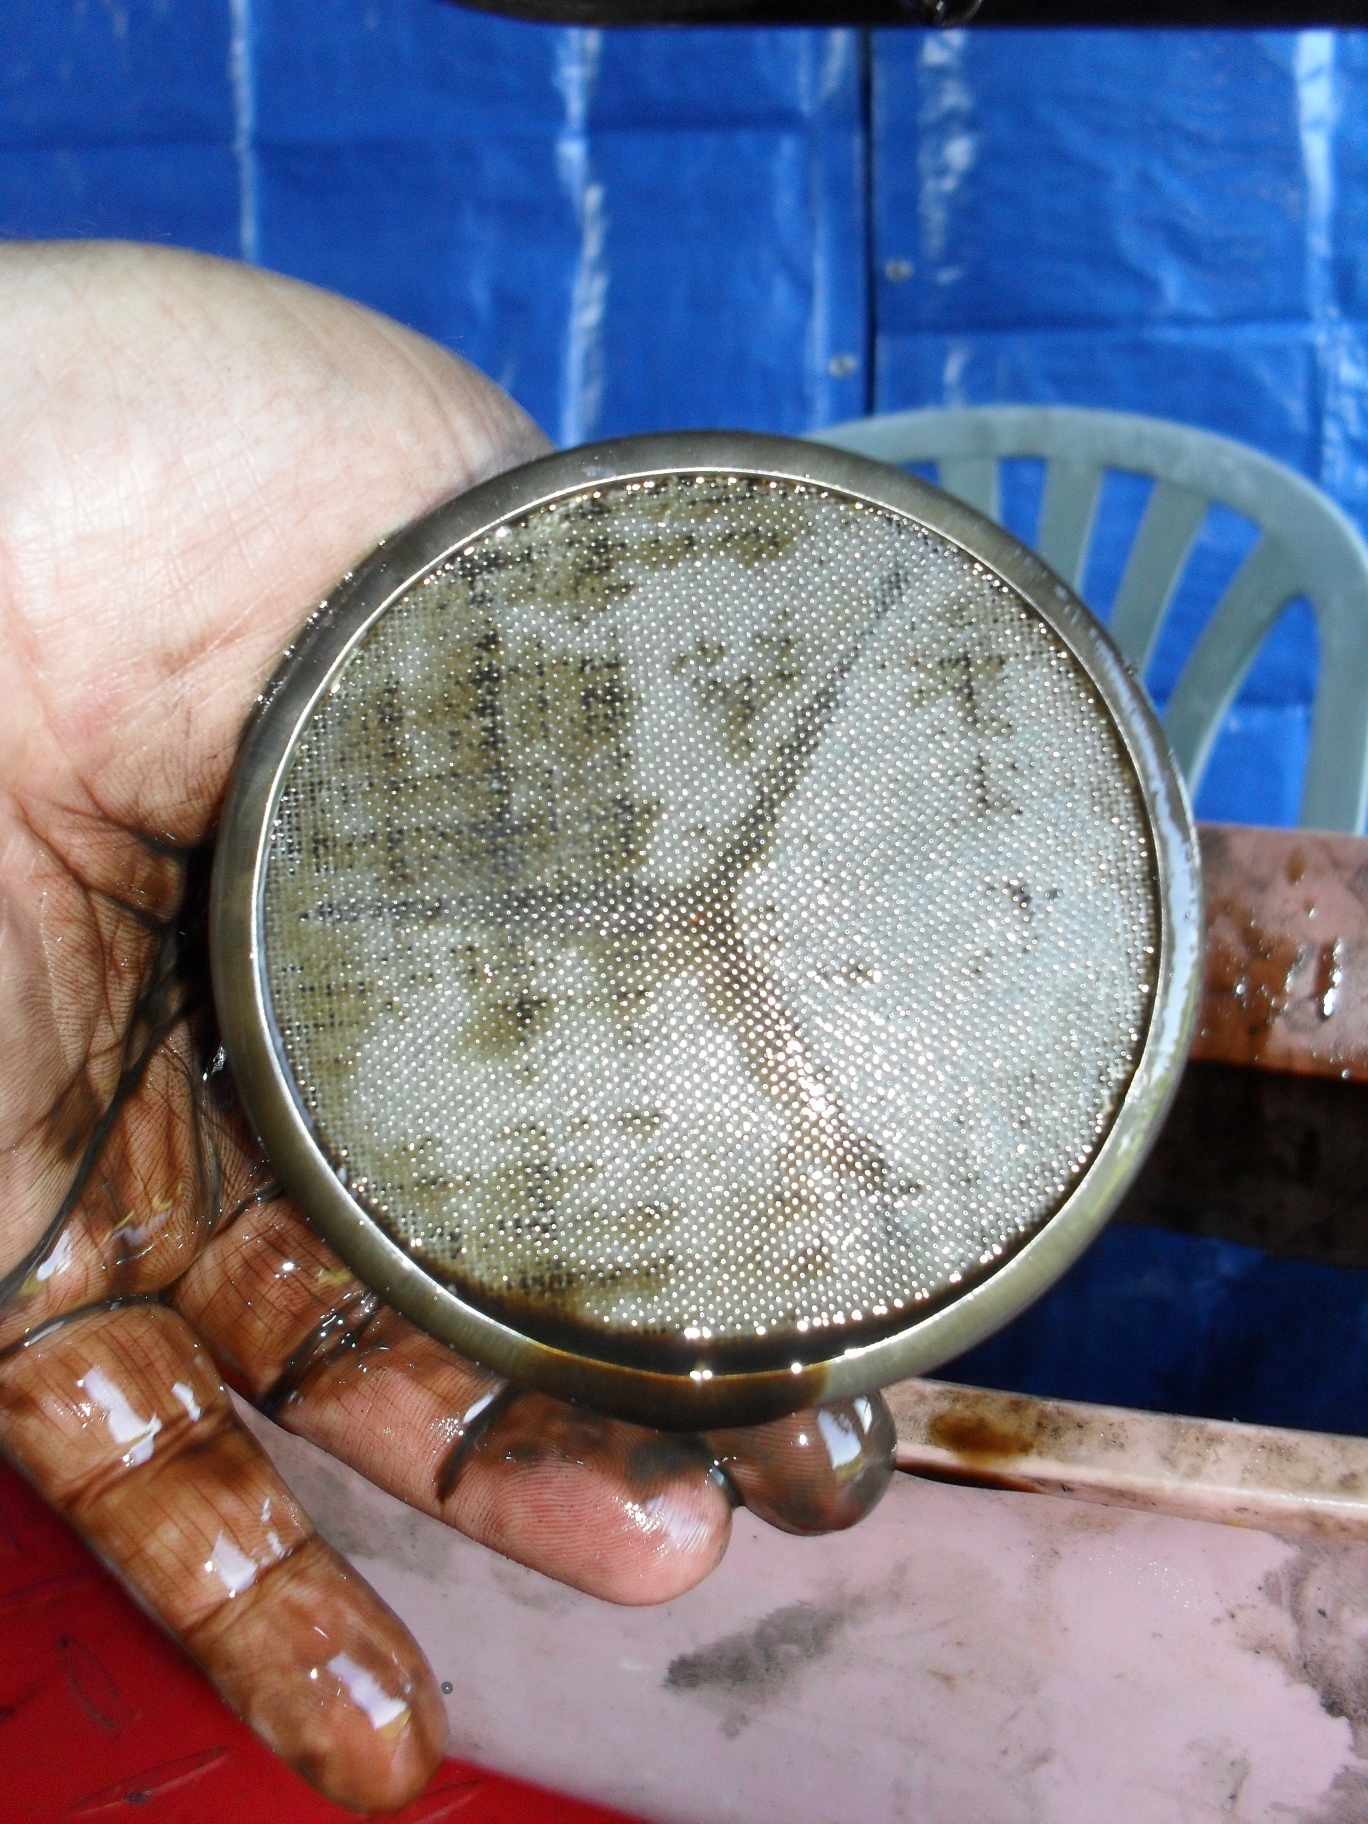
Inspect the strainer & its o-rings if you have any doubt about their condition, replace them.
Now you just have to clean everything up inspect & replace all gaskets & o-rings as needed, and reassemble everything in reverse order installing a new oil filter & fresh oil. NOw you know that you have one less thing to worry about.
Peace ‘Yall

What I see anytime I see an old Japanese classic left to rot…
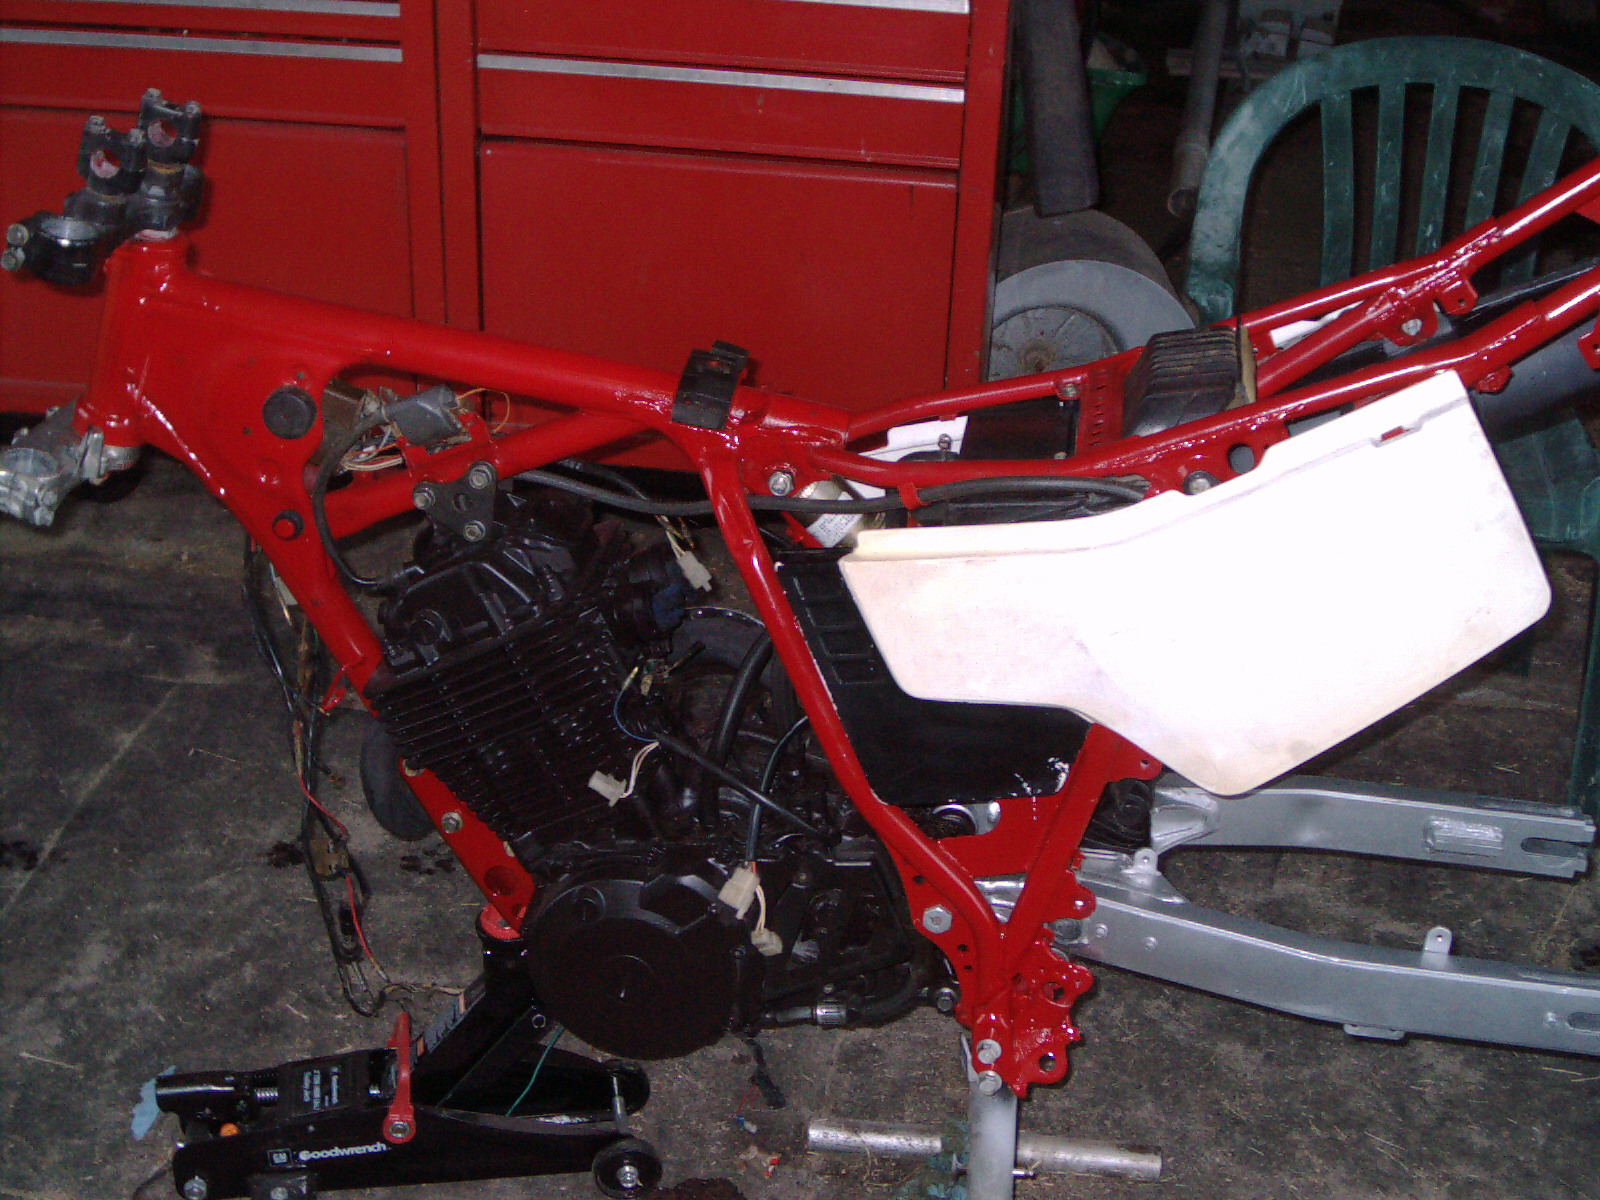
Here we go again, I knew this old Honda was bad news the first time I saw it. Years of abandonment & sitting out in the weather had taken a severe toll on every single piece of it, how often do you see a rust hole in the top of a gas tank?

To make matters worse it is a 1980 model the first year Honda started using that sway backed horse looking frame designed to get the seat closer to the ground in hopes of getting more people into riding and thus increasing sales. And yet here it is sitting on my lift as I am evaluating its potential as a custom possibly a cafe racer. The S.C. inspection sticker on the fork is dated 1988, and this was probably the last time it was on the road as S.C. did away with inspections soon after. The carb float bowls were completely gummed up and one slide was frozen in its bore. But the residue cleaned out okay and corrosion was minimal leading me to suspect that it was pre-ethanol gasoline in the carburetors!. It actually fired up and ran after a fast & furious carb cleaning. Heck I even wire brushed the original spark plugs and stuck them back in as they all 4 spit great big blue sparks during my initial testing.
It actually was kind of anticlimactic, this ancient corroded cobweb covered corpse fired right up and ran like a Honda. I felt like some necromancer in a fantasy story that had prepared a powerful magic spell to reanimate the dried bones of a dead dragon only to have it sit up, yawn and say, “well that was a nice little nap,” before I could cast my spell.

It did smoke a little but there were no strange noises, not even a cam chain rattle. Since the engine is very rough looking cosmetically and I like to be as close to 100% sure about my motorcycles as possible,the next step in this evaluation is to pull the engine from the frame & take the head off and have a look inside. If all looks fixable I start renewing this bike in earnest beginning with an engine overhaul.

Although I try to kid myself that I am still evaluating this thing, I did purchase a set of wire wheels that I spotted on Ebay at a good price, & to crank it up I bought a new Shorai LFX battery for it. Experience tells me that I should wind up with around 3-4 thousand dollars in a motorcycle that might be worth 2 grand at the most. :O

Shorai LFX the best motorcycle battery money can buy.
Help here I go again 🙂
Today’s post is about those annoying rubber boots that attach your carburetors to the spigots on the head(s).
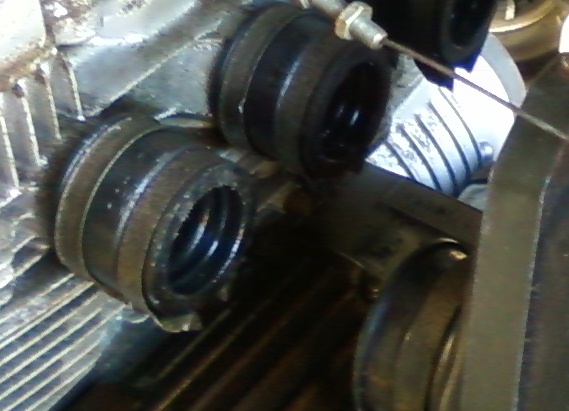
dry brittle old carb boots
Often on old project bikes these are hardened and brittle, most of the time you can get the carbs out but it is almost impossible to get them back in. One thing that greatly helps is to take a heat gun and heat them up to soften them. Some people on the net have removed them and placed them in very hot water. Regardless of the method a small amount heat will help get them soft enough to reinstall the carbs. Just do not use an open flame or you will end up with a charred & useless mess. On some motorcycles these bolt to the head and on others they clamp to spigots cast into the head. If you are dealing with removal of old intake boots from a set of spigots like shown in the picture above prepare to be very patient. Don’t just grab a big screwdriver & start prying! First loosen & completely remove all of the clamps, then twist and pull them by hand until they will at least wiggle & turn on the spigots. If they still won’t come off you have to decide if it is worth the risk to pry them off. Choose your leverage points very carefully, if you have any doubt at all about being able to remove them safely or if you are working on a rare or valuable antique or classic machine this is where you break out a good sharp utility knife & cut them off. The cooling fins and other castings on most motorcycles are very thin and will often break before an old piece of dry rotted rubber will,so better to be safe than sorry.

intake manifold clamps
Also be sure to look at the clamps when removing the boots. They are not just straight rubber hoses, often one end is bigger than the other, and the clamps are 2 different sizes as on this Honda CB650. The intake manifolds only fit one way but they have directional arrows on them, the clamps are not marked so be sure you note which ones go where.
That’s all for tonight, until next time have a fantastic life!
Man this thing is a raggedy P.O.S. I ought to have my head examined for bringing it home.

bleeping rust
But I’m a big believer in if your gonna seriously customize something you ought to be fixing one up, not tearing a nice one down.

1980 SOHC Honda CB650 before
Before I even pushed it in the barn I popped the rotor cover off of the engine and made sure the engine would turn. If it hadn’t turned it would have gone on the trailer and headed to the steel mill.

Here’s the right side.
After verifying that the engine was actually free, I pushed it into the barn, hooked it up to a battery, and did a compression test on it. All four cylinders had compression but the range between the four was a little more than I would have liked, about a 4o psi variation, but that variation may be due to it sitting for so long. I’ll go ahead and check the valve lash & clean the carbs to get it running again, then even if it seems to be running alright I’ll do another compression check just to be sure the engine is sound. I already have a set of wire wheels coming for it!
Peace Y’all
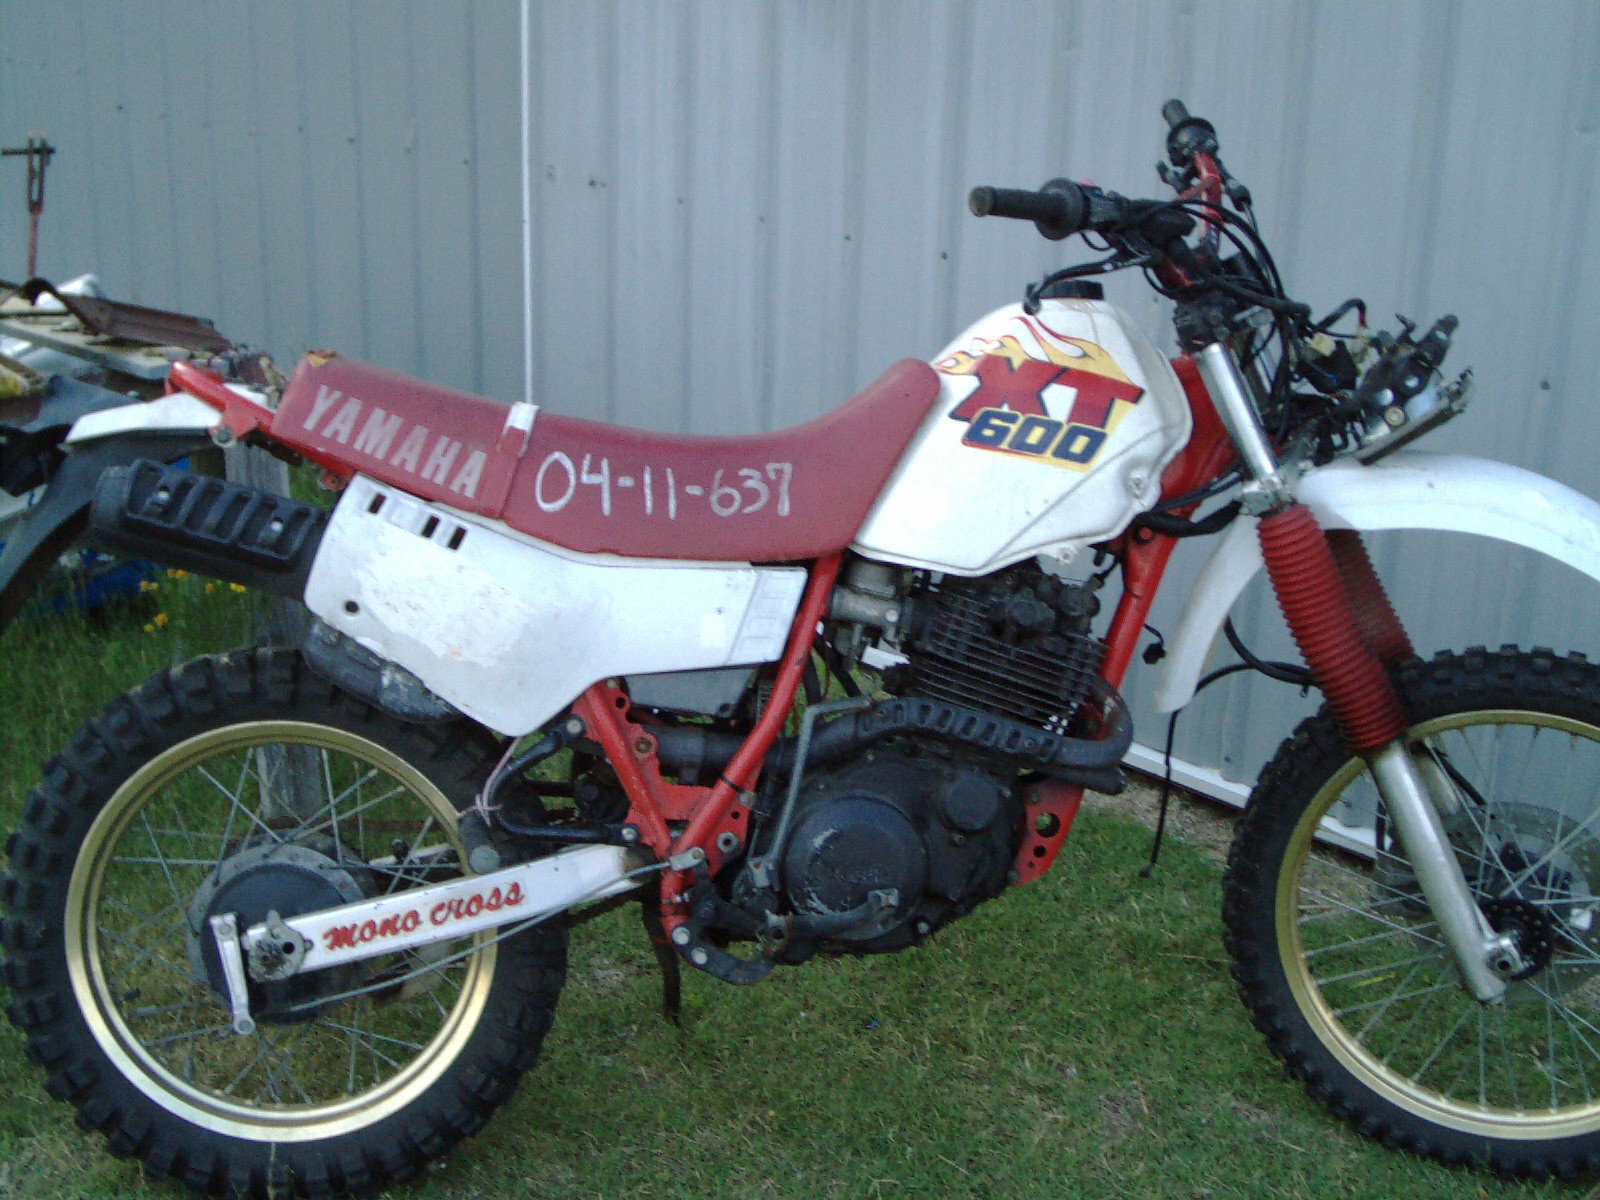
Theft recovered 1989 XT600 right side
Hey Y’all
It’s funny how except for one 1999 750 Honda Nighthawk, all of my bikes seem to have started off as junkyard dogs, that’s just the way I roll. Several years ago I picked up this Yamaha XT600 that had been stolen, thoroughly trashed & left for dead in the woods for several months before being found.

Left side of salvaged 89 Yamaha XT600
I was hoping just to clean the carbs and replace the missing pieces but as fate would have it at some point the bike had thrown a chain & busted the engine cover & then was driven until it was completely out of oil.
The head was destroyed due to oil starvation of the cam journals. I wound up buying a complete TT600 engine and installing it with the original charging & ignition system from the XT engine.
It was too long ago for me to remember all the details but I took a bunch of pictures for you to check out now.


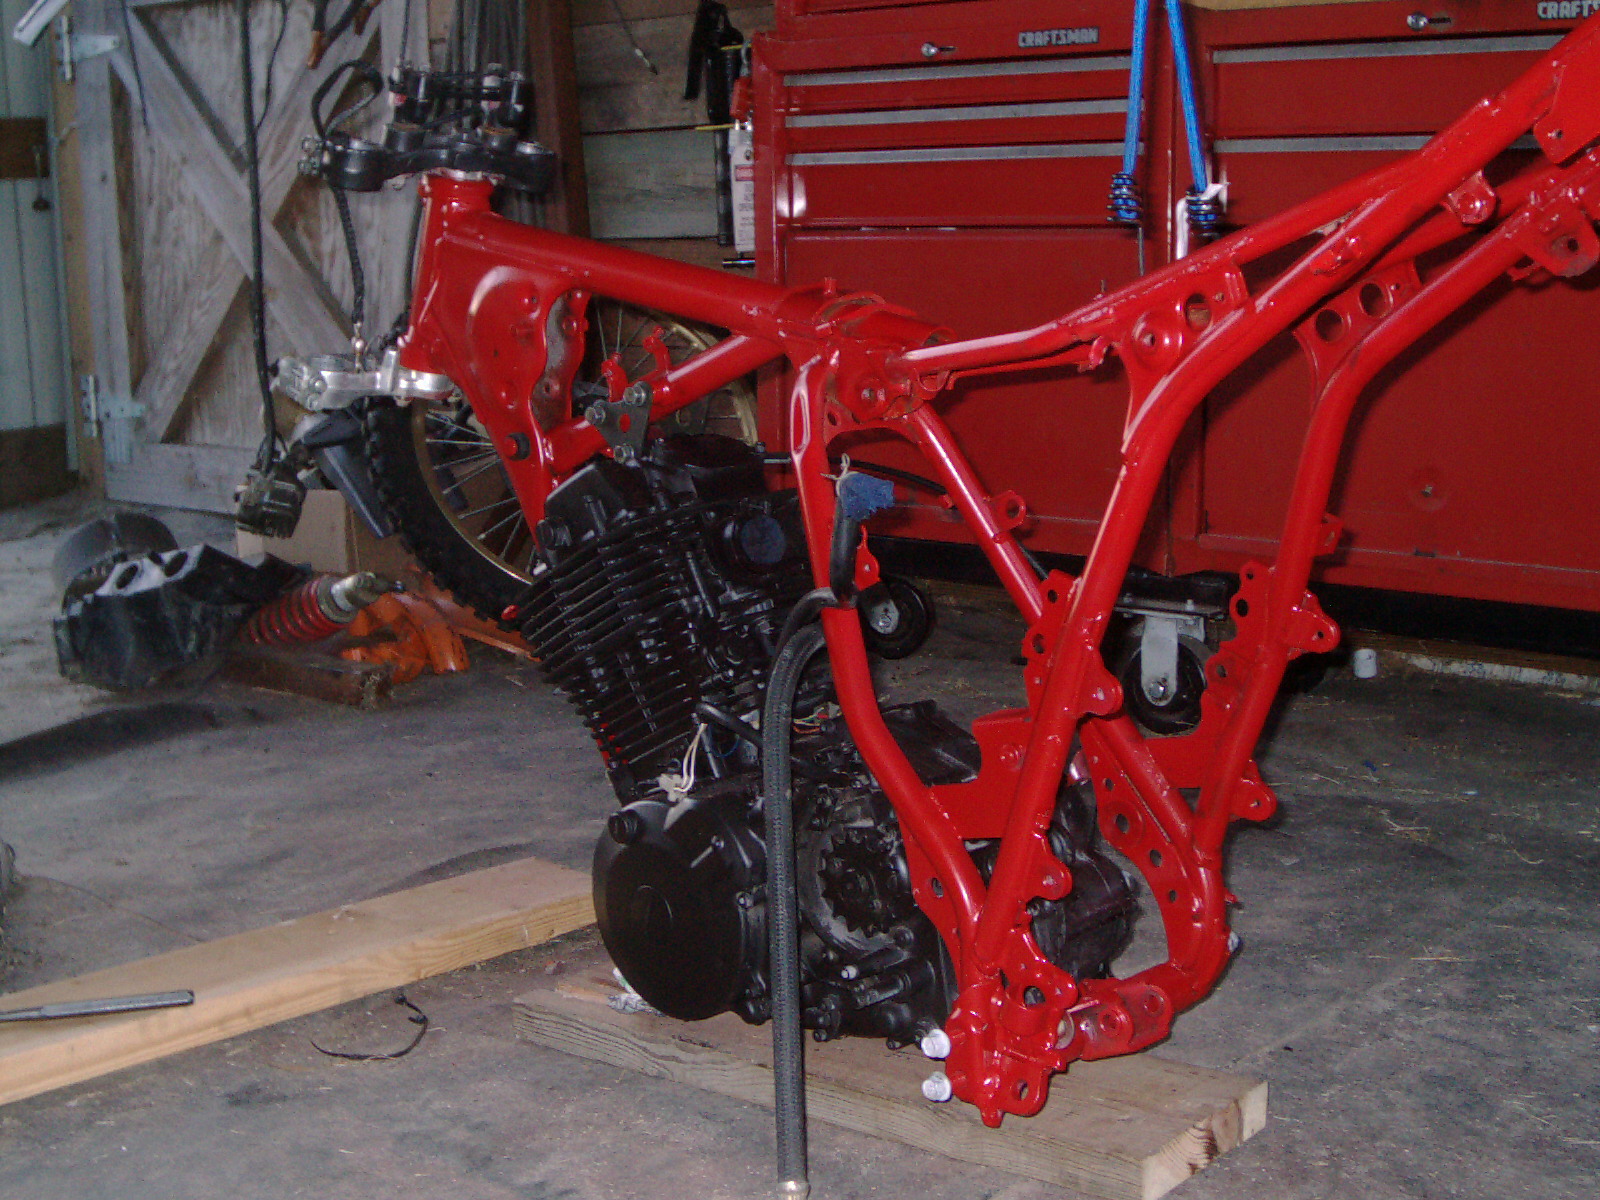
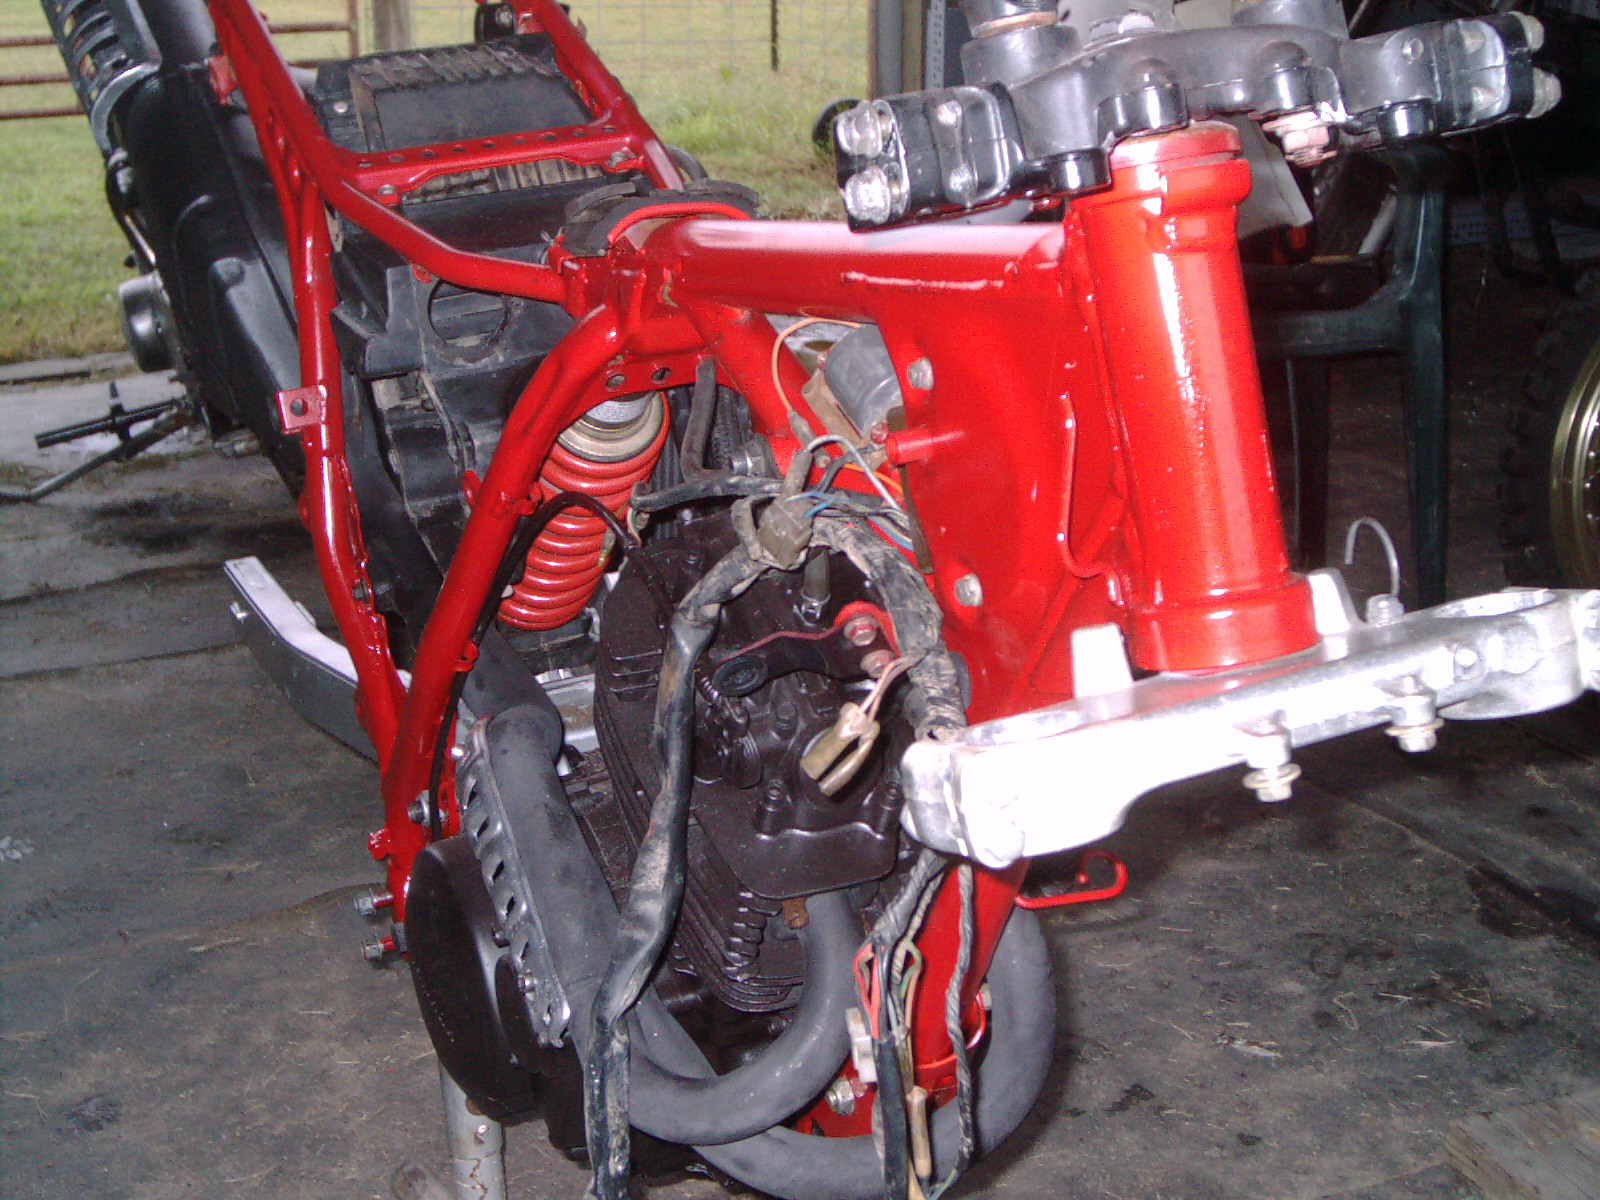
Then I started cleaning, painting & reassembly!

Yamaha 600 engine + frame


ebay seat cover kit xt600
I bought the seat cover kit from an Ebay seller and was very happy with it.

89 xt600 & XS650 Chopper
Up until this point I was just planning to fix up a nice dual sport ride for commuting.
But then I dragged home a YZF600 Radian, with a seized engine & no paperwork & the SuperMoto craze was just getting started….

Radian Wheels on XT600
The oil on the floor in this net picture is from me being clumsy & kicking over the oil drain pan.

I used the Radian’s front fender too.
Believe it or not with just some careful machining of the front wheel spacers from the Radian, it all fit together perfectly with the YZF600 brake rotor lining up perfectly with the XT600 caliper.
At this point it is almost complete. I did toy around with using the original tank for a while but decided to purchase an oversize new shiny plastic rust free tank from Clarke Racing it turned out to be some of the best money spent on this project.

semi- finished Supermoto Yamaha
Just for the sheer hell of it I initially used a pair of driving light & two great big chrome horns on the front trying to get a sort of “Predator” look to it.

Then I saw this Darth Vader looking fairing somewhere & decided I liked it better.

Black & Red 89 XT600 at night
Of all the bikes I have ever owned I regret selling this one the most. As with my XL500 I shared with you earlier this one was sold after a catastrophic crash on another motorcycle when I was not sure if I would ever ride again.
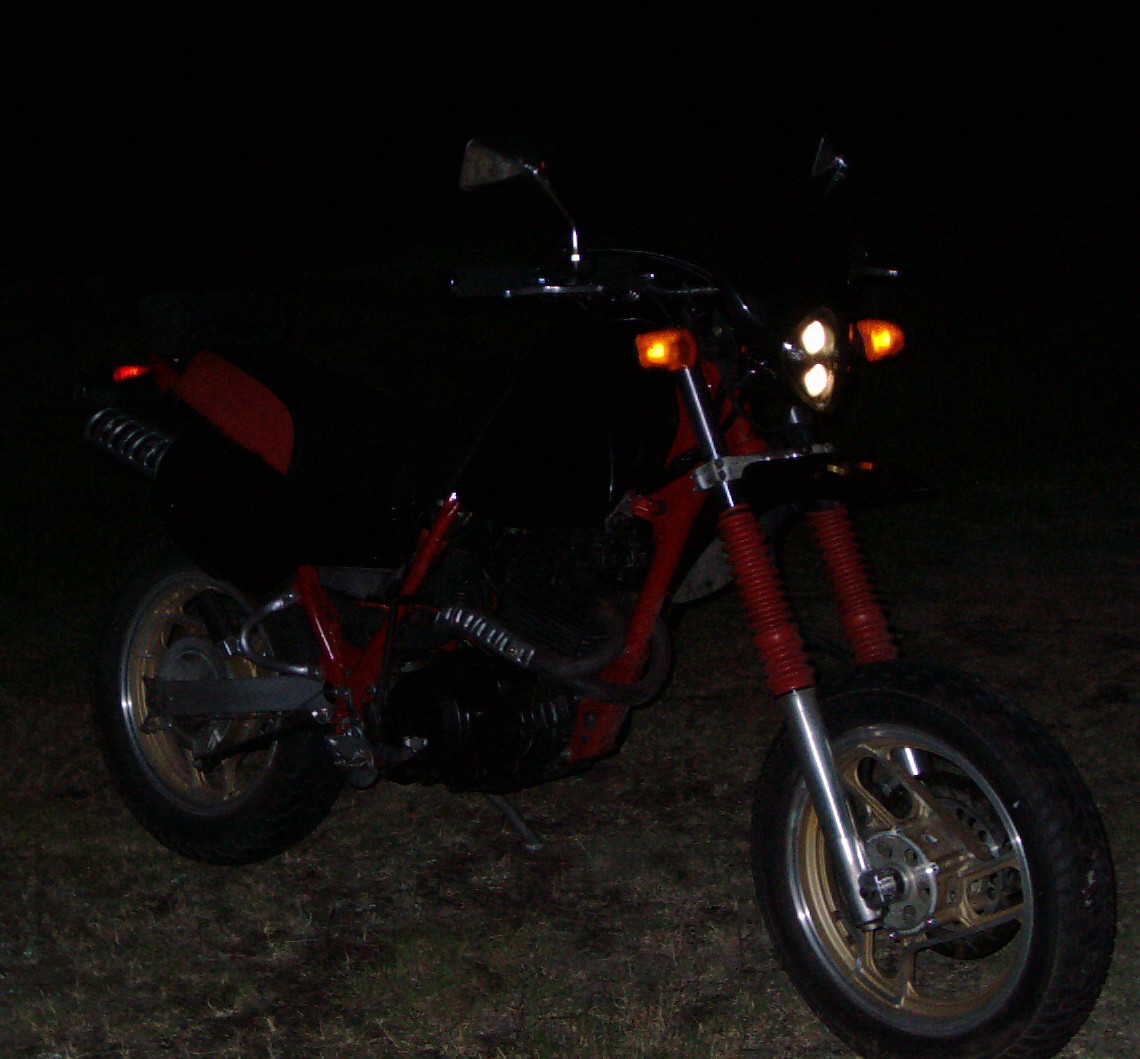
May the Dark Side of the Force be With You!

Okay when I found it the engine was still in the frame.
Yeah Baby this is what I like! A big ole thumper with stump pulling torque & enough grunt to get the front wheel off the ground without using the the clutch at all. To bad it had a shattered piston in the cases with the transmission and had been sitting under a tree for several years.
Fortunately this junkyard dog story had a happy ending as I wound up stripping it down to a bare frame and a set of engine cases and then rebuilt it wit a Wiseco 520cc piston kit. Yeehaa!
I also built several bespoke parts for it just because I could, the muffler, rear rack, hand guards & gas cap were all products of my own handiwork.

after I restored it

Temporary tattoos can be great decals for a couple of years.
I rode the snot out of it for 10 years afterward and it was a little bit raggedy around the edges and starting to get weak again when I sold it to a very happy man who was planning to restore it again and ride it some more!
Sometimes I wish I had kept it but at the time I was fresh out of a wheelchair and was not sure if I’d ever ride again.
Peace Y’all


