Honda CM400 Custom Project wAmmo Finished

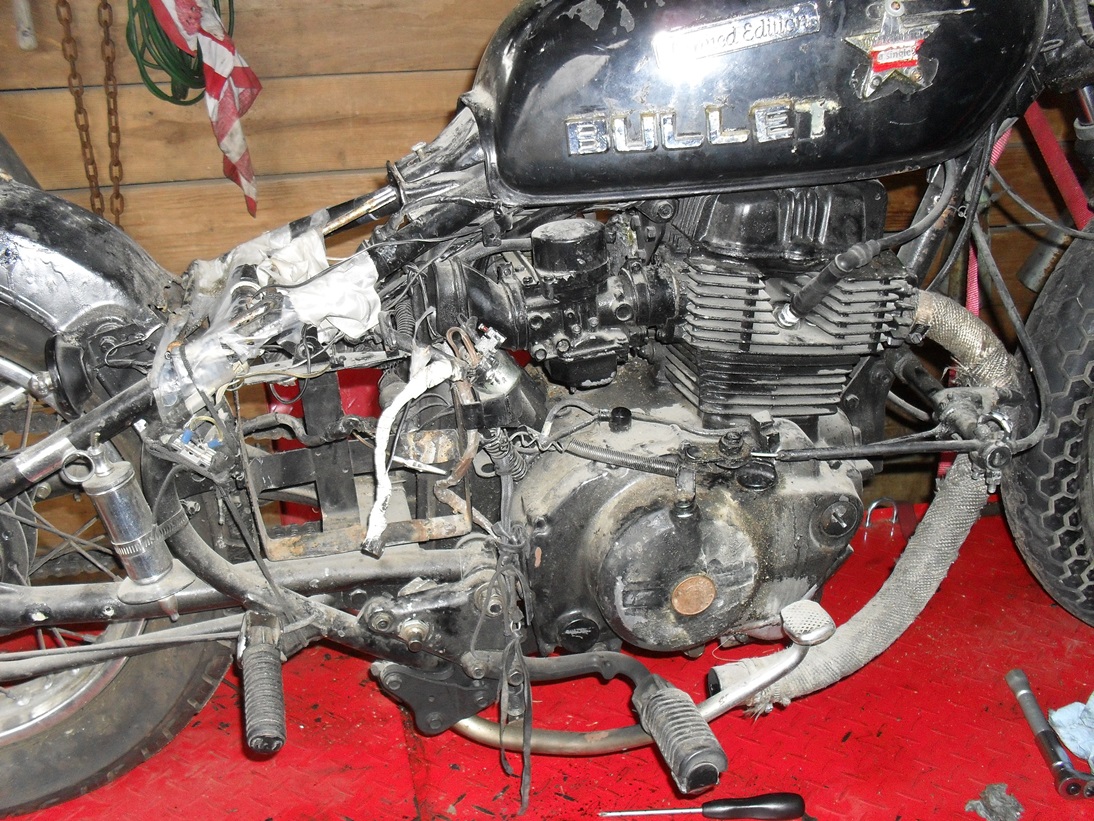
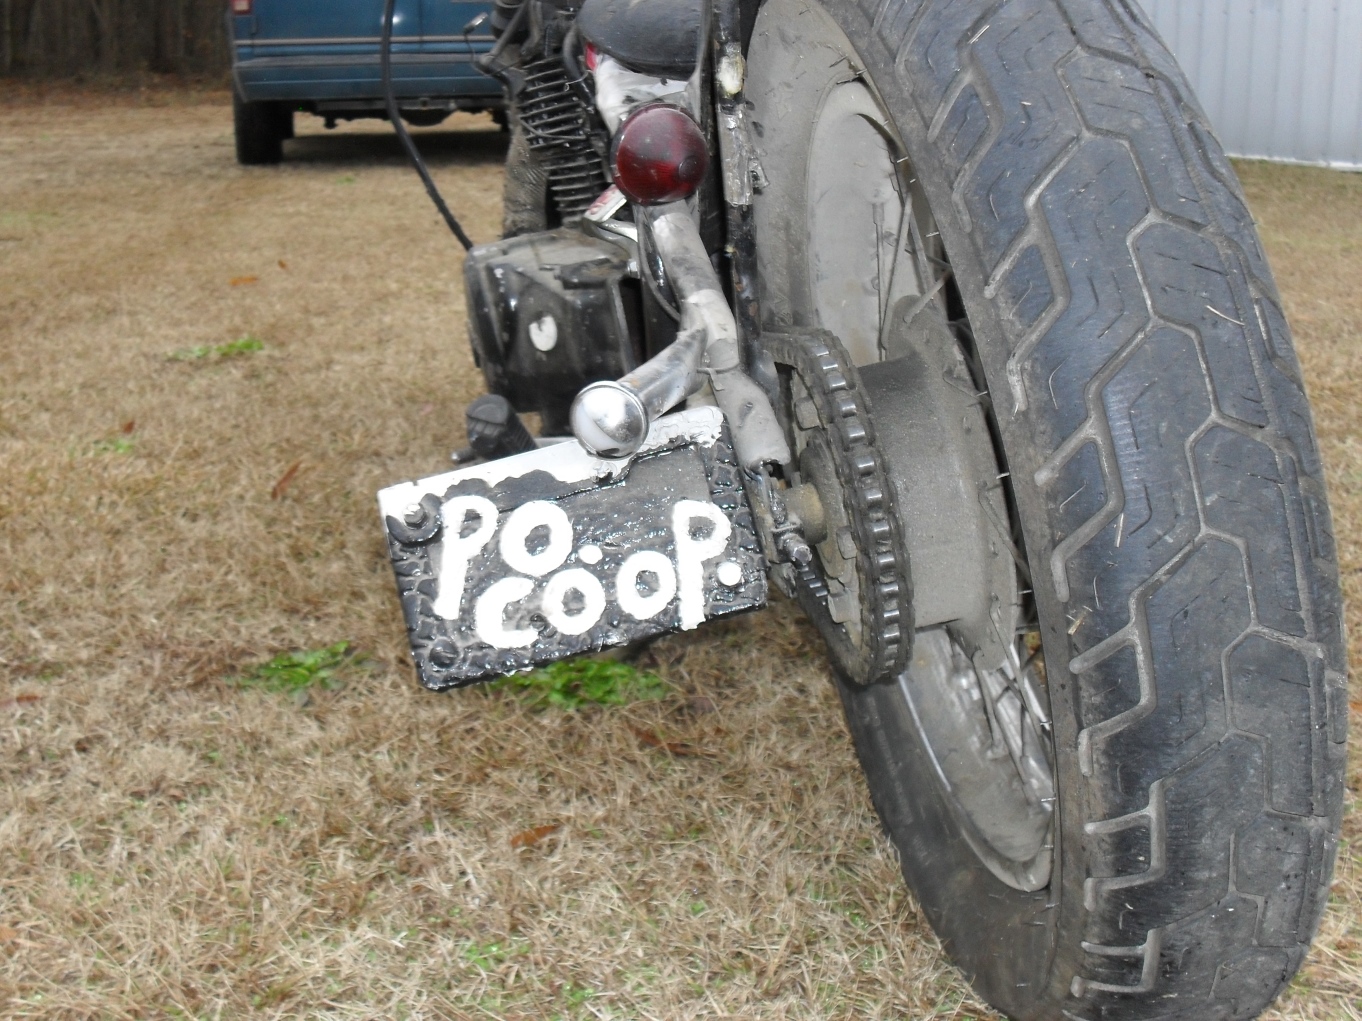
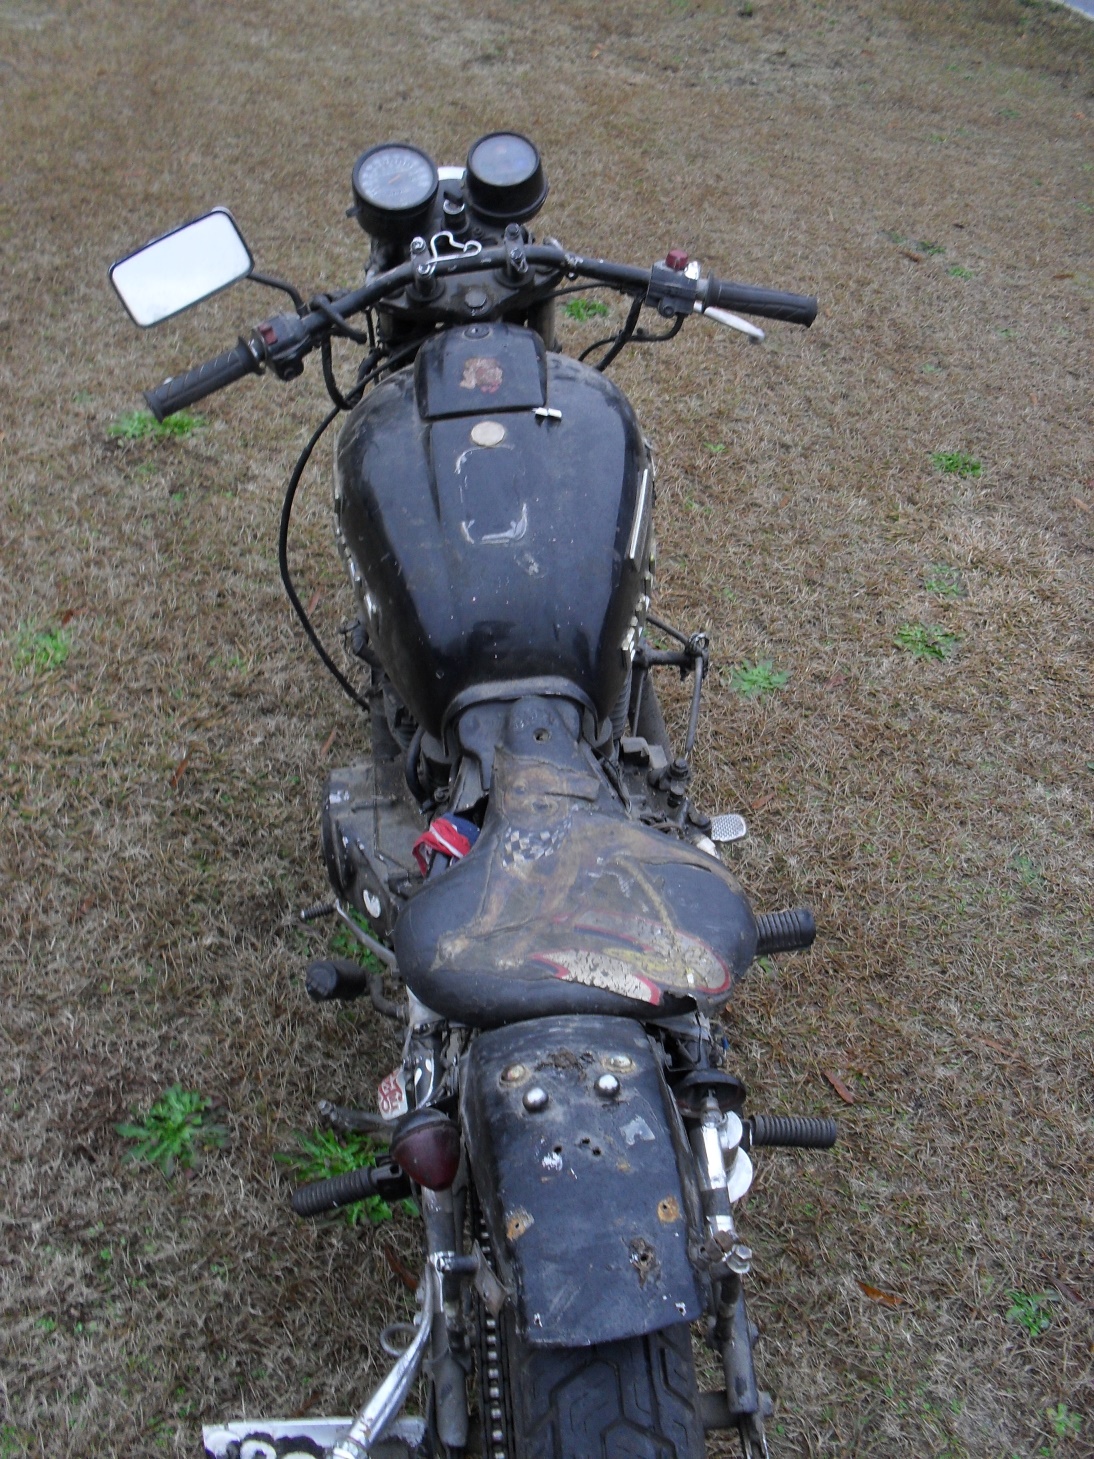
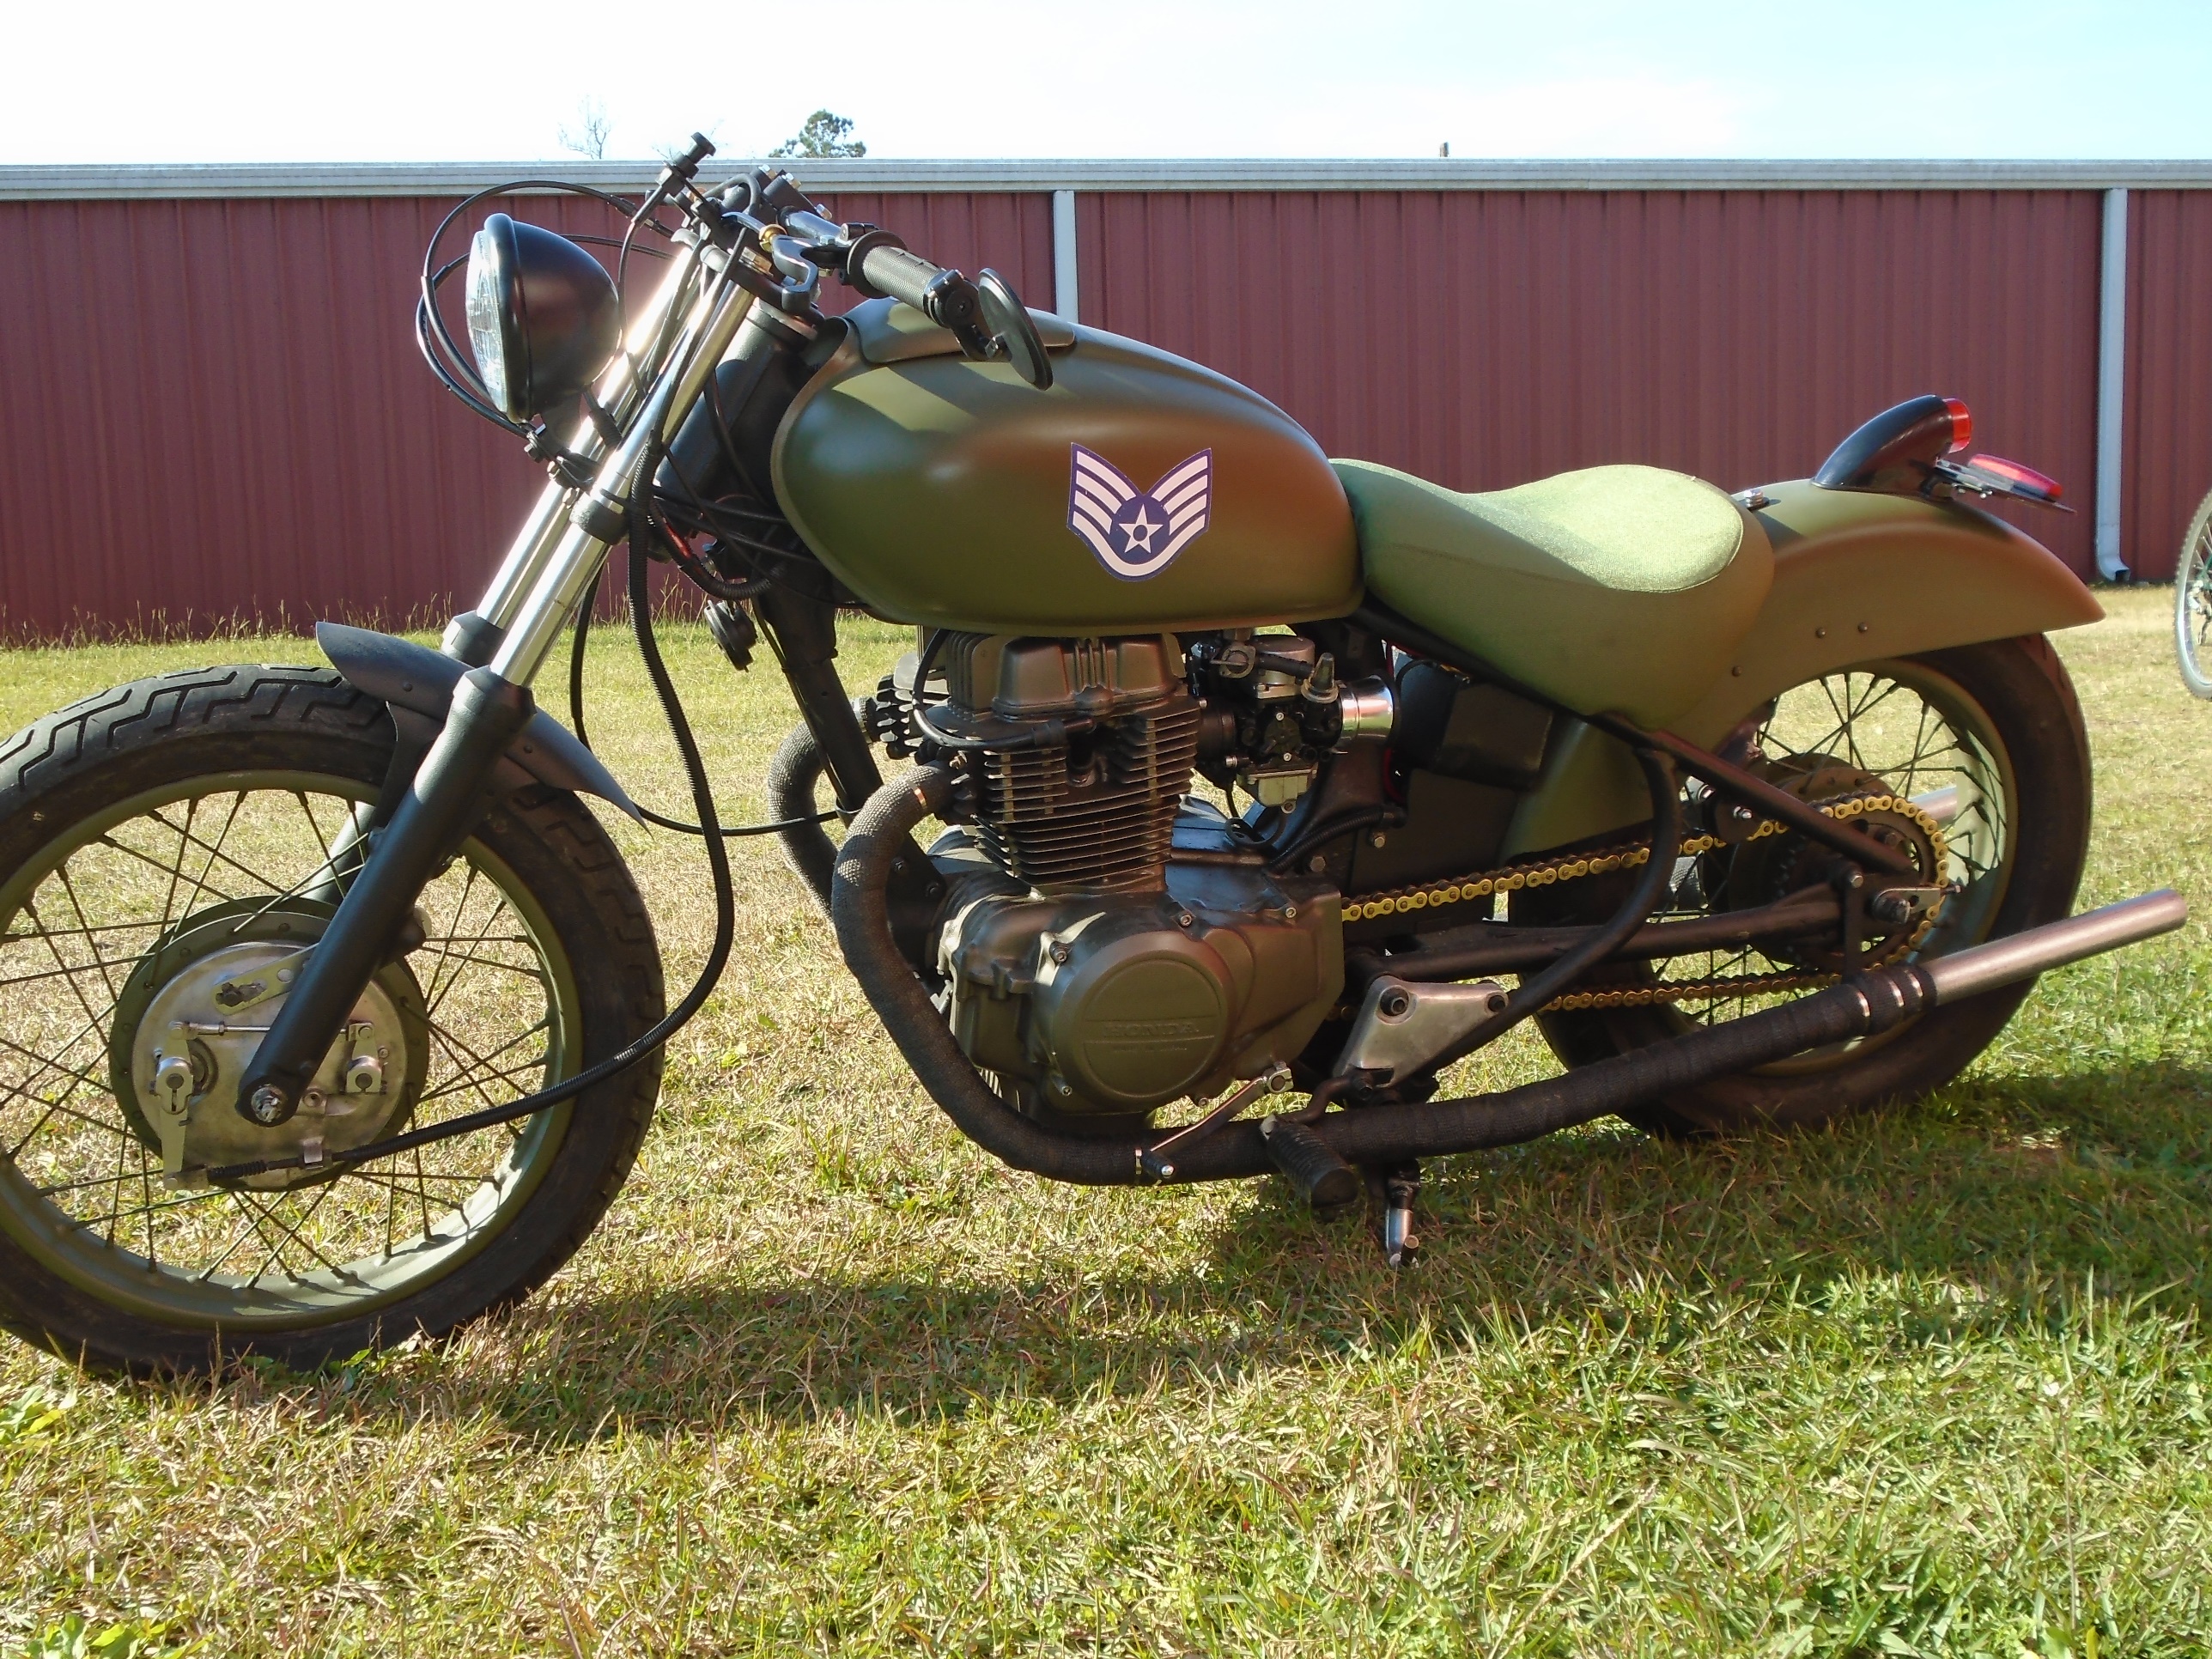
The day I originally brought this Honda CM400 home it was sold and the new owner almost immediately asked me to rebuild it as a tribute to his days as an ordnance technician during the first gulf war. He wanted a rat bike simple and rough edged with his rank and an Ammo Corp logo on it. Olive drab paint was necessary, wrapped exhaust & low bars were part of his specification.  He also did not want a side mount tail light, a rather unusual request on this type of bike. The rest was up to me


rigid frame Honda CM400E>

<ammo corp flaming bomb>

The hand painted logo is not necessarily authentic to his unit but is based on a generic amalgamation of such insignia as I found online.

<od green paint>

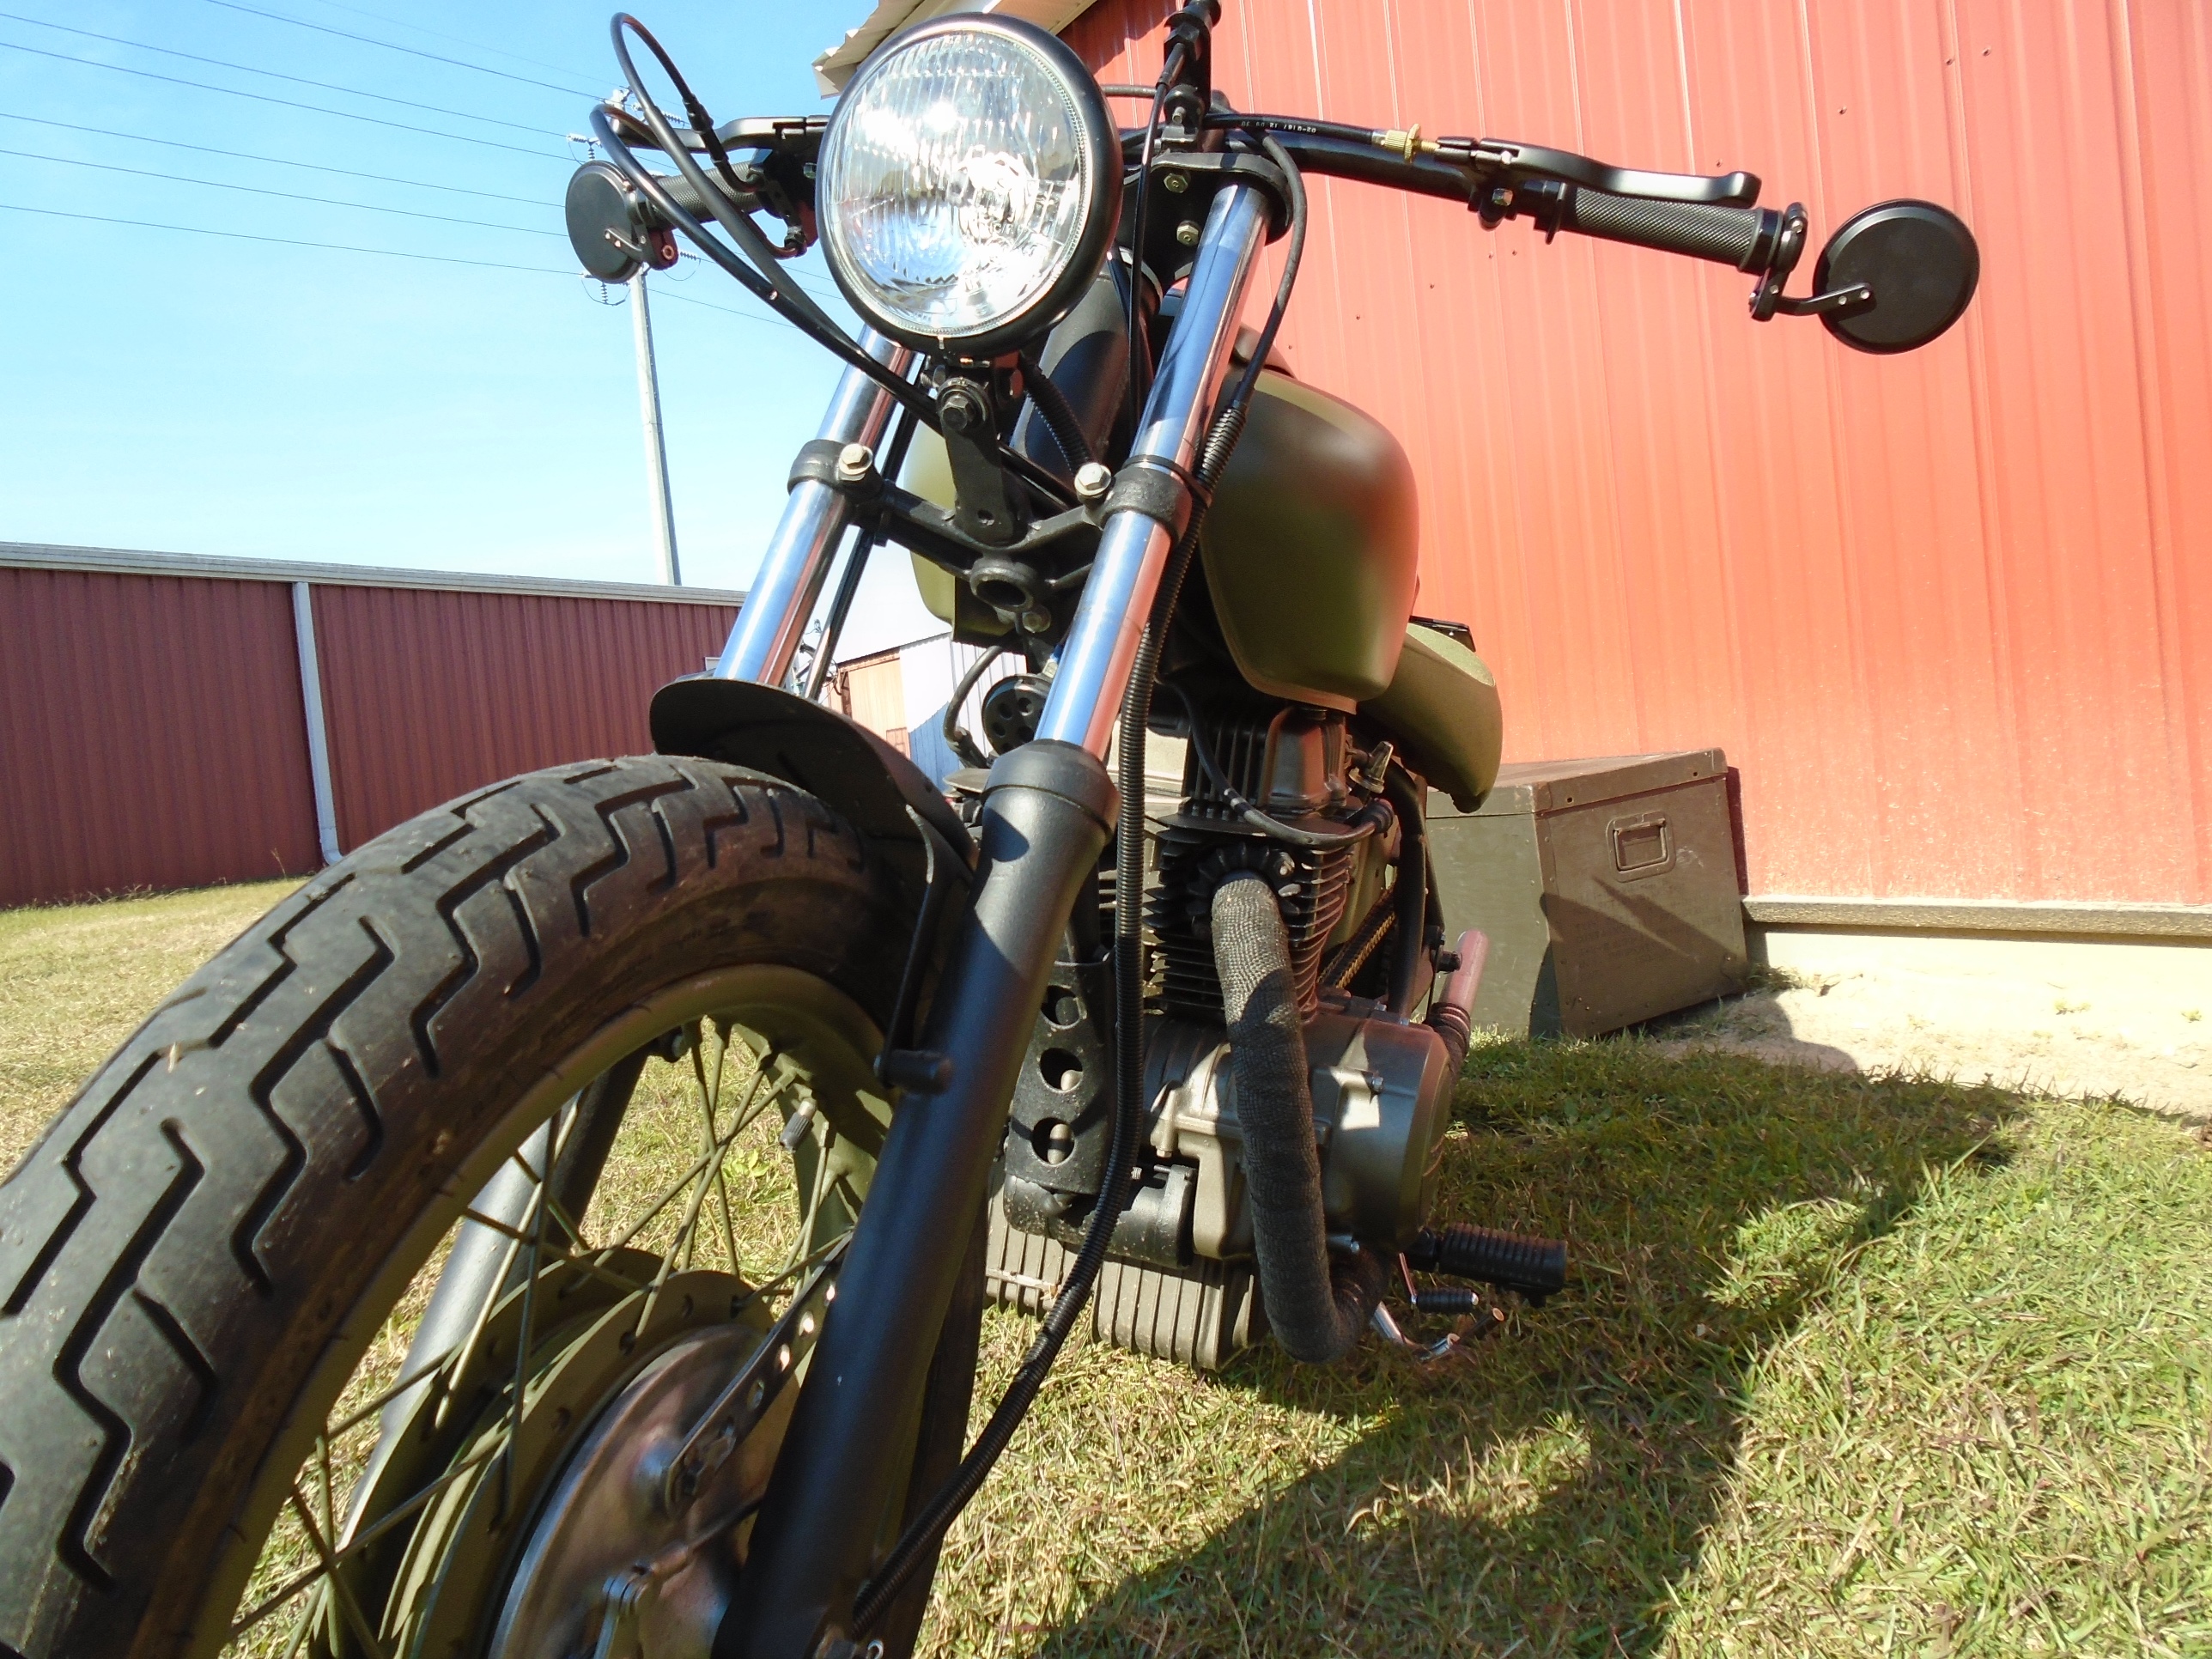
The long exhaust pipes were made from small chain link fence posts bent & brazed to the stubs of the original head pipes. The exhaust wrap makes everything look cool and it has a mean sound, just listen to this video.


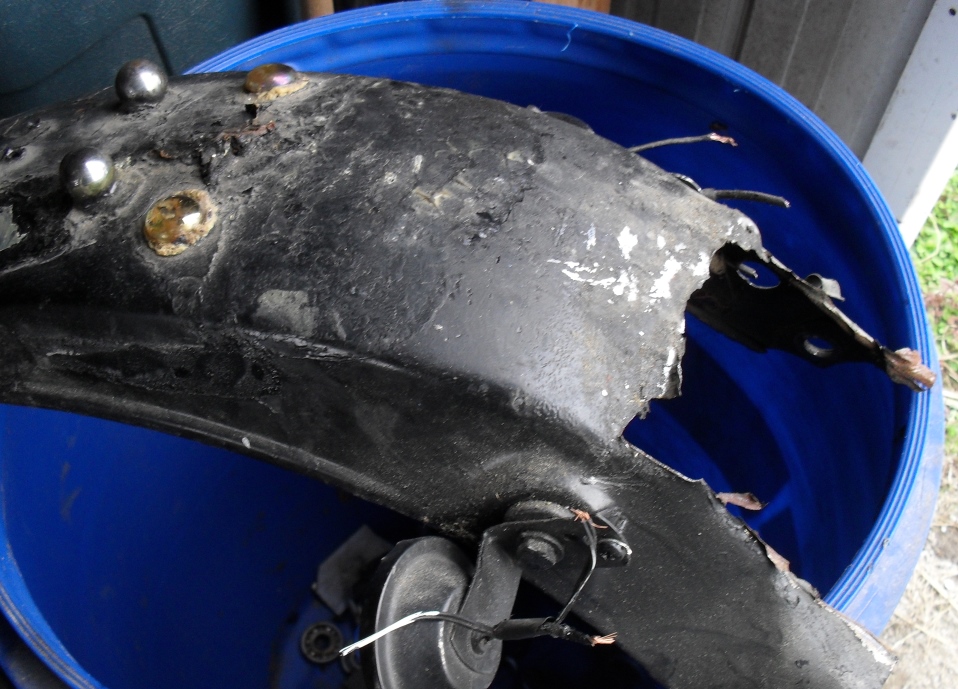
The rear fender started life as a brand new aftermarket front fender for a Harley Electraglide, that I cut down & installed backwards to make a fantastic custom rear fender. The voltage regulator was bolted to the side and a good old fashioned Sparto tail light was mounted on top.

<cm400e voltage regulator>

A little while back I did a post on twin leading shoe brakes and here they are installed and working just fine on the front of this little Honda CM400

<twin leading shoe brakes>

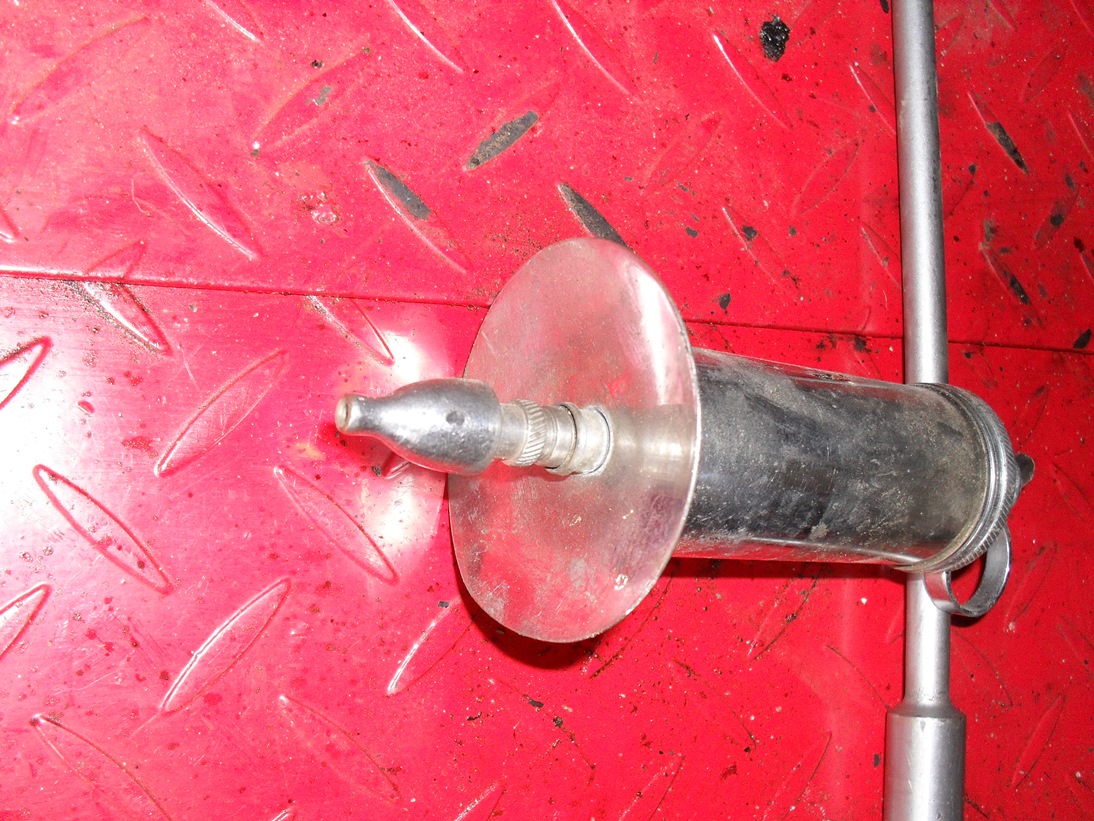
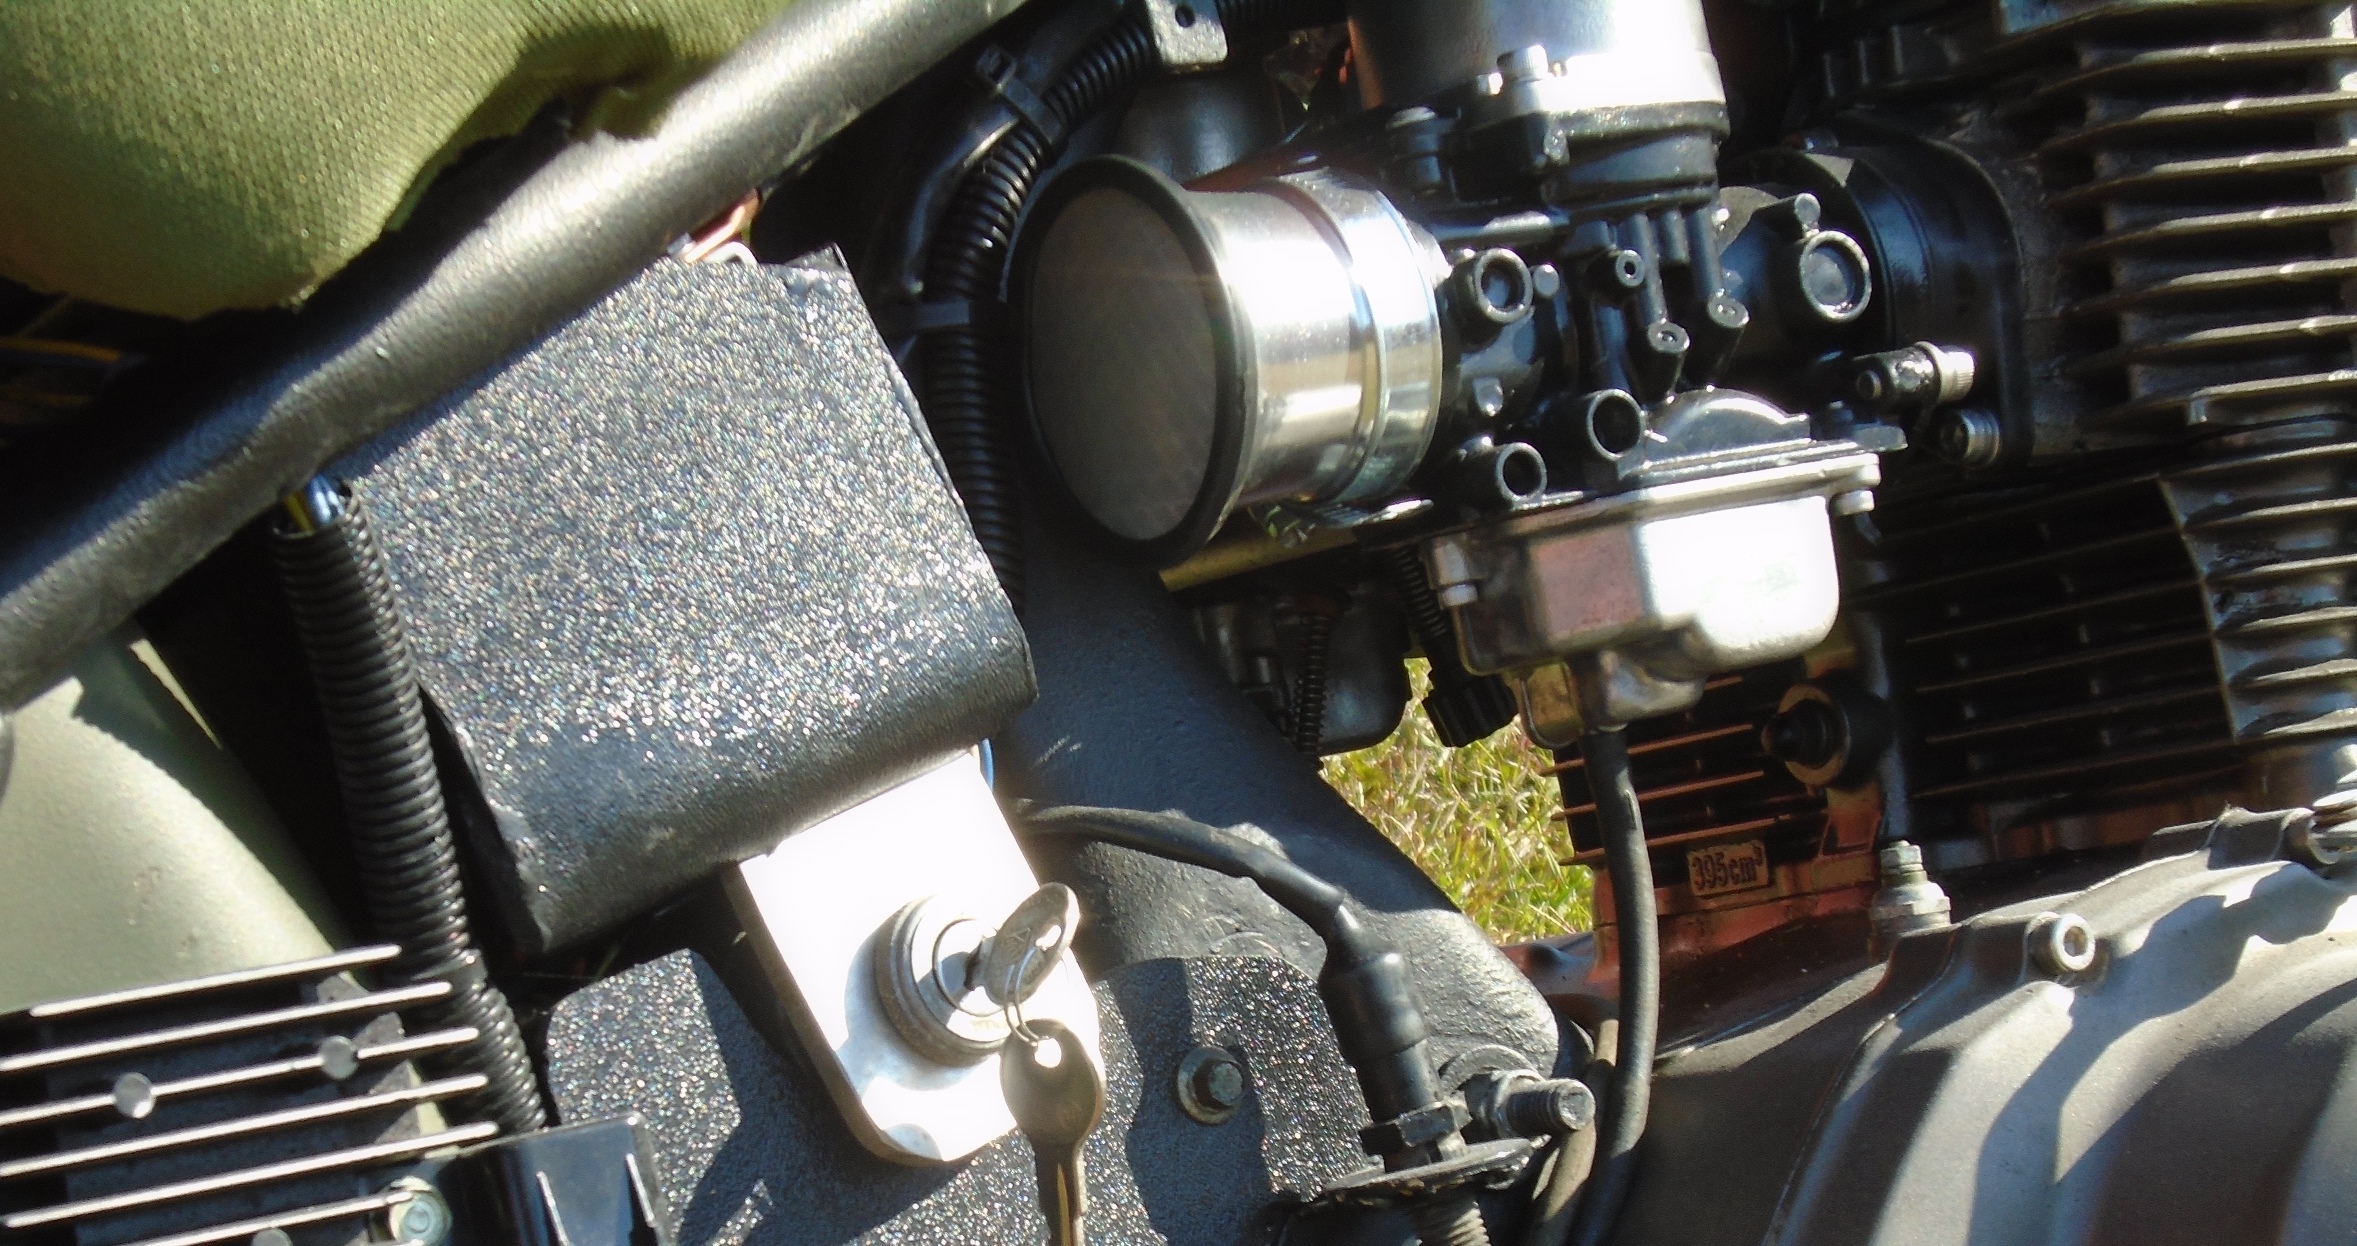
The factory carbs got a serious overhaul and were re-jetted to work with the 54 mm velocity stacks & open exhaust with a Six Sigma jet kit. The fine people at Six Sigma 
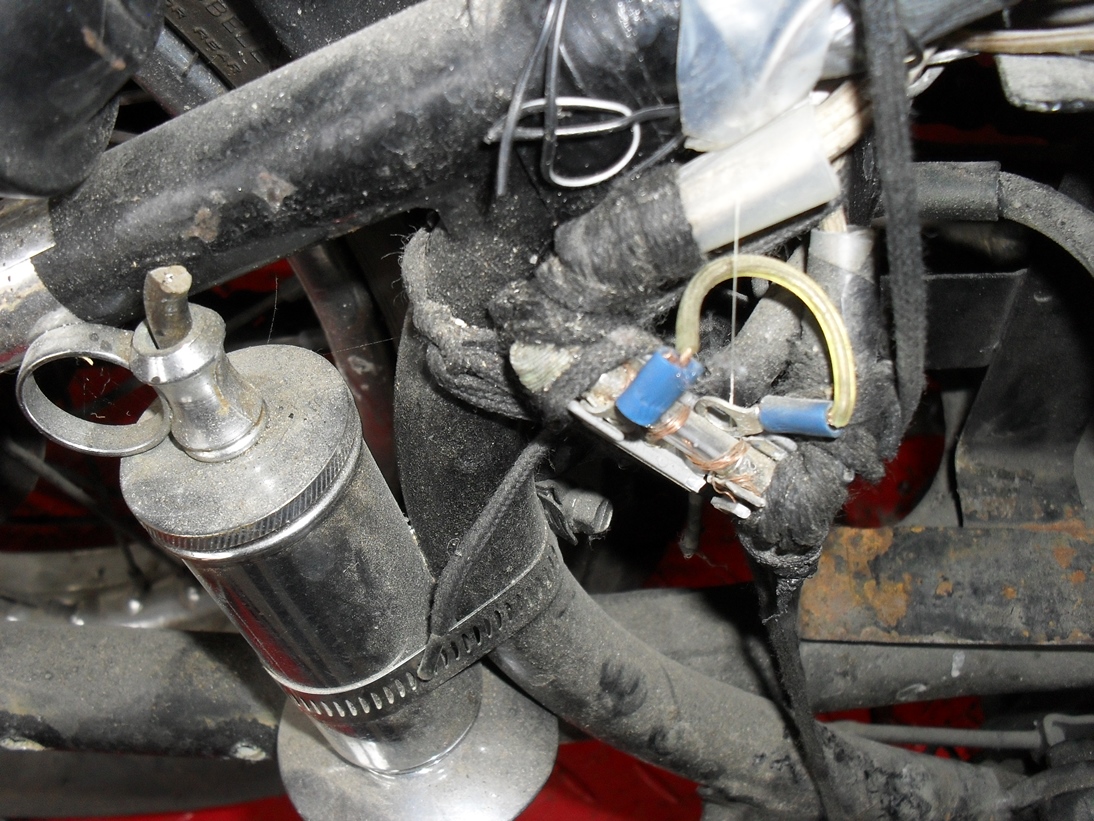
really know their stuff and can usually set you up with a jet kit custom matched to your application. The key switch is your basis auto parts store universal hot rod part but the alloy bracket and the ABS plastic battery box & side covers are my work.

<hand fabricated motorcycle parts>

The solo seat was a swap meet find that was reworked to fit and the covered in olive drab Cordura fabric.

<Cordura motorcycle seat>

<Honda CM400 bobber chopper>

Here’s a shot of my buddy trying to look all serious and tough when he really wants to smile

<part time tough guy>

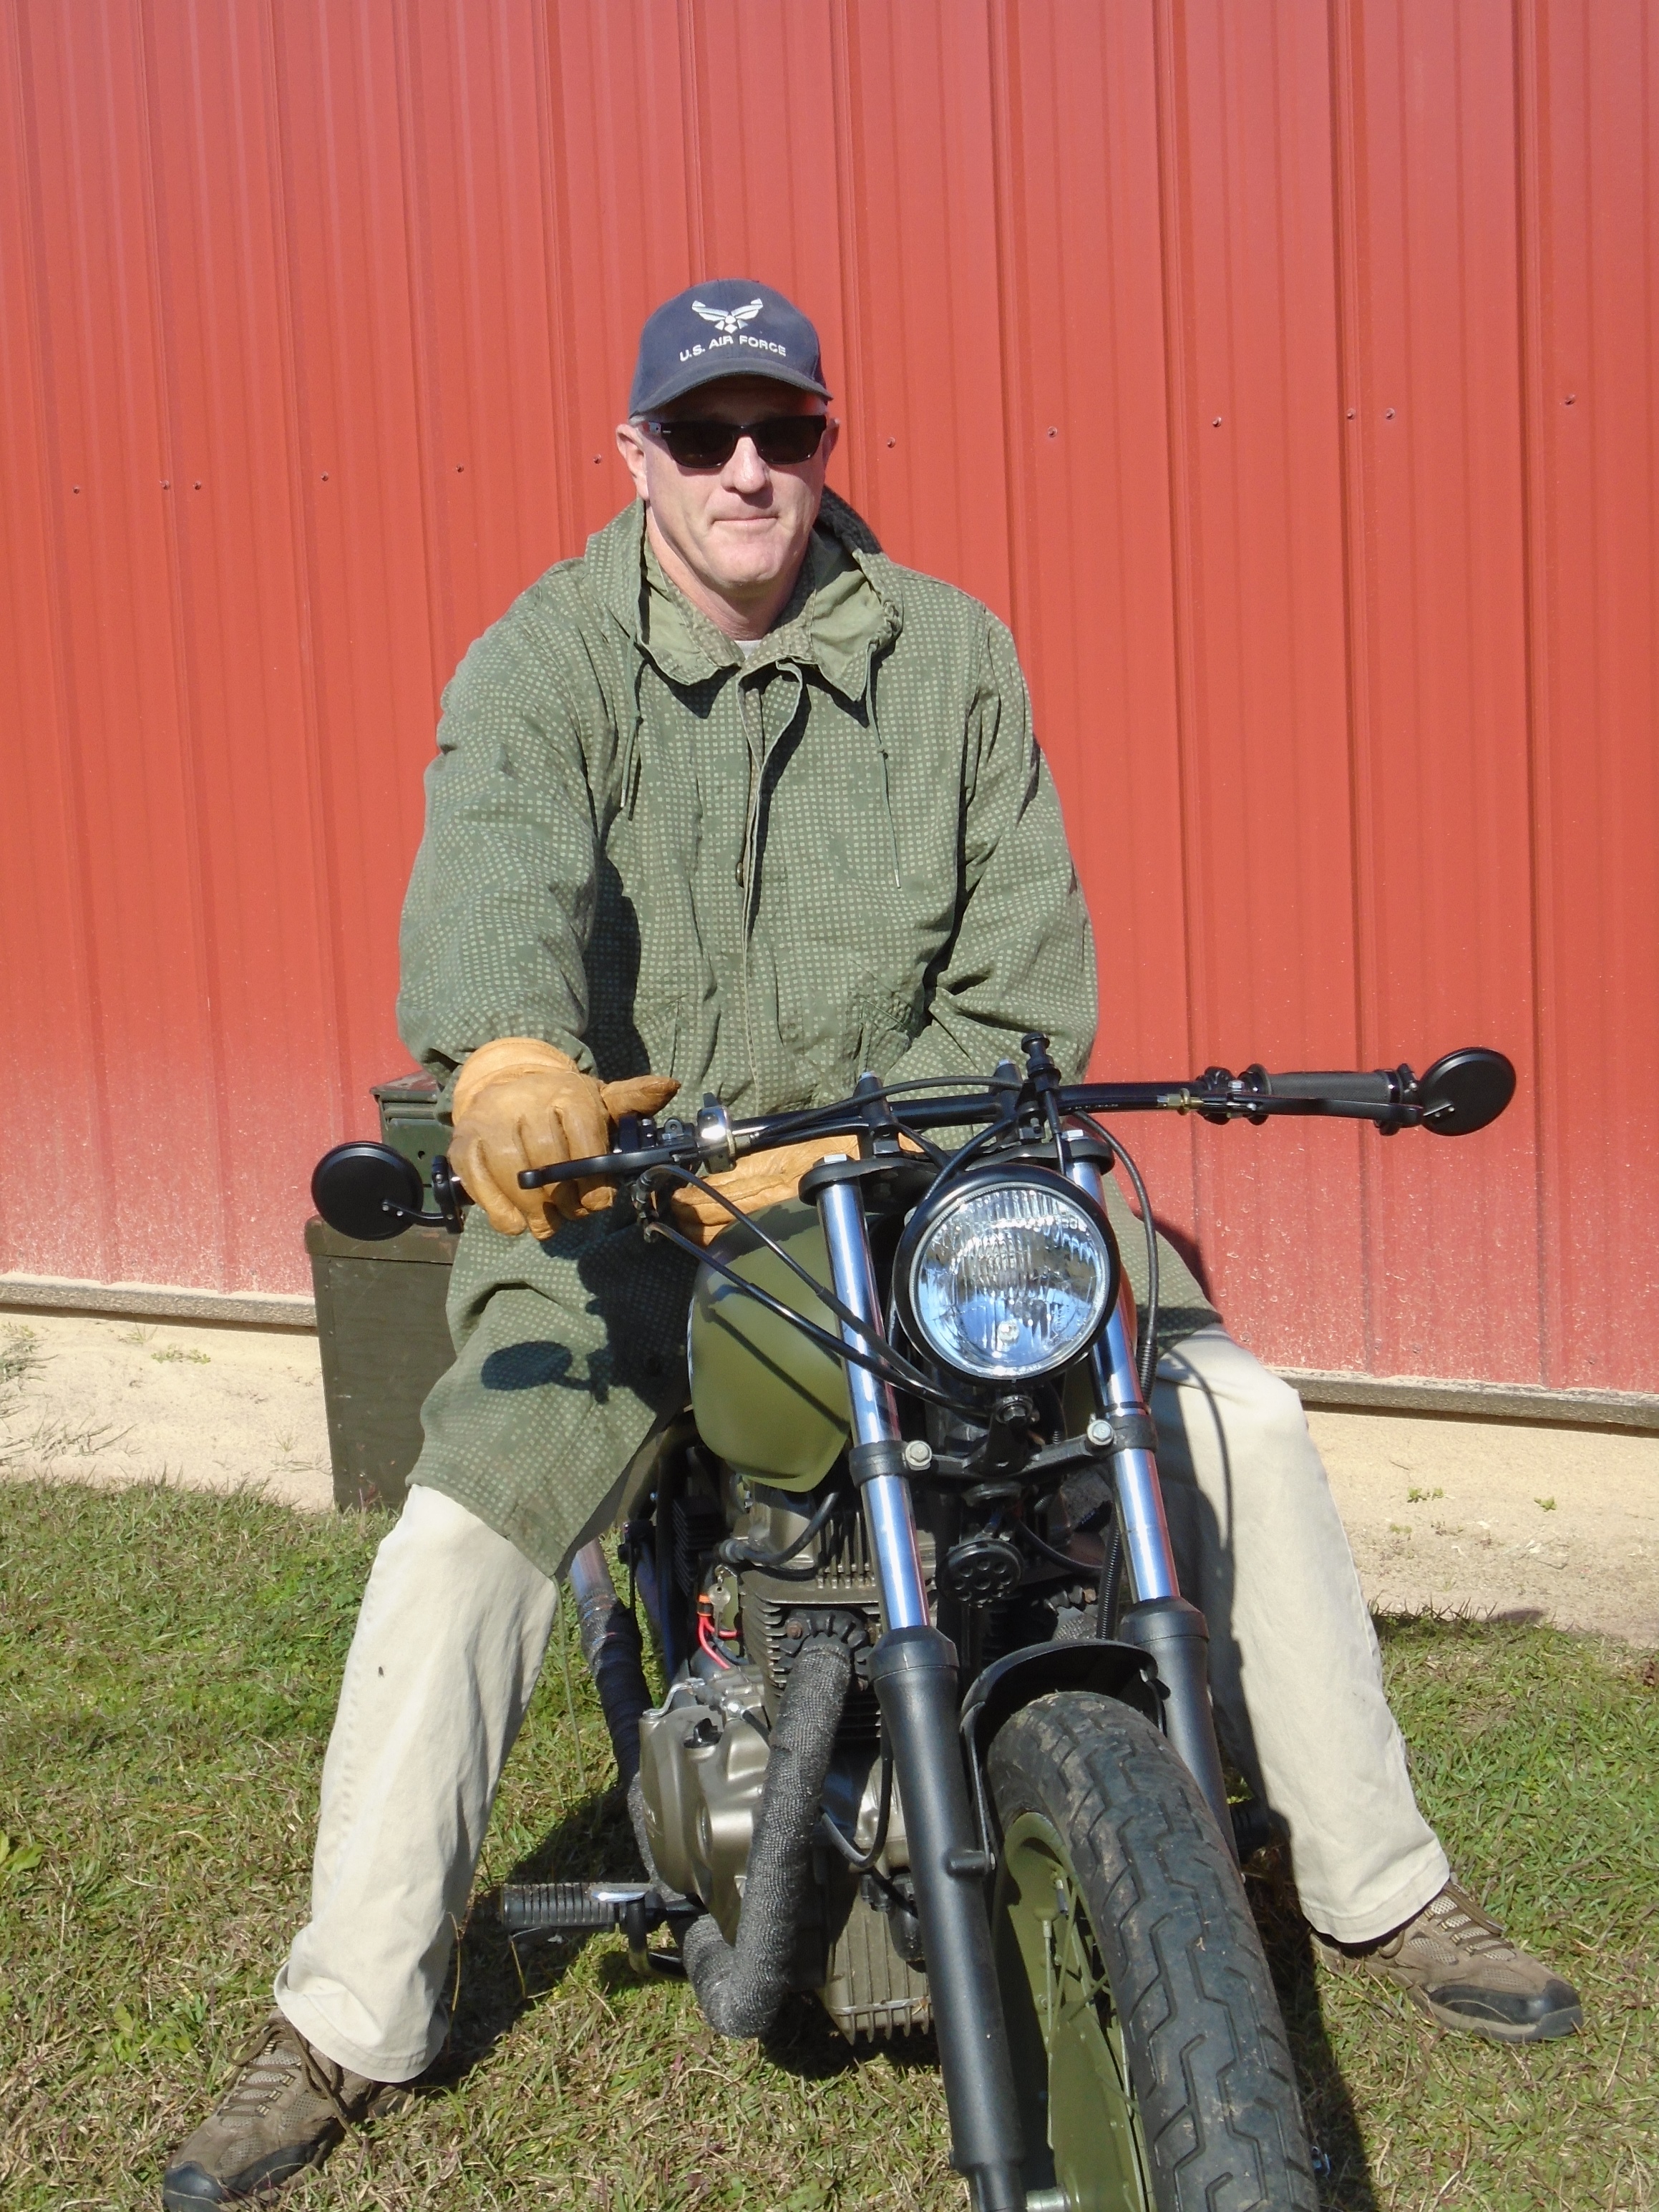
The bar end mirrors actually work very well on this bike.

<bar end mirrors>

That’s enough words from me, here’s a little 1 3/4 minute video showing various excerpts from the build and the proud owner taking it for his first spin around the parking lot, and a couple big pictures further down on this page.

<kustom Honda CM400>

<kustom Honda CM400>

Peace Y’all!


Another Project wAmmo CM400 Update

It’s time for another Project wAmmo CM400 update. Let’s start with my confession that I lost interest in the project for a little while and was really short on time for it. Had some issues with getting the frame sandblasted so I wound up bringing it back home and hit the frame with some paint remover and went over it with my little hand held sandblaster before coating it with spray on truck bed liner. Did the same thing for the tank before brazing up a couple of damaged spots on it and sealing it with Caswell Epoxy Gas Tank Sealer. I also wound up replacing the fork because I was unable to identify the one that was on it to get the proper repair parts so I replaced it, and installed a set of tapered roller steering head bearings for good measure.

<project wammo cm400 bobber>

I got the modified Harley solo seat covered in olive drab Cordura fabric to match the overall theme planned for the bike.

<olive drab solo seat>

Even though the engine would start and run okay, compression on the right cylinder was consistently 50 psi less than the left cylinder. Even after adjusting the valves (click here for the proper procedure) which didn’t help, and putting some oil in the cylinder to see if it would come back up temporarily indicating worn rings, the right side was still 50 psi lower than the left side so I went ahead and pulled the engine apart for a top end overhaul.

<CM400 Engine top end>

The problem turned out to be that the oil rings were frozen to the piston and the gaps were aligned on the top 2 rings preventing them from sealing. The downside to this bike originally being such an artistically created “natural” ratbike is that it was incredibly nasty. Here I am soda blasting the cylinder to clean it. Yes that is the cheap hand held sandblaster
and it works just fine with blasting soda, so if you’re on a budget & just need to clean a few small parts without damaging them the way sandblasting can try this. Just do not hit any gasket mating surfaces with the soda.

<soda blast motorcycle cylinder>

Once everything was cleaned & honed I taped off the mating surfaces so that I could spray on some Duplicolor cast iron gray engine paint.

<paint prep motorcycle cylinder>

<Honda CM400 clutch cover>

The original clutch cover will be replaced with this good used one and since I was not splitting the cases for a full overhaul I sealed up the bottom half of the engine with duct tape so that I could degrease it and remove the existing paint.

<aircraft peeler really works>

Since the head needed a good clean up, it became the subject of a head service tutorial that you can read by clicking here. The next picture is of the original pistons with new rings ready for the cylinder to be re-installed. The blocks of wood  held the pistons up and level while beautiful assistant slid the cylinder slowly into place while I compressed the rings.

<Honda CM400 pistons>

<freshly honed Honda cylinder>

This looks a lot better than the before picture doesn’t it? Once I got the head back on it was time to line up the timing marks for the crankshaft & camshaft as shown below and put the camshaft back in.

<Honda 400 timing marks>

<Honda 400 twin camshaft timing>

Afterwards it was just a matter of putting the rest of the parts back on and torquing everything down properly. Don’t forget to fill the oil pockets under the cam lobes with oil before putting the rocker box cover back on.

<cm400 bobber engine>

The engine is now ready to reinstall, I am going to leave the rotor cover off until later, ditto for the new clutch cover.

<wammo engine in frame>

Now the engine is sitting back in the frame. The intake spigots are new replacements for the damaged originals.

<I like puzzles>

I like puzzles

Now its time to sort out the wiring harness. Sometimes it is easier to start from scratch but for right now I am going to attempt to reuse at least some portions of the factory harness.

<honda twin regulator rectifier>

Normally on a custom motorcycle one would attempt to hide such parts as the regulator rectifier but since I am going for a post apocalyptic paramilitary look on this machine it is bolted to the side of the rear fender out in plain sight.

<Honda CV carbs>

Once I get the wiring sorted out and get the wheels back on it’ll be time top restore this set of CV carbs. I will probably do an in depth post on that process when the time comes.

Peace Y’all

Custom ABS Plastic Battery Box

When I last posted the last picture was of sheet of plastic with my cardboard pattern lying on it. After tracing around it with a marker I used my bandsaw and a Dremel to cut it out to shape. Be certain when cutting plastic with any high speed rotary tool the you use either a saw blade or the router attachment. Do not under any circumstances try to use a metal cutoff wheel for plastic and of course always wear eye protection.

<custom abs plastic battery box>

This next step involves extremely high heat, possible hot metal & molten plastic. It is your responsibility to take all reasonable precautions to see that you don’t get hurt.

The first piece to get bent is the lower brace. It will get reshaped even more later but for now let’s just bend it to a nice 90 degree angle. First you clamp it into a vise sandwiched between a couple of metal angles and start heating it.

<heat forming abs plastic>

When it gets warm it will bend very easily. To get a really good square corner take a slab of wood or another piece of metal and press down on the corner and hold it for a minute as it cools.

<heat forming abs plastic>

<heat forming abs plastic>

<square corner abs plastic sheet>

After this I bent the tabs in for the sides. These tabs my not really be necessary but I like the security of having large bonding surfaces to hold parts like this together, especially in a high vibration environment like a motorcycle.

<build custom motorcycle battery box>

Bending the sides up to form the box takes a little more thought. If you have enough equipment and desire absolute perfection you should carefully clamp each corner to be folded and follow the procedures shown above. In the interest of time and since this motorcycle is going to be another deliberate neo-rat, I simply heated the plastic along the bend lines until it was bendable and then used two blocks of wood to form it to shape. Hey it works for me.

<custom chopper battery box>

<custom Honda chopper battery box>

Before moving on to the next step you will need to test the fit and make sure that your battery fits properly. At this point you can reheat the plastic and adjust things somewhat, once you glue everything together it’s not so easy

<custom chopper Shorai battery box>

When you glue it together be sure to use plenty of ABS cement. Do not use any other type of cement with ABS plastic.

<custom chopper plastic battery box>

One of the nicer things about working with ABS is that the cement is very thick and you can use it as a gap filler to seal off cracks and imperfections and then sand it down after it all dries.

<custom bobber plastic battery box>

<custom motorcycle plastic battery box>

Here is a quick shot of it in the frame with the bottom brace glued into place. At this point the battery box is pretty well done except for sanding and painting.

<custom rigid frame chopper,bobber,motorcycle abs battery box>

The next steps for Project Wammo is going to be a complete teardown to the bare frame to finish removing all the unwanted tabs & finish up the welding. Then it’ll go back together as a roller with new bearings, fork seals, brakes, tires, etc. Then it will be time to freshen up the engine & paint the sucker. Stick around & enjoy the fun.


Introducing Project wAMMO!

Perhaps I should just write all of this down and wait til I finish to start posting. Nothing like laying everything bare for the public eye to put the pressure on a man, but that’s okay it’s under control and everything’s gonna be alright. Before I started the teardown I just had to hear it run one more time, click here to have a listen for yourself. At the end it started to act like a runaway but settled back down a second or so after I let off the throttle, definitely a sign that it is running a bit lean. All the necessary bits to fix that are already en-route to my secret workshop as we speak.

CM400 chopper

Let’s get started

The seat just hit the scrap pile, notice that in a pinch you can substitute bandage tape & scotch tape for electrical tape, zip ties, & proper brackets.

<1981 CM400E>

I’m digging the old rhinestones glued to the rear fender aren’t you?

Here was the ingenious repair repair to the broken carb boot. McGyver would be proud. I must confess that if I were broke and/or stuck in the middle of nowhere I would do something like this to get home. New carb insulators inbound as I type this.

Honda CM400E Carb insulator

Hey it runs just like this.

And there were a large number of auxiliary fuses embedded all through the tape, of course all of them except for one had been bypassed….

<murdercycle kustomizing>

<kustom ratrod motorsickle>

<hellbilly special murdersickle>

This one has got me feeling more like a motor archeologist than a mechanic. Speaking of which if any of my readers can identify the object in the next two pictures would you please be so kind as to let me know. Thank you in advance for for being such fantastic and intelligent people.

<strange doohickey>

<if u no tel me>

if you know what it is please tell me

I was able to get the fender off without needing a tetanus shot.

<a real ratbike fender>

a real rat bike fender

Looking a little bit cleaner…

<backyard built rat chopper>

The original shock mounts were used for the fender struts and the side mount license plate holder.

<side mount plate holder>

Fortunately the frame modifications all appear to be well done by someone that had a clue about welding. Can’t say the same about the decades of accumulated stuff that got put on it afterwards.

<dangerous repair>

At least this is safer than no cotter pin at all.

I did a little more but will show you later as the UPS man just dropped off my new riding suit & I want to go try it on!

Peace Y’all

The Organic Rat! Honda CM400 Junkyard Dog!

This one has a kind of an interesting story to it. I had stopped at lunchtime a couple of weeks ago to fill the Suburban Assault Scrambler up up with ethanol free premium at my favorite gas station, when a local folk artist named Frank Cooper rolled up next to me in his mural covered Roadmaster. He comes over & tells me that he has an old Honda 400 in a storage unit that he might like to sell.

art car

super cool acrylic painted sled

I really didn’t think anything more of it for a week or two and then this morning  I gave him a call and met him at the rented storage unit where he stored this bike & apparently the rest of his worldly possessions also. After moving piles of junk (aka art supplies) this little bobber came into view. My immediate reaction was oh no I don’t want anything to do with that one. but after we got it outside he hooked up a battery & poured some gas in the tank and within a minute or so it fired right up and the engine sounded pretty good.

<ratty old cm400 motorcycle>

After negotiating a price I loaded it into my van & let it ride along to lunch with my beautiful wife & I. She didn’t even roll her eyes at me for buying it, I wish every man were as lucky as me. Here it is tucked into the back of my old Astro van. A normal sized motorcycle will not fit without removing the mirrors & maybe folding down the handlebars, but this one is so low it fits with plenty of headroom to spare.

<rat bobber chevy van>

loaded up and ready to haul

After getting it home I snapped a few pics of it to share with you. Lets start with the details first. I have no idea where this hardtail came from or what that silver thing is that is hose clamped to the frame.

<honda twinhard tail>

It kind of sketchy and dangerous looking….

The bottle opener is a nice touch.

<crazy dangerous motorcycle>

I might trade the bottle opener for one that says Guinness

I have no doubt this was the license plate he rode around with. 😉

<folk art license plate>

The seat is literally a junkyard dog.

<junkyard dog motorcycle seat>

woof woof!

How ’bout a top view?

<bobbed Honda CM400>

I hope any passengers don’t mind the comfy looking rear fender.

Come on you have to admit it has a mean looking stance!

<bobbed honda chopper 400>

“The Gunn”

The design and fabrication look as dangerous as a gunfight but all I plan to do to this one is to get it as functional & dependable as possible without changing anything about the way it looks or worrying about safety beyond making sure that it is not too likely to break in half if it hits a bump in the road. All motorcycles are dangerous, but some are more dangerous than others.

<wicked evil dangerous chopper motorcycle>

“The Bullet”

I am more than willing to entertain reasonable offers on this machine, as long as you understand that it is being sold as folk art with no warranty that you would ever be able to ride it at all and that it was fabricated by an unknown amateur of questionable talent & that I am not responsible for anything that happens to you as a result of attempting to ride this motorcycle. Of course the longer I keep it & the more I do to it, the better your offers must be.

Peace Y’all

Motopsyco.

QUICK UPDATE! A friend of mine saw this bike on Facebook & has purchased it from me. It is still parked in my shop because I have been commissioned to rebuild it to his specifications. Though I hate to see a real vintage rat disappear it will be a gritty down & dirty bobber, just right for him to tool around on down here in the dirty south! STAY TUNED!