Hello once again Ladies, Gentlemen and Russell,
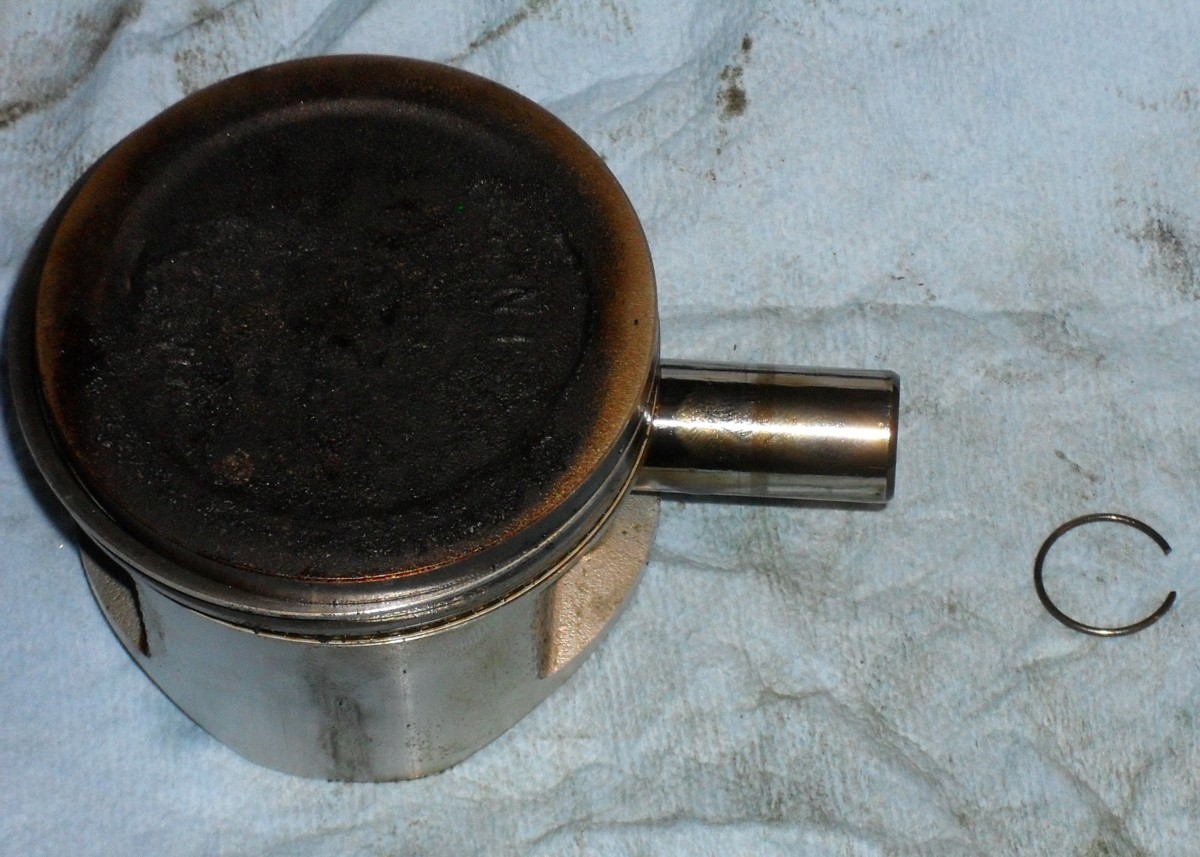
When last I posted the engine was sitting on the bench with the top end and most of it’s accessories removed. The next thing I did was to remove one of the piston pin circlips and push the pin out far enough to remove the piston from the connecting rod.
If you don’t have an impact wrench available you should probably remove the alternator rotor before removing the top end. This is one job that really does require the factory special rotor puller. Fortunately they are not expensive and like the service manual worth every penny.

To remove the camshaft and timing chain first remove the camshaft bearing retainer and rotate the engine until the crankshaft is at top dead center and the timing marks on the cam sprocket and the crankcase line up. Now you can slide the camshaft out while working the cam chain off of the crankshaft. For the picture below I stuck the camshaft bearing retainer back into place after removing the camshaft so you could see how it fits.

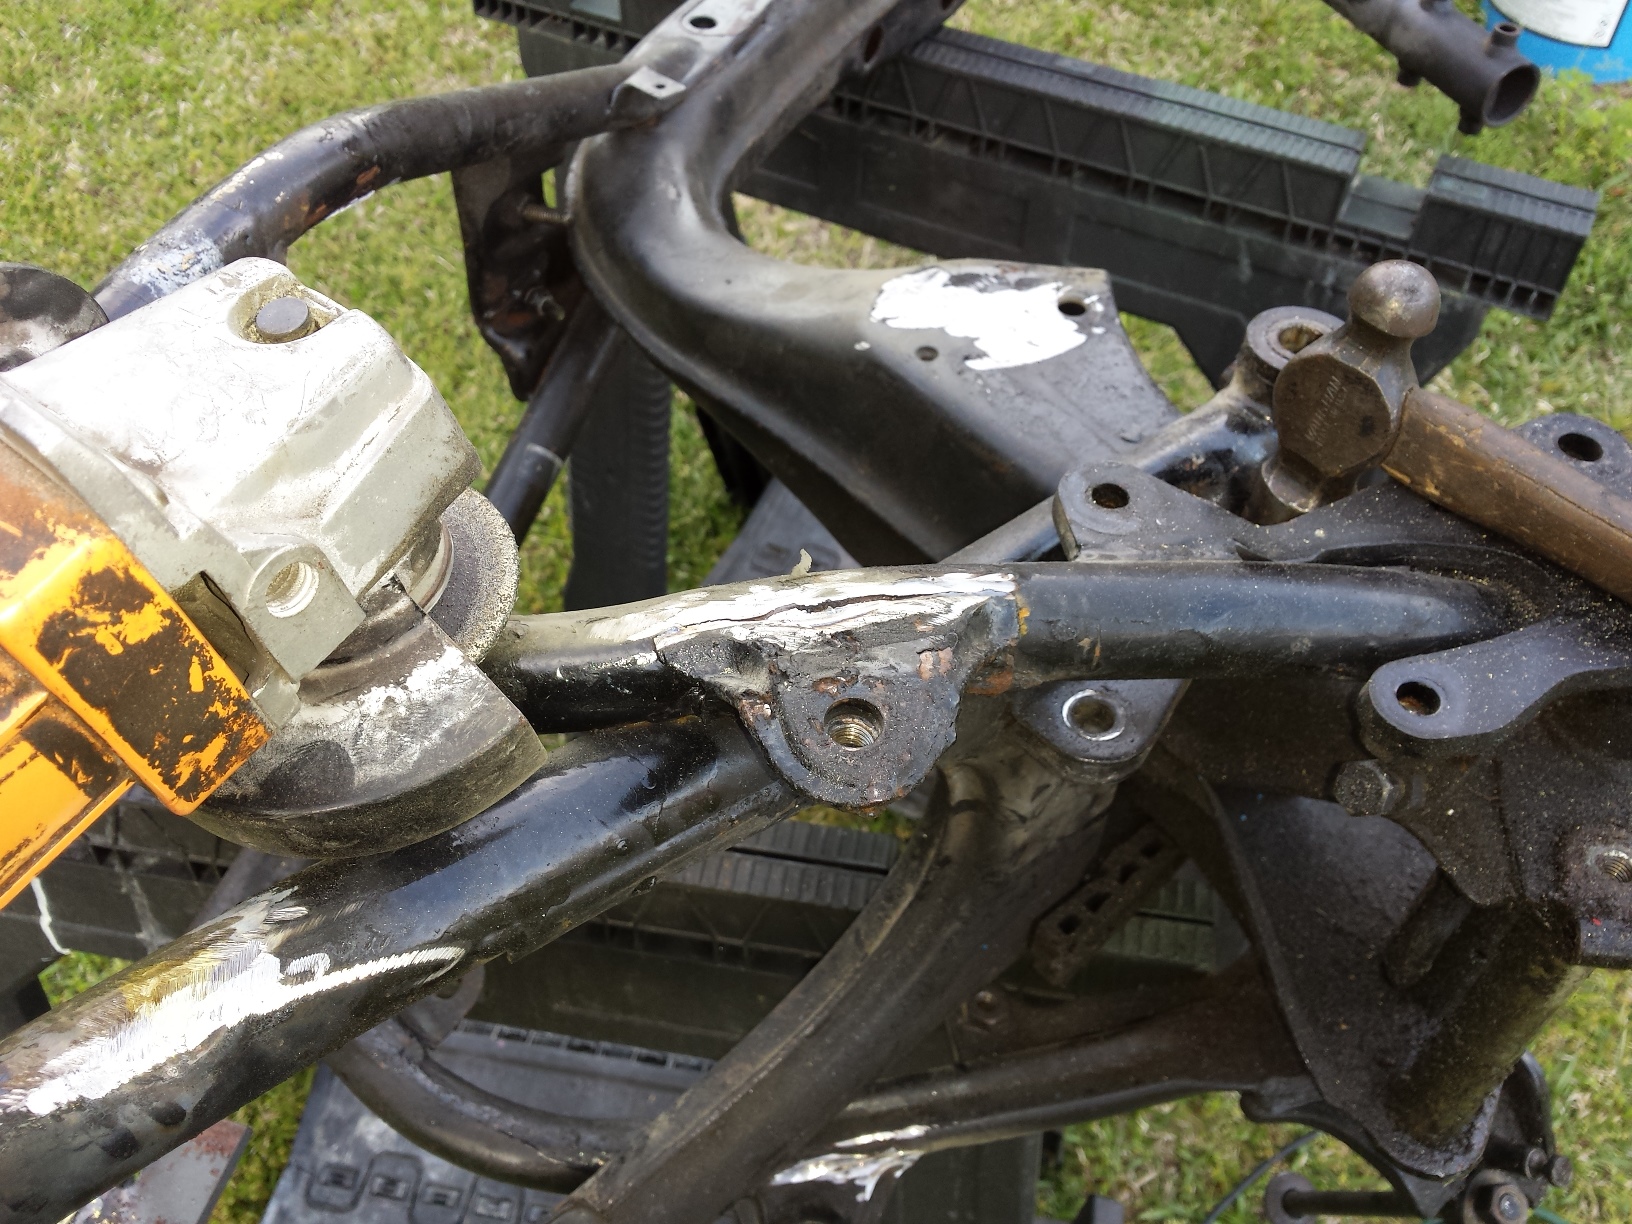
Now it’s time to split the cases first remove all of the bolts and gently tap on the small projection around the cases and they should begin to come apart. If they do not easily come apart double to be sure that you have not missed any bolts like the one in this picture, that is inside of the engine where you might miss it.

With a TRX250 Recon engine I like to place it front side down on a workbench that allows me to place the protruding shafts through the bench so that it sits level. Then gently lift up on the rear case while tapping down on the transmission output shaft until it pops free. If you need to pry on the case to move it remember that you should never pry on any of the gasket sealing surfaces or around the cylinder hole. The outside of the engine mounting lugs is okay and there is on small place in between the lifter holes that can be used.
 Just remember that if it requires any kind of force to remove something may be wrong and you should re-check everything before proceeding.
Here’s another shot of the transmission innards.

As you pull the pieces out of the transmission and lay them out on the bench like this be sure that you keep track of every single piece, all the washers bearings etc. and where they go in the assembly. I like to re-assemble them all back to their respective shafts as fast as possible. Keeping these parts in order is critical because just 1 misplaced or omitted washer can destroy the transmission and maybe the engine itself.

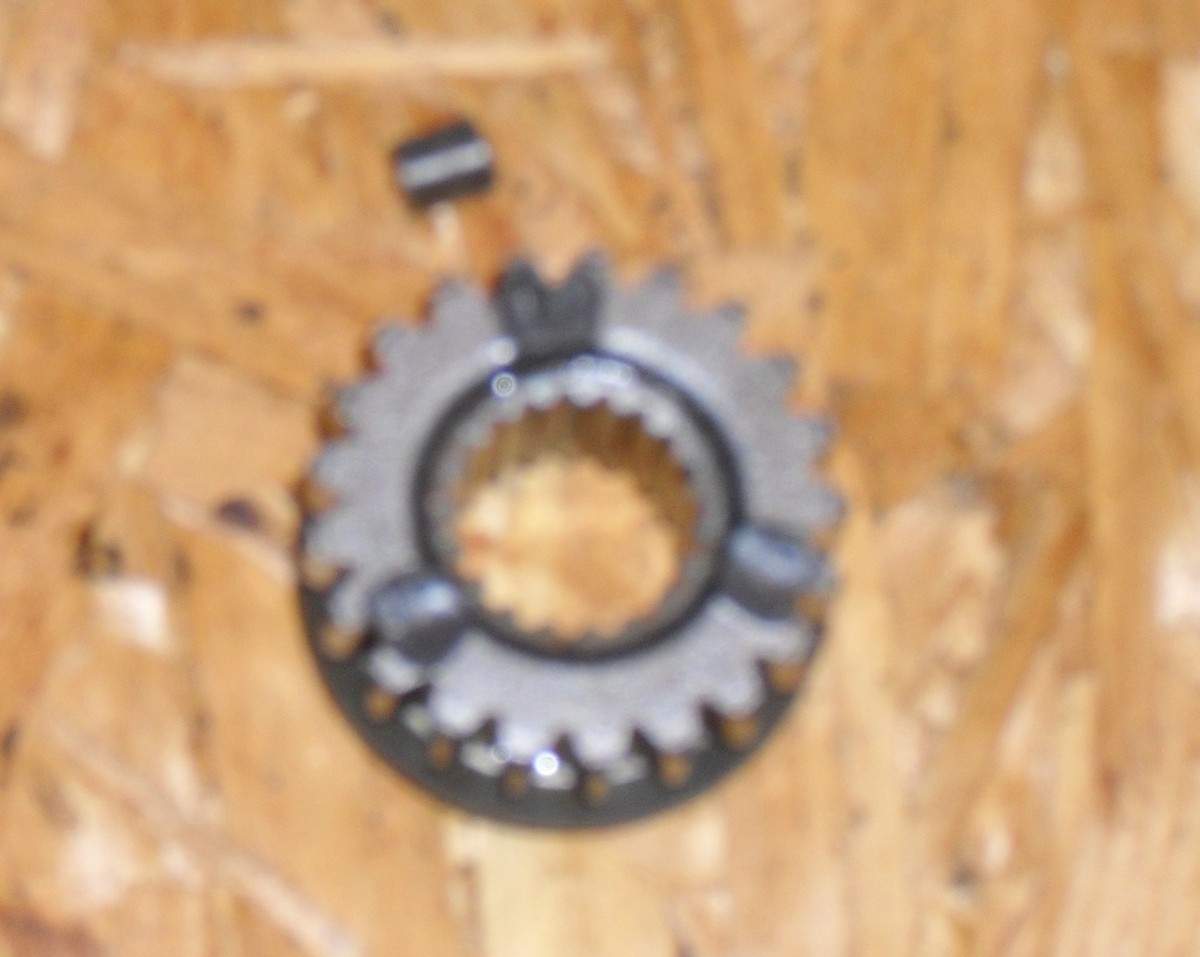
Here’s a picture of the failed gear so far I have only found one of the lugs that snapped off of it. The others probably drained out with the oil.
One last shot of the nearly empty crankcase, only the crankshaft and bearings remain.
Now I have to clean everything up good and order the required parts so it may be a week or two before you see this engine again.
If you really want to keep up with how this is going please be sure to subscribe to this page via the link on the upper right side of the page.
Peace Y’all