A Quick Update on the Suburban Assault Scrambler!

This bike is now 90% complete and I have actually put a couple of hundred miles on it in the last week or two. The shake down runs have been encouraging once I got the final adjustment of the carbs correct and finally broke down and replaced the original 1980’s plugs with a fresh set. Speaking of the carbs, I did a full teardown & took lots of pictures and I am in the middle of writing a carburetor restoration post now, hopefully to be completed later this week. Ditto for the fuel tank mods & the paint.
Let me apologize for the fact that progress on the bike has outpaced my postings, but at this time life is so incredibly full of good things and huge opportunities that it’s a bit overwhelming for me. I will be showing you the major points that I changed on this bike asap.
BTW; it is a great commuter!

<1980 Honda CB650C>

The SAS & the Minimum Ninja bask in the sunshine outside my office.

Blaze Anti Fog Spray & Wax Another Psyco Product Review!

twas a dark & cloudy morn

twas a dark & cloudy morn

Good morning everyone, it is 8:05 a.m. on a cold grey morning here in the hinterlands of Hartsville, South Cackalacky. The temperature is just above freezing (mid 30s) with the occasional light spitting of sleet & rain. I just got back from a motorcycle ride and have a report for you. Everyone knows the best way to keep your motorcycles carburetors clean and ready to go is to ride the damn thing all year round whenever possible. I am not as hard core as I used to be but even in the bleak midwinter I try to keep it on the road enough to keep it running. Besides when the engine is sucking in really dense cold air it seems to scream at me with a whole new level of ferocity that makes me want to twist the throttle harder & harder, damn the frostbite to fingers it feels gooood!

Where I live the winters are generally mild and most of the time the midday temperatures range from 40-60 degrees Fahrenheit But to take advantage of the afternoon temps on my commute home I sometimes have to leave the house while the thermometer hovers around the freezing mark and the frost is thick on the ground. and most of the time this means I have to ride with my face shield up because it fogs up so much. So picture this, a 30 mile commute, in 30 degree weather, with your face shield up and old Jack Frost gnawing on your nose like a puppy on an expensive pair of handmade leather shoes. Even I am not enough of a masochist to say I enjoy this.

This story starts off innocently enough last week at the International Motorcycle Show in Charlotte when I heard this natural born snake oil salesman calling out offering to clean my glasses for me. He did the little routine where he cleaned one lens and put them on a humidifier to show how great the stuff was at preventing fogging. Normally I ignore these people but all of these cold mornings have affected my brain so I decided to listen to him and actually purchase a kit to try.

Blaze Antifog Kit

The Blaze Antifog cleaner kit with microfiber cloth with my glasses & helmet.

To be totally honest my glasses have never actually fogged up during my morning commute. The helmet I use is an HJC CL-Max modular helmet that I have owned for several years now. I have been very happy with it so far, but I did cheap out & get the plain Jane face shield with no tinting or antifog properties.

<HJC CL-Max & Blaze Antifog>

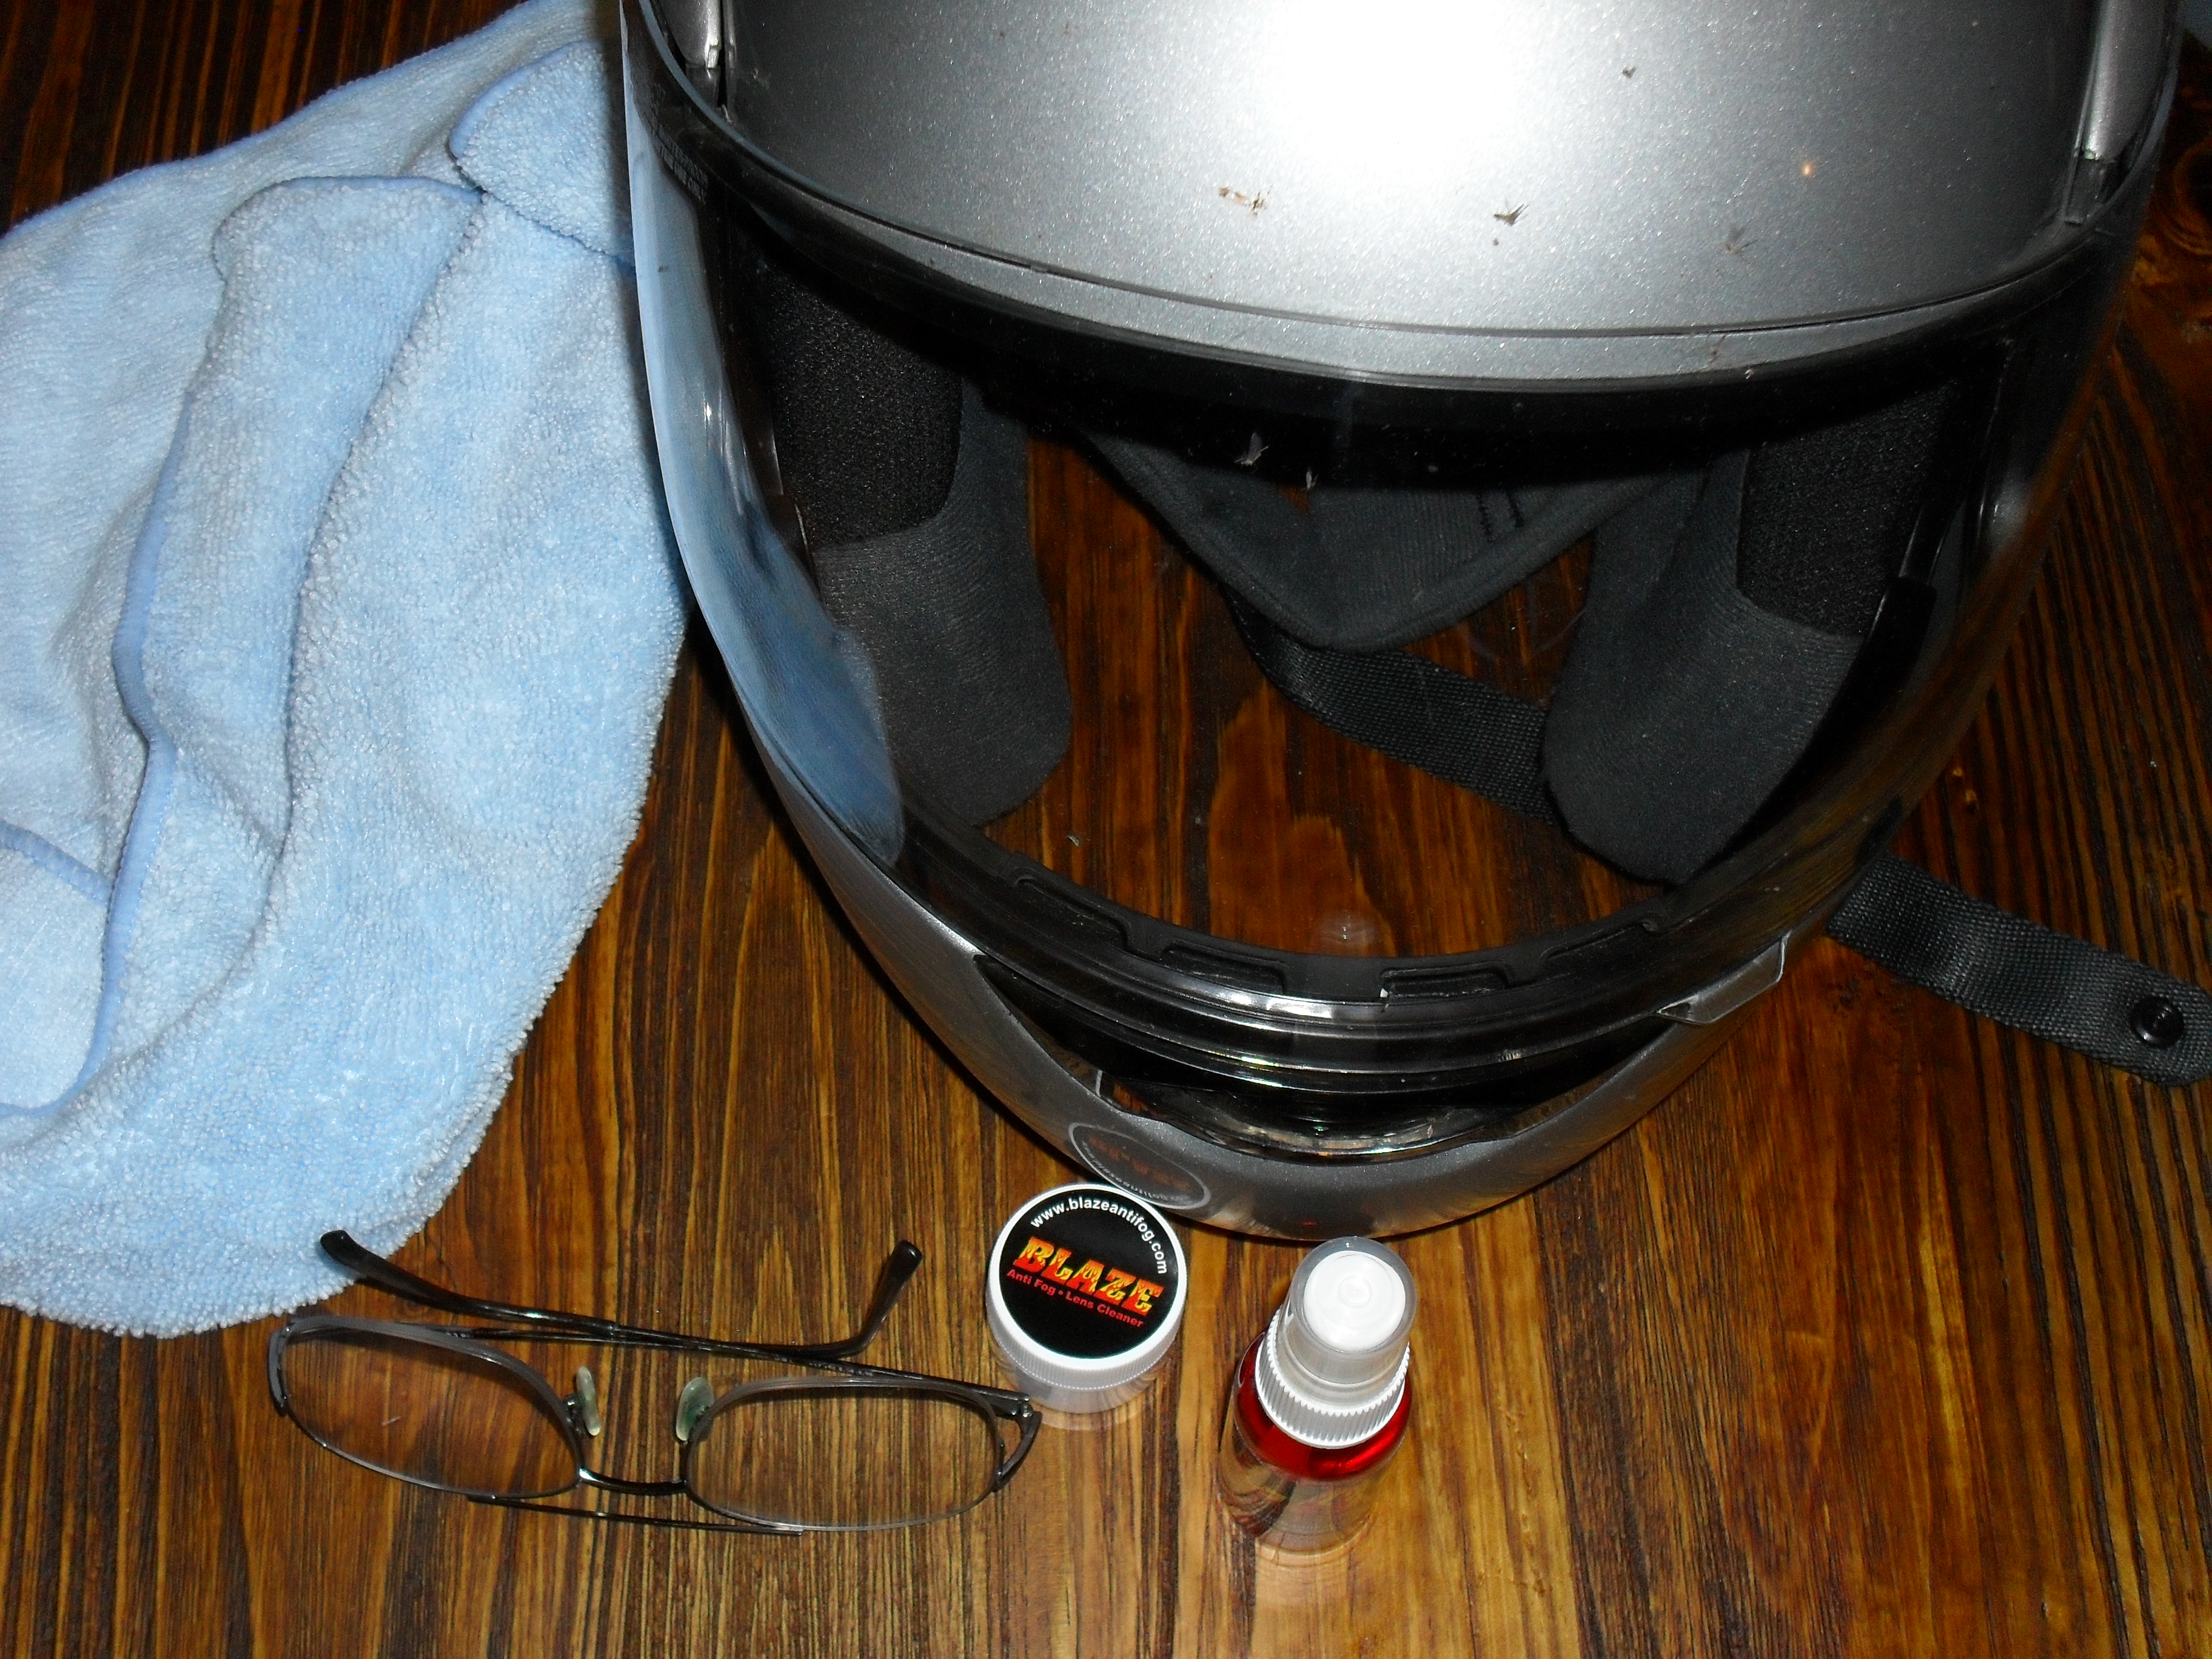
Following the manufacture’s instructions which can be found here

I cleaned my glasses first

<clean glasses with Blaze wax>

Then did the exterior of the helmet with the spray. In the past I have always used Pro Honda Spray Cleaner on my helmets. It definitely is the best thing I have ever found for dried bug removal and is safe on polycarbonate plastics unlike most household glass cleaner. But it has no antifog capacity at all and is actually meant to be uses as a cleaner/detailer product for your bike not your lid.

<cleaning face shield>

The Blaze spray worked really well for cleaning the optics, but it took a little more work to scrub away the dried on bugs than I am used to.

removed face shield for thorough cleaning

removed face shield for thorough cleaning

After all of my lenses were nice & shiny I put it all back together to wait for morning.

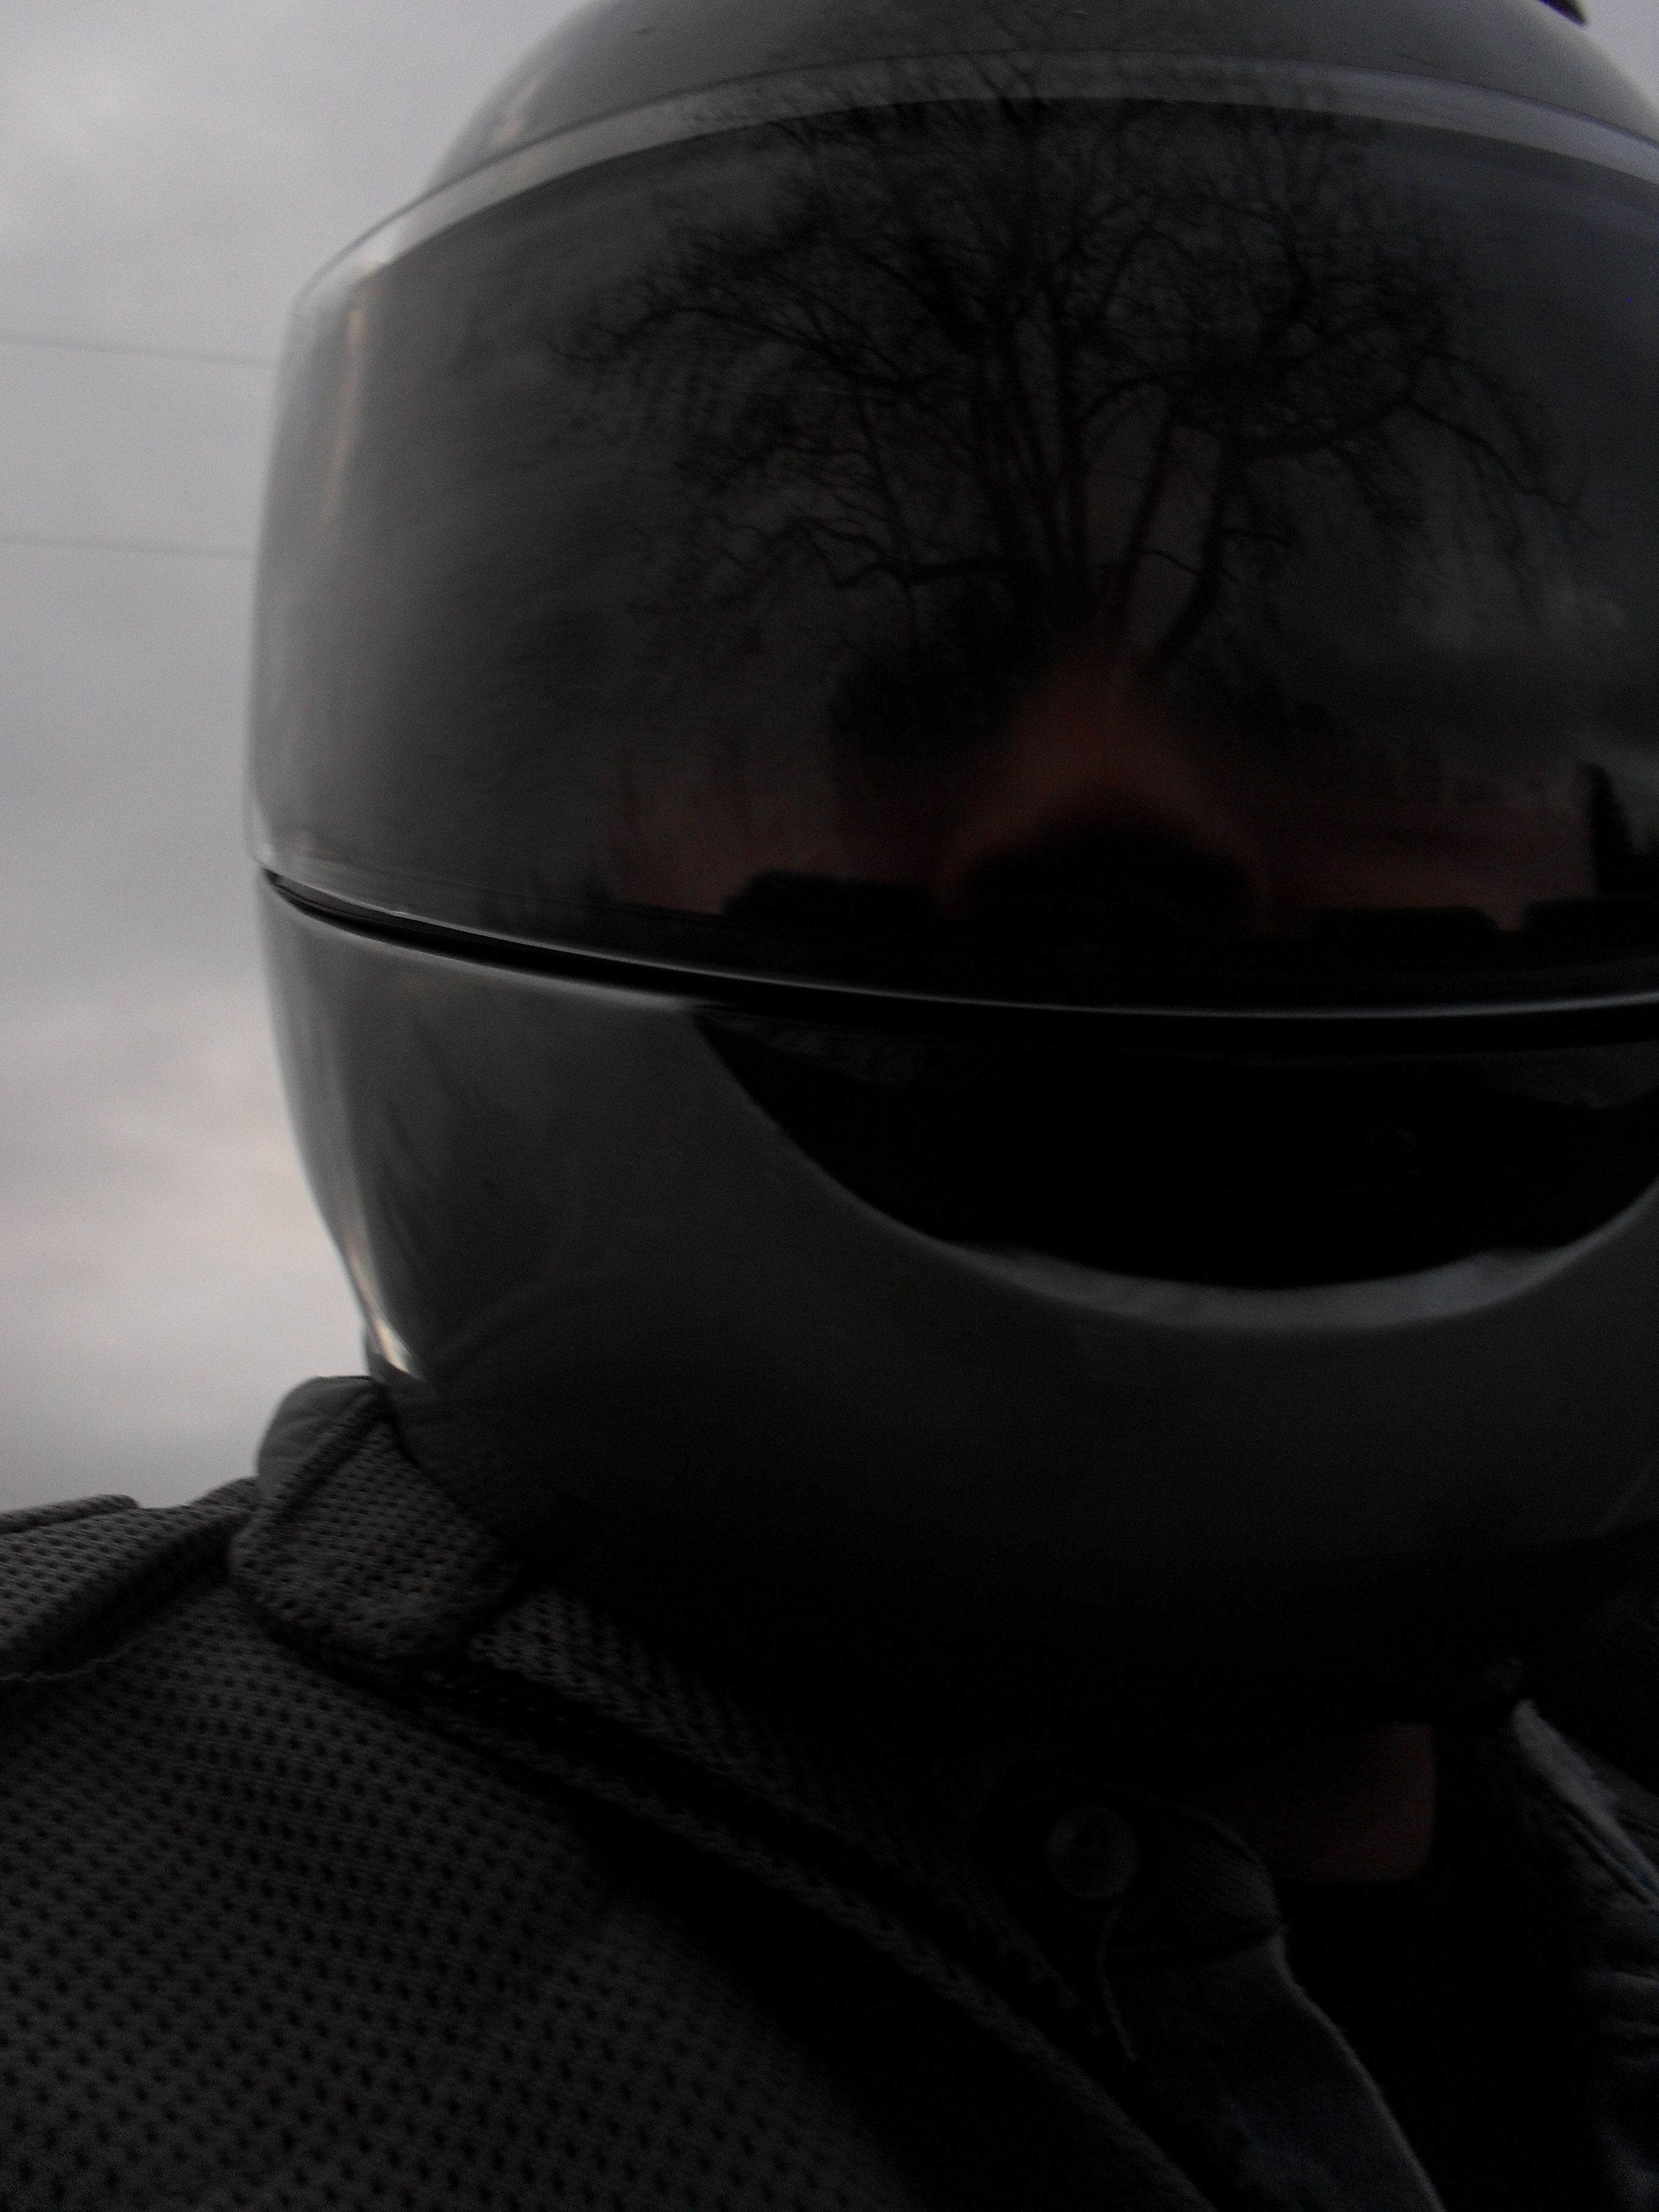
Then today I got up nice and early put on my riding gear, went out to the barn and coaxed the Minimum Ninja into life. While walking to the shop I was able to fog the shield by deliberately blowing air upward toward it. Not perfect but hey normally time I step out the back door on a cold morning it is completely fogged over.

a little foggy but not bad

a little foggy but not bad

Riding out the long dirt road that I live on to get to the nearest asphalt I was able to leave the shield closed and was not blinded by the fog.

This is not a fun curve for a sportbike

This is not a fun curve for a sportbike when it’s the least bit wet.

When riding very slow or stopped for more than a few seconds I had to crack the shield open to keep it completely clear, but never had to raise it up more than a smidgen.

further down the road

further down the road

Here’s a shot of that gloomy overcast sky. Normally I would have preferred to try this out for you on a super bright sunshine filled, but freezing cold clear morning, when the glare from the low hanging sun reveals every flaw in your shield but it didn’t happen that way.

<a gloomy morning at the crossroads>

a gloomy morning at the crossroads

My final verdict on the Blaze Antifog cleaner products? Well it’s actually positive but mixed. I really need to check it out in a variety of more conditions, but normally this morning I would have been riding around with my faceshield open just to be able to see, so that alone is a great thing. It’s not perfect, I still had a little fogging when stopped or at very low speed but as soon as I began moving it went away. Perhaps with continued use it will improve more, at this time I only have applied it to my shield once. At 25-30 bucks a pop for the kit, it is rather expensive, & I would like to see it around $19.99 or so myself, but it does work. It’s up to you, if you were blind what would you pay to see? I do recommend removing the face-shield and using something made for painted surfaces to clean the rest of the helmet. Not because this stuff will hurt it, but because it is expensive and there are other products such as the Honda cleaner, that do a better job of removing thick caked on bug guts.

If you are a year round rider and do not have a factory anti-fog coating on your face-shield or goggles you might want to try it out.

Let’s Ride Y’all

the Minimum Ninja!

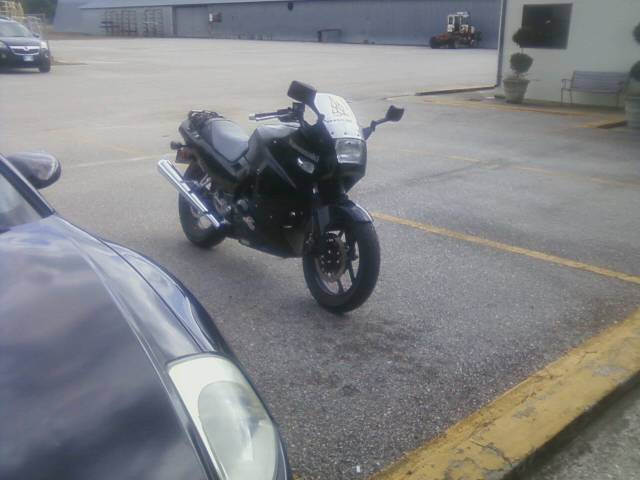
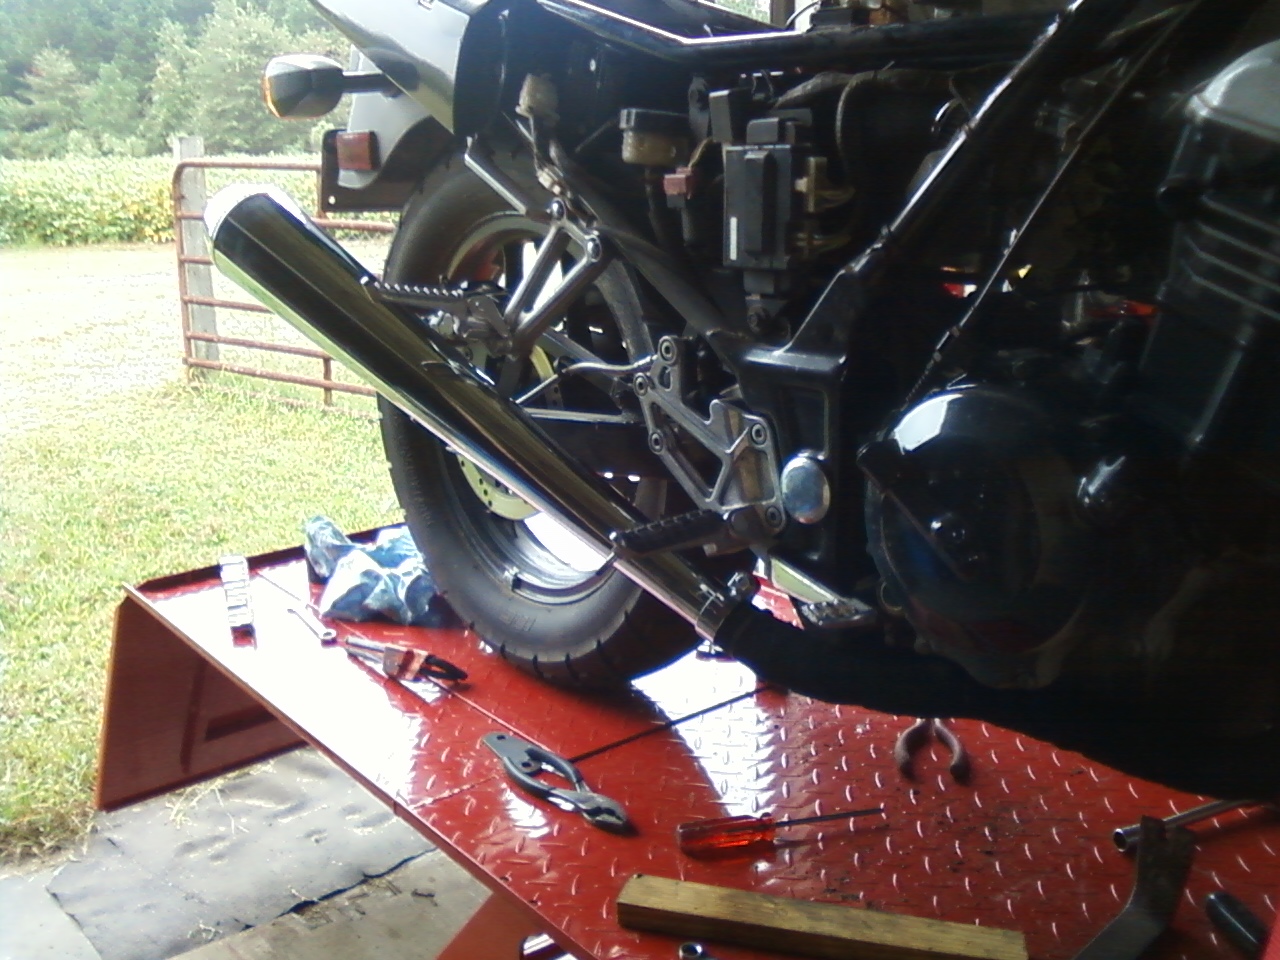
I had to include a picture of the Minimum Ninja!

HANG IN THERE, SPRING IS COMING!

Ninja EX250

lunchtime Jan. 16, 2013


This is for all of my friends in colder places. It is my lunch break, it is 73 degrees farenheit in January, and this is my motorcycle parked outside of my office. I’m not trying to rub it in, just wanted to share a little joy with you today!

Peace Y’all

Installing Dunstall Replica Mufflers on an EX250 Ninja

When I last posted about my work on the Minimum Ninja, you saw a photo of a damaged and worn out aftermarket exhaust header. When my wife bought this as an abandoned bike from the back lot of a Kawasaki dealer for a c-note a few years ago, it had the Yoshi pipe on it, so I had to  buy a stock head pipe. If your Ninja has the stock mufflers you don’t have to do all of this work, just figure out where to cut them off, put the right adapters in the new muffler, make some brackets and go. Not being that fortunate I had to do a little more work, not a problem for me tinkering on a motorcycle is as much fun as riding one. I started with a piece of 1 1/4″ water pipe,way bigger than the exhaust pipe but a good enough match to the size of the flange around the pipe to be easy to weld.

1 1/4 inch water pipe nipple

So I stuck it in my handy dandy pipe bender and bent it to the desired angle. Please note that pipe benders like this will NOT bend thin wall tubing without crushing it, they are meant to bend schedule 40 steel pipe or very thick walled DOM tubing.

An inexpensive pipe bender

After bending and cutting it to the right length grind one down enough to slip into the new muffler. And absolutely grind away all of the galvanizing from the area to be welded. The fumes given of by burning galvanizing are very dangerous. Use all necessary precautions. I would have used black pipe but the hardware store was closed and Lowes did not carry it in this size.

home made muffler adapter

one is done and one more to go

Then I mocked it all up on the bike and tack welded the adapters to the head pipes.

Ninja Dunstall muffler adapter mockup

Mocked up for tack weld

After that I pulled everything back off and seal welded the pipes together, cleaned off the scale and shot the pipes with a coat of high heat paint

tack welding completed

tack welding completed

pipes seal welded & painted

pipes seal welded & painted

Then I wrapped the entire head pipe with header wrap and reinstalled everything.

Head pipe wrapped with 2" wide fiberglass wrap

Head pipe wrapped with 2″ wide fiberglass wrap

I did take the centerstand off, 😦 it just did not work with the new pipes. Besides now I have a motorcycle lift table when I need to work on it now.

Next time I’ll show you how I lined the fuel tank with tank Kreem. An oil & plug change how to is in the works too.

Peace Y’all

 fiberglass header wrap

P.S. This thing sounds really good now and is not nearly as loud as it was.

Review of the Harbor Freight Motorcycle Lift Table

I’ve been wanting one of these for a long time. For years I used a wooden table or a chain hoist to lift motorcycles up for repairs when I just could not bear to get down on the floor to work on them. As I’ve gotten older the combination of a weaker back and a fatter wallet has made this purchase a lot easier to justify. So when the September issue of my favorite motorcycle magazine arrived on my Kindle with a coupon to purchase this lift for $299 I bought a print copy ASAP & clipped the coupon.

Ironically enough it took me 2 weeks to purchase this from either of the 2 nearby Harbor Freight stores. Unfortunately this led to my first real negative experience with a company that I have enjoyed doing business with for years. Last Saturday I went to my closest store in Florence S.C. and they were out of stock, so I called the store in Dillon an hour drive from here and they were also out, but told me they were expecting a shipment on Thursday. Yesterday, I was in Florence and they were still out, so I called the Dillon store and gave them the item number and was informed they had some in stock. So I gassed up my van and rolled up the interstate to that store, imagine my shock when I handed the clerk my coupon and was told that they were out of stock. When I mentioned that I had just called and had been informed that they were in stock. Then she went back to the computer and “found” one for me. Probably just a human error but if you are using a coupon to buy one I would verify stock in your nearest store before driving very far to pick one up. Don’t mention the coupon until you get there.

The shipping guys helped me load it in my van with the forklift. This worked out for me okay but if I had to do it again I would have taken a trailer for easier loading and unloading. If you have a long bed pickup truck that’s the best thing to use.

lift in crate in my Astro van

lift in crate in my Astro van

Since the completed crate was far too large and heavy for my beautiful assistant and I to remove from the van I simply opened where it was and slid the contents out into the door of my barn.

motorcycle lift crate open

motorcycle lift crate open

I am not going to do a step by step walk through of the assembly because in all honesty the instructions that come with it are perfectly adequate to help you get it together. I will touch on a couple of things that I think you should know about. First I got all of the parts laid out and read the instructions from beginning to end.

Harbor Freight Motorcycle Lift Table w/ parts & instructions

Harbor Freight Motorcycle Lift Table w/ parts & instructions

Harbor Freight Motorcycle Lift Table oil fill plug

Harbor Freight Motorcycle Lift Table oil fill plug

One of the things that you are instructed to do is to check the level of oil in the lift cylinder. The fill plug is in the location shown in the picture below.

Be sure to use a decent grade of jack oil. If you do not have some at home go ahead and pick some up at Harbor Freight while you are there. The best way to fill a jack cylinder like this is with a squirt can. Mine turned out to need a pint of oil to fill it.

oil I used for my Harbor Freight Motorcycle Lift Table

oil I used for my Harbor Freight Motorcycle Lift Table

The instructions seem to want you to install all of the parts and accessories before you check the oil and raise the lift. I personally installed the wheels, then filled up the jack and raised the table all the way up to install the wheel vise, tie downs, & the ramp. You should do whatever seems safest to you.

Installing accessories on my Harbor Freight Motorcycle Lift Table

Installing accessories on my Harbor Freight Motorcycle Lift Table

Here it is altogether.

my fully assembled Harbor Freight Motorcycle Lift Table

my fully assembled Harbor Freight Motorcycle Lift Table

  After double checking the assembly of the table I lowered it back down and drove the Minimum Ninja up on it so that it could receive some long overdue TLC.

Look Y'all it's the Minimum Ninja!

Look Y’all it’s the Minimum Ninja!

Yesterday after strapping the bike down I raised the table to its maximum height and left the motorcycle sitting on it with the safety bar properly installed. When I went back this afternoon it was still all the way up. A lot of people criticize the design of the wheel vise but I think that it is okay. Unlike the larger vises I am certain that one can perform most fork and front wheel service without removing it. When I was a dealership mechanic most of the time the wheel vises from our heavy duty air lifts spent most of their time lying under the workbenches because they got in the way. Plus my bike still has a centerstand 🙂

Kawasaki Ninja 250 on my Harbor Freight Motorcycle Lift Table

Kawasaki Ninja 250 on my Harbor Freight Motorcycle Lift Table

Don’t forget to recycle the crate! It actually has a couple of large pieces of usable plywood, I know that you can always find a use for a good piece of wood around the house or shop.

Recycle this crate you know you want to.

Recycle this crate you know you want to.

This will be a long term review. Over time I will publish new updates or simply update this post as I get some miles and years put on this thing.

As for the Minimum Ninja, it will receive its own pages here covering the updates and repairs as I make them.

Peace Y’all