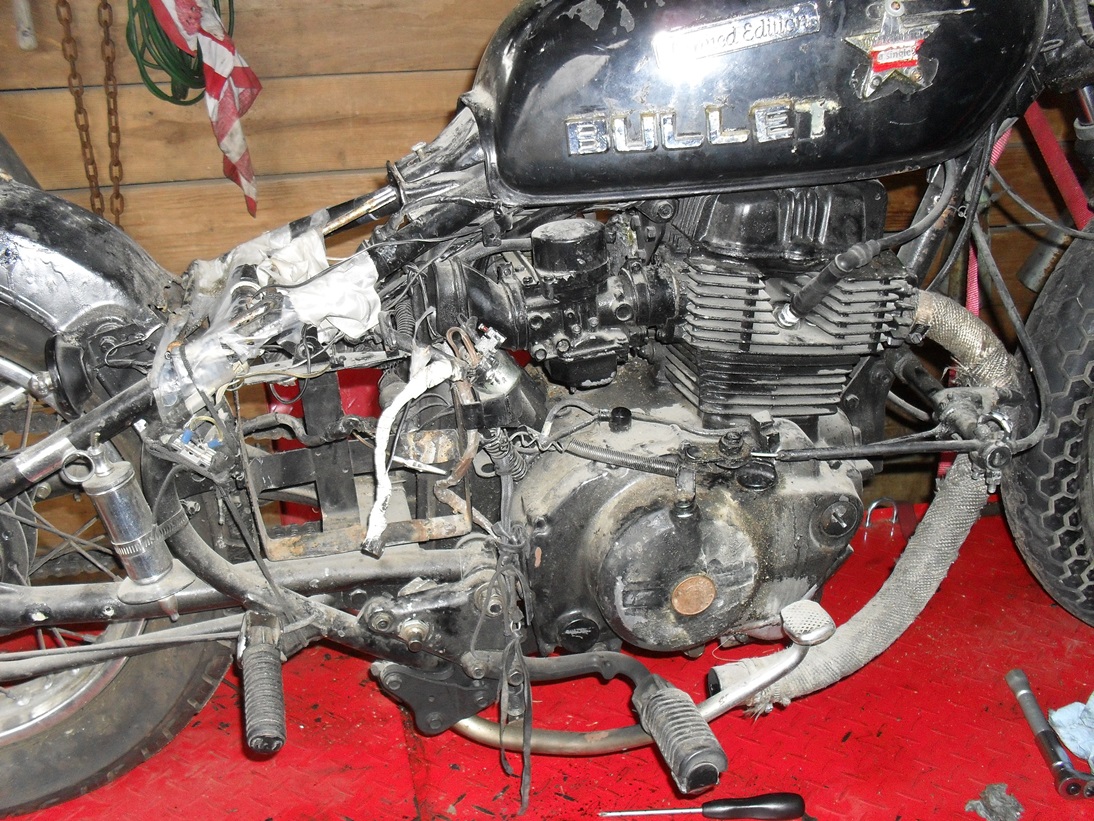
One thing that I have discovered while working on this motorcycle is that deliberately building a rat bike is actually a lot harder than it would seem. In all honesty, a deliberately created rat bike should properly be called a neo-rat bike. A real rat bike is a natural creation, a collection of found art held together by grease, road grime & baling wire that accumulates over decades and tens of thousands of miles. People like my self who drag up old bikes & mechanically restore them while leaving the patina semi-intact are actually just posing. But what the heck it’s a lot of fun! Even so the siren song of the polishing machine, paint gun & steel wool are very hard to resist. Have you ever tried to clean just the inside of a dirty weather-beaten old engine cover and then tried to reinstall it so that it looked as if it had never been disturbed? It ain’t as easy as it sounds. Leave the chrome rusty, oh the horrors! Working hard on your sheet metal & then covering with flat or semi-gloss paint instead of making it shine like a brand new penny is very counter intuitive, but sometimes we really enjoy the results.

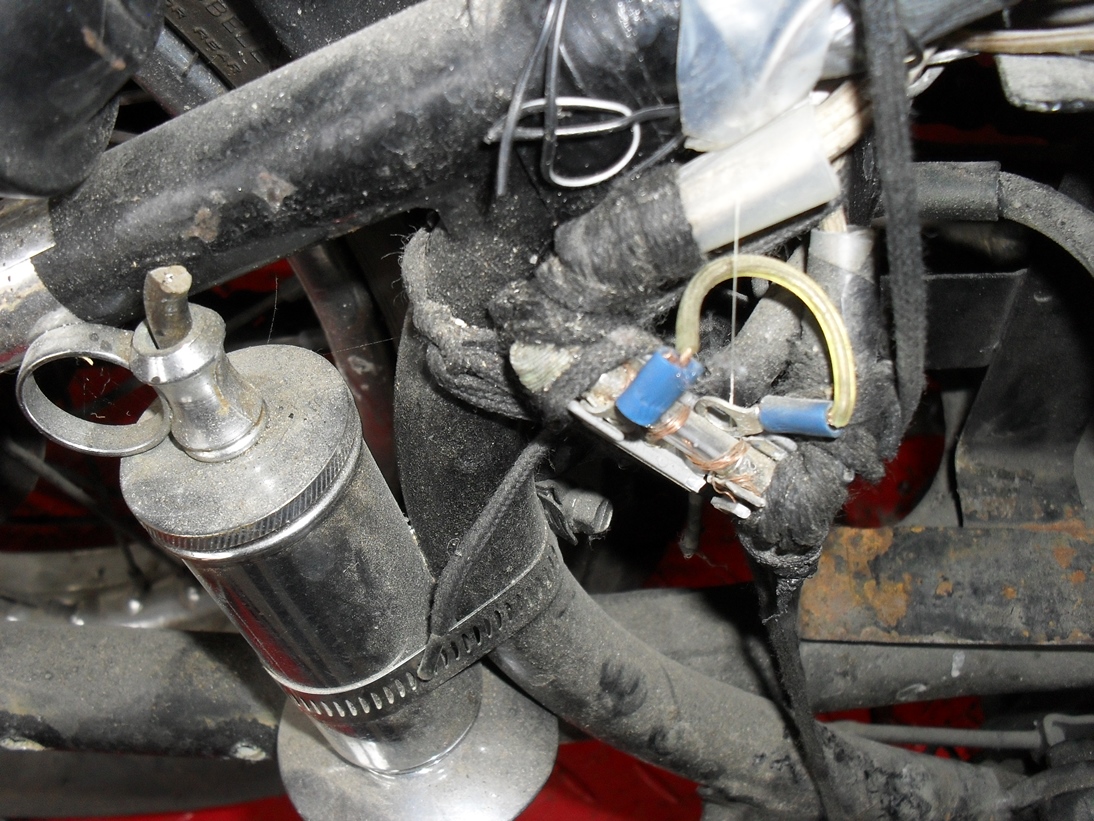
Here’s some of that exotic metal called drillium.
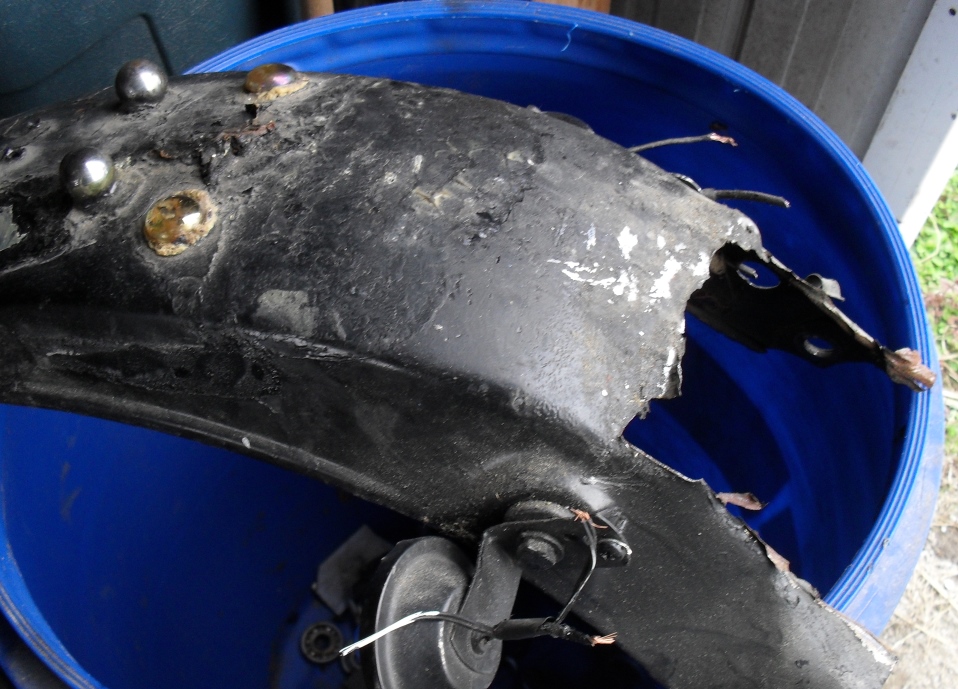
Now let’s get back to my screwing up a perfectly good tank. As I mentioned in part one the original plan was to cut the rear subframe off and install a custom one for that straight framed 60s & 70s look. When that didn’t happen I took my cut down stock seat & had it recovered in black & green & fitted it to the bike & I actually did my shake down runs and a good bit of commuting on it as it was. Still every time I looked down & saw the bottom edge of the tank was nearly a half an inch above the nose of the seat it bugged me. You see even on a rat, craftsmanship counts. It’s one thing if it has dent’s, rust & flaking paint, but if you modify something or deliberately create a faux patina on something you must do it correctly. For example it’s okay to fog some flat black primer directly over a piece of rusty pitted metal but it is totally unacceptable to get a bunch of paint runs while doing so, because that smacks of sloppy craftsmanship. To me, being my own worst critic, that large seat to tank gap was a sign of very sloppy craftsmanship & it had to go. After experimenting with different thicknesses of rubber isolator for the rear mount I was able to reduce the gap down to about a quarter of an inch. Still too sloppy for me so I took a small body hammer & dolly & started rolling the rear seam of the tank down, figuring that I could repair the green portion of the paint by blending. I actually thought it was going to work but when I was almost finished the seam split. I probably could have silver soldered it closed & coated the tank with a sealer, but my boys kept insisting they did not want to chance a gasoline shower at 60 m.p.h. so it was off to ebay to find another tank.
Buying a gas tank for a motorcycle on ebay can be a very scary proposition. When I was rebuilding the Minimum Ninja, I bought three before I got one that was even usable. The sad part is that I had already left the sellers good feed back before discovering the problems. If I were doing a serious show quality restoration I would do my best to source a N.O.S. tank from a vintage parts dealer before buying one at an online auction. Since this was not a restoration I was hunting functional with a few light dings and no rusted out spots. The one I found looked alright, it had a few visible dings, & some rust on the inside but it was good & solid. I went ahead & put in the rear mounts so it would fit a CB650 this time paying very close attention to how it lined up with the front of the seat.

arrrgh!


Putty smeared all over the tank & I still missed a couple of spots.
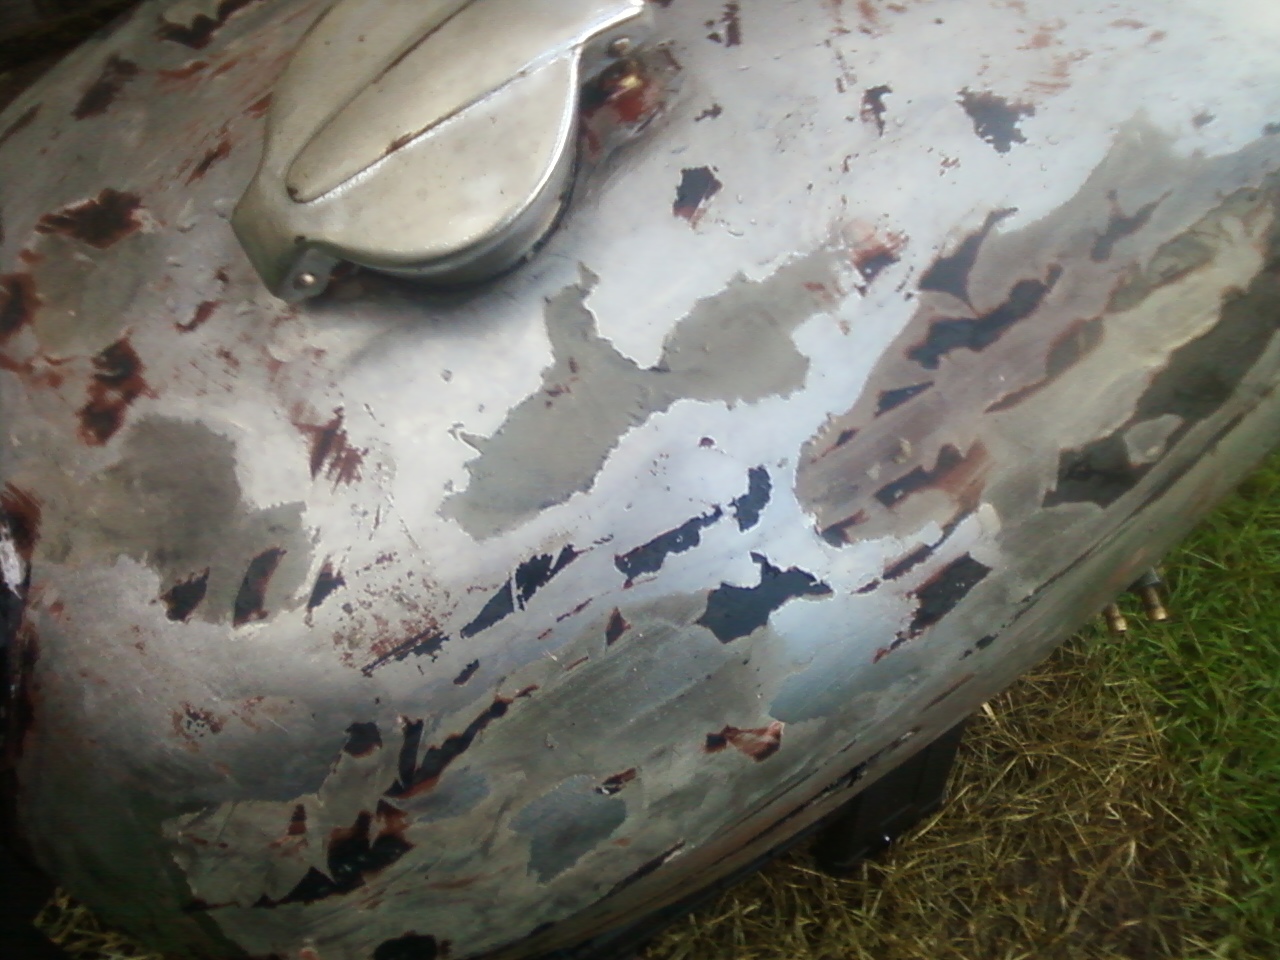
Since it was going to be acid washed & lined to keep the rust out of my gasoline, I decided to strip it down & fix the two or three visible dents on the exterior. Then I started removing the paint to fix dents only to find someone had already fixed a bunch of dents. There was already bondo everywhere! Discouraged I actually got back online & began looking for another tank. The problem is that I had already pre-registered for the Bull City Rumble this coming Saturday. So I just stayed up late last Friday night & fixed everything, acid washed it, put in the tank liner & had it ready to paint first thing Saturday morning.

the black primer was actually kind of cool looking
Since I was doing all this extra work I wanted a nice durable semi-gloss dark green that was in line with my original vision for this bike. Being an old country boy I really like the Majic brand tractor & equipment enamel, it is a catalyzed enamel that although it has a long initial drying period becomes very durable. The downside is of course that you are limited to tractor & implement colors. But that was okay since I never found an off the shelf semi-gloss paint in the color I wanted anyway. instead I poured some John Deere green into a mixing cup & kept adding matte black until I got the shade & sheen that I wanted.
After seeing how it looked I decided not to put the stripes and the airbrushing back on it this time, in fact I even color matched the emblems before re-installing them late Sunday afternoon after giving the paint 24 hours to dry.

As I sit here writing this on Wednesday the Suburban Assault Scrambler is sitting in the carport, yesterday I put gas in it for the first time with the new tank, and rode it to work today. At lunch time I took a bunch of pictures of the finished product sitting in various industrial locations, but you’ll have to wait a couple of more days for those pics. Then I have to rest a little bit & get ready to start on the next project!