The CARGO CAMPER EPILOGUE

In my last post I showed you how I added the all of the modifications to my cargo camper to make it suitable for sleeping in along with being a useful cheap toy hauler. Today I’ll just point out a few finishing touches that were needed to make it even more useful & comfortable.

The Cargo Camper / Cheap Toy Hauler in use on a happy day!
at Umstead State Park in N.C.

While not like having all the advantages of a full featured RV, this trailer is still a great place to sleep for the night. We still do some tent camping once or twice a year but as I’ve gotten older sleeping on the ground has lost a lot of it’s appeal to me. This way I have a warm (or cool) dry place to sleep, a way to brush my teeth, wash dishes, while still maintaining a little of that primitive camping experience.

Looking out the back door of the cargo camper
Looking out my back door!

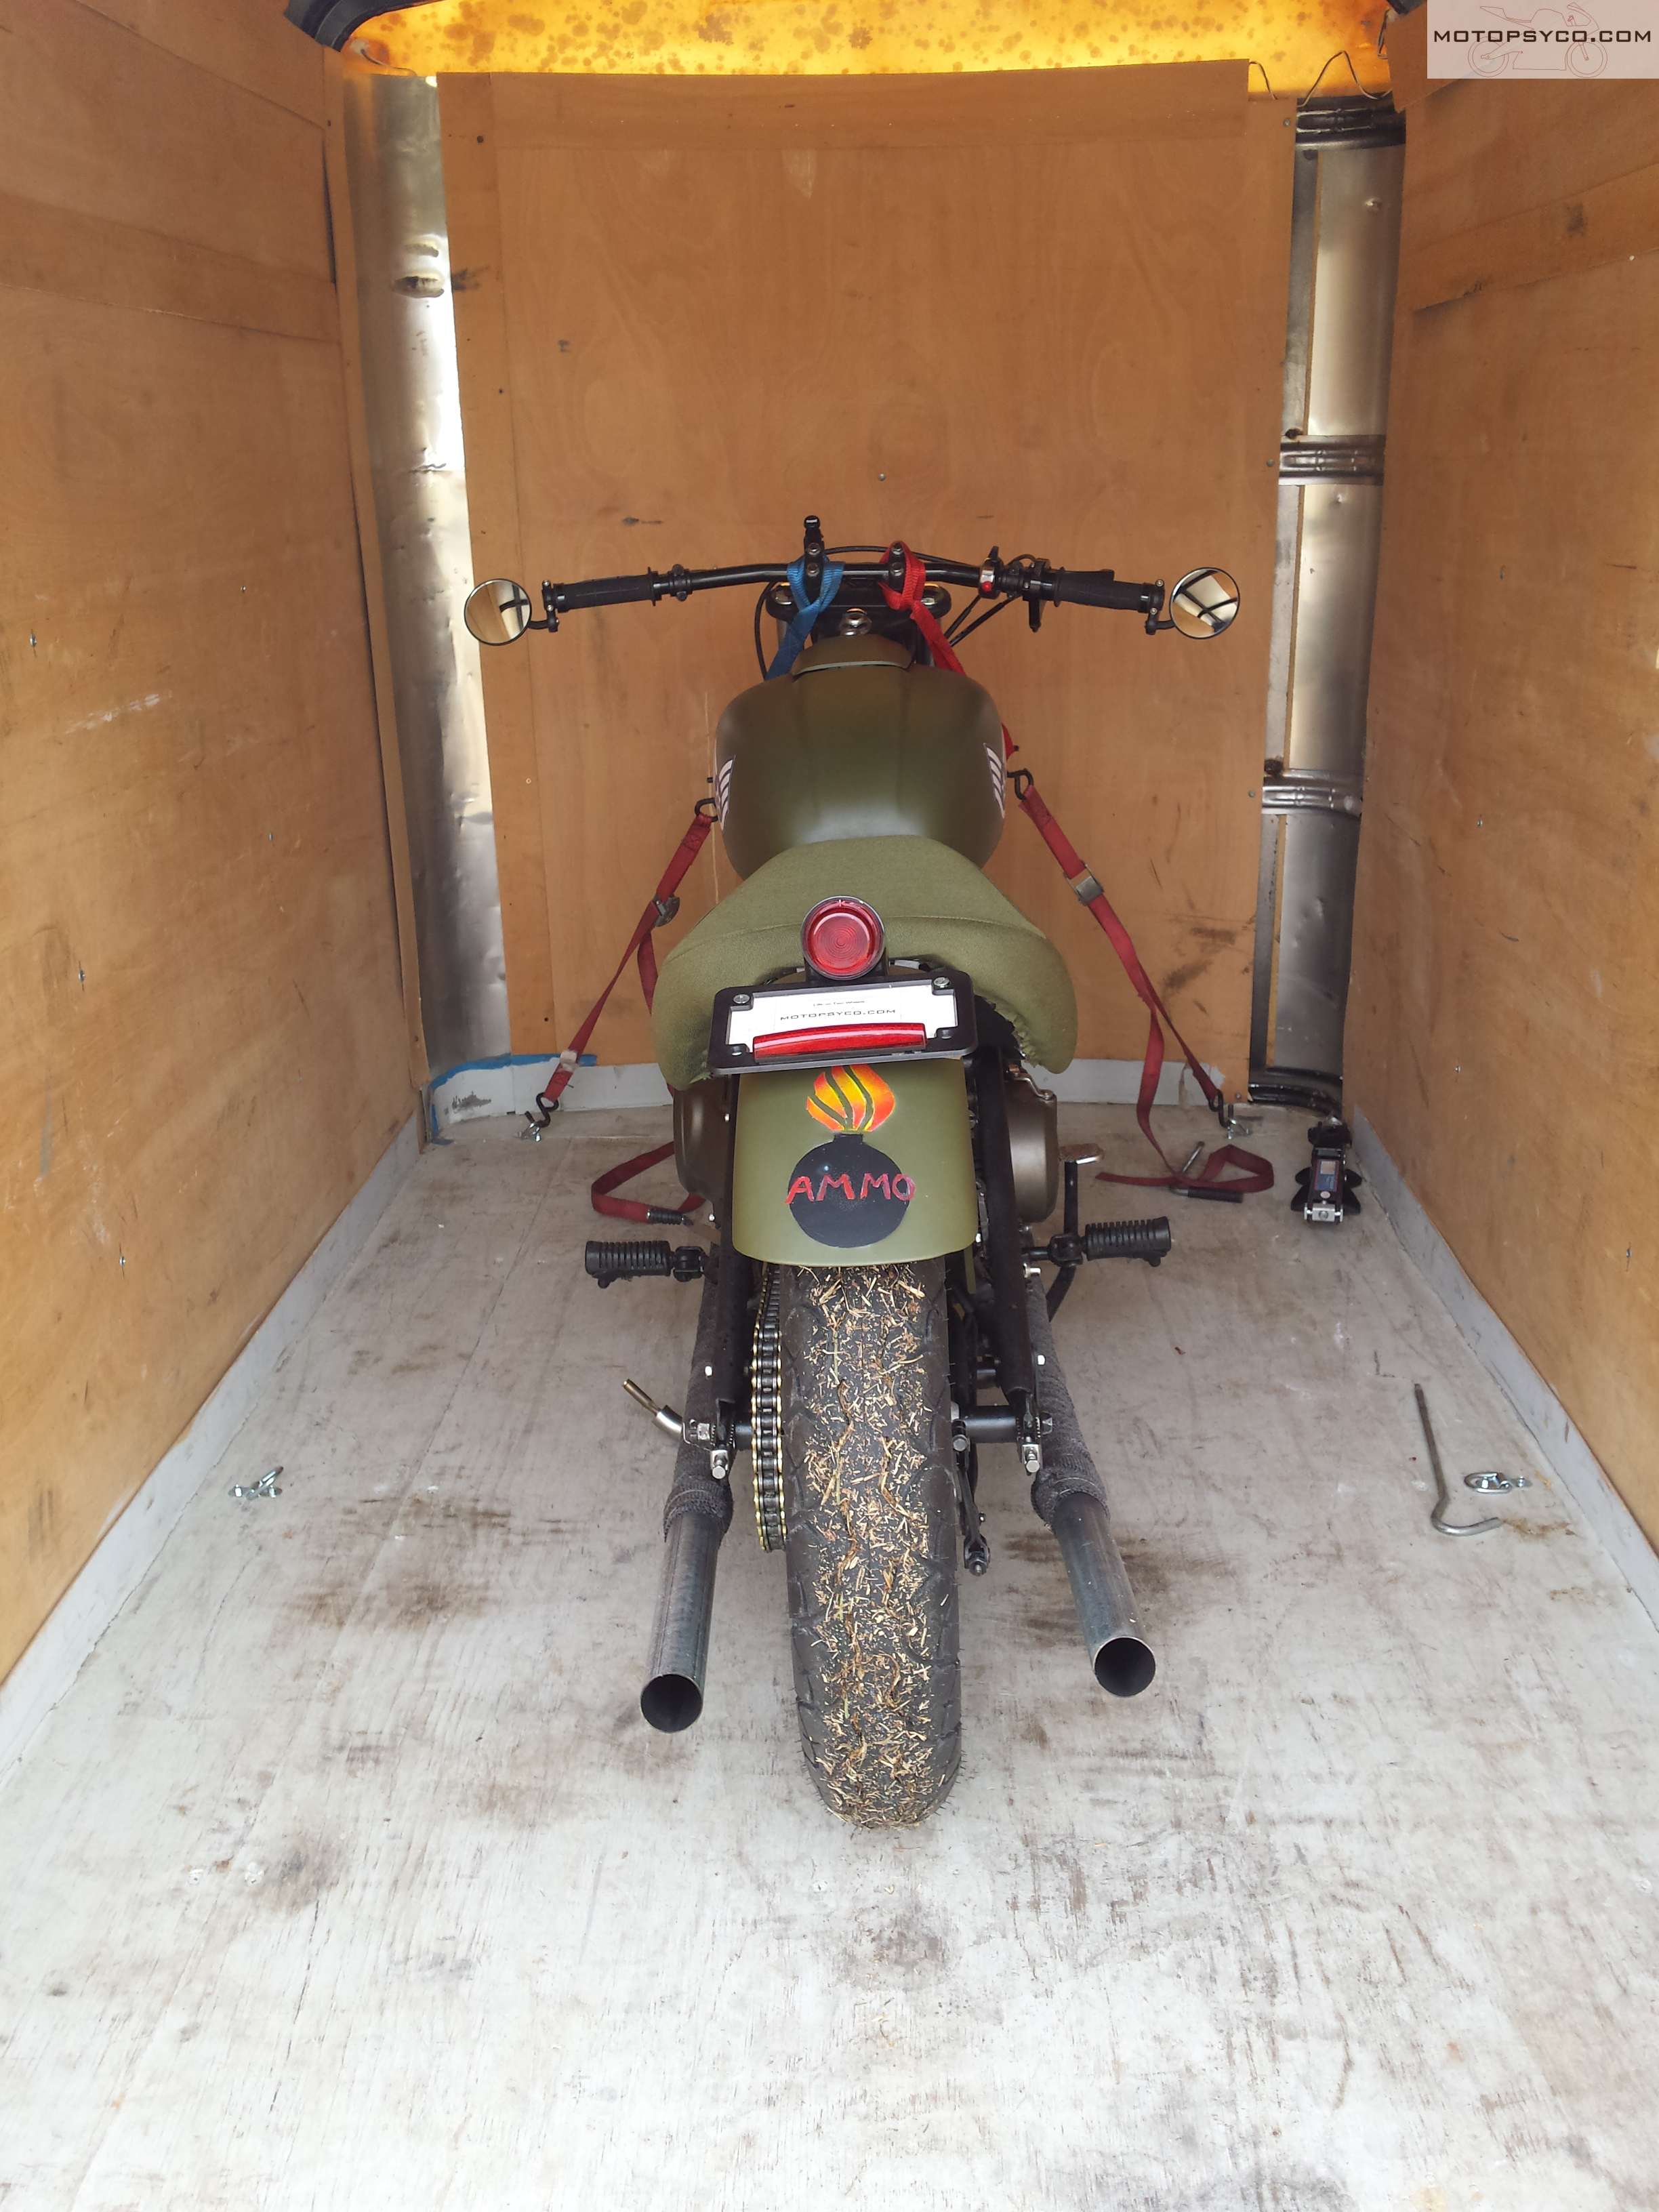
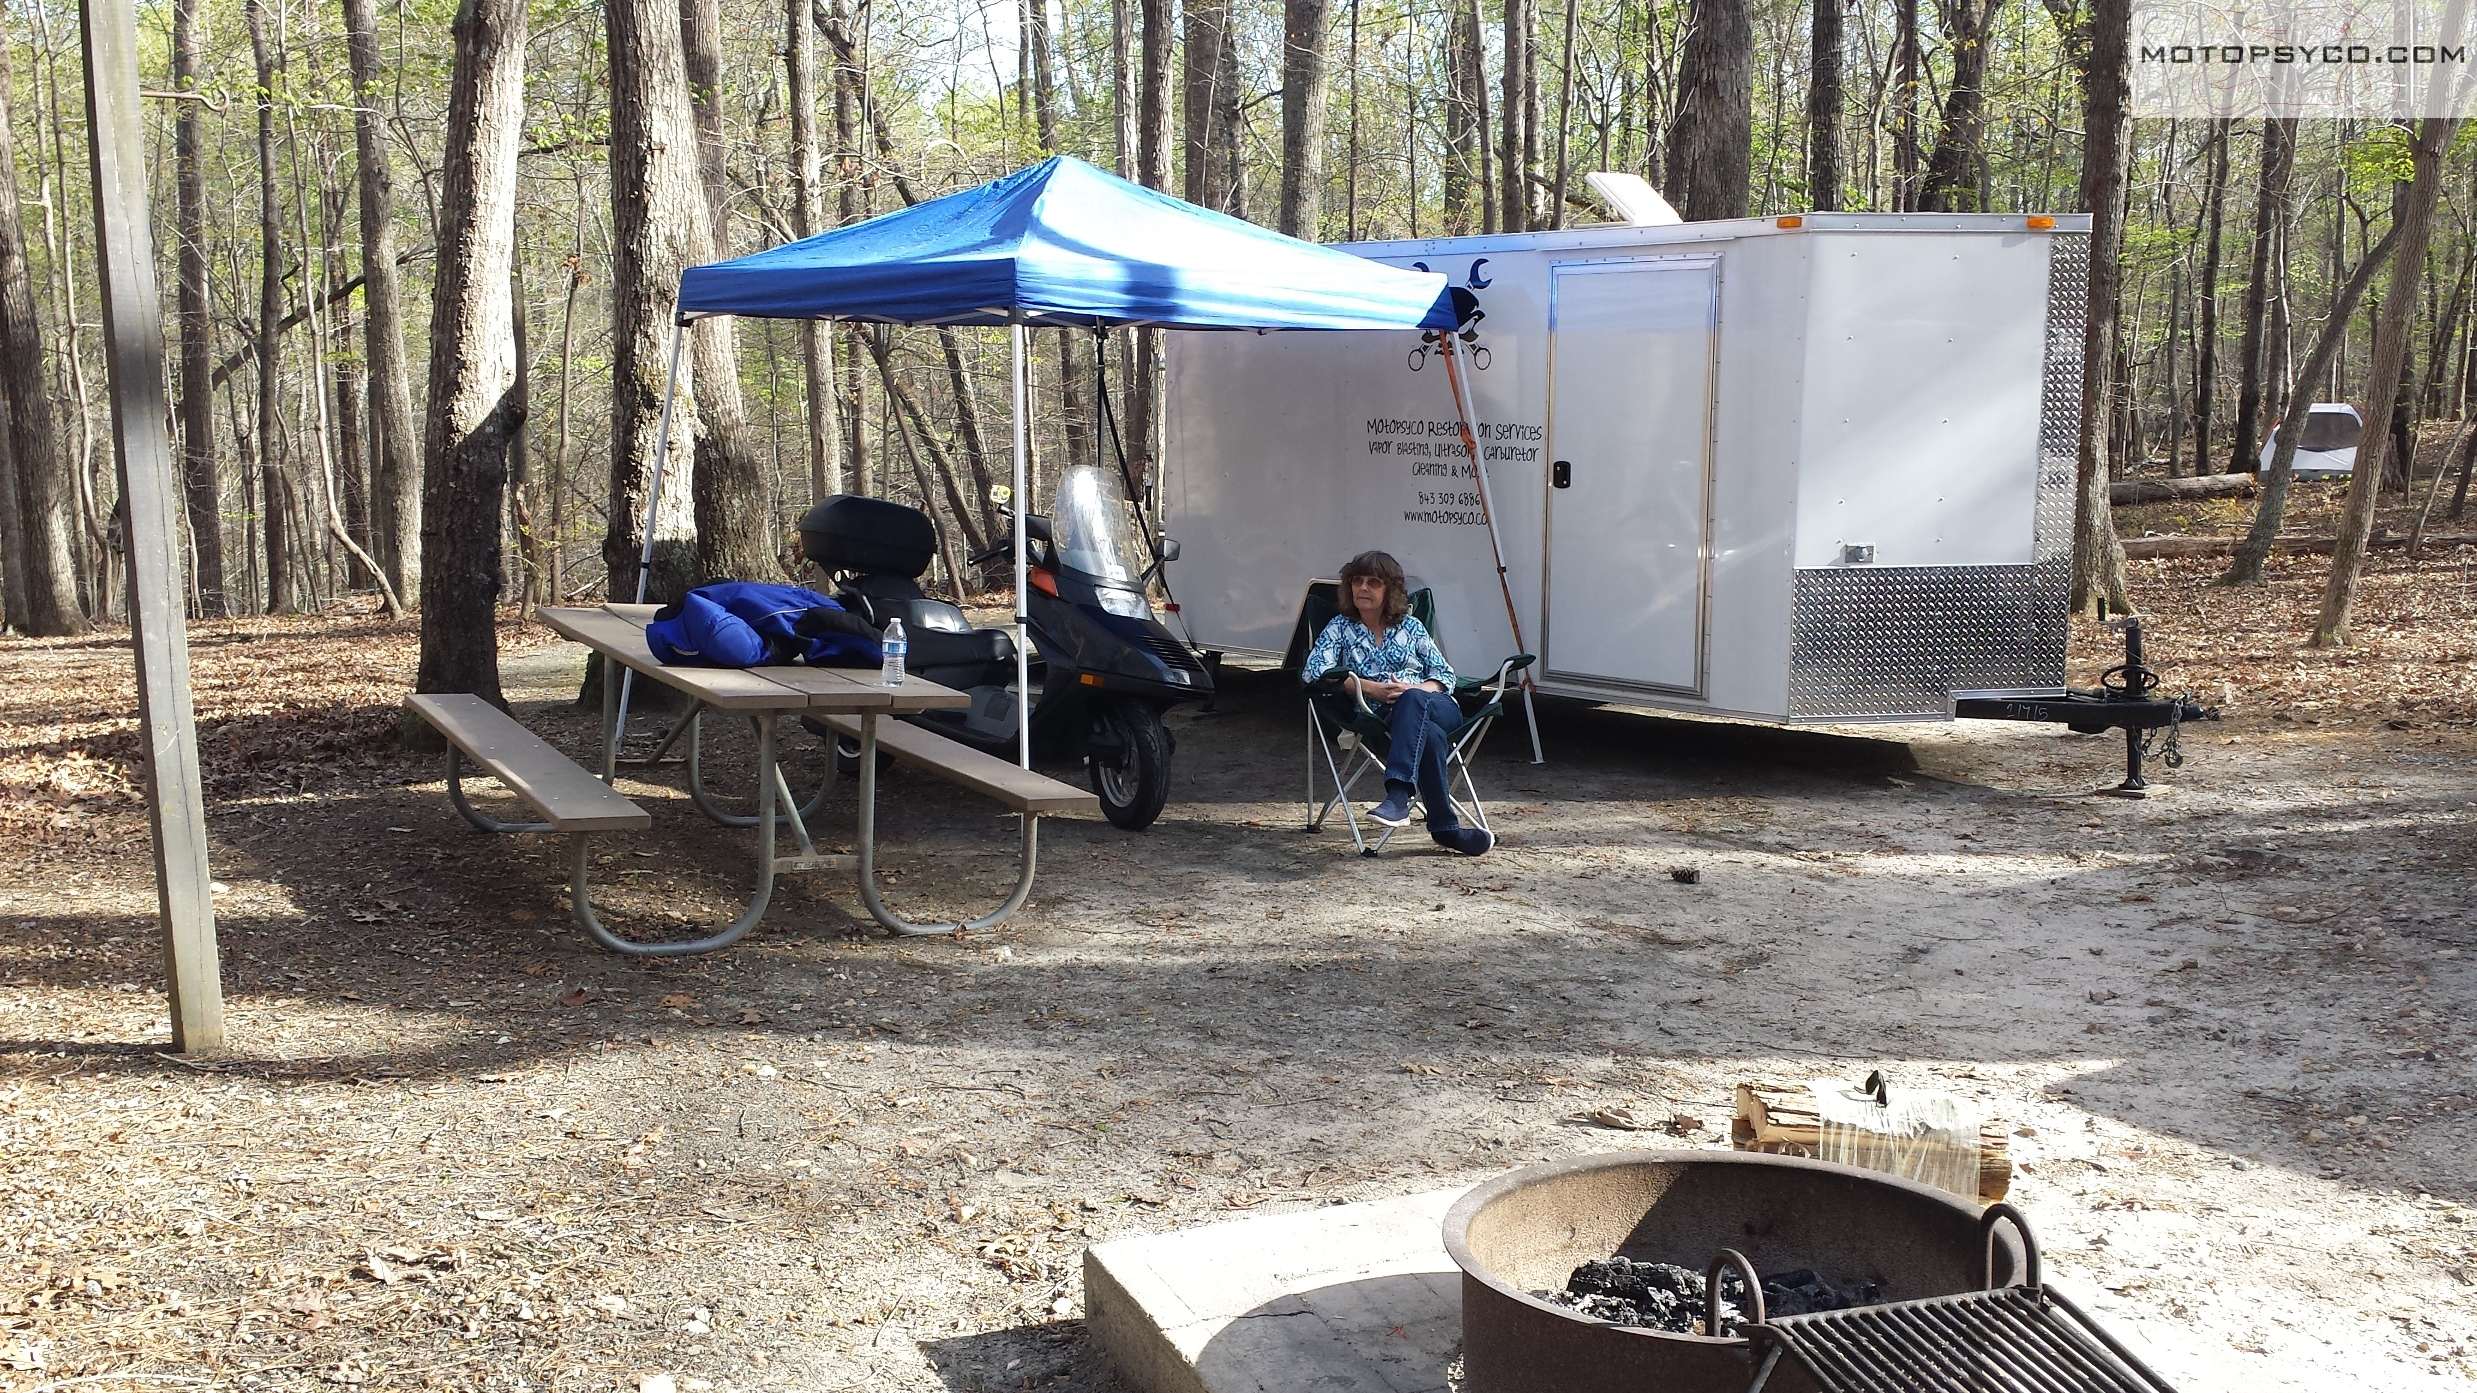
One thing you will notice as you look at all of these pictures is that I’ve mounted a number of small d- ring tie downs to the walls and a couple of spots in the floor. This gives me multiple options for cargo control. there’s even a couple of them up close to the ceiling at the front that I put a clothesline on to dry towels & washcloths on. Later on I added a couple of them to the outside to be anchor points for my shade canopy.

cargo camper cheap toy hauler interior
A decent place to spend the night.

Now if you are the kind of person who want’s to be able to lounge around all day in luxurious comfort, then a cargo camper is not for you. For those of us who just want a place to lay our head at night after a days adventure exploring the world around our base camp it makes perfect sense.

cargo camper couch bed

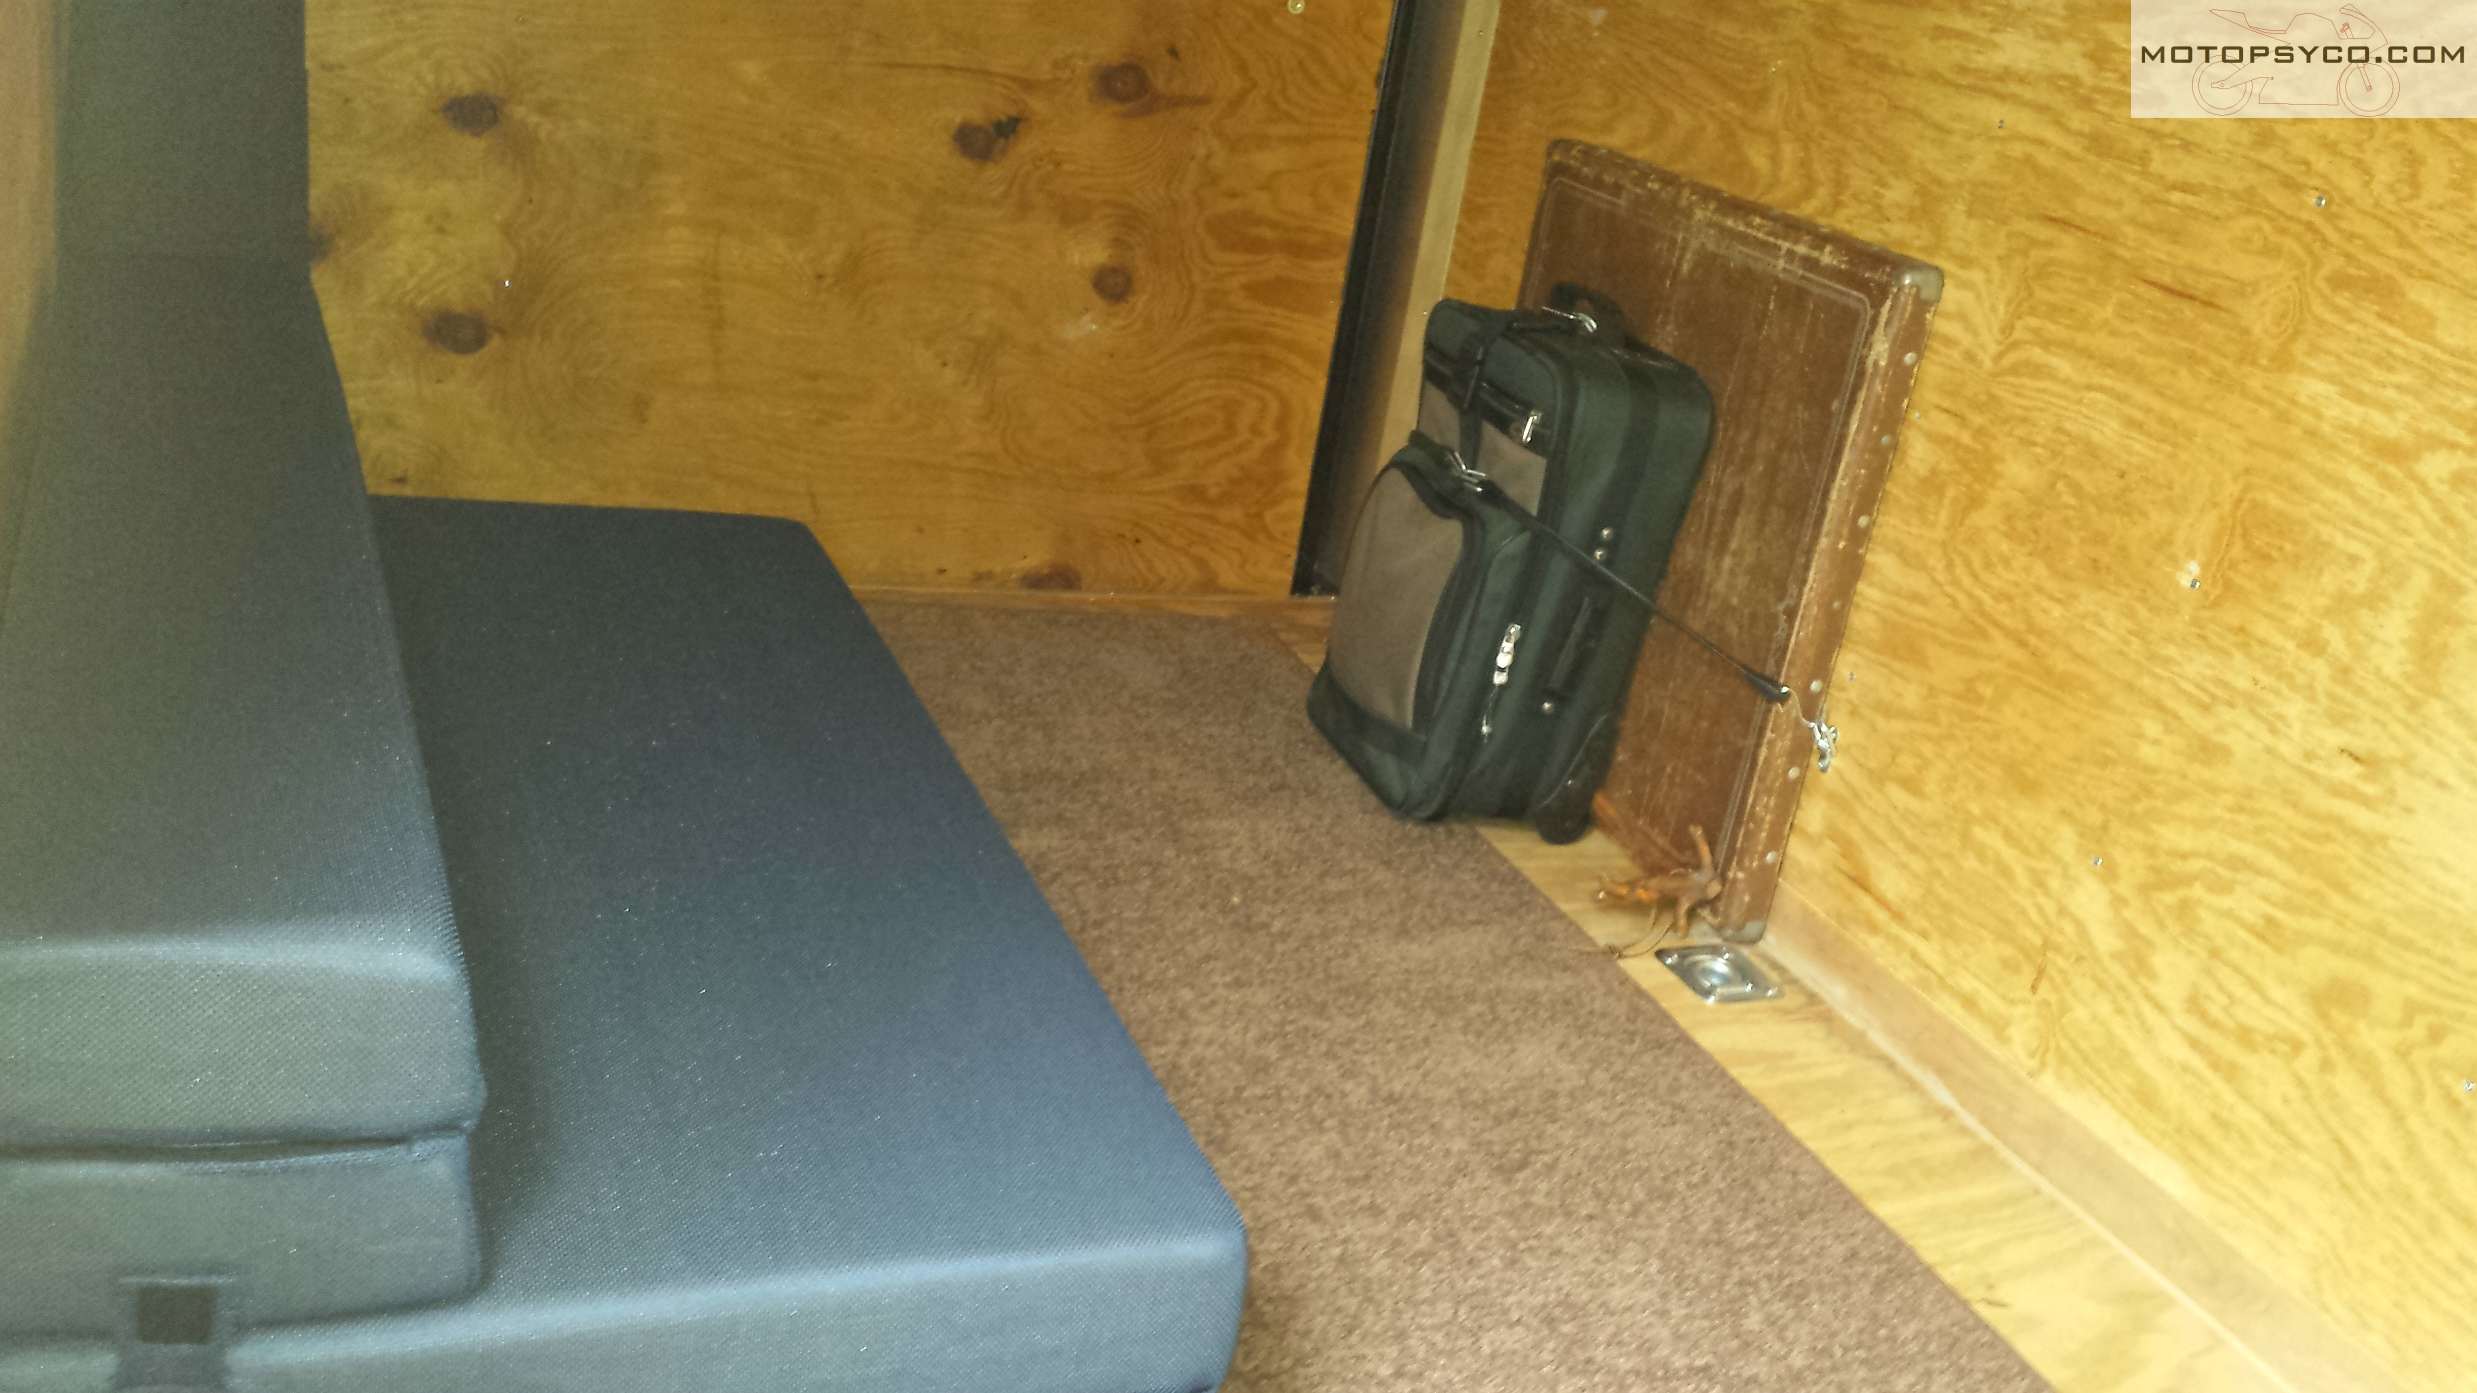
Let’s talk a little bit about the equipment added to this trailer, in addition to the extra tie downs already mentioned. At first we slept on an air mattress for a couple of trips and it was nice until one trip where it went flat on the first night of a 4 day motorcycle rally. After that I did a bit of research and bought this Milliard Tri-Fold foam folding mattress. It’s far more comfortable than an air mattress, and when folded up and slid up to a wall makes a usable albeit low to the ground sofa. In fact it is so comfortable that my wife & I slept on it for a couple of months while we were stuck in the process of moving from one house to another for a long period of time. I highly recommend the Milliard Tri-Fold over any air mattress for an application like this.

cargo camper cheap toy hauler

Some places we camp have power hook ups & some don’t, so we always carry an extension cord and a couple of RV electrical adapters just in case we run into a situation where there is not a standard 15 or 20 amp receptacle to plug into. Of course if you really want to you could always carry a small super quiet generator with you. Later this year I am thinking of adding solar power to keep phone & computer batteries charged up as our off grid trips seem to get longer & more frequent.

Another thing you have to consider is what to do about using the bathroom. So far everywhere we’ve camped at has at least had porta-johns for us to use. Even so I bought one of the Reliance Products Luggable Loo portable toilets just so that my wife & I could have a place to go pee in the middle of the night without having to leave the trailer. On an extended trip in an area without toilet facilities I’d probably keep it outside in a small bath tent, but just to take a leak once a night for 3 or 4 nights it’s perfectly fine in the trailer. Being the cheap bastard that I am instead of buying the expensive odor neutralizing products the sell for it I just use kitty litter and heavy duty kitchen trash bags to control the odor and facilitate easy clean up.

Cheap fire pit carried in Cargo Camper
an inexpensive portable fire pit

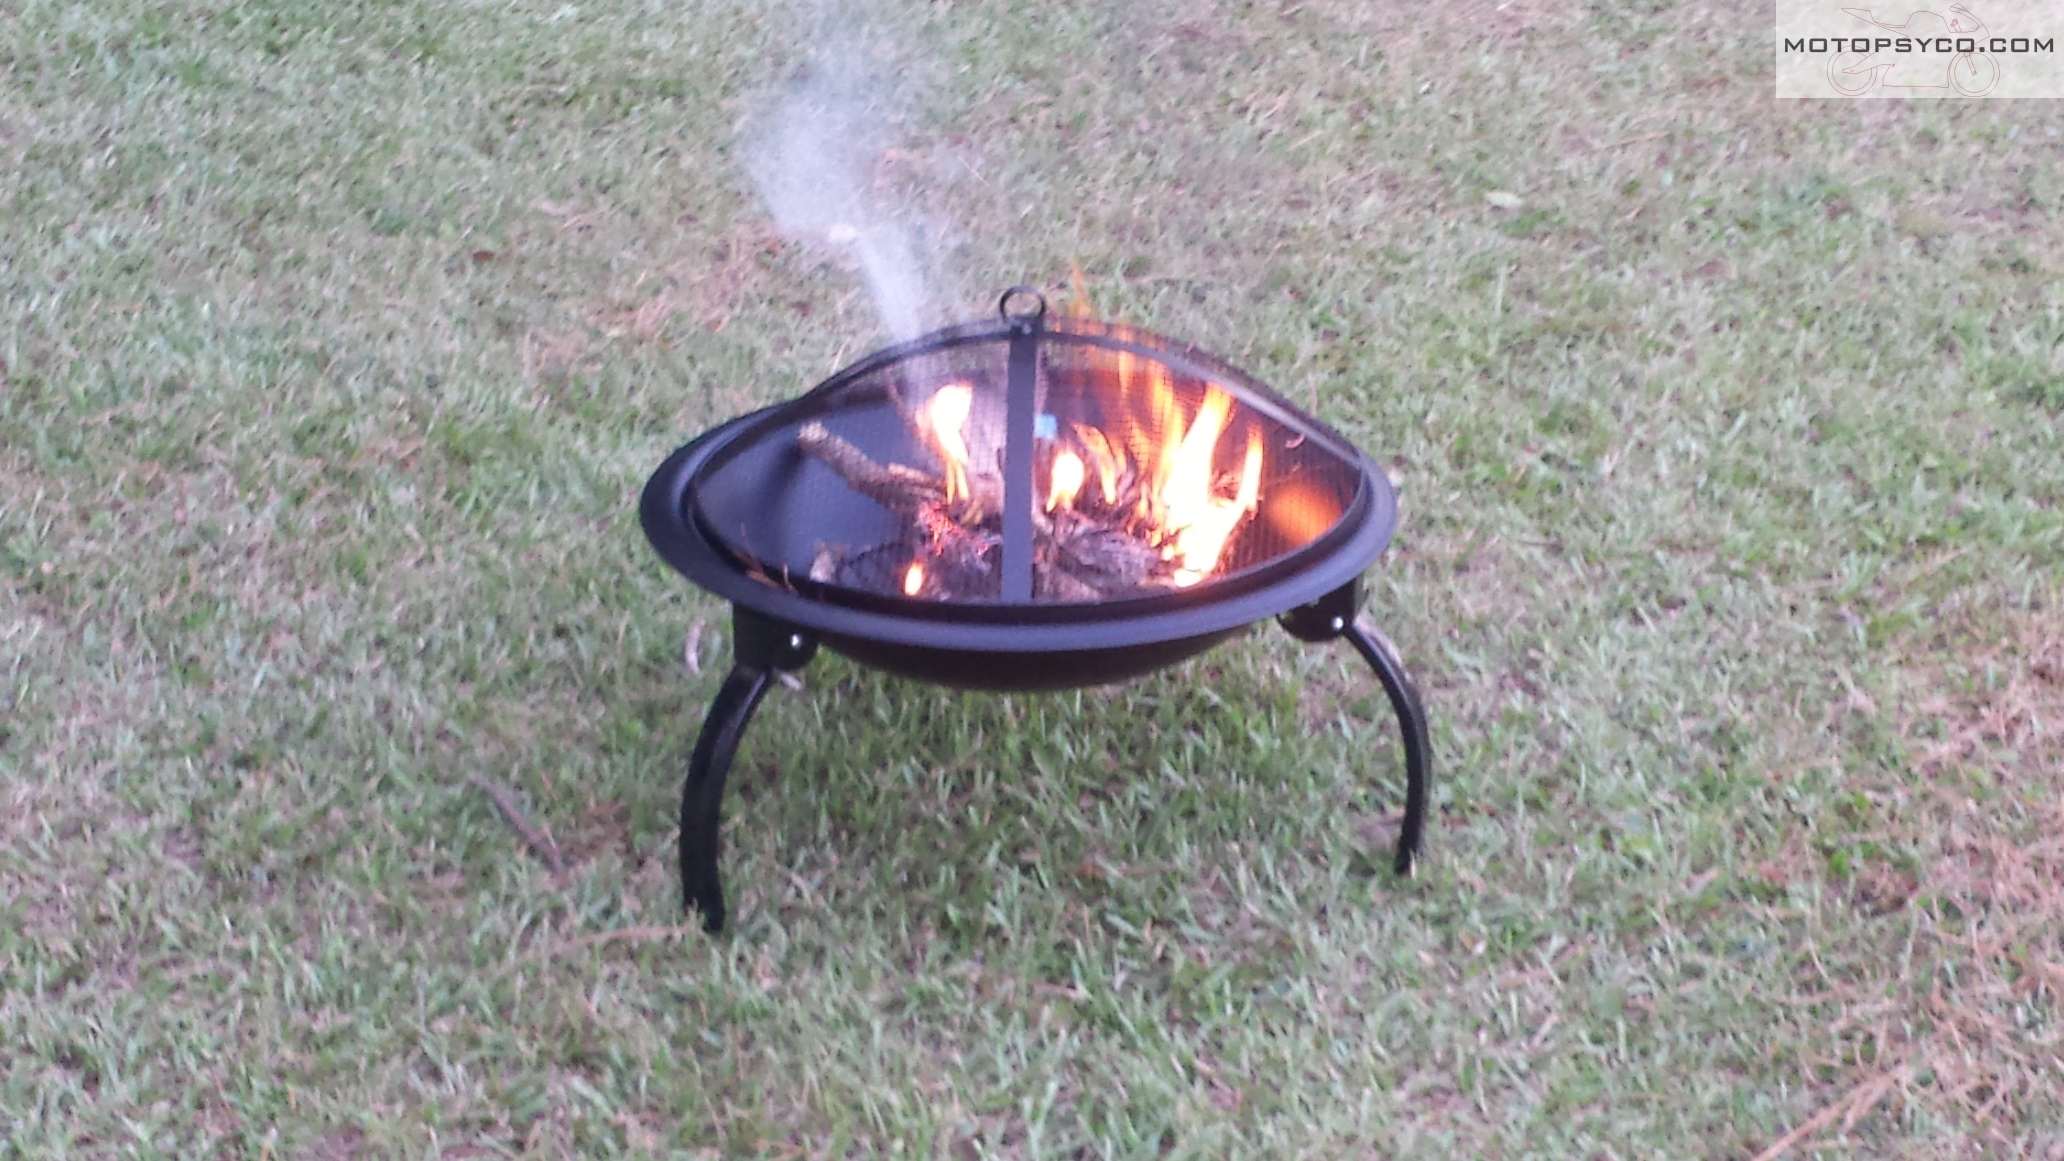
In addition the the requisite camp stove, cooler, coffee percolator, folding tables & chairs etc. I grabbed this relatively inexpensive portable folding fire pit for when visiting places that do not have permanently installed fire rings. It’s cheaply made & kind of flimsy but as long as you remember this and use it within it’s limitations it’ll be just fine. One great advantage to this style of camping is that you can bring along your sturdier, more comfortable, less expensive, but much heavier folding table & chairs . Whereas when tent camping (especial on a motorcycle & when back packing) may require you to bring along lighter weight specialized equipment or to do without some things.

This cargo camper trailer has been serving me well for a couple of years now and some of information contained in these posts reflects updates that I’ve made to it over the years. Should you decide to build one of your own plan it out carefully and decide what you can & cannot do without in your cargo camper. If you are just joining us you may wish to check out part one of this series here; and then part two at this link.

Cargo Camper Part 2

Design & Building of the Cargo Camper

In my last post I spoke of the purchase & special order specifications of my new cheap toy hauler / cargo camper. My plans were simple, no fancy fold out beds or anything like that just a good place to throw an air mattress, with a way to brush my teeth, wash my face and fix coffee & breakfast in the morning. Part of my goal was to keep the modifications as light as possible since I’m pulling this with a four cylinder Tacoma that only has a 3500 pound tow rating. I deliberately got a v nose trailer so that I could have my storage space & sink in the nose without losing any of the 6 x 10 cargo space.

Cargo Camper v nose shelving & cabinets
Framing in the shelf & counter

To keep it light I framed the counter in with 2″ x 2″ lumber and covered it with 1/4″ lauan plywood. Since all I am using for water is this Shelf Reliance water jug I built the top shelf out of heavier wood and the afterwards set my big water jug on it so that I could center the sink under the spigot. Although I wont show it here for my grey water tank there’s a 6 gallon bucket, under the counter that connects to the sink with a piece of flex hose connected to the trap on the sink. The sink was a cheap little RV lavatory sink I bought online.

cargo camper folding table & sink

I wanted to be able to put my camp stove at the window for ventilation purposes but didn’t want to give up any floor space for hauling bikes & gear so I came up with a nifty little folding extension for the counter. A short piece of 2″ x 2″ wood along the wall supports the back side. To save weight I used a 1′ x 2″ piece for the leg. to keep it rigid when folded down I added this block wit a locating pin at the bottom of the folding leg.

cargo camper folding table

Then I marked the location where it would be straight & drilled a matching hole halfway through the floor.

cargo camper folding table locating pin

Then I added this double ended snap hook and some screw in eyelets hols the folding counter in both the up and down positions. Although it’s very lightweight & inexpensive it can handle any of my camp stoves without any worries

cargo camper folding table

“Shore power” is a nice thing to have even though I don’t need full on RV style electrical functionality it’s nice to be able to plug up at a campground or use a small generator occasionally so I added a couple of 20 amp 120 volt receptacles to the front of the counter. I decided against trying to install any type of breaker box in the trailer itself and simply used the appropriate size wiring and a matching electrical inlet box. Most campgrounds have a 20 amp receptacle with a 20 amp breaker for it anyway. I almost always have a volt meter in my truck in case I need to check the outlet before plugging my trailer into it.

cargo camper electrics
cutting a hole in my brand new trailer

Installing the electrical inlet meant cutting into the exterior sheet metal of my trailer. This was actually done using a Dremel tool. After removing the insulation a drill and a reciprocating saw were used to finish the opening. Be sure to use a good high quality sealant around the hole any time you go through the wall of your trailer for any reason.

cargo camper electrics
Make sure to seal around the inlet well.

Here are a couple of pics of front of trailer with the wood work done but before staining & sealing. Any surfaces that may get wet need to be thoroughly sealed with a good waterproof polyurethane before use.

cargo camper v-nose extras
folding counter down
cargo camper v nose sink counter
folding counter surface up

Now it’s time for wheel chocks! I used the Pit Posse recessed wheel chocks. These come in two sizes 16″ & 24″ I ordered one of each size just in case the smaller wheels on my scooter did not clear the longer (taller) chock. The 24″ chock fit perfectly between two of the steel cross members of the trailer

cargo camper wheel chocks

After laying out the location of the wheel chocks I cut a couple of great big holes in the bottom of my brand new trailer. As mentioned earlier the 24 inch chock fit perfectly between the floor cross members but for the 16 inch I had to compromise and only bolt 1 end through the steel of the trailer frame

cargo camper wheel chocks
More holes in my brand new trailer.
cargo camper wheel chocks
locating the tie downs

Above you can see how the chocks and tie downs are located.  I used 6 recessed heavy duty tie down ring with backing plates. These are stout pieces that are well worth the money. When your tie down rings are anchored to wood like this you really need the backing plates to spread the load & prevent them from pulling out

The next couple of pictures show you how the chocks & tie downs look from underneath the cargo camper. Before you ask yes I did consider using e-track for this trailer but decided against it just for the sheer ease of being able to fold everything into the floor and unfold my bed. No need to stow anything away or reassemble it to leave, just fold it down & then pull it back up to load bikes & go home.


cargo camper wheel chocks
Wheel chocks attached to frame cross members

cargo camper wheel chocks
Heavy duty backing plates for tie downs

The basic construction is done, I bought myself a cheap indoor outdoor carpet to put under my bed, with the recessed chocks & tie downs the floor is almost perfectly flat.

cargo camper details
Chocks down & carpet rolled out
cargo camper wheel chocks
Ready to load bikes & travel

I still have a few finishing touches to show you in the next installment of Motopsyco’s Cheap Toy Hauling Cargo Camper!

YOU CAN READ THE NEXT INSTALLMENT BY CLICKING HERE!

Motopsyco’s Cheap Toy Hauler

 It all started out innocently enough,a couple of years ago I was headed down to Eustis Florida to participate in the Destination Eustis Motorcycle Show & Swap Meet. Since I was going alone to this event, I borrowed a 5 X 8 enclosed trailer to pull a single bike for the show. My beloved wife didn’t accompany for this one & I didn’t feel like paying for a hotel room so I packed an air mattress & a sleeping bag so that I could sleep in the trailer. You could say that this was the inspiration for the Cheap Toy Hauler.

This particular trailer was a completely uninsulated cargo trailer and that weekend it was freezing cold down in Florida at night & I was freezing so about 2in the morning I got up and fired up my butane cook stove just to warm the place up a little bit. Once I did this sleep was possible. Overall the experience wasn’t terrible but it could have been better. I learned three very important things on this trip, one is that an uninsulated cargo trailer is miserable during anything but ideal weather; two was that a 5’ x 8’ enclosed trailer is a 1 bike trailer for full size motorcycles. The third lesson was that if you’re hauling motorcycles, atvs or other wheeled toys is that a ramp door is also essential. It was okay for one time but hauling ramps around all the time is just silly.

motorcycle in 5 x 8 trailer
One motorcycle in a 5 x 8 trailer

After discussing this with my wife who was wholeheartedly behind the idea of converting a cargo trailer to a camper, after looking at mini-campers, teardrop campers, & travel trailers, we visited a couple of local trailer dealers to see what they had in stock. This was a bit disheartening due to the high prices and lack of selection available. My local dealers stock was mostly 5’ X 8’trailers with no options, and the prices were equal to or greater than what I eventually bought my fully insulated 6’ X 10’ cargo trailer for. The other problem was that my local dealer was closed during the hours I had available for shopping so there was no way I could talk to them about special ordering a trailer to my specifications.

I came home& got on the web to research custom ordering a new cargo trailer built to my specifications. There are regional distributors and manufacturers all around the country so look them up and find one near you. For me the choice was plainoltrailers.com out of Georgia. Their current base price on a 6’ X 10’ v nose trailer is $1925 (November 2018) picked up at the factory in Georgia. The reason that I chose this size was due to the weight limitations of my tow vehicle. I called the phone number on the website to get the weight of a couple of different trailers & the 6’ x 10’ was just over 1100 pounds empty, leaving me a little over 2000 pounds for add-ons & cargo. So I got back online I speced the trailer out with all the options I wanted including full insulation, RV style side door, a window directly opposite the RV door & electric brakes on the 3500 pound axle. And it still came in less than the local name brand dealer wanted for a plain 5’ x 8’. The only catch was it was a 10 hour round trip from Darlington S.C. to Pearson Ga. to pick it up, but I saved enough money to make it worth every mile.

Cargo Camper Cheap Toy Hauler
The Cheap Toy Hauler!

After getting it home I put my 2 biggest bikes in it, took a bunch of measurements,figured out what all equipment we wanted in it and of course how to do it all as cheaply as possible without compromising quality. In the next installment of this series of articles we’ll look at how I installed a little sink, electrical outlets etc. in the v nose of the cheap toy hauler.

If you really like this idea & want to follow along please sign up for email notifications in the upper left hand corner.

CLICK HERE TO READ PART TWO OF THIS BUILD.