This is the first time I have purchased a Mac exhaust system for one of my motorcycles. In the past I have purchased a few from Kerker, Vance & Hines, Yoshimura etc. Never really gave Mac products much thought as high performance was always the ultimate goal, and I, like so many young men thought they just made cheap replacement systems for oddball old Jap bikes. Fast forward a few years & now my favorite thing to do is customizing oddball old Jap bikes such as this CB650 here. Performance & sound are still important, just not nearly as important as they use to be. Bang for the buck & good availability mean a lot in this day and time & that is two main things that Mac has going for them. Lets get started installing a set shall we? For this ratty old scrambler conversion I picked out a plain black 4 into 1 system with a shorty muffler.
First thing to do is remove the old exhaust and set aside the parts that you may be re-using. One of my favorite things about this system is that it uses the o.e.m. finned exhaust flange that to me, are very important to the looks of an old air cooled engine.

original Honda CB650 exhaust flanges
I had actually pulled the stock pipes off a couple of weeks ago and just stuffed the ports with rags to keep the critters out.

the mud daubers around here, love to nest in motorcycle engines
Lets look at what comes with the new Mac exhaust system.

Mac exhaust hardware
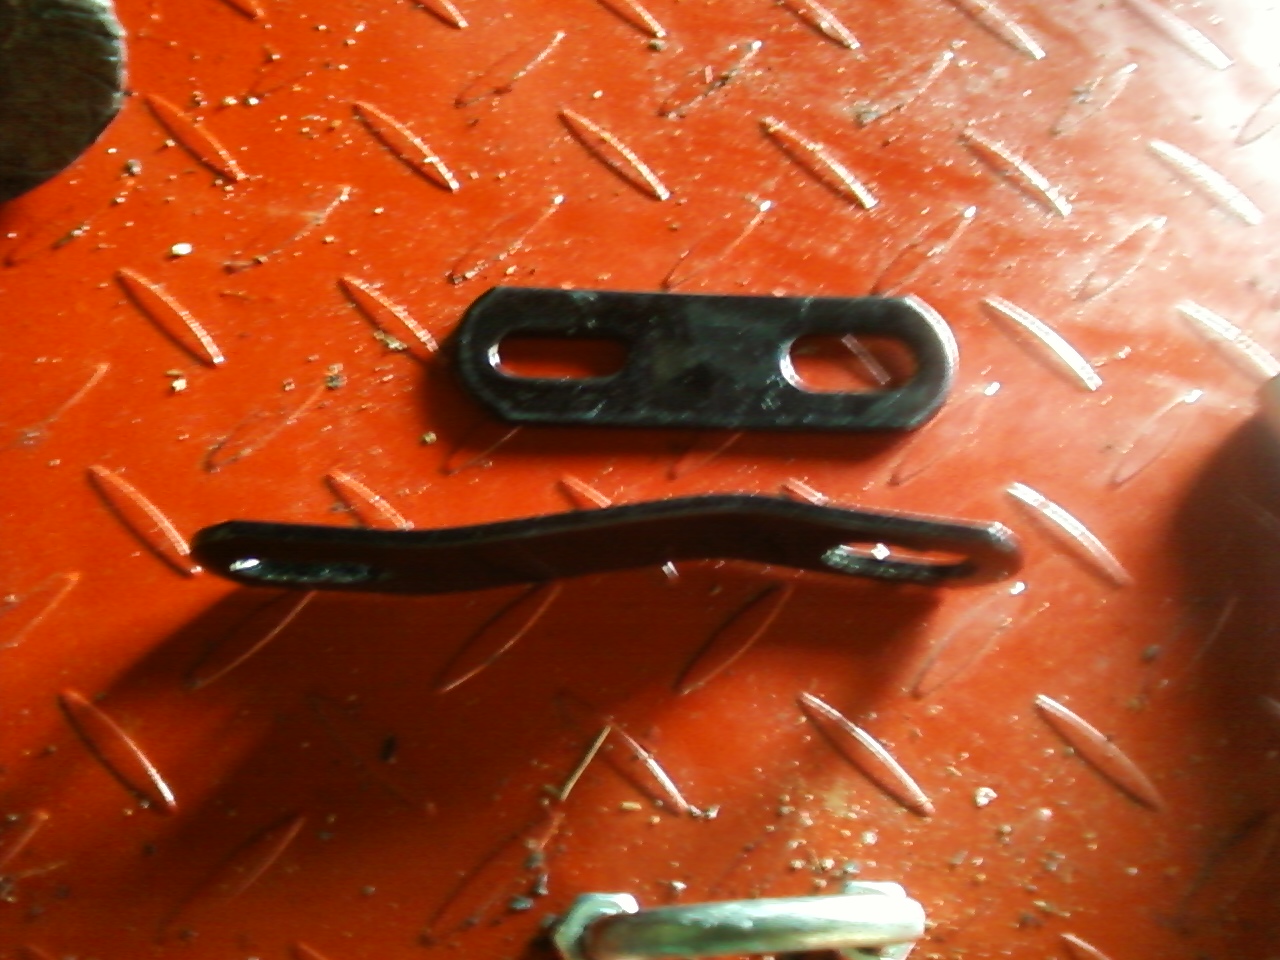
As you can see in addition to the muffler this set came with new split collars, muffler clamp & bolts, and 2 different hanger bracket. not shown in this picture is the new center stand stop that comes with it.
The split collars were joined together by a small strip of metal that was left when they were sawed in two. Resist the urge to break them apart.

new Mac split collar
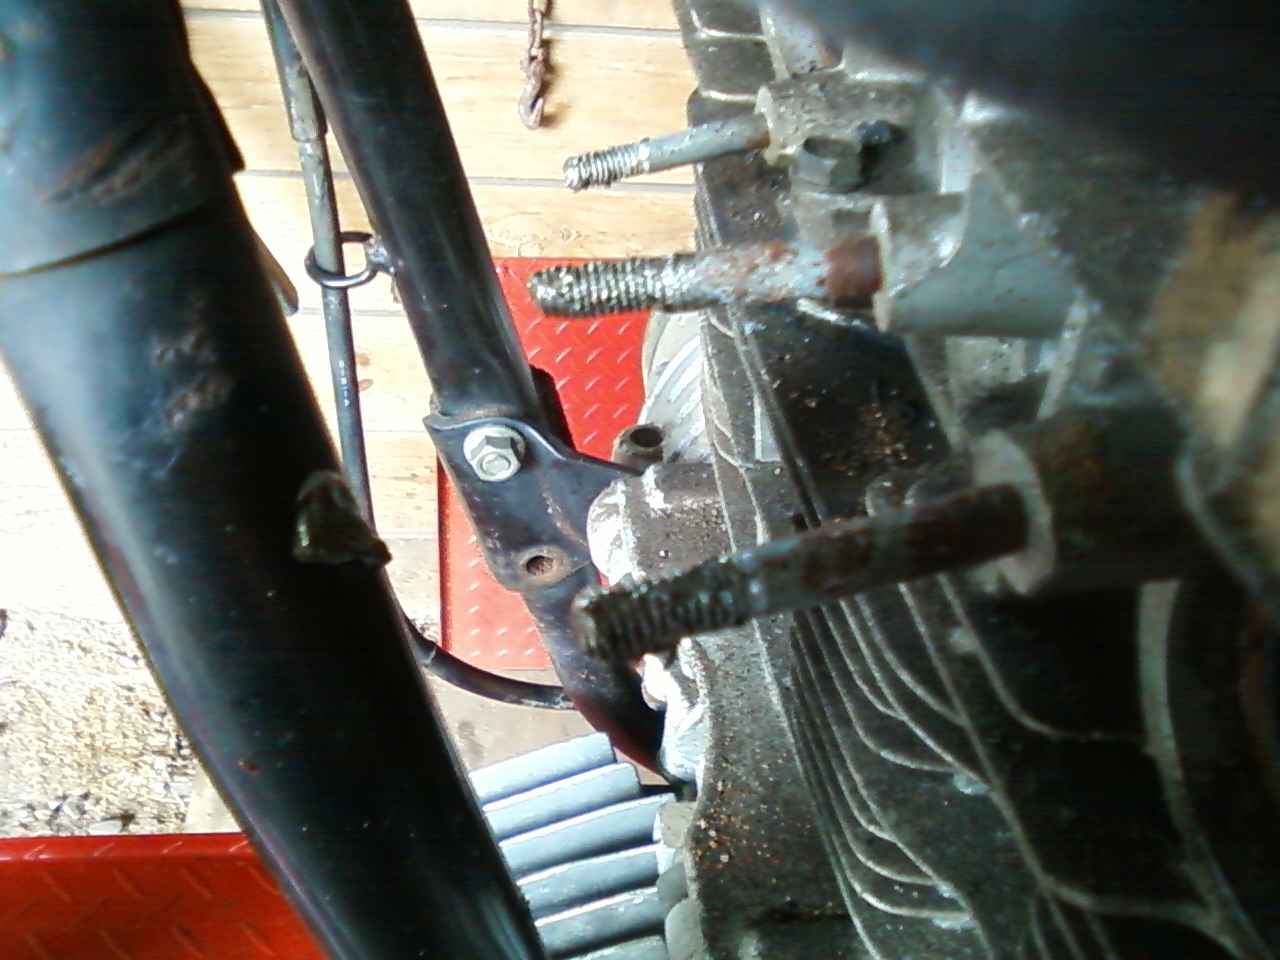
After you place the o.e.m. exhaust flanges on your new head pipes carefully spread the collars open just barely enough to go over the pipes and then squeeze them back together so that you only have one piece to hold in place while you position the flanges & start the nuts.

split collars on Honda exhaust
I always use plenty of anti-seize compound on exhaust studs and so should you.

Have some mercy on the next person to remove he exhaust system on your scoots …
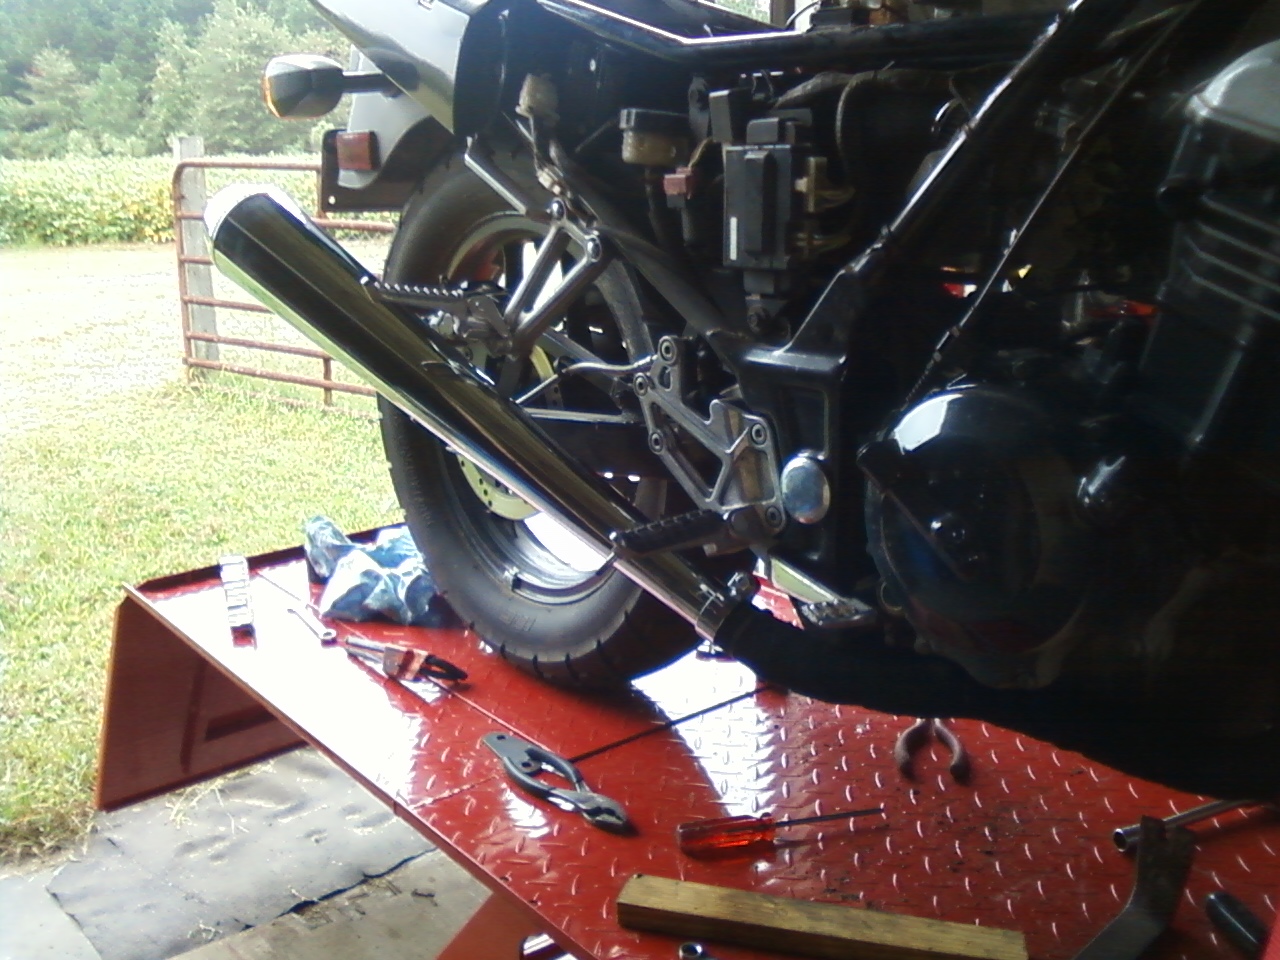
Here’s a shot of the pipes in place, I had to pull on the pipes a little to persuade them into place, nothing major just a little tugging & spreading. After you get the pipes in the ports and the flanges back on do not tighten the bolts all the way down until you get the entire system installed.


Mac shorty muffler
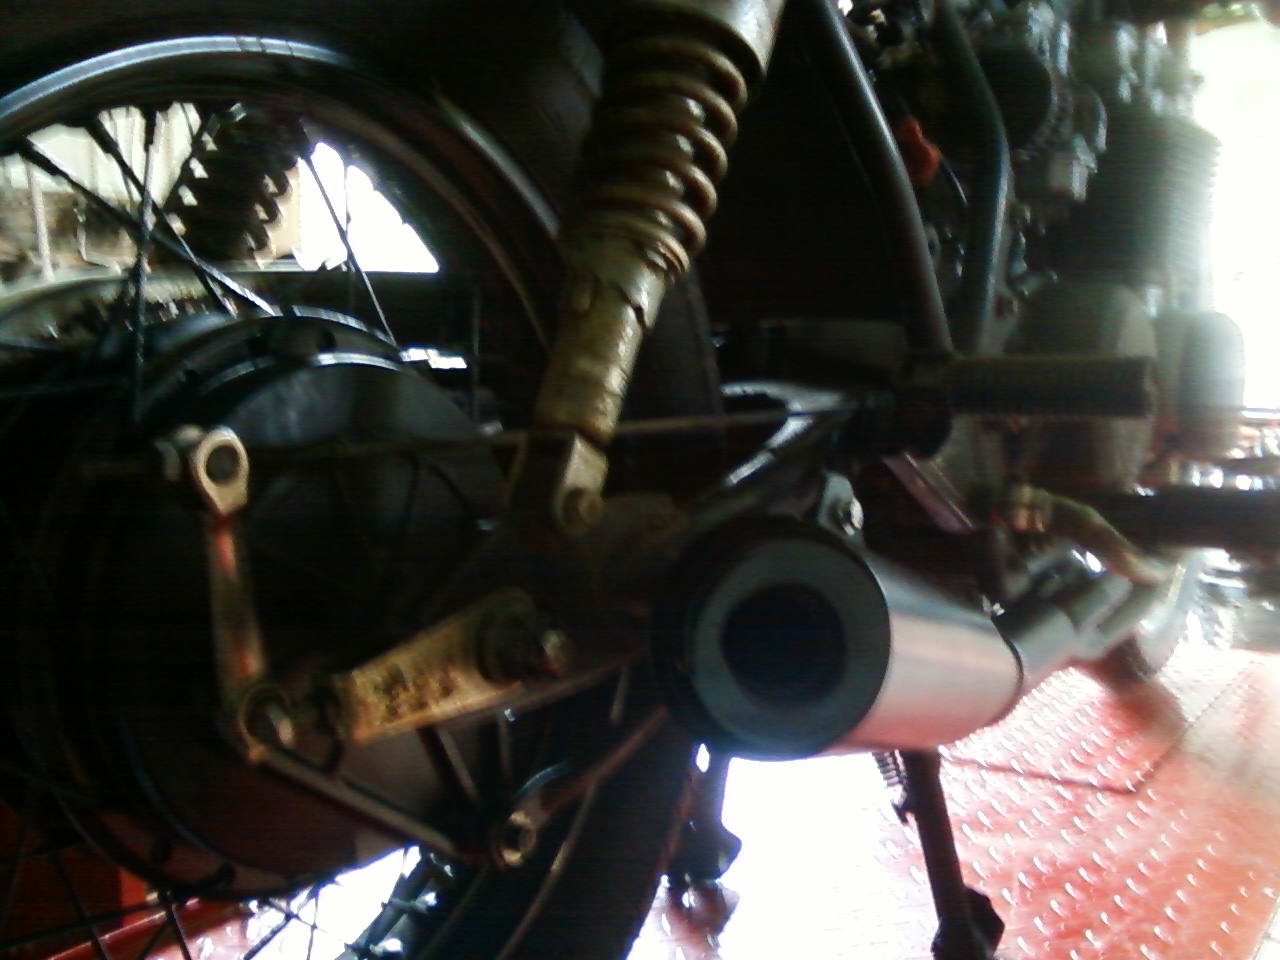
Put the clamp on the muffler and slide it into place and then get your hanger bracket and figure out which one you need to attach the muffler to the passenger foot peg bracket.

exhaust hanger brackets
The enclosed instructions said to use the short bracket for a CB650C (custom cruiser model) which is what this bike started off as, but in my case it did not fit. I don’t know why and it really does not matter that much to me. The longer bracket worked just fine, I bent the dog leg into it so that it would support the muffler at its natural resting point on the head pipe instead of pulling it in toward the bike. Now tighten all of the bolts attaching your new exhaust to the motorcycle to the correct final torque.
The process of tightening the clamp & muffler mount does bring me to my one major pet peeve with darn near every major motorcycle accessory manufacturer doing business in America. Here I am working my way through this install with the 3 wrenches that will disassemble 90% percent of motorcycles existing in the world today a 10mm, a 12mm & a 14mm, and I have to stop what I am doing and go get a 1/2″ wrench to install the last 2 bolts. I realize that when some of these products were first created back in the ’70s & early ’80s metric hardware was a little more “exotic” and not as cheap and easy to find as the “standard” stuff, but here in 2013 there is no excuse whatsoever to still have standard fasteners on accessories for European & Japanese motorcycles or for that matter modern Harleys & Triumphs too. It would only take a little effort & I for one will be eternally grateful.
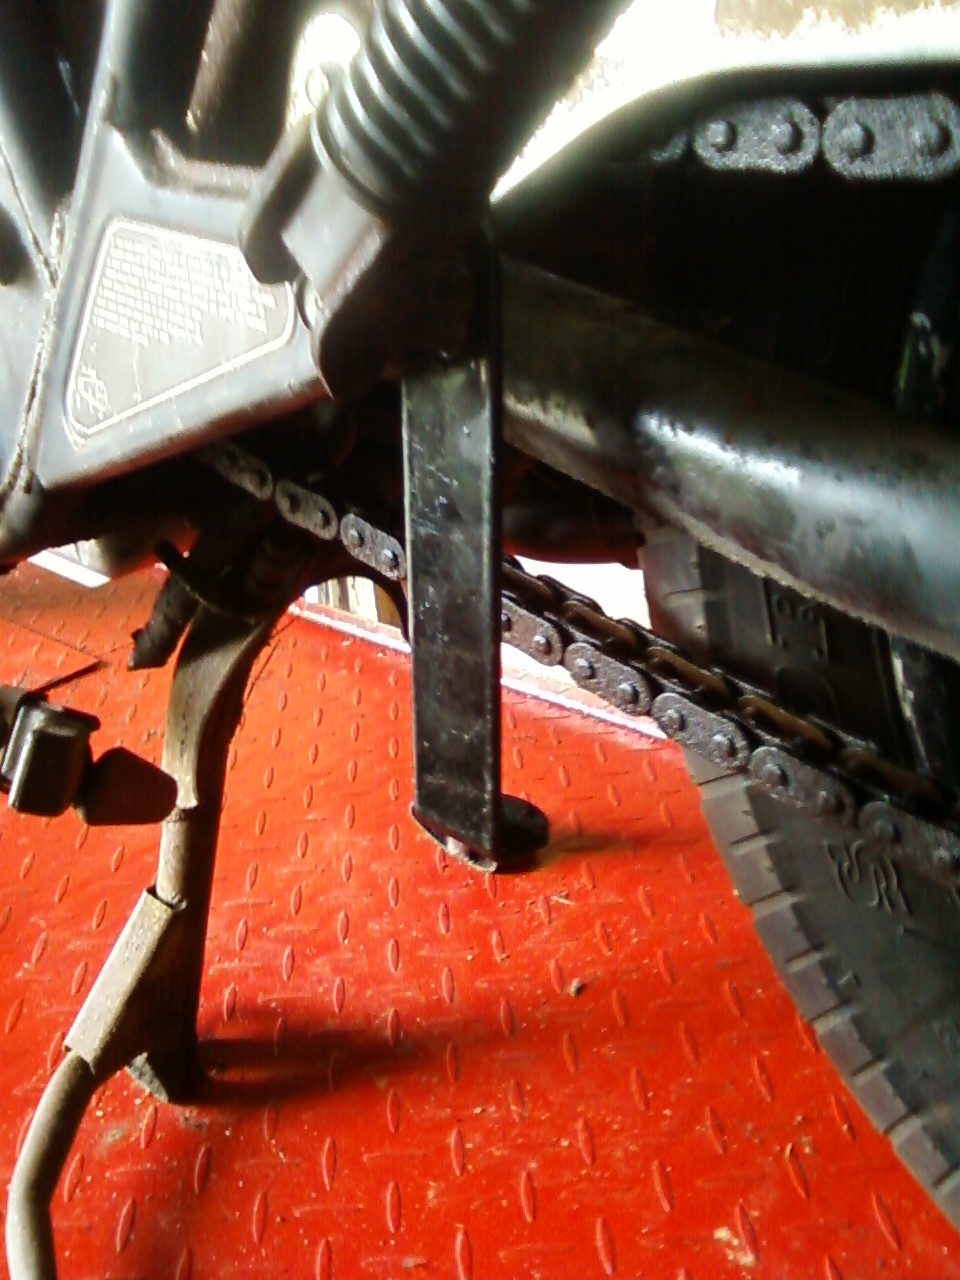
On the other side of the bike install the new center stand stop, unless of course you are planning to remove the stand.

After I got it all on, it looks the part & sounds great too.

Mac 4 into 1 On Honda CB650
With this system I get to retain the center stand, have easy access to the oil filter & I have a little cash leftover too!
Did I mention that it has a mean sounding growl too! Click this link to have a listen.
Peace Y’all
9-1-113 Just a quick update on one minor problem that surfaced after 3-400 miles of road time. The rivet holding the baffle in became loose, allowing the baffle to rattle inside of the muffler until it got hot and expanded. My solution was to tack weld the baffle into place & repaint, but one could just drill out the rivet & replace it with a bolt & nut, if by some chance you have the same problem too.