A Little More Fab Work

It’s been a while since I updated this one, well because it’s been a while since I really had time to work on it. But spring is here and the days are getting longer and so much of the craziness of life is starting to settle down a little bit. While at the last swapmeet, I traded a guy some parts for an old aftermarket seat and brought it home. I tore the seat apart and removed all of mounting hardware, cover and the foam from the pan. After putting it into place and taking a few measurements I cut about 3 inches from the nose of it and narrowed the front end slightly.

<honda chopper custom seat>

After this I fired up the heat gun and reshaped the pan to  fit the frame and the fender better. Then I borrowed the electric carving knife from the kitchen and trimmed the foam down to match.

<custom Honda chopper seat>

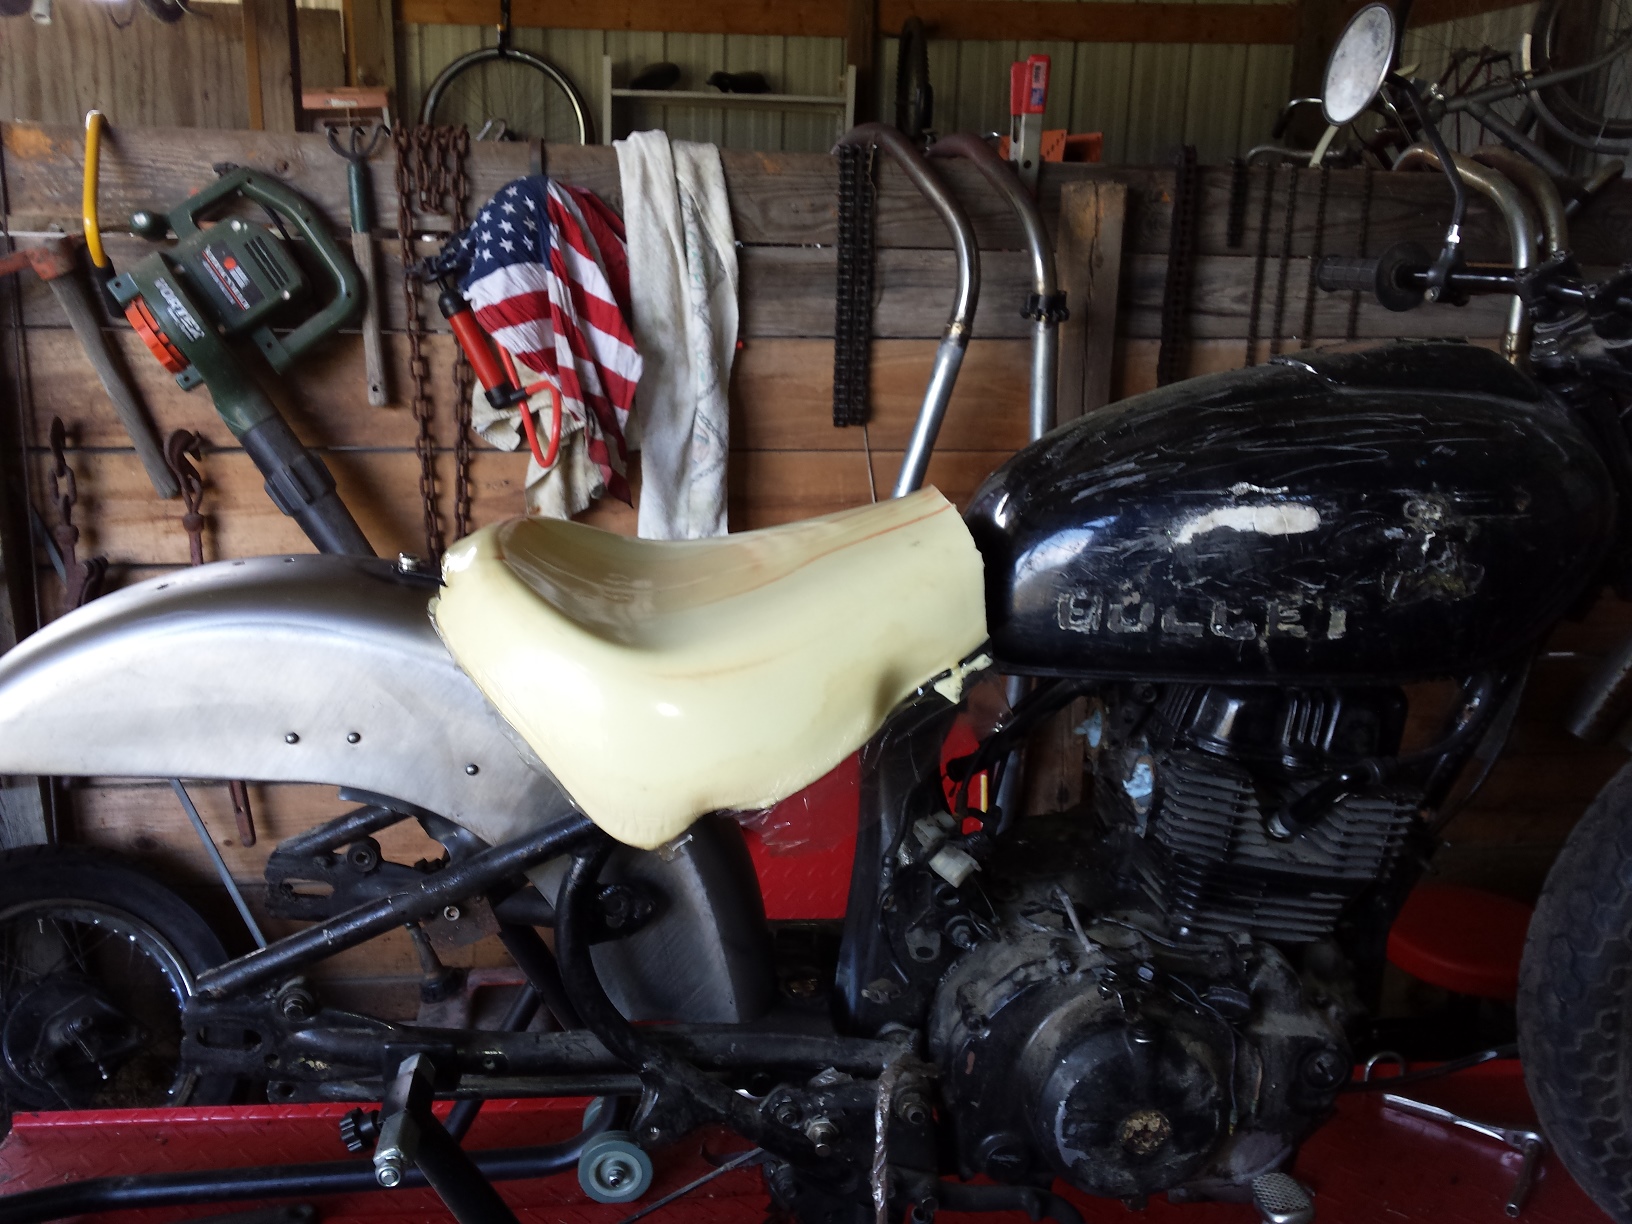
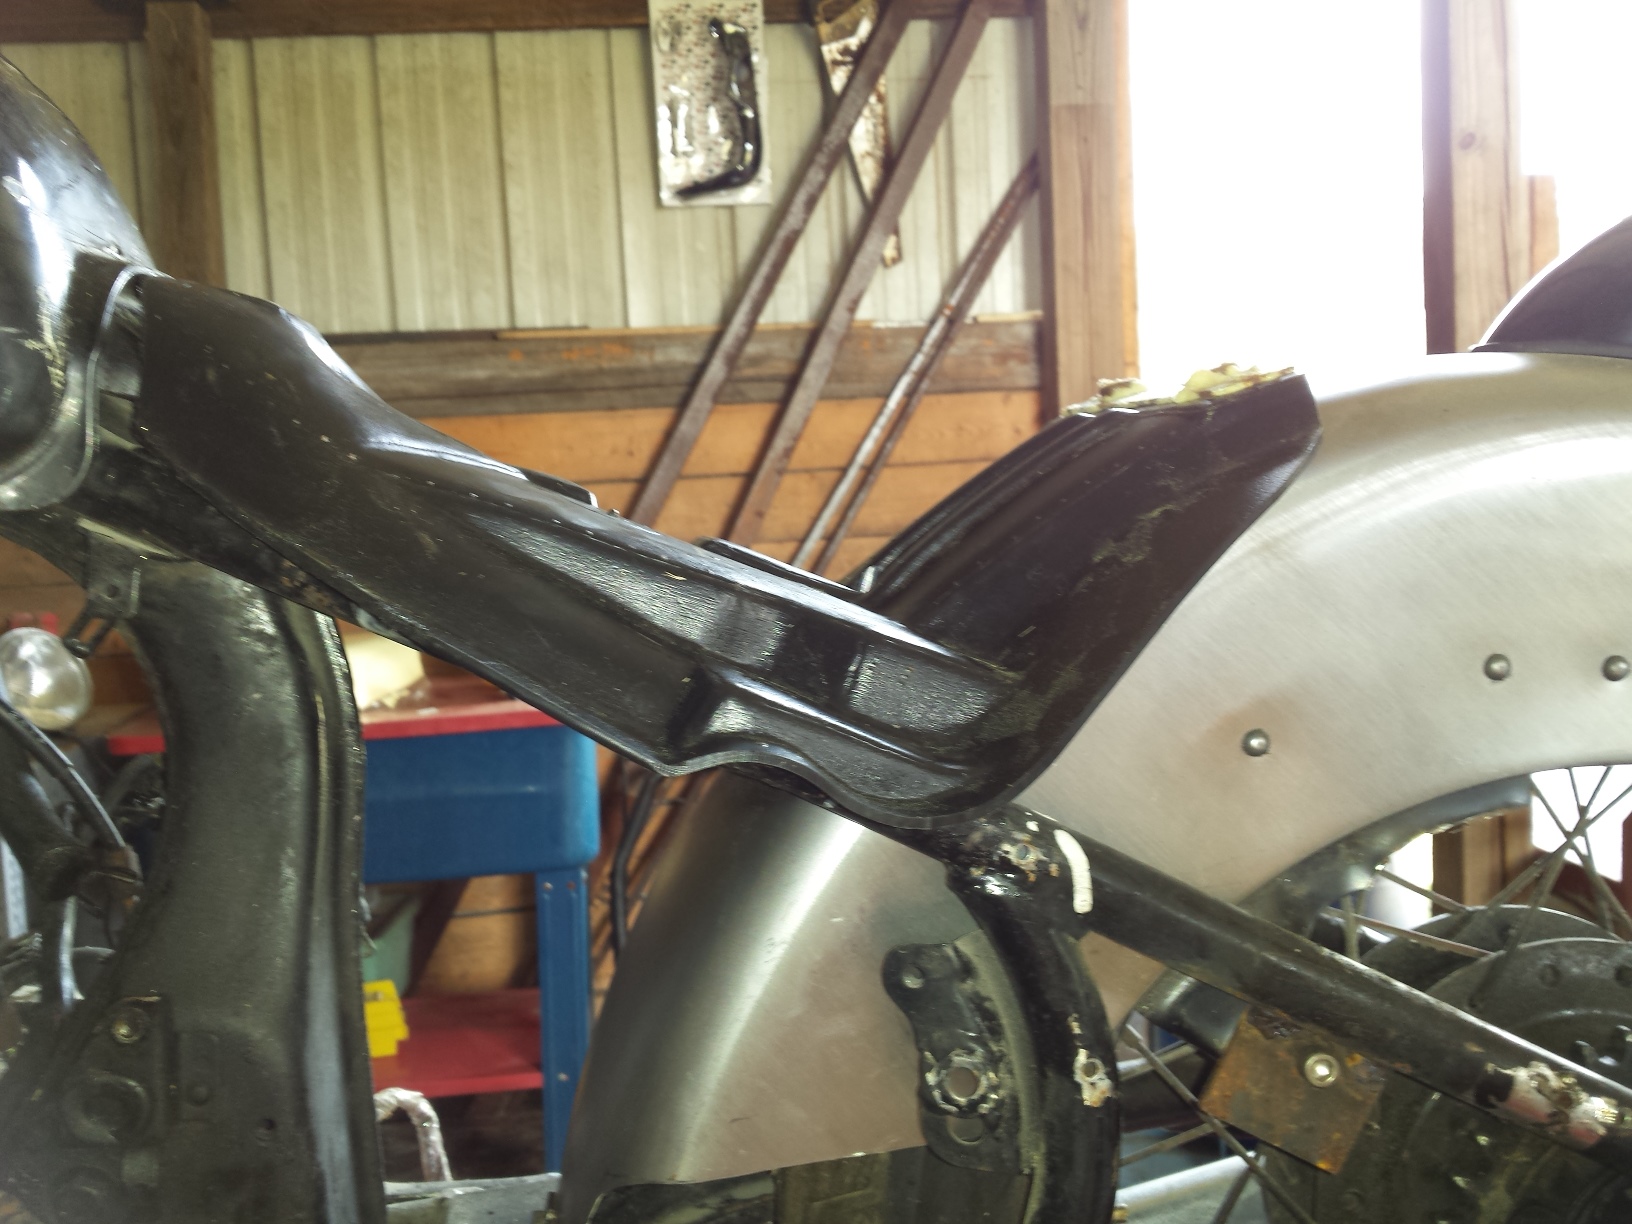
The mounting points had to be relocated. The front tab that hooks to the frame just behind the gas tank was moved and bent to work in it’s new location. This seat originally had 2 angle brackets with captive screws on either side for its original application and those just were not going to work here. Instead I flattened one of them out and attached it to the rear of the seat as shown in this next picture.

<brazing a seat retainer nut>

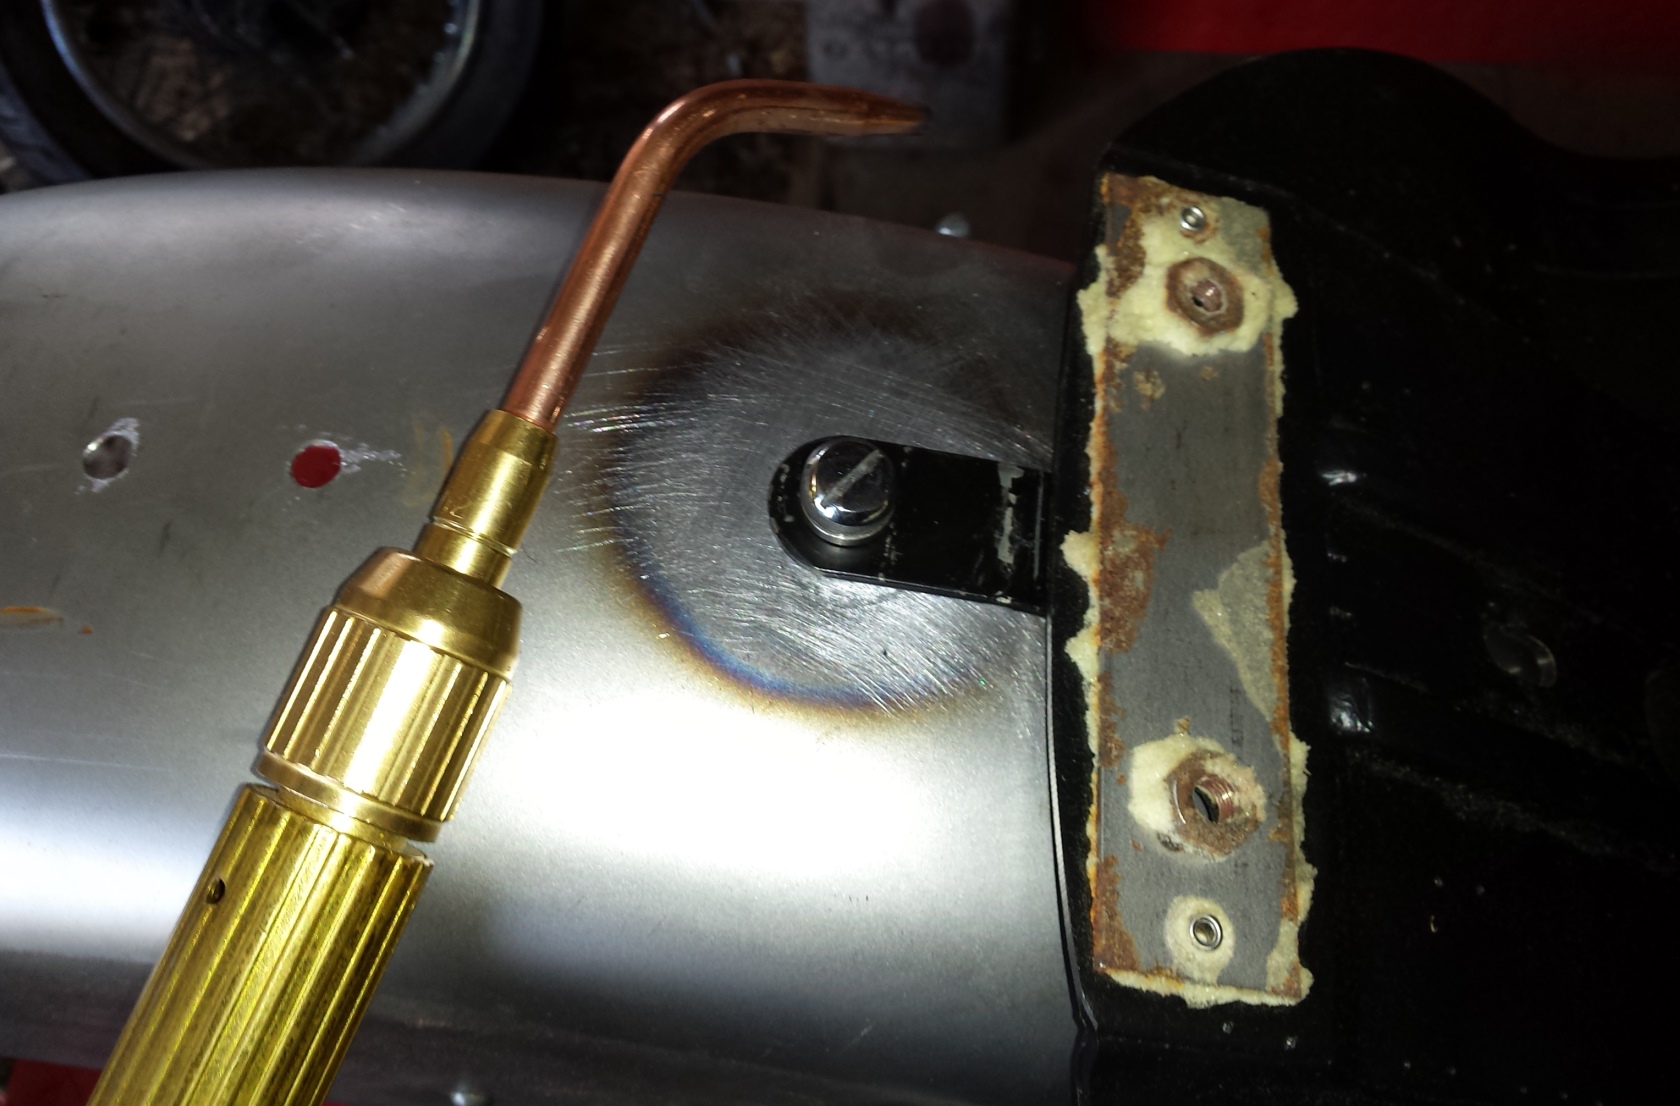
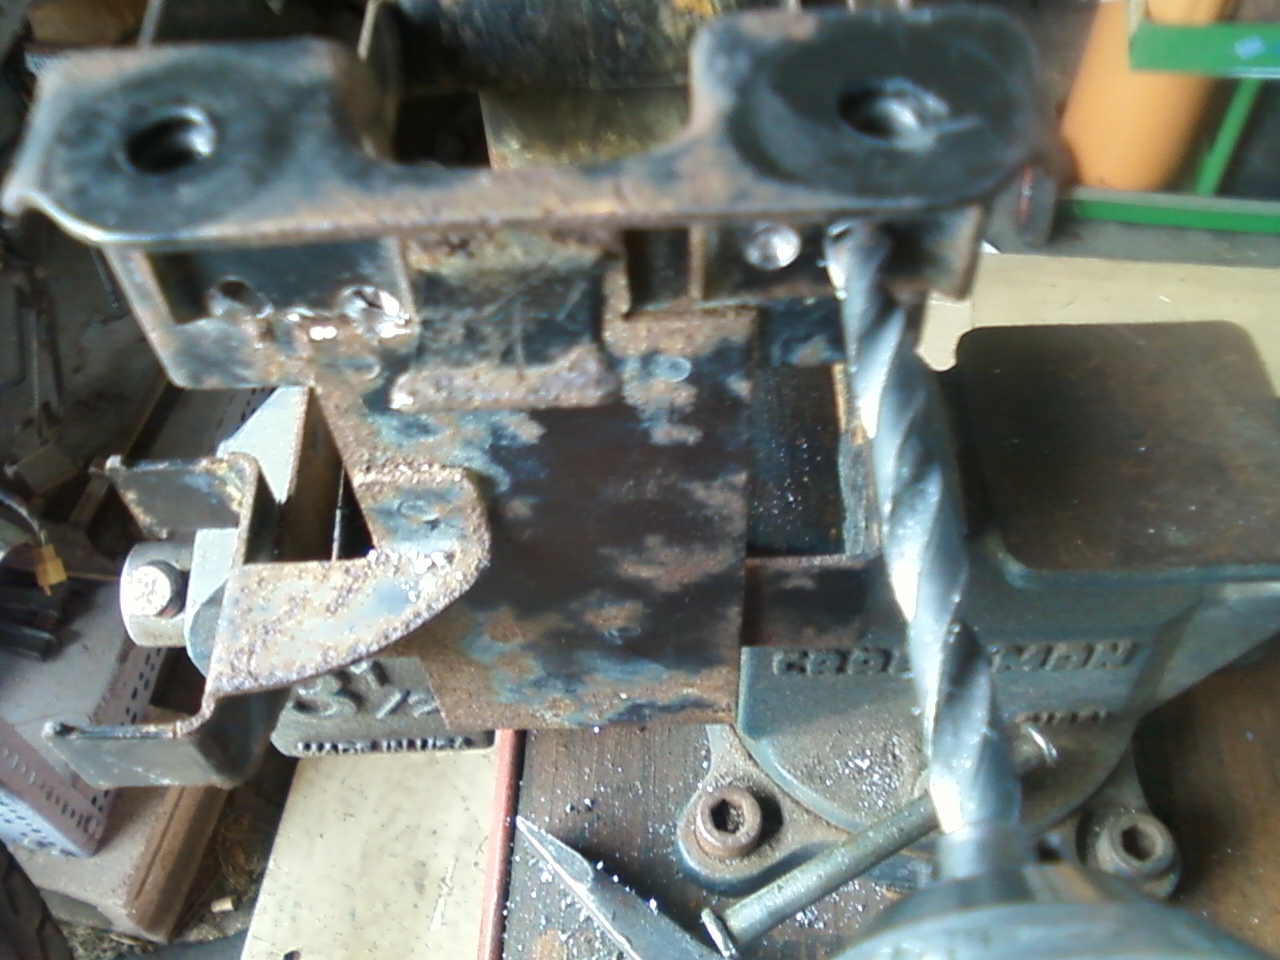
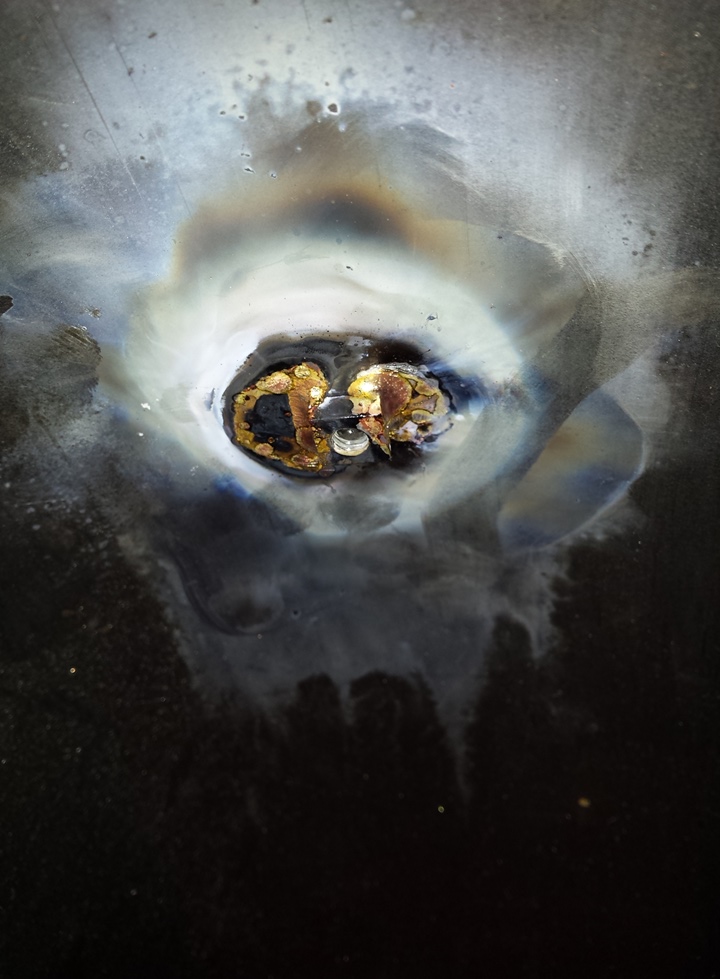
Once everything was located & marked I brazed a square nut to the underside of the fender for the captive screw on the seat.

<brazing motorcycle fender seat nut>

Now it’s time to move on to the battery box. You may find it a bit ironic that my day job is working as a CAD designer, mainly using Solidworks, and yet here I revert to my all time favorite C.A.D. system, good old fashioned cardboard aided design!

<CAD cardboard aided design>

Some times you just gotta roll in old school style! First you cut out the pattern & tape it together.

<more fantastic CAD work>

Then you stick it into place on your motorcycle, and trim it and tweak it as necessary necessary to get it to fit.

<a cardboard battery box>

The big advantage to building a cardboard prototype is that it is so fast, easy, & cheap to work with, allowing you to make quick corrections or try multiple ideas at no cost, with very little frustration. And if you screw up your piece of cardboard you can just go to the trash bin and get another one. Once you get the pattern correct you the cut all the tape, lay it out flat on the material of your choice, and mark around it for cutting and bending.

<ABS plastic battery box>

Here I am getting ready to transfer the pattern to some 1/8″ thick ABS plastic sheet. You can use sheet metal if you have the ability to bend it, or perhaps leave the pattern taped together and overmold it with fiberglass. I like the ABS because it is easy to thermo-form, the glue for it is ABS pipe glue available at any hardware store, and it is damn near indestructible. Next time I post on this you can see how the ABS gets folded and glued to make a battery box.

Peace Y’all


A Custom Battery Tray & Other Stuff

Just thought I’d do a quick update on some of the things that I have done with my CB650 project. I have been working on it a little at the time between my normal day job, a few bikes & atv’s for other people, & some painting (airbrush practice & landscape oil painting). Since I’ve decided to go with the “rat suburban assault scrambler” look some of the things about this project have gotten easier, but other design ideas require just a little more ingenuity. Rather than sawing off the back half of the frame & welding in a new seat loop as required to get the proper cafe racer look I am opting for a modified stock seat with a 74 CB750 tank, but I still wanted to eliminate the stock side panels. My plan now is to replace the side covers with 2 pieces cut from some rusty old expanded metal sheet I have lying around. To do that I still needed to modify the mounts for the electrics, and since I will be using a Shorai lithium battery that is much smaller than stock, a custom battery tray was in order also. Since this is a rat I decided to do this with nothing but materials I already had on hand. After sitting down & staring at it a while with my note book, pencil & ruler in my hand I came up with a basic design that tucks everything up high, bolts into the stock mounts, & allows me to reuse the inner fender to protect the electronics. Here’s how it goes…

First I removed the stock battery tray, along with the airbox & some other now useless items. Then I drilled out all of the spot welds holding the mounts, & various brackets to it.

butchering a Honda CB650 battery box

butchering a Honda CB650 battery box

In the spirit of my deep back country roots I decided to make do with the stuff I had on hand & not buy any new stuff to make this from, so this left over shelf divider that was destined for the scrap bin will get to live on as a motorcycle part. Here it is with all of the brackets & mounts salvaged from the original battery box.

custom built motorcycle parts

a custom battery & electronics tray in kit form 😉

Then using my band saw I cut the tray to shape & bent it in a vise.

<custom motorcycle battery tray blank>

Then I bolted the stock mounts back into place using the original hardware & clamped the tray in between them. Since I do not have a tig box for my welder (YET) I simply use a 1/16″ 6013 rod to tack the pieces together without burning through the sheet metal too much.

tack welding battery box

tack welding battery box

After I got it tacked together with the stick welder I took it out and flipped it over & then brazed it securely together with the oxy-acetelyne torch. Then I laid out the various components such as the rectifier, turn signal flasher & etc & then brazed those mounts to the bottom of the plate.

custom rat motorcycle electronics mount

custom rat motorcycle electronics mount

I know it looks awful, but I might just leave it that way, this is a rat after all. I will have to sort & secure all the wiring though, because neatly sorted wiring is easier to trouble shoot in the future & is less likely to develop problems that need trouble shooting.

Here’s a view from the top side showing the Shorai battery lying on it’s side. I still need to make a plastic box to keep the battery from sliding around. Since my day job is doing design work using Solidworks, I may just draw one up & have it printed out using a 3d printer. If not I’ll form one out of ABS sheet.

<Honda CB650 battery box Shorai LFX>

fits just right!

I can’t say enough good things about these batteries, they’re light, powerful & durable. I’ve installed them in a couple of customer bikes, this one, and even have one in my lawn mower! Sure the cost a little more than the lead acid batteries, but are in my opinion a threefold improvement in all areas. I do sell these & would be happy to quote you one if you contact me.

Here a couple of other items that have been added, first an Ebay find of a 74 Honda CB750 fuel tank. This fit with modified rubbers & a custom rear mount. I’ll show you some more details later after I have it all worked out with the seat fitment. but I think it looks really good on here!

Honda CB650 with CB750 tank

Honda CB650 with CB750 tank

Another Ebay purchase is this 1970 Honda CL450 Scrambler. I bought the whole bike just to get the handlebars!

1970 Honda CL450

1970 Honda CL450

It’s pretty much seized up and there’s no paper work but the handlebars gave me exactly the look I wanted for my project. Good solid bars with just enough crust to blend in. No need to treat a new set of bars to a faux patina.

1970 CL450 handlebar on 80 CB650

1970 CL450 handlebar on 80 CB650

The CL450 will be parted, I plan to keep the frame, engine, carbs, gauges, charging system, fork & wheels. All of the sheetmetal and the exhaust are up for grabs to my fellow hobbyists who want them. The fuel tank is rusty bondoed junk but everything else is decent. Contact me using the form below.

I had a few other adventures including dealing with a stuck oil filter bolt that I’ll go over with you soon including how far I had to go to get it out.

Peace Y’all

Go back

Your message has been sent

Warning
Warning
Warning
Warning
Warning

Warning.